2023 HYUNDAI IONIQ 6 instrument cluster
[x] Cancel search: instrument clusterPage 5 of 582

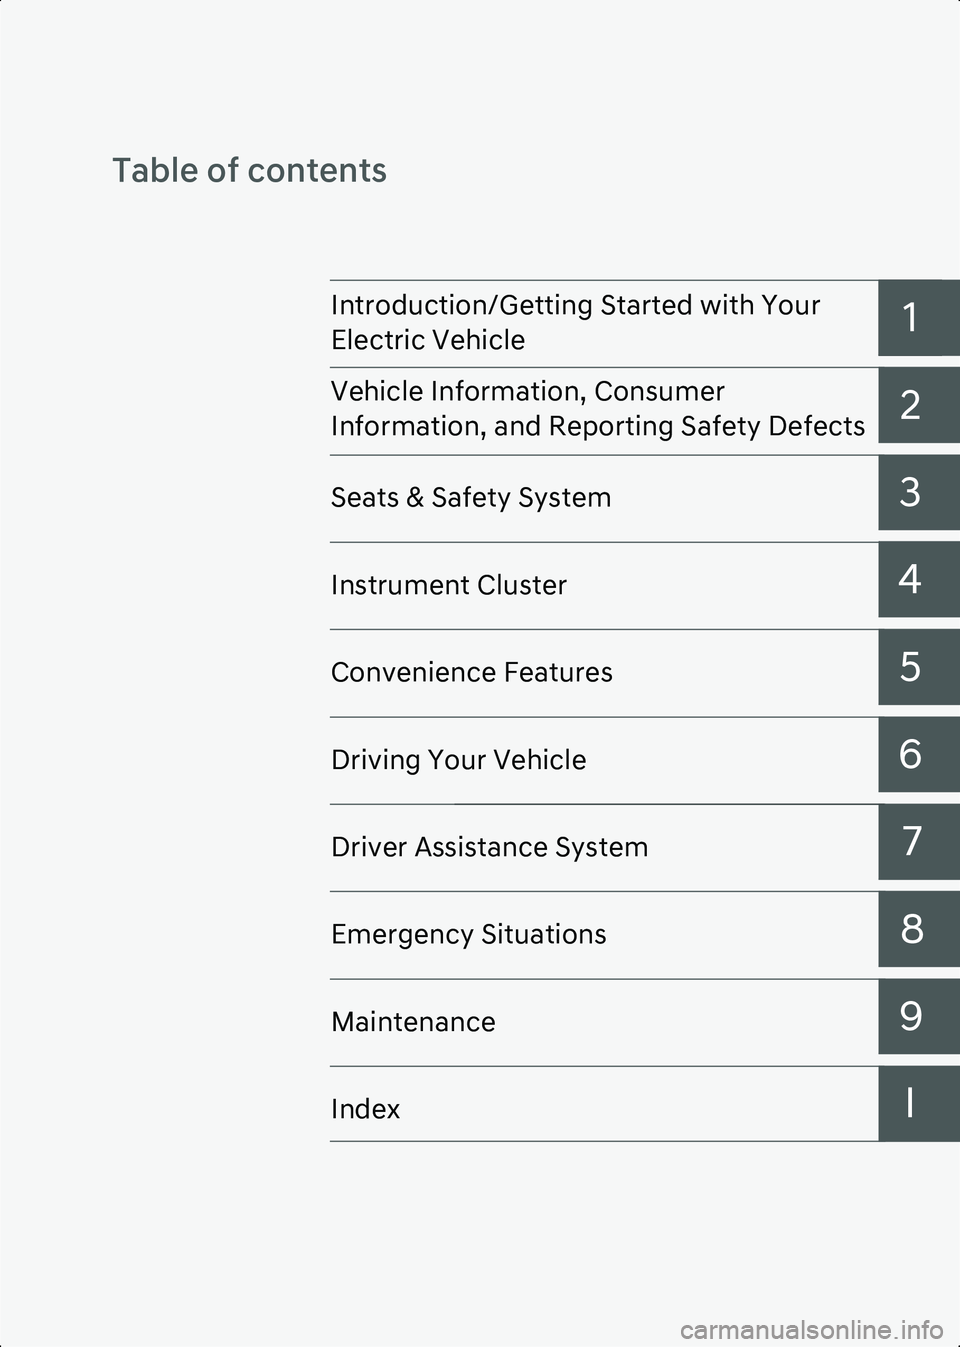
Table of contents
11
2
3
4
5
6 7
8
9 I
Introduction/Getting Started with Your
Electric Vehicle
Vehicle Information, Consumer
Information, and Reporting Safety Defects
Seats & Safety System
Instrument Cluster
Convenience Features
Driving Your Vehicle
Driver Assistance System
Emergency Situations
Maintenance
Index
Hyundai_CE_en_US.book Page i
Page 17 of 582

1
1-11
capacity and distance to empty keep failing, have the vehicle inspected by an
authorized HYUNDAI dealer.
• If you do not use the vehicle for a long time, charge the vehicle at least once every three months to prevent both the high voltage and the 12 V battery from fully discharging.
When the battery level has low level, immediately charge the vehicle.
• Using AC charging as much as possible can help keep the battery in optimal condition. Fully charging the battery when it is 20 % or lower helps to keep the battery in optimal
condition. (Charging once a month or more is recommended.)
• The charging level value displayed on the instrument cluster may decrease according to the charging conditions (charger status, outside temperature, battery temperature,
etc.). For longer battery life and safety, after a certain charging level is reached, the
charging current is gradually lowered to fully charge the battery.
Other Precautions for Electric Vehicle Management
CAUTION • When heat treatment after repairs or painting is applied to the vehicle due to an accident, the high voltage battery’s performance may be degraded. If heat treatment
is required, contact an authorized HYUNDAI dealer.
• When cleaning the motor compartment, do not use a high pressure washer. Doing so may result in electric shock, due to a discharge in high voltage electricity, or damage
the vehicle’s electric system.
• Do not install third-party parts or modified parts on the vehicle. Doing so may damage the electric power system. Only use or install genuine parts.
Hyundai_CE_en_US.book Page 11
Page 29 of 582

1
1-23
WARNING Do not touch the charging connector of the charging cable or the charging inlet on the
vehicle.
5. Remove the charging connector protection cap of the AC charging cable, hold the charging connector handle, and connect it to the AC charging inlet on the vehicle. Push
it until you hear a click.
6. [If using separately purchased charging cable] Remove the charging plug protection
cap of the AC charging cable, hold the charging plug handle, and connect it to the
electric outlet (120 V) of the AC charger.
• This process is required only when using a separately purchased AC charging cable. If you use a charging cable installed in an AC charger, a separate charging plug
connection is not required.
• When charging starts, the estimated charging time will be displayed on the instrument cluster for about one minute.
Information • If you open the driver’s door while charging, the estimated charging time will also be displayed on the instrument cluster for about one minute.
• When scheduled charging is set, a message saying "Waiting to charge at scheduled time" will be displayed.
• When scheduled air conditioner or heater operates while waiting for the scheduled charging, the estimated charging time will be displayed as “-”.
7. [If using a separately purchased charging cable] When charging is complete, hold the
charging plug handle, disconnect the charging plug from the electric outlet (120 V) of
the AC charger, and close the protection cap of the charging plug.
• This process is required only when using an AC charging cable purchased separately. If you use a charging cable installed in an AC charger, a separate charging plug
disconnection is not required.
8. Hold the charging connector handle with the unlock button pressed, and pull the charging connector to disconnect it from the charging inlet.
CAUTION Do not forcibly disconnect the charging connector without pressing the unlock button
on the charging connector. It may damage the charging connector or the charging
inlet on the vehicle.
9. Close the charging inlet cover and press the charging door to completely close it.
Hyundai_CE_en_US.book Page 23
Page 31 of 582

1
1-25
Understanding the DC charging connector
The exterior of the DC charging cable is as follows:
B0001101(1) DC charging connector (Vehicle side)
Charging with a DC charger
Follow the instructions below to charge the vehicle with a DC charger.
1. With the vehicle started, apply the Electronic Parking Brake (EPB) while pressing the brake pedal.
2. Turn all switches off, shift to P (Park), and stop the vehicle.
3. With the vehicle door unlocked, press the open indicator on the charging door to open the charging door.
4. Open the charging inlet cover and check the charging connector and charging inlet for dust or other contaminants.
• If there is any dirt or contaminants, remove it using the air gun.
WARNING Do not touch the interior of the charging connector of the charging cable or the
charging inlet on the vehicle.
5. Remove the charging connector protection cap of the DC charging cable, hold the charging connector handle, and connect it to the DC charging inlet on the vehicle. Push
it until you hear a click.
• When charging starts, the estimated charging time will be displayed on the instrument cluster for a minute.
Information If you open the driver’s door while charging, the estimated charging time will also be displayed
on the instrument cluster for a minute.
Hyundai_CE_en_US.book Page 25
Page 37 of 582

1
1-31
WARNING Do not touch interior of the charging connector of the charging cable or the charging
inlet of the vehicle.
7. Remove the charging connector protection cap of the portable charging cable, hold the charging connector handle, and connect it to the AC charging inlet of the vehicle.
Push it until you hear a click.
• When charging starts, the estimated charging time will be displayed on the instrument cluster for about one minute.
Information • If you open the driver’s door while charging, the estimated charging time will also be displayed on the instrument cluster for about one minute.
• When scheduled charging is set, a message saying “Waiting to charge at scheduled time” will be displayed.
• When scheduled air conditioner or heater operates while waiting for the scheduled charging, the estimated charging time will be displayed as ‘-’.
8. When charging is complete, hold the charging connector handle with the unlock button pressed and pull on the charging connector to disconnect it from the charging
inlet.
Information If you have set the charging connector locking mode as Alwaysor While Charging , unlock the
door by pressing the button on the smart key or the button on the driver’s door, and disconnect
the charging connector from the charging inlet.
• For more information, refer to the “Setting charging connector locking mode” section in this chapter.
9. Close the charging inlet cover.
10.Press the charging door to completely close it.
Using the scheduled charging function
The scheduled charging function allows you to charge your vehicle using low cost, late
night power until the next departure time.
Information You can use the scheduled charging function only when using an AC charger or the portable
charger (ICCB: In-Cable Control Box). For more information about connecting an AC charger and
portable charger, refer to the “Using an AC Charger”and “Using a Portable Charger (ICCB)”
section in this chapter.
Hyundai_CE_en_US.book Page 31
Page 42 of 582

Introduction/Getting Started with Your Electric Vehicle
1-36
Checking electricity use
On the Energy Information screen, select Electricity Use.
• You can check the current energy consumption for each vehicle system.
B0001703
No.NameDescription
(1) Electronics Shows the power and energy consumption used by the vehicle
system, including the instrument cluster, infotainment system
(speaker and navigation), headlight, vehicle control unit, etc., and
the percentage of the power vehicle system used in total power
used since starting the vehicle.
(2) Climate Shows the power and energy consumption used by the air
conditioner or heater and the percentage of the power climate
system used in total power used since starting the vehicle.
(3) Drive train Shows the percentage of instantaneous and regenerative energy
consumed by the motor to drive the vehicle and the percentage of
the power driving system used in total power used since starting
the vehicle.
(4) Battery Care Shows the momentary power and energy consumption used when
increasing and cooling down the battery temperature to maintain
optimal battery performance and the percentage of battery
temperature control mode (Battery Care mode) used in the total
power used since starting the vehicle.
1234
Hyundai_CE_en_US.book Page 36
Page 49 of 582

1
1-43
Information Be aware of the followings when using battery conditioning mode.
• The driving distance may be reduced as energy is required to increase the battery temperature.
• If the battery temperature is low during driving or when the scheduled air conditioner/heater is activated, the battery conditioning mode is operated to improve driving performance. To ensure
driving distance the battery conditioning mode will not be operated when the battery level is too
low.
• If you set the DC charging station as your destination while using the battery conditioning mode, the battery temperature is optimized for charging and you can shorten the charging time after
you arrive and start charging.
• Battery conditioning mode is available for vehicles equipped with the battery heater.
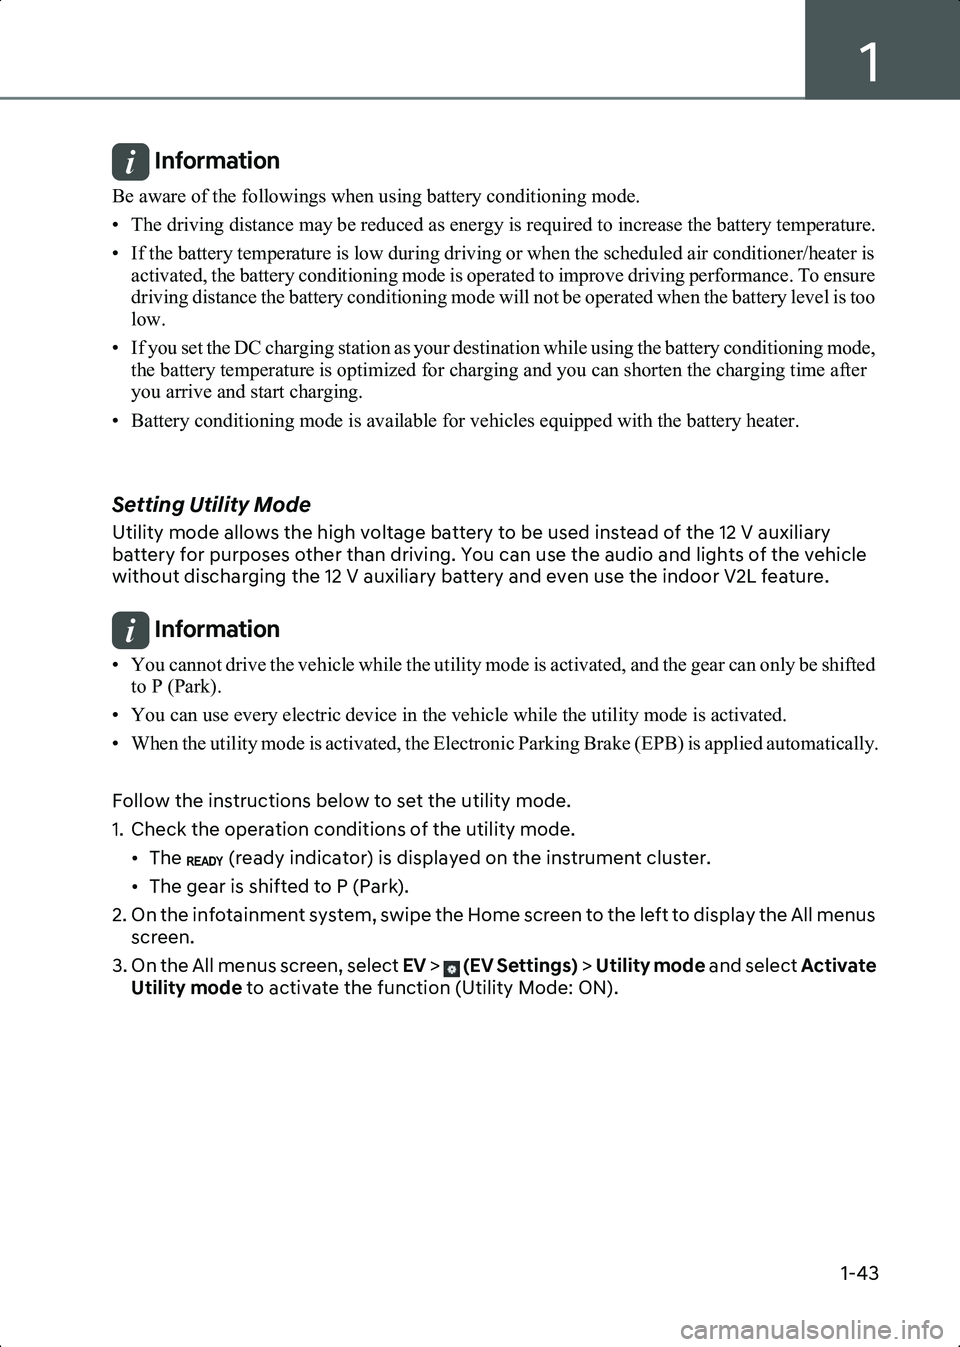
Setting Utility Mode
Utility mode allows the high voltage battery to be used instead of the 12 V auxiliary
battery for purposes other than driving. You can use the audio and lights of the vehicle
without discharging the 12 V auxiliary battery and even use the indoor V2L feature.
Information • You cannot drive the vehicle while the utility mode is activated, and the gear can only be shifted to P (Park).
• You can use every electric device in the vehicle while the utility mode is activated.
• When the utility mode is activated, the Electronic Parking Brake (EPB) is applied automatically.
Follow the instructions below to set the utility mode.
1. Check the operation conditions of the utility mode. • The (ready indicator) is displayed on the instrument cluster.
• The gear is shifted to P (Park).
2. On the infotainment system, swipe the Home screen to the left to display the All menus screen.
3. On the All menus screen, select EV > (EV Settings) > Utility mode and select Activate
Utility mode to activate the function (Utility Mode: ON).
Hyundai_CE_en_US.book Page 43
Page 50 of 582

Introduction/Getting Started with Your Electric Vehicle
1-44
B0002104
• The (ready indicator) turns off and the UTIL (utility indicator) illuminates on the
instrument cluster and the EPB is applied.
• The utility mode can be deactivated by pressing the Start/Stop button to the OFF position.
• If you want to utilize V2L function in the vehicle while the utility mode is activated, refer to the “Using Electricity Inside the Vehicle” section in this chapter.
Information If the utility mode is not activated when the vehicle is in the ready ( ) mode and the gear is
shifted to P (Park), inspect the operation status of EPB.
Searching for nearby charging stations
Around the course, around the current site, around the selected destination or charging
stations of interest can be searched. If you choose the charging station, the detailed
information is provided.
Information • When you sign up HYUNDAI BlueLink service, the available chargers at each charging station are displayed.
• The HYUNDAI Carpay function in the in-vehicle payment app allows for convenient payments to affiliated charging stations and parking lots without using physical cards. For more
information, refer to the user's manual provided in the infotainment system and the quick
reference guide.
1. On the infotainment system, swipe the Home screen to the left to display the All menus screen.
2. On the All menus screen, select EV and select the charging station icon next to the
vehicle
Hyundai_CE_en_US.book Page 44