2023 HYUNDAI IONIQ 5 surrounding vehicle information
[x] Cancel search: surrounding vehicle informationPage 56 of 680

01
1-51
Virtual Engine Sound System
The Virtual Engine Sound System
generates engine sound for pedestrians
to hear vehicle sound because there is
no sound while the Electric Vehicle (EV)
is operating. • If the vehicle is in the ready (
)
mode and the gear is not in P (Park),
the VESS will be operated.
• When the gear is shifted to R
(Reverse), an additional warning
sound will be heard.
CAUTION
• The vehicle is much quieter while
driving than a conventional gasoline-
powered vehicle. Be aware of your
surroundings and always drive safely.
• After you park the vehicle or while
you are waiting at a traffic light,
check whether there are children or
obstacles around the vehicle.
• Check if there is something behind
the vehicle when driving in reverse.
Pedestrians may not hear the sound
of the vehicle.
Distance to Empty
ONE1Q011049E
The distance to empty is displayed
differently according to the selected
drive mode in the Drive Mode Integrated
Control System.
For more information, refer to “Drive
Mode Integrated Control System” in
chapter 6.
When destination is not set • On average, a vehicle can drive about
199 miles (320 km) (Standard type) /
249 miles (400 km) (Extended type).
• Under certain circumstances where
the air conditioner/heater is ON,
the distance to empty is impacted,
resulting in a possible distance range
from 106 ~ 286 miles (170 ~ 460 km)
(Standard type) / 130 ~ 354 miles
(210 ~ 570 km) (Extended type).
When using the heater during cold
weather or driving at high speed, the
high voltage battery consumes a lot
more electricity. This may reduce the
distance to empty significantly.
• After ‘0 km’ has been displayed,
the vehicle can drive an additional
2~5 miles (3~8 km) depending on
driving speed, heater/air conditioner,
weather, driving style, and other
factors.
Page 273 of 680

05
5-81
electric chArging Door
ONE1Q011040
The driver can open and close the
charging door with the following
methods: • When the shift gear is in P (Park), push
the charging door to open/close
• Push the Close button located inner
part of the charging door
• Press the charging door button in the
smart key
• Use the Voice Recognition
NOTICE
• If the charging door does not open
because ice has formed around it,
tap lightly or push on the door to
break the ice and release the door.
If necessary, use hand temperature
to melt down the ice or move the
vehicle to a warm place and allow
the ice to melt. Do not pry on the
charging door or use unauthorized
tools to open the charging door.
• After closing the charging door, push
the door again to ensure that the
charging door is completely closed.
• Make sure that the charging door is
closed before driving the vehicle.
If the charging door is opened,
mechanical parts of the charging door can be damaged.
• After closed the charging door, be
sure to check the warning light is off. •
After charging the vehicle, close
the charging inlet by the charging
inlet cover properly. If the charging
inlet cover is closed improperly, the
charging inlet and the charging door can be damaged.
• Do not pry on the charging door
while the charging door is opening.
The charging door may stop moving.
Also, the electrical mechanism of the
charging door and its related parts
can be severely damaged.
• While washing the vehicle, do not
spray a high pressure water to the
charging door directly. The high
pressure can damage the charging
door.
CAUTION
• The charging door opens upwards.
Check the surrounding while the
charging door is open or close. Be
aware of your head or limbs from
being hit or stuck to the charging
door.
• Do not hold the hinge to prevent
damaging the charging door and
causing other accidents.
Information
• The charging door automatically closes when:
- The charging connector is disconnected
- The door is opened and the charging
connector is not connected for a certain period of time
- The gear is not in P (Park)
• After replacing battery (12 volt), open
and close the charging door once to
check that the charging door automatic opening mechanism is functioning
properly.
For more details, refer to “Charging
Electric Vehicle” section in chapter 1.
Page 275 of 680

05
5-83
Head-up display Information
AR mode display information
ONE1051217E
ONE1051218E
1. Turn by Turn (TBT) navigation information
2. Traffic information
3. Speedometer information
4. SCC set speed information
5. SCC vehicle distance information
6. Lane Following Assist information
7. Lane Safety information
8. Blind-Spot Safety information
9. Highway Auto Speed Change
information
10. Highway Driving Assist information
11. Turn by turn (TBT) navigation
information (AR)
12. Lane Safety Information (AR)
13. Front Vehicle indicator (AR) (if
Highway Lane Change Assist function equipped)
14. Leading Vehicle Departure Alert (AR)
15. Highway Lane Change Assist
information (AR)
Standard mode display information
ONE1051244N
1. Turn by Turn (TBT) navigation information
2. Traffic information
3. Speedometer information
4. SCC set speed information
5. SCC vehicle distance information
6. Lane Following Assist information
7. Lane Safety information
8. Blind-Spot Safety information
9. Highway Auto Speed Change
information
10. Highway Driving Assist information
11. Surrounding vehicle information
Information
Standard Head-up display information may not be consistent based on the
different system settings menu.
Page 286 of 680

Convenience Features
5-94
High Beam Assist Operation
Display and control • After selecting ‘High Beam Assist’
in the Settings menu, High Beam
Assist will operate by following the
procedure below.
- Place the headlamp switch in the AUTO position and push
the headlamp lever towards the
instrument cluster. The High Beam
Assist (
) indicator light will
illuminate on the cluster and High
Beam Assist will be enabled.
- When High Beam Assist is enabled, high beam will turn on when vehicle
speed is above 40 km/h (25 mph).
When vehicle speed is below 25
km/h (15 mph), high beam will turn
off.
- The High Beam (
) indicator light
will illuminate on the cluster when high beam is on.
• When High Beam Assist is operating, if
the headlamp lever or switch is used,
High Beam Assist operates as follow:
- If the headlamp lever is pulled towards you when the high beam
is off, the high beam will turn on
without High Beam Assist canceled.
When you let go of the headlamp
lever, the lever will move to the middle and the high beam will turn
off.
- If the headlamp lever is pulled towards you when the high beam is
on by High Beam Assist, low beam will turn on and the function will
turn off.
- If the headlamp switch is placed from AUTO to another position
(headlamp/position/off), High
Beam Assist will turn off and the
corresponding lamp will turn on. •
When High Beam Assist is operating,
high beam switches to low beam if
any of the following conditions occur:
- When the headlamp of an oncoming vehicle is detected.
- When the tail lamp of a vehicle in front is detected.
- When the headlamp or tail lamp of a motorcycle or a bicycle is detected.
- When the surrounding ambient light is bright enough that high beams
are not required.
- When streetlights or other lights are detected.
Information
The images or colors may be displayed
differently depending on the specifications
of the instrument panel or theme.
Page 333 of 680

06
6 -7
NOTICE
To prevent damage to the vehicle:
Do not press the Start/Stop button for
more than 10 seconds except when the
stop lamp fuse is blown.
When the stop lamp fuse is blown,
you cannot normally start the vehicle.
Replace the fuse with a new one. If you
are not able to replace the fuse, you
can start the vehicle by pressing and
holding the Start/Stop button for 10
seconds with the Start/Stop button in
the ACC position.
Pressing the brake pedal many times while “
” indicator light is off will
increase the possibility of discharging
the 12V battery.
For your safety always depress the
brake pedal before starting the vehicle.
Information
Virtual Engine Sound System(VESS) VESS generates virtual engine sound to
make pedestrians to aware. VESS operates
when the vehicle can be driven. When the
vehicle in P(parking) gear status, VESS doesn't work.
CAUTION
• Because the vehicle doesn't make
the engine sound, pay attention to
the surrounding environment and
drive carefully.
• After parking or waiting for a traffic
light, please check around(children,
obstacle, etc.) before departure.
• When reversing, check directly
behind you before driving.
Pedestrians may not be able to
recognize vehicle sounds.
ONE1061005
Information
If the smart key battery is weak or the
smart key does not work correctly, you
can start the vehicle by pressing the Start/Stop button with the smart key in the
direction of the picture above.
Turning Off the Vehicle
1. Stop the vehicle and depress the brake pedal fully.
2. Shift to P (Park).
3. Press the Start/Stop button to the OFF position and apply the parking brake.
4. Make sure the ‘
’ indicator light
is off in the instrument cluster.
CAUTION
If the "
" indicator light on the
instrument cluster is still on, the vehicle
is not turned off and can move when
the gear is in any position except P
(Park).
Page 360 of 680

Driving Your Vehicle
6-34
Information
• The Auto Hold does not operate when:
- The gear is in P (Park)
- EPB is applied
• For your safety, the Auto Hold automatically switches to EPB when:
- The driver's door is opened
- The tail gate is opened
- The hood is opened
- The vehicle is in a standstill for more than 10 minutes
- The vehicle is standing on a steep slope
- The vehicle moved several times
In these cases, the Parking Brake
warning light comes on, the AUTO
HOLD indicator changes from green to white, and a warning sound and a
message will appear to inform you that EPB has been automatically engaged.
Before driving off again, depress the
brake pedal, check the surrounding
area near your vehicle and release the parking brake manually with the EPB switch.
• While operating Auto Hold, you may
hear mechanical noise. However, it is normal operating noise.
• If the vehicle is restarted with the Auto Hold system is in the standby position
or operating, the Auto hold system will continue to operate in the standby position.
NOTICE
If the AUTO HOLD indicator changes
to yellow, Auto Hold is not working
properly. Contact an authorized
HYUNDAI dealer.
WARNING
• Depress the accelerator pedal slowly
when you start the vehicle.
• For your safety, cancel Auto Hold
when you drive downhill, back up the
vehicle or park the vehicle.
NOTICE
If there is a malfunction with the
driver's door or hood open detection
system, Auto Hold may not work
properly.
Contact an authorized HYUNDAI dealer.
Warning messages
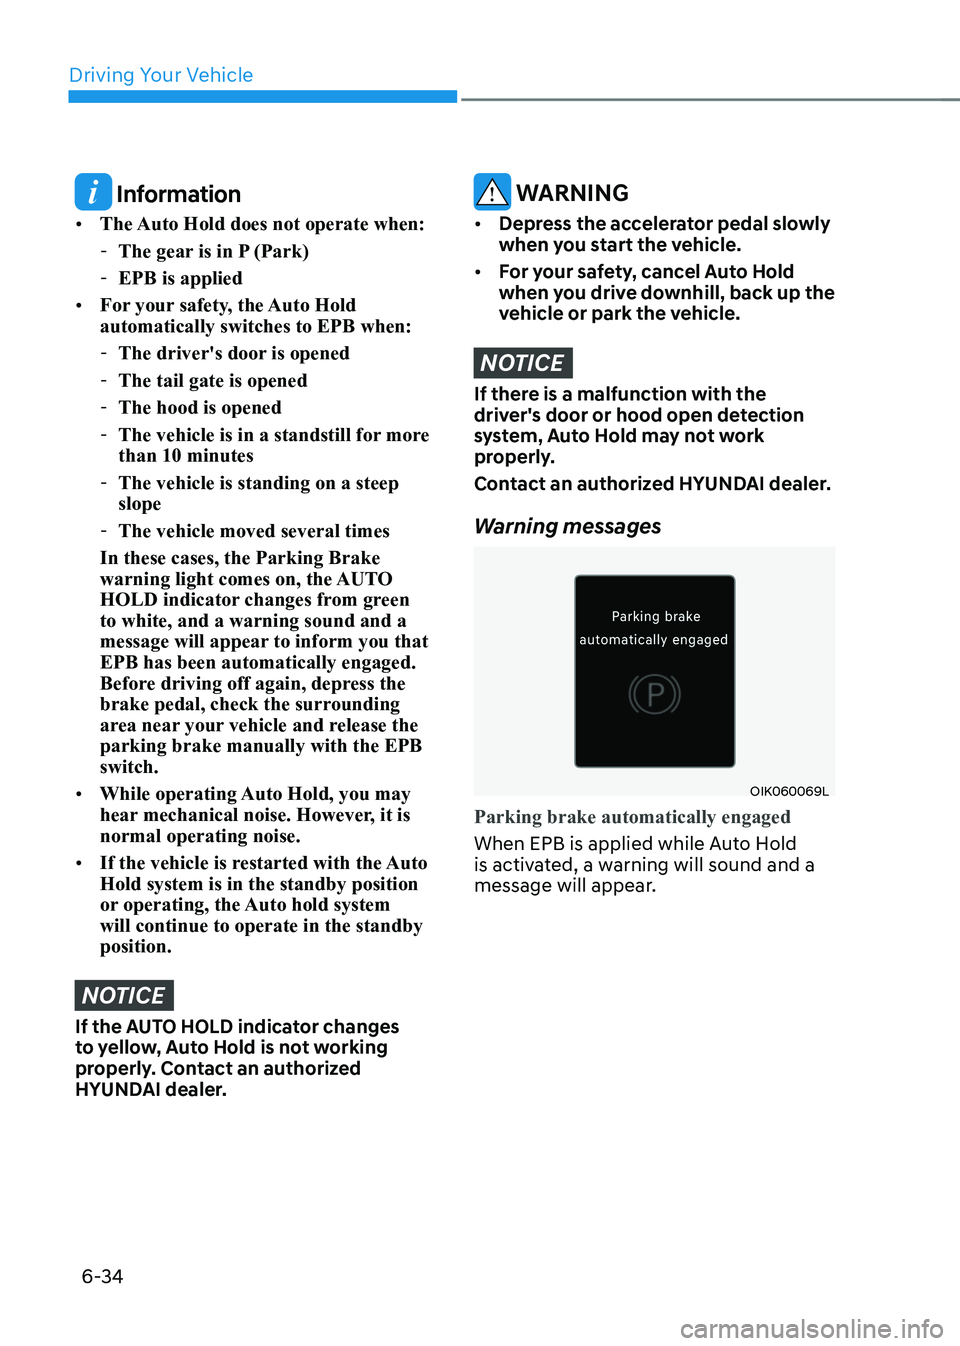
OIK060069L
Parking brake automatically engaged
When EPB is applied while Auto Hold
is activated, a warning will sound and a
message will appear.
Page 408 of 680

Driver Assistance System
7-6
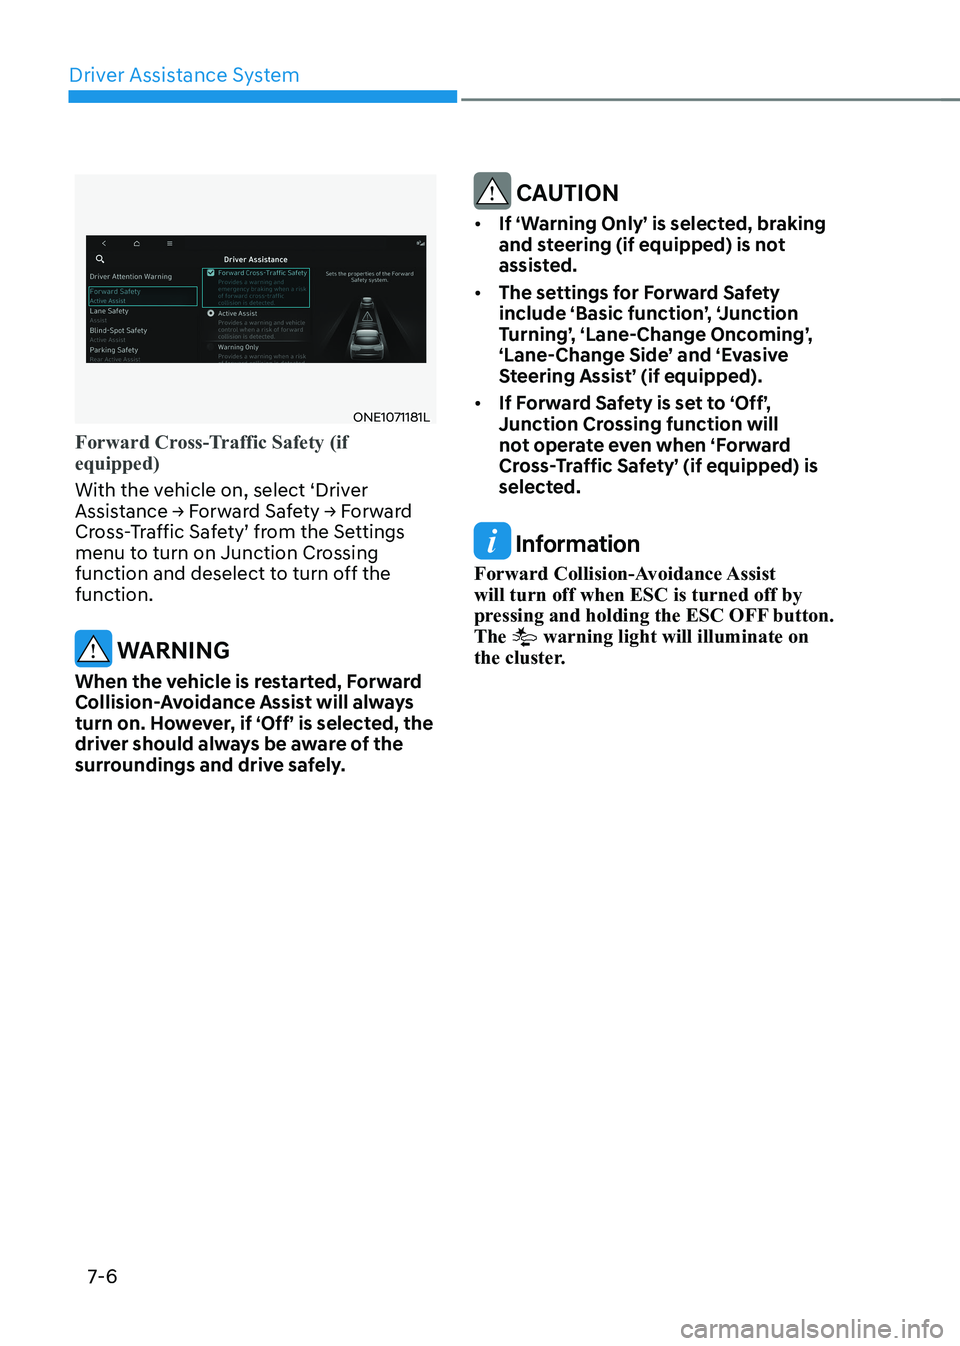
ONE1071181L
Forward Cross-Traffic Safety (if equipped)
With the vehicle on, select ‘Driver
Assistance → Forward Safety → Forward
Cross-Traffic Safety’ from the Settings
menu to turn on Junction Crossing
function and deselect to turn off the function.
WARNING
When the vehicle is restarted, Forward
Collision-Avoidance Assist will always
turn on. However, if ‘Off’ is selected, the
driver should always be aware of the
surroundings and drive safely.
CAUTION
• If ‘Warning Only’ is selected, braking
and steering (if equipped) is not
assisted.
• The settings for Forward Safety
include ‘Basic function’, ‘Junction
Turning’, ‘Lane-Change Oncoming’,
‘Lane-Change Side’ and ‘Evasive
Steering Assist’ (if equipped).
• If Forward Safety is set to ‘Off’,
Junction Crossing function will
not operate even when ‘Forward
Cross-Traffic Safety’ (if equipped) is
selected.
Information
Forward Collision-Avoidance Assist will turn off when ESC is turned off by
pressing and holding the ESC OFF button. The
warning light will illuminate on
the cluster.
Page 412 of 680

Driver Assistance System
7-10
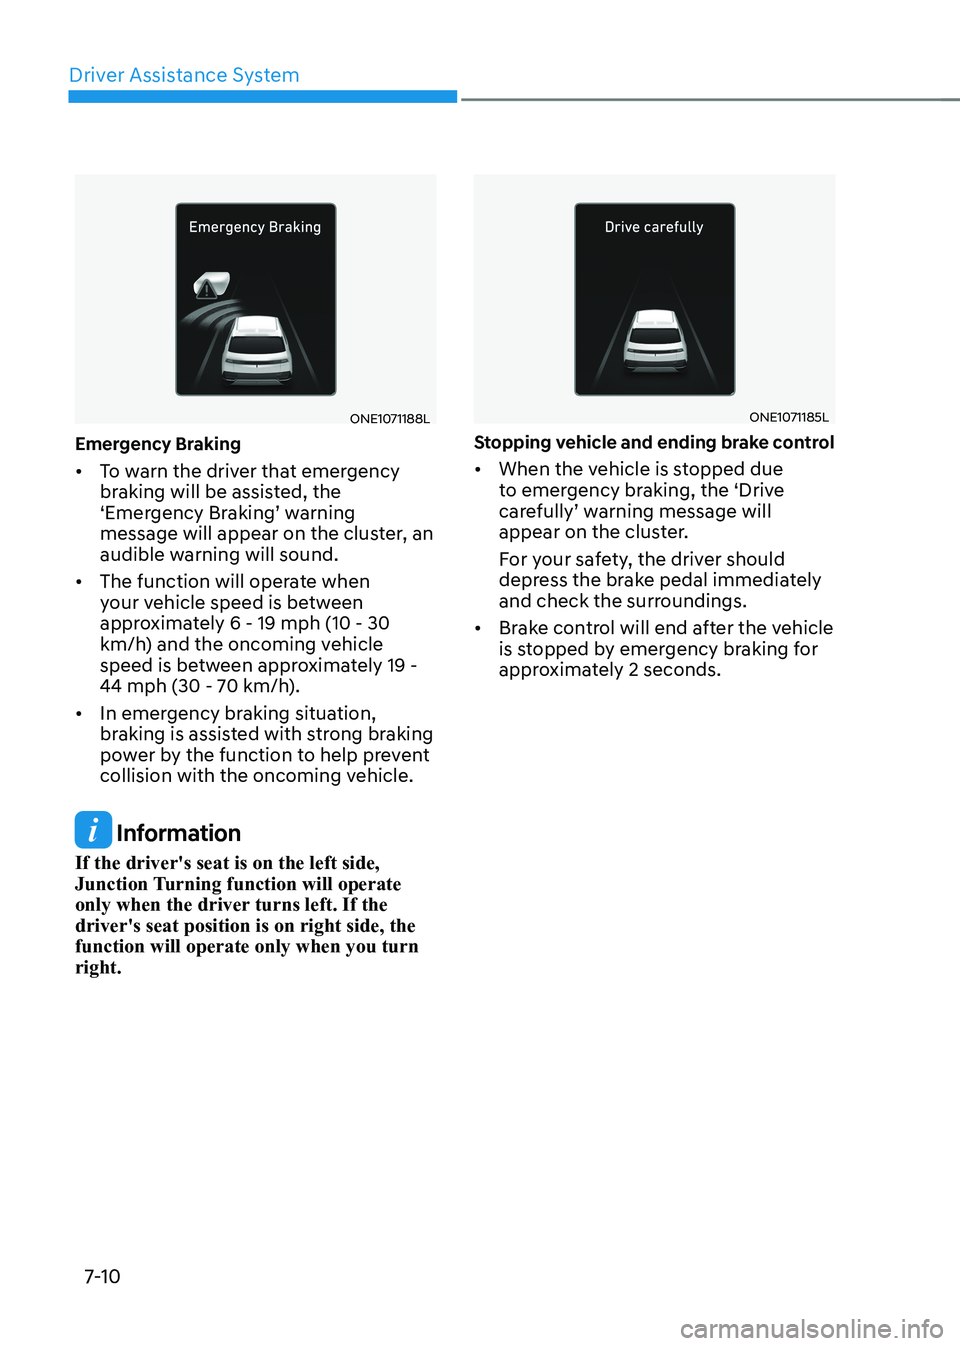
ONE1071188L
Emergency Braking • To warn the driver that emergency
braking will be assisted, the
‘Emergency Braking’ warning
message will appear on the cluster, an
audible warning will sound.
• The function will operate when
your vehicle speed is between
approximately 6 - 19 mph (10 - 30
km/h) and the oncoming vehicle
speed is between approximately 19 -
44 mph (30 - 70 km/h).
• In emergency braking situation,
braking is assisted with strong braking
power by the function to help prevent
collision with the oncoming vehicle.
Information
If the driver's seat is on the left side,
Junction Turning function will operate
only when the driver turns left. If the driver's seat position is on right side, the function will operate only when you turn right.
ONE1071185L
Stopping vehicle and ending brake control • When the vehicle is stopped due
to emergency braking, the ‘Drive
carefully’ warning message will
appear on the cluster.
For your safety, the driver should
depress the brake pedal immediately
and check the surroundings.
• Brake control will end after the vehicle
is stopped by emergency braking for
approximately 2 seconds.