2023 HYUNDAI IONIQ 5 air condition
[x] Cancel search: air conditionPage 373 of 680

06
6-47
Drive Mode
ONE1061021
Drive mode may be selected according
to the driver's preference or road condition.
ONE1061041
The mode changes whenever the driver
pushes the DRIVE MODE button. NORMAL mode
Normal mode is a driving mode used
when driving on general roads, city
center and highways. ECO mode
ECO mode is a driving mode improving
energy efficiency by controlling motors
and reduction gear.
Electric energy efficiency varies
according to the driver's driving habit
and road condition. •
When ECO mode is selected, the
ECO indicator will illuminate on the
instrument cluster and the color of the mood lamp will change.
• When ECO mode is activated:
- The acceleration response may be slightly reduced if the accelerator
pedal is depressed moderately.
- The air conditioner performance may be limited.
The above situations are normal
conditions when ECO mode is
activated to help improve electric
energy efficiency.
Limitations of ECO mode
If the following conditions occur while
ECO mode is operating, the system
operation is limited even though there is
no change in the ECO indicator. • When coolant temperature is low:
The system will be limited until motor
performance becomes normal.
• When driving up a hill:
The system will be limited to gain
power when driving uphill because
motor torque is restricted.
Drive moDe integrAteD control system (2WD)
(iF eQUiPPeD)
Page 375 of 680

06
6-49
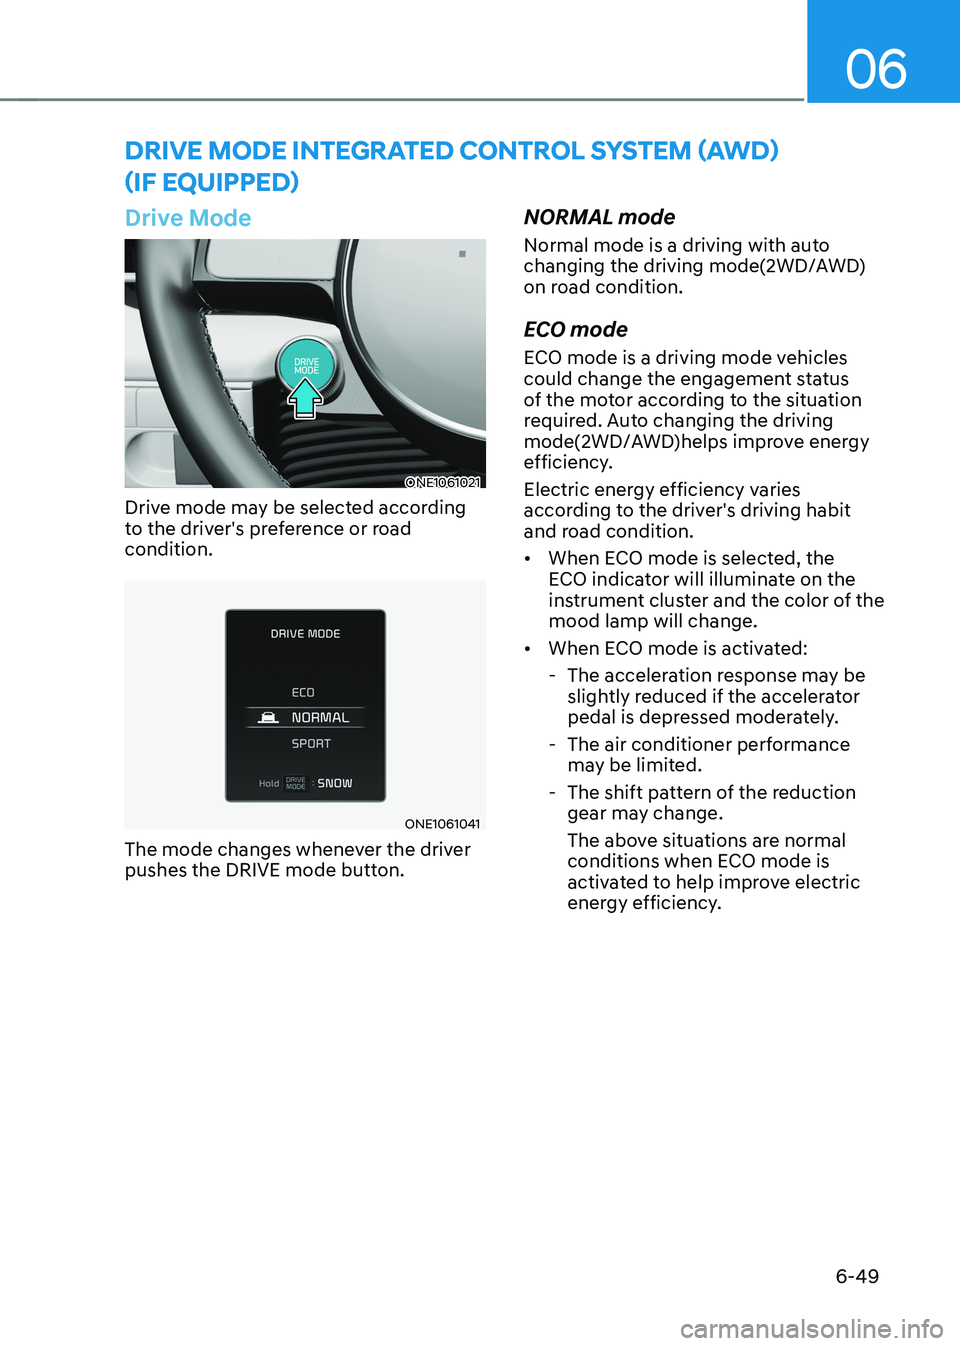
Drive Mode
ONE1061021
Drive mode may be selected according
to the driver's preference or road condition.
ONE1061041
The mode changes whenever the driver
pushes the DRIVE mode button. NORMAL mode
Normal mode is a driving with auto
changing the driving mode(2WD/AWD)
on road condition.
ECO mode
ECO mode is a driving mode vehicles
could change the engagement status
of the motor according to the situation
required. Auto changing the driving
mode(2WD/AWD)helps improve energy
efficiency.
Electric energy efficiency varies
according to the driver's driving habit
and road condition. •
When ECO mode is selected, the
ECO indicator will illuminate on the
instrument cluster and the color of the mood lamp will change.
• When ECO mode is activated:
- The acceleration response may be slightly reduced if the accelerator
pedal is depressed moderately.
- The air conditioner performance may be limited.
- The shift pattern of the reduction gear may change.
The above situations are normal
conditions when ECO mode is
activated to help improve electric
energy efficiency.
Drive moDe integrAteD control system (AWD)
(iF eQUiPPeD)
Page 378 of 680

Driving Your Vehicle
6-52
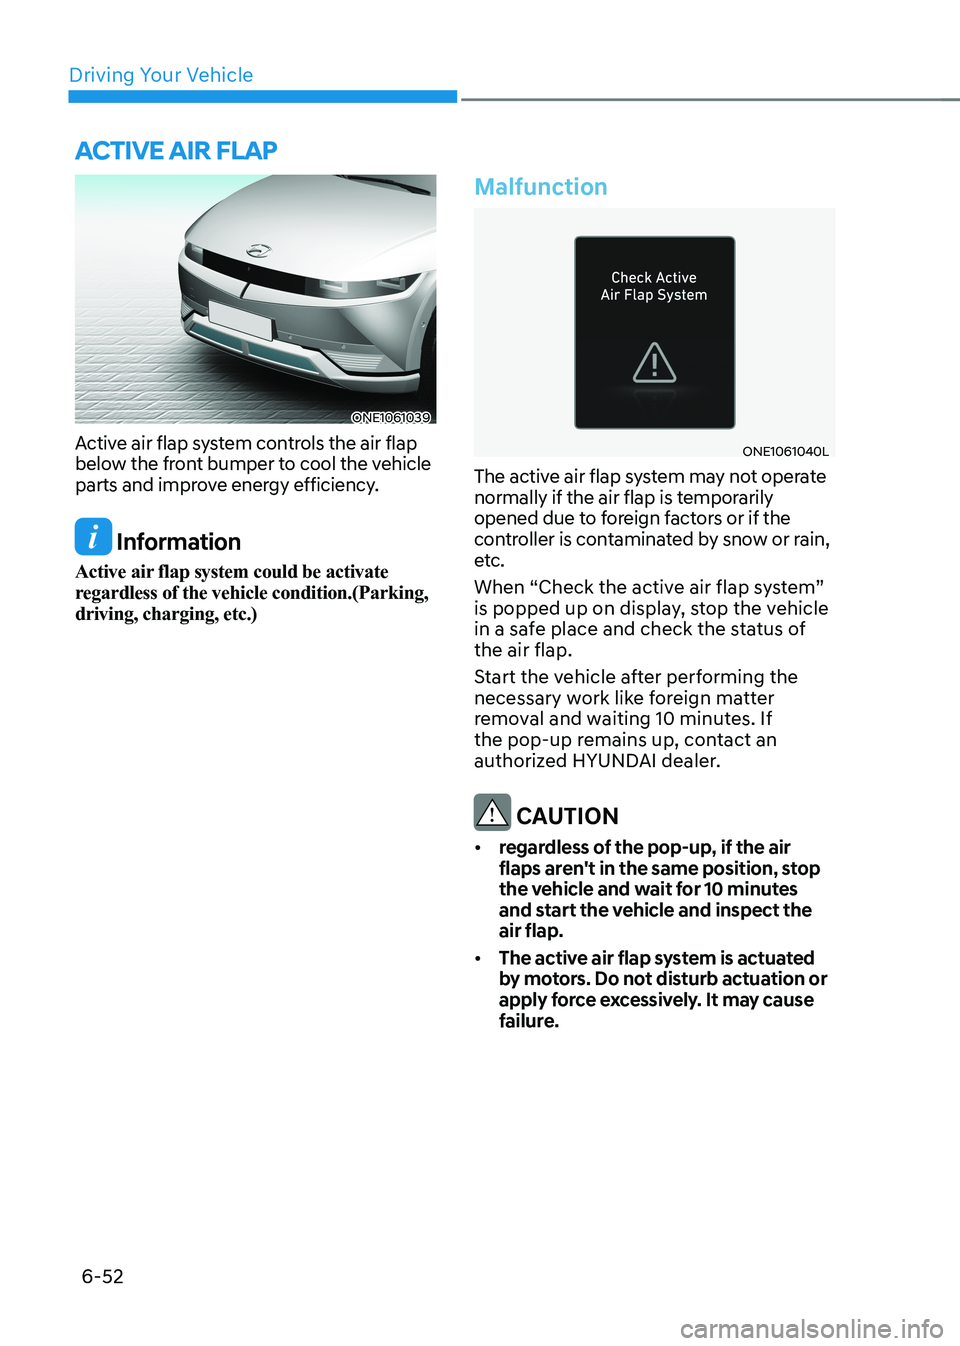
ONE1061039
Active air flap system controls the air flap
below the front bumper to cool the vehicle
parts and improve energy efficiency.
Information
Active air flap system could be activate
regardless of the vehicle condition.(Parking, driving, charging, etc.)
Malfunction
ONE1061040L
The active air flap system may not operate
normally if the air flap is temporarily
opened due to foreign factors or if the
controller is contaminated by snow or rain,
etc.
When “Check the active air flap system”
is popped up on display, stop the vehicle
in a safe place and check the status of the air flap.
Start the vehicle after performing the
necessary work like foreign matter
removal and waiting 10 minutes. If
the pop-up remains up, contact an
authorized HYUNDAI dealer.
CAUTION
• regardless of the pop-up, if the air
flaps aren't in the same position, stop
the vehicle and wait for 10 minutes
and start the vehicle and inspect the air flap.
• The active air flap system is actuated
by motors. Do not disturb actuation or
apply force excessively. It may cause
failure.
active air flap
Page 406 of 680
![HYUNDAI IONIQ 5 2023 Owners Manual Driver Assistance System
7-4
Detecting sensor
ONE1071002K
ONE1071003
ONE1071004N
[1]: Front view camera, [2]: Front radar,
[3]: Front corner radar (if equipped),
[4]: Rear corner radar (if equipped HYUNDAI IONIQ 5 2023 Owners Manual Driver Assistance System
7-4
Detecting sensor
ONE1071002K
ONE1071003
ONE1071004N
[1]: Front view camera, [2]: Front radar,
[3]: Front corner radar (if equipped),
[4]: Rear corner radar (if equipped](/manual-img/35/56168/w960_56168-405.png)
Driver Assistance System
7-4
Detecting sensor
ONE1071002K
ONE1071003
ONE1071004N
[1]: Front view camera, [2]: Front radar,
[3]: Front corner radar (if equipped),
[4]: Rear corner radar (if equipped)
Refer to the picture above for the
detailed location of the detecting
sensors.
CAUTION
Take the following precautions to
maintain optimal performance of the
detecting sensor: • Never disassemble the detecting
sensor or sensor assembly, or cause
any damage to it.
• If the detecting sensors have
been replaced or repaired, have
the vehicle be inspected by an
authorized HYUNDAI dealer.
• Never install any accessories or
stickers on the front windshield, or
tint the front windshield.
• Pay extreme caution to keep the
front view camera dry.
• Never place any reflective objects
(for example, white paper, mirror)
over the dashboard.
• Do not place any objects near the
front windshield or install any
accessories on the front windshield.
It can affect the performance of the
defogging and defrosting function
of the climate control system, which
may prevent the Driver Assistance
systems from operating
• Do not place objects or mount
structures near the windshield.
When operating the air conditioner,
moisture and defrost performance
may be poor, and driver assistance
functions may not work.
• Do not apply license plate frame or
objects, such as a bumper sticker,
film or a bumper guard, near the
front radar cover.
• Always keep the front radar and
cover clean and free of dirt and debris.
Use only a soft cloth to wash the
vehicle. Do not spray pressurized
water directly on the sensor or
sensor cover.
Page 422 of 680

Driver Assistance System
7-20
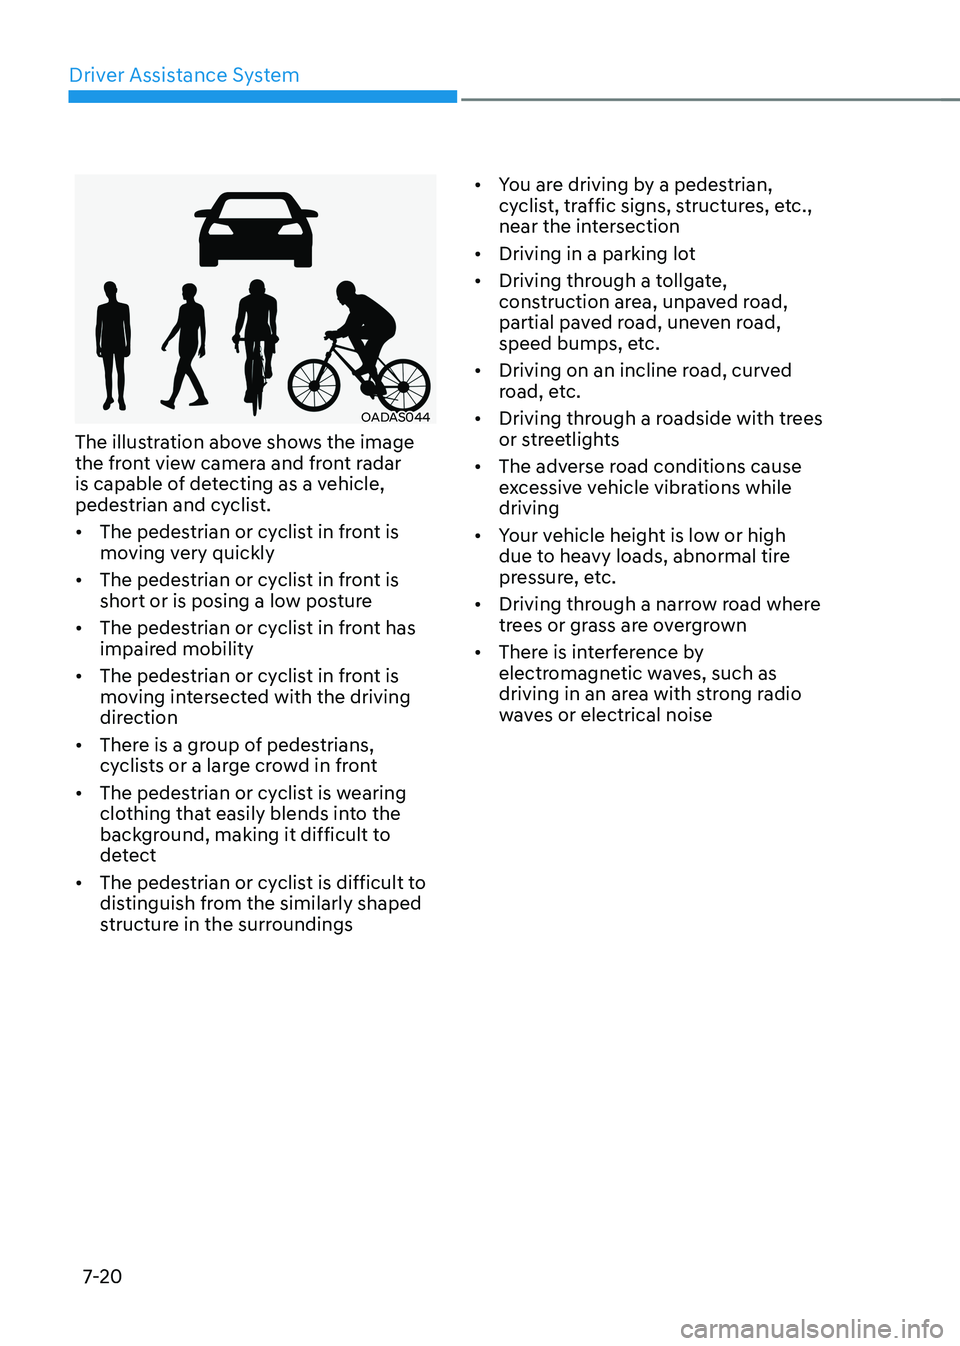
OADAS044
The illustration above shows the image
the front view camera and front radar
is capable of detecting as a vehicle,
pedestrian and cyclist. • The pedestrian or cyclist in front is
moving very quickly
• The pedestrian or cyclist in front is
short or is posing a low posture
• The pedestrian or cyclist in front has
impaired mobility
• The pedestrian or cyclist in front is
moving intersected with the driving
direction
• There is a group of pedestrians,
cyclists or a large crowd in front
• The pedestrian or cyclist is wearing
clothing that easily blends into the
background, making it difficult to
detect
• The pedestrian or cyclist is difficult to
distinguish from the similarly shaped
structure in the surroundings •
You are driving by a pedestrian,
cyclist, traffic signs, structures, etc.,
near the intersection
• Driving in a parking lot
• Driving through a tollgate,
construction area, unpaved road,
partial paved road, uneven road,
speed bumps, etc.
• Driving on an incline road, curved
road, etc.
• Driving through a roadside with trees
or streetlights
• The adverse road conditions cause
excessive vehicle vibrations while driving
• Your vehicle height is low or high
due to heavy loads, abnormal tire
pressure, etc.
• Driving through a narrow road where
trees or grass are overgrown
• There is interference by
electromagnetic waves, such as
driving in an area with strong radio
waves or electrical noise
Page 538 of 680

Driver Assistance System
7-136
WARNING
• Reverse Parking Distance Warning
is a supplemental function. The
operation of Reverse Parking
Distance Warning can be affected
by several factors (including
environmental conditions). It is the
responsibility of the driver to always
check the rear view before and while parking.
• Your new vehicle warranty does not
cover any accidents or damage to
the vehicle due to the malfunction of
Reverse Parking Distance Warning.
• Pay close attention when driving
near objects, pedestrians, and
especially children. Some objects
may not be detected by the
ultrasonic sensors, due to the objects
distance, size or material, all of
which can limit the effectiveness of
the sensor.
Limitations of Reverse Parking
Distance Warning • Reverse Parking Distance Warning
may not operate properly when:
- Moisture is frozen to the sensor
- Sensor is covered with foreign material, such as snow or water
(Reverse Parking Distance Warning
will operate properly when such
foreign material are removed.)
- The weather is extremely hot or cold The sensor or sensor assembly is disassembled
- The surface of the sensor is pressed hard or hit with a hard object
- The surface of the sensor is scratched with a sharp object
- The sensors or its surrounding area is directly sprayed with high
pressure washer •
Reverse Parking Distance Warning
may malfunction when:
- Heavy rain or water spray is present
- Water flows on the surface of the sensor
- Affected by another vehicle’s sensors
- The sensor is covered with snow
- Driving on uneven road, gravel roads or bushes
- Objects that generates ultrasonic waves are near the sensor
- License plate is installed in a different spot from the original
location
- The vehicle bumper height or ultrasonic sensor installation has been modified
- Attaching equipment or accessories next to the ultrasonic sensors
• The following objects may not be
detected:
- Sharp or slim objects, such as ropes, chains or small poles.
- Objects, which tend to absorb sensor frequency, such as clothes,
spongy material or snow.
- Objects smaller than 40 in. (100 cm) in length and narrower than 6 in. (14
cm) in diameter.
- Pedestrians, animals or objects that are very close to the ultrasonic
sensors
• Parking Distance Warning Indicators
may be displayed differently from
the actual detected location when
the obstacle is located between the
sensors.
• Parking Distance Warning indicator
may not occur sequentially depending
on vehicle speed or obstacle shape.
• If Reverse Parking Distance Warning
needs repair, have the vehicle be
inspected by an authorized HYUNDAI
dealer.
Page 550 of 680

Driver Assistance System
7-148
WARNING
Take the following precautions when
using Reverse Parking Collision-
Avoidance Assist: • Always pay extreme caution while
driving. The driver is responsible for
controlling the brake for safe driving.
• Always pay attention to road and
traffic conditions while driving,
whether or not there is a warning.
• Always look around your vehicle to
make sure there are no pedestrians
or objects before moving the vehicle.
• The performance of Reverse Parking
Collision-Avoidance Assist may
vary under certain conditions. If
vehicle speed is above 2 mph (4
km/h), Reverse Parking Collision-
Avoidance Assist will provide
collision avoidance assist only when
pedestrians are detected. Always
look around and pay attention when
backing up your vehicle.
• Some objects may not be detected
by the rear ultrasonic sensors due
to the objects distance, size or
material, all of which can limit the
effectiveness of the sensor.
• Reverse Parking Collision-Avoidance
Assist may not operate properly
or may operate unnecessarily
depending on the road conditions
and the surroundings.
• Do not solely rely on Reverse Parking
Collision-Avoidance Assist. Doing
so may lead to vehicle damage or injuries. CAUTION
• Noise may be heard when sudden
braking occurs to avoid a collision.
• If any other warning sound such
as the seat belt warning chime is
already generated, Reverse Parking
Collision-Avoidance Assist warning
may not sound.
• Reverse Parking Collision-Avoidance
Assist may not work properly if the
bumper has been damaged, replaced
or repaired.
• Reverse Parking Collision-Avoidance
Assist may not operate properly if
interfered by strong electromagnetic
waves.
• Playing the vehicle audio system at
high volume may prevent passengers
from hearing Reverse Parking
Collision-Avoidance Assist warning sounds.
• Turn off Reverse Parking Collision-
Avoidance Assist when towing a
trailer. If towing and moving in
reverse, Reverse Parking Collision-
Avoidance Assist will activate as it
detects the trailer.
• The brake control may not operate
properly depending on the status of
ESC (Electronic Stability Control).
There will only be a warning when:
- The ESC (Electronic Stability
Control) warning light is on
- ESC (Electronic Stability Control) is
engaged in a different function
Page 583 of 680

08
8-5
Jump starting procedure
Information
When you jump start your vehicle,
use the jumper terminal in the motor compartment.
1. Position the vehicles close enough that the jumper cables will reach, but
do not allow the vehicle body parts to
contact.
2. Avoid fans or any moving parts in the motor compartment at all times, even
when the vehicles are turned off.
3. Turn off all electrical devices such as radios, lights, air conditioning, etc.
Put the vehicles in P (Park) and set the
parking brake. Turn both vehicles OFF.
4. Open the hood.
5. Remove the battery cover located inside of the front trunk.
6. Remove the motor compartment fuse box cover.
CAUTION
Before jump starting, make sure to
correctly identify the positive (+) and
negative (-) terminals to avoid reverse
polarity connections.
ONE1081003
7. Connect the jumper cables in
the exact sequence shown in the
illustration. First connect one jumper
cable to the red, positive (+) jumper
terminal of your vehicle (1).
8. Connect the other end of the jumper cable to the red, positive (+) battery/
jumper terminal of the assisting
vehicle (2).
9. Connect the second jumper cable to
the black, negative (-) battery/jumper
terminal of the assisting vehicle (3).
10. Connect the other end of the second
jumper cable to the black, negative (-)
chassis ground of your vehicle (4).
Do not allow the jumper cables to
contact anything except the correct
battery or jumper terminals or the
correct ground. Do not lean over the
battery when making connections.
WARNING
Do not connect the jumper cable to
the negative (-) jumper terminal of the
discharged battery. A spark could cause
the battery to explode and lead to a
personal injury or vehicle damage.