Page 56 of 738

The cinch tongue slides up and down theseatbelt webbing when you stow theseatbelt or when you put the seatbelts on.When you buckle the seatbelt, the cinchtongue allows you to shorten the lapportion, but pinches the webbing to keepthe lap portion from getting longer. Thecinch tongue is designed to slip during acrash, so wear the shoulder belt properlyand do not allow any slack in either the lapor shoulder portions.
While you are fastened in the seatbelt, theseatbelt with a cinch tongue adjusts toyour movement. However, if you brakehard, turn hard, or if your vehicle receivesan impact of 5 mph (8 km/h) or more, theseatbelt locks and helps reduce yourforward movement.
SENSITIVE LOCKING MODE
WHAT IS SENSITIVE LOCKINGMODE
Sensitive locking mode is a seatbeltretractor feature that allows shoulder beltlength adjustment according to yourmovements and locking in response tovehicle movement.
HOW DOES SENSITIVE LOCKINGMODE WORK
If the driver suddenly brakes, turns a cornersharply, or the vehicle receives an impactof about 5 mph (8 km/h) or more, theseatbelts lock to help reduce forwardmovement of the driver and passengers.
In addition, the seatbelt retractor locks ifyou pull the seatbelt webbing out tooquickly. If the retractor locks, slowly lowerthe height adjuster to allow the seatbeltto retract.
If the retractor does not unlock, pull theseatbelt out slowly then feed a smalllength of webbing back toward the stowedposition.
AUTOMATIC LOCKING MODE
WHAT IS AUTOMATIC LOCKINGMODE
This feature keeps the seatbeltspre-locked. The belt still retracts to removeany slack in the shoulder belt.
WHEN TO USE AUTOMATICLOCKING MODE
Use this mode any time you install a childrestraint in a front or rear seating position.Properly restrain children 12 years old andunder in a rear seat whenever possible. SeeChild Safety (page 36).
Note:Automatic locking mode is notavailable on the driver seatbelt.
Note:Vehicles with optional front seatcenter may not have this function.
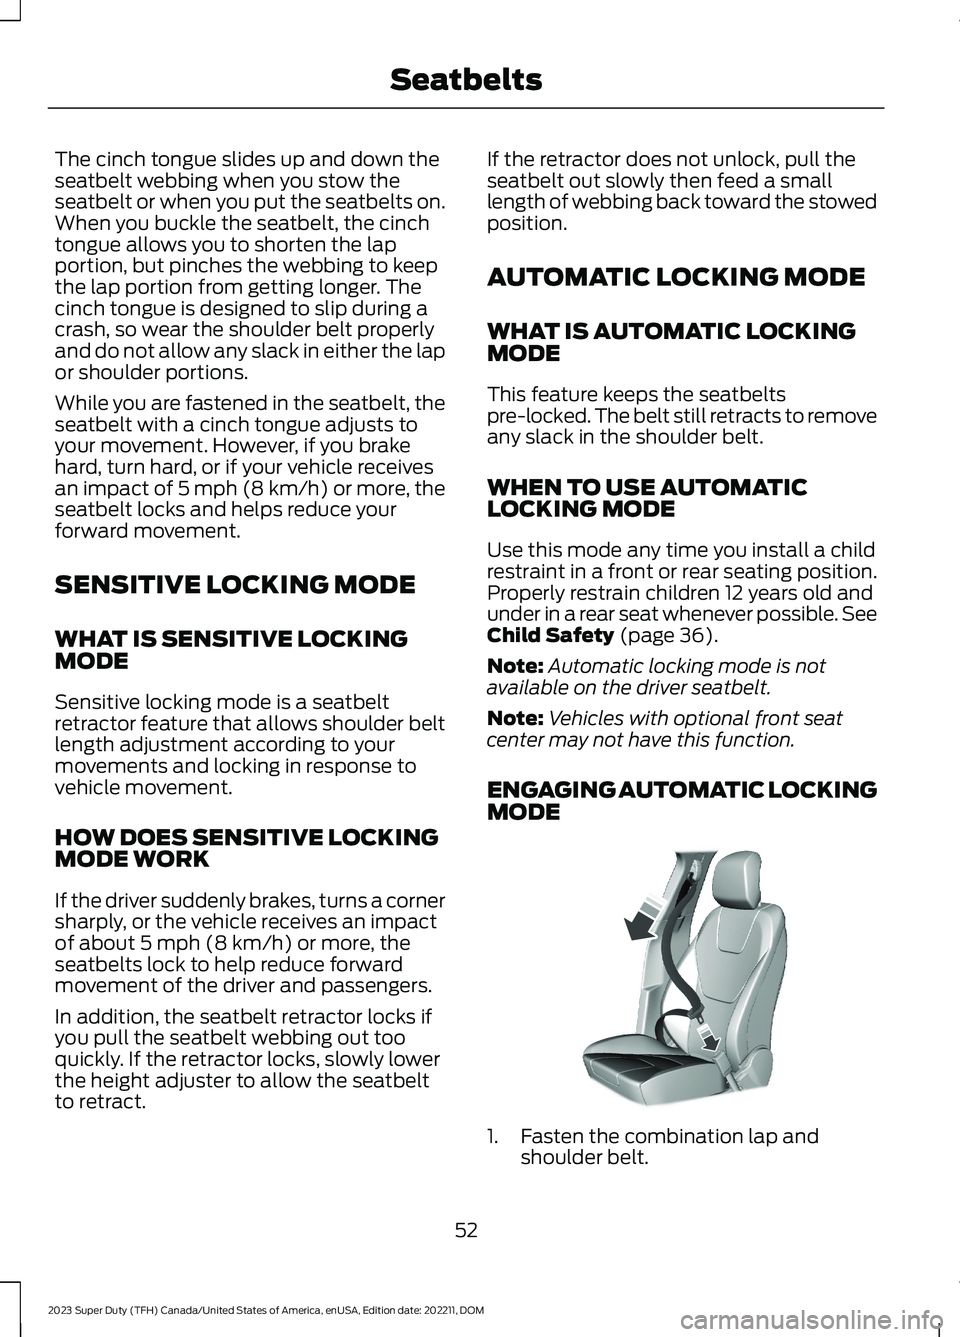
ENGAGING AUTOMATIC LOCKINGMODE
1.Fasten the combination lap andshoulder belt.
52
2023 Super Duty (TFH) Canada/United States of America, enUSA, Edition date: 202211, DOMSeatbeltsE142591
Page 171 of 738

If you fully recline the passenger seat andthe vehicle is moving, a message appearson the instrument cluster and a tonesounds. To switch the warning off, returnthe seat to an upright position.
Adjusting the Upper Seat Backrest
(If Equipped)
The front upper seat backrest tilts for extracomfort. To tilt the upper seat backrest,pivot the upper seat backrest toward yourshoulders.
After the upper seat backrest reaches theforward-most tilt position, pivot it forwardagain to release it to the rearward, untiltedposition.
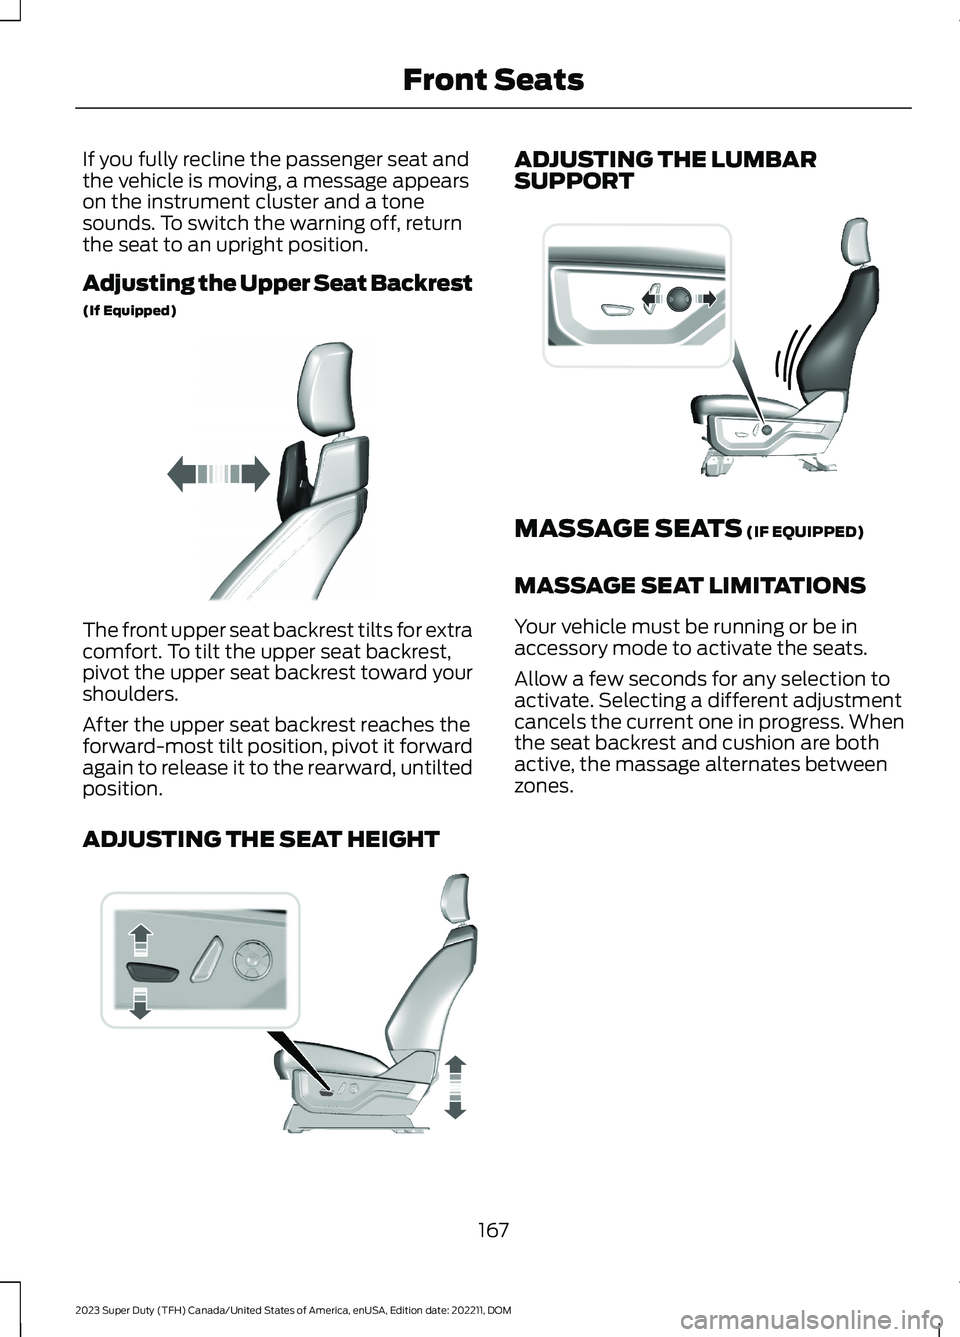
ADJUSTING THE SEAT HEIGHT
ADJUSTING THE LUMBARSUPPORT
MASSAGE SEATS (IF EQUIPPED)
MASSAGE SEAT LIMITATIONS
Your vehicle must be running or be inaccessory mode to activate the seats.
Allow a few seconds for any selection toactivate. Selecting a different adjustmentcancels the current one in progress. Whenthe seat backrest and cushion are bothactive, the massage alternates betweenzones.
167
2023 Super Duty (TFH) Canada/United States of America, enUSA, Edition date: 202211, DOMFront SeatsE311333 E308337 E327927
Page 464 of 738

ADJUSTING THE HEADLAMPS
Vertical Aim Adjustment
The headlamps on your vehicle areproperly aimed at the assembly plant. Ifyour vehicle has been in an accident, haveyour vehicle checked as soon as possible.
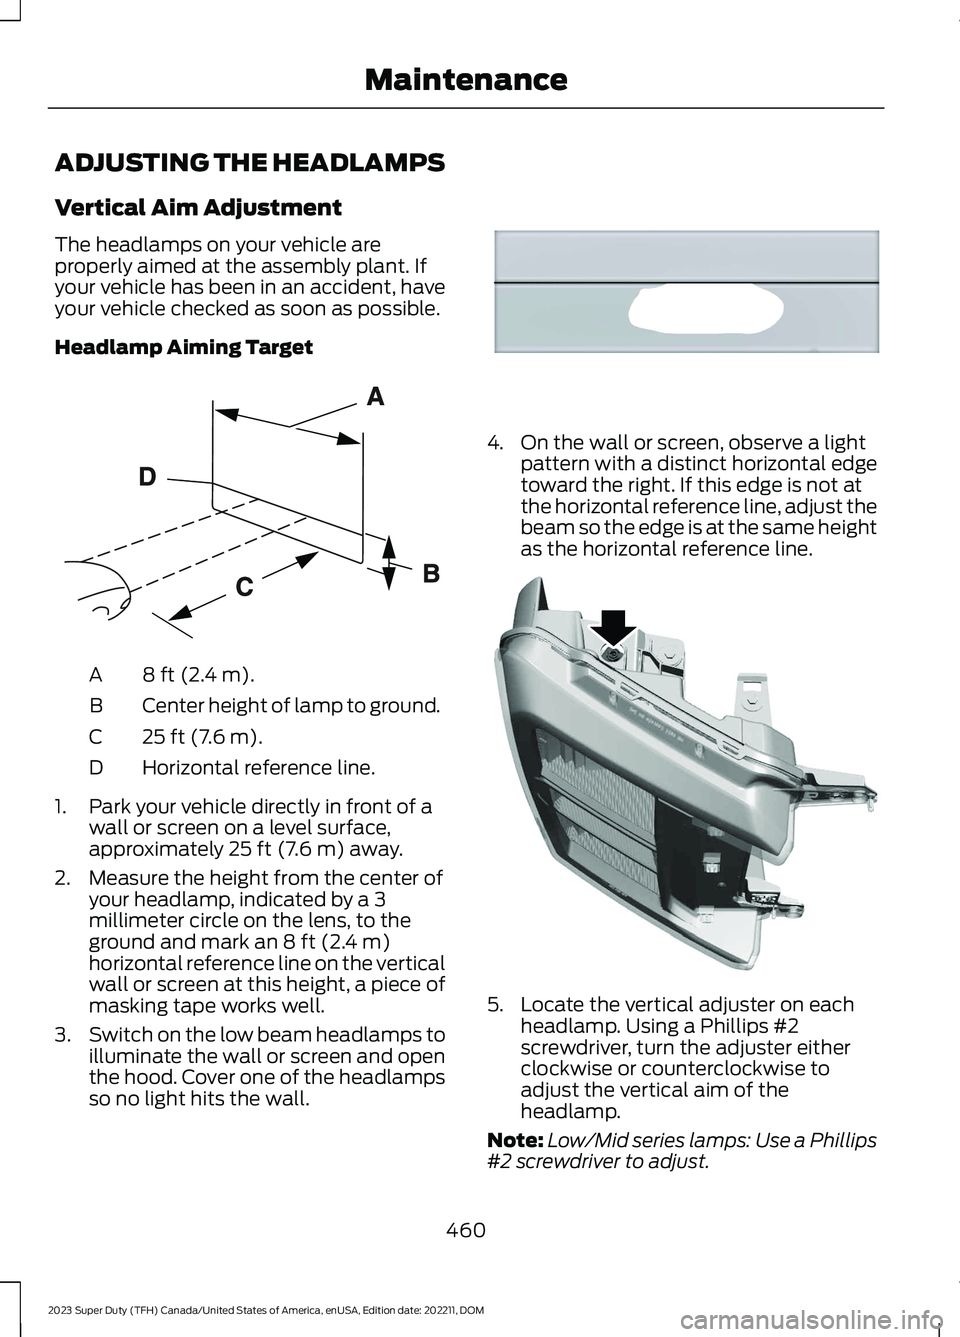
Headlamp Aiming Target
8 ft (2.4 m).A
Center height of lamp to ground.B
25 ft (7.6 m).C
Horizontal reference line.D
1.Park your vehicle directly in front of awall or screen on a level surface,approximately 25 ft (7.6 m) away.
2.Measure the height from the center ofyour headlamp, indicated by a 3millimeter circle on the lens, to theground and mark an 8 ft (2.4 m)horizontal reference line on the verticalwall or screen at this height, a piece ofmasking tape works well.
3.Switch on the low beam headlamps toilluminate the wall or screen and openthe hood. Cover one of the headlampsso no light hits the wall.
4.On the wall or screen, observe a lightpattern with a distinct horizontal edgetoward the right. If this edge is not atthe horizontal reference line, adjust thebeam so the edge is at the same heightas the horizontal reference line.
5.Locate the vertical adjuster on eachheadlamp. Using a Phillips #2screwdriver, turn the adjuster eitherclockwise or counterclockwise toadjust the vertical aim of theheadlamp.
Note:Low/Mid series lamps: Use a Phillips#2 screwdriver to adjust.
460
2023 Super Duty (TFH) Canada/United States of America, enUSA, Edition date: 202211, DOMMaintenanceE142592 E167358 E386873