2023 FORD EXPEDITION tow
[x] Cancel search: towPage 460 of 658

CHANGING A FLAT TIRE
If you get a flat tire when driving, do notapply the brake heavily. Instead, graduallydecrease your speed, hold the steeringwheel firmly and slowly move to a safeplace on the side of the road.
Have the flat serviced by an authorizeddealer to prevent damage to the systemsensors. See Tire Pressure MonitoringSystem (page 452). Replace the spare tirewith a road tire as soon as possible. Duringrepairing or replacing of the flat tire, havethe authorized dealer inspect the systemsensor for damage.
Note:Only use tire sealants in roadsideemergencies as they may cause damage tothe tire pressure monitoring system sensor.
Note:The tire pressure monitoring systemindicator light illuminates when the sparetire is in use. To restore the full function ofthe monitoring system, all road wheels withtire pressure monitoring sensors must bemounted on this vehicle.
Dissimilar Spare Wheel and TireAssembly Information
WARNING: Failure to follow theseguidelines could result in an increasedrisk of loss of vehicle control, injury ordeath.
If you have a dissimilar spare wheel andtire, then it is intended for temporary useonly. This means that if you need to use it,you should replace it as soon as possiblewith a road wheel and tire assembly thatis the same size and type as the road tiresand wheels that were originally provided.If the dissimilar spare tire or wheel isdamaged, it should be replaced rather thanrepaired.
A dissimilar spare wheel and tire assemblyis defined as a spare wheel and tireassembly that is different in brand, size orappearance from the other road tires andwheels on your vehicle.
Full-size dissimilar spare
When driving with the full-size dissimilarspare wheel and tire assembly, do not:
•Exceed 70 mph (113 km/h).
•Use more than one dissimilar sparewheel and tire assembly at a time.
•Use snow chains on the end of thevehicle with the dissimilar spare wheeland tire assembly.
When driving with the full-size dissimilarspare wheel and tire assembly, it isrecommended that you do not:
•Exceed 50 mph (80 km/h) infour-wheel drive.
•Engage four-wheel drive unless thevehicle is stationary.
•Use four-wheel drive on dry pavement.
Using a dissimilar spare wheel and tireassembly can compromise theeffectiveness of the following:
•Handling, stability and brakingperformance.
•Comfort and noise.
•Ground clearance and parking at curbs.
•Winter weather driving capability.
•Wet weather driving capability.
•Four-wheel driving capability.
When driving with the full-size dissimilarspare wheel and tire assembly additionalcaution should be given to:
•Towing a trailer.
•Driving vehicles equipped with acamper body.
•Driving vehicles with a load on thecargo rack.
456
2023 Expedition (TB8) Canada/United States of America, enUSA, Edition date: 202207, DOMChanging a Road Wheel
Page 461 of 658

Drive cautiously when using a full-sizedissimilar spare wheel and tire assemblyand seek service as soon as possible.
Location of the Spare Tire andTools
The spare tire is located under the vehicle,just forward of the rear bumper. The jack,swivel wrench and lug wrench are in thefollowing locations:
LocationItem
Under the vehicle, just forward of the rearbumperSpare tire
Under the access panel located in the floorcompartment behind the rear seatJack and tool kit bag
Tire Change Procedure
WARNING: Only use replacementtires and wheels that are the same size,load index, speed rating, and type asthose originally provided for your vehicle.The recommended tire and wheel sizescan be found on the Tire Label on thedriver side door frame or the edge of thedriver door. If this information is notfound in those locations, or for additionaloptions, contact your authorized dealer.Use of any tire or wheel notrecommended, could affect the safetyand performance of your vehicle, whichcould result in an increased risk of lossof vehicle control, vehicle rollover,personal injury and death.
WARNING: To help prevent yourvehicle from moving when changing awheel, shift the transmission into park(P), set the parking brake and use anappropriate block or wheel chock tosecure the wheel diagonally opposite tothe wheel being changed. For example,when changing the front left wheel,place an appropriate block or wheelchock on the right rear wheel.
WARNING: Only use the jackprovided as original equipment with yourvehicle.
WARNING: Switch off the runningboards before jacking or placing anyobject under your vehicle. Never placeyour hand between the extended runningboard and your vehicle. A moving runningboard may cause injury.
WARNING: Only use the sparewheel carrier to stow wheels providedwith your vehicle.
WARNING: Ensure screwthread isadequately lubricated before use.
WARNING: Switch the ignition offand apply the parking brake. If yourvehicle has a manual transmission, shiftinto first or reverse gear. If your vehiclehas an automatic transmission, shift intopark (P).
WARNING: Only use the specifiedjacking points. If you use any otherlocations you could damage vehiclecomponents, such as brake lines.
457
2023 Expedition (TB8) Canada/United States of America, enUSA, Edition date: 202207, DOMChanging a Road Wheel
Page 465 of 658
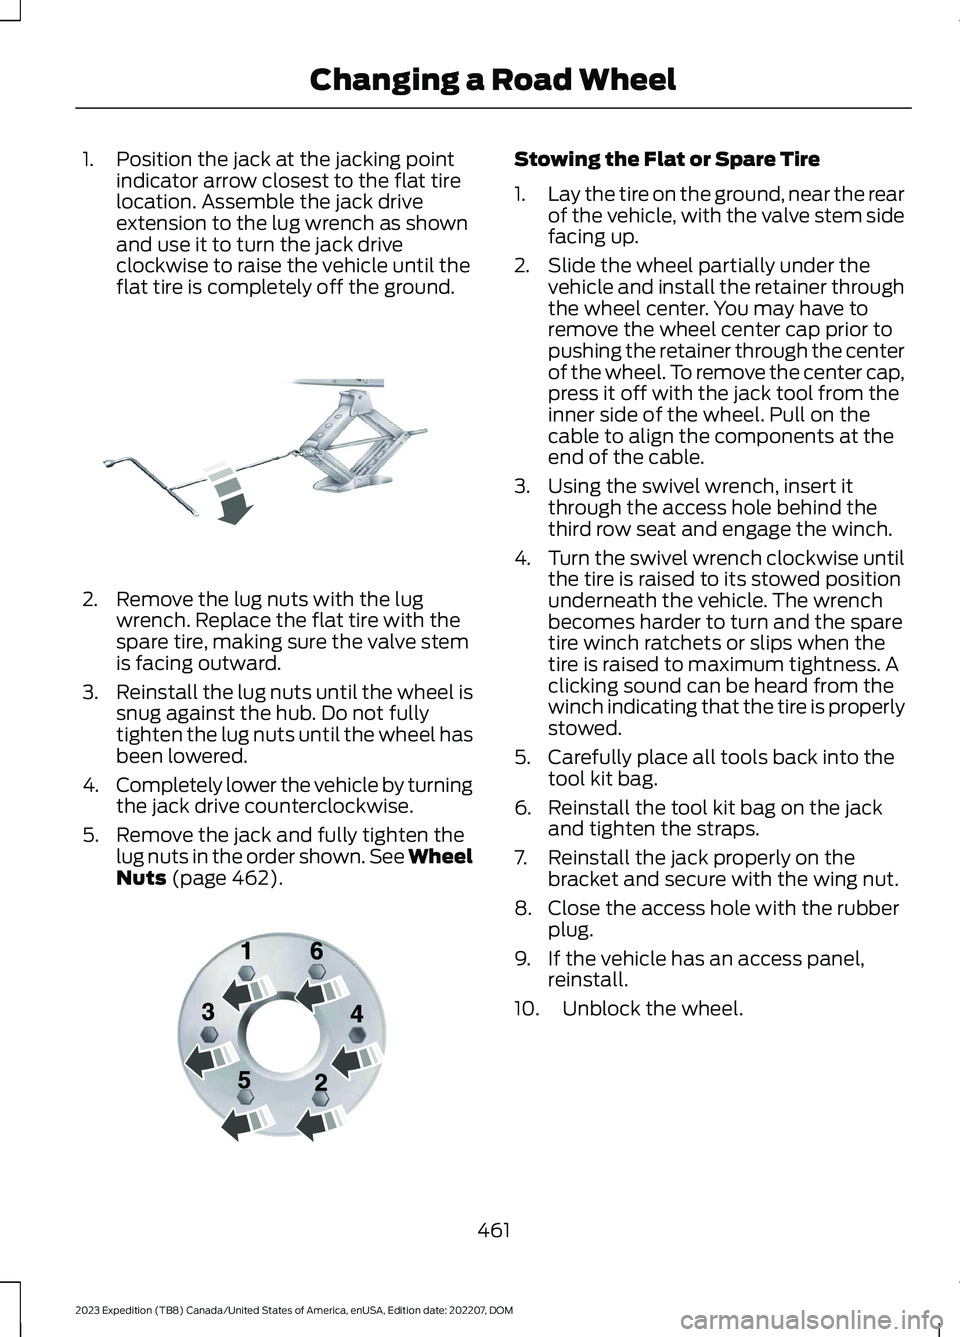
1.Position the jack at the jacking pointindicator arrow closest to the flat tirelocation. Assemble the jack driveextension to the lug wrench as shownand use it to turn the jack driveclockwise to raise the vehicle until theflat tire is completely off the ground.
2.Remove the lug nuts with the lugwrench. Replace the flat tire with thespare tire, making sure the valve stemis facing outward.
3.Reinstall the lug nuts until the wheel issnug against the hub. Do not fullytighten the lug nuts until the wheel hasbeen lowered.
4.Completely lower the vehicle by turningthe jack drive counterclockwise.
5.Remove the jack and fully tighten thelug nuts in the order shown. See WheelNuts (page 462).
Stowing the Flat or Spare Tire
1.Lay the tire on the ground, near the rearof the vehicle, with the valve stem sidefacing up.
2.Slide the wheel partially under thevehicle and install the retainer throughthe wheel center. You may have toremove the wheel center cap prior topushing the retainer through the centerof the wheel. To remove the center cap,press it off with the jack tool from theinner side of the wheel. Pull on thecable to align the components at theend of the cable.
3.Using the swivel wrench, insert itthrough the access hole behind thethird row seat and engage the winch.
4.Turn the swivel wrench clockwise untilthe tire is raised to its stowed positionunderneath the vehicle. The wrenchbecomes harder to turn and the sparetire winch ratchets or slips when thetire is raised to maximum tightness. Aclicking sound can be heard from thewinch indicating that the tire is properlystowed.
5.Carefully place all tools back into thetool kit bag.
6.Reinstall the tool kit bag on the jackand tighten the straps.
7.Reinstall the jack properly on thebracket and secure with the wing nut.
8.Close the access hole with the rubberplug.
9.If the vehicle has an access panel,reinstall.
10.Unblock the wheel.
461
2023 Expedition (TB8) Canada/United States of America, enUSA, Edition date: 202207, DOMChanging a Road WheelE325278 E166719
Page 487 of 658
Occupancy Mode (If Equipped)
1.Press Settings on the touchscreen.
2.Press Sound Settings.
3.Press Occupancy Mode.
4.Press a setting.
Sound Mode (If Equipped)
1.Press Settings on the touchscreen.
2.Press Sound Settings.
3.Press Sound Mode.
4.Press a setting.
SETTING THE CLOCK AND
DATE
1.Press Settings on the touchscreen.
2.Press Clock Settings.
3.Set the time.
Note:The AM and PM options are notavailable if 24-hour mode is on.
Switching Automatic TimeUpdates On and Off
1.Press Settings on the touchscreen.
2.Press Clock Settings.
3.Switch Auto Time Update on or off.
AM/FM RADIO
AM/FM RADIO LIMITATIONS
The further you travel from an AM or FMstation, the weaker the signal and theweaker the reception.
Hills, mountains, tall buildings, bridges,tunnels, freeway overpasses, parkinggarages, dense tree foliage andthunderstorms can interfere with thereception.
When you pass a ground-based broadcastrepeating tower, a stronger signal mayovertake a weaker one and result in theaudio system muting.
SELECTING A RADIO STATION
Manually Selecting a RadioStation
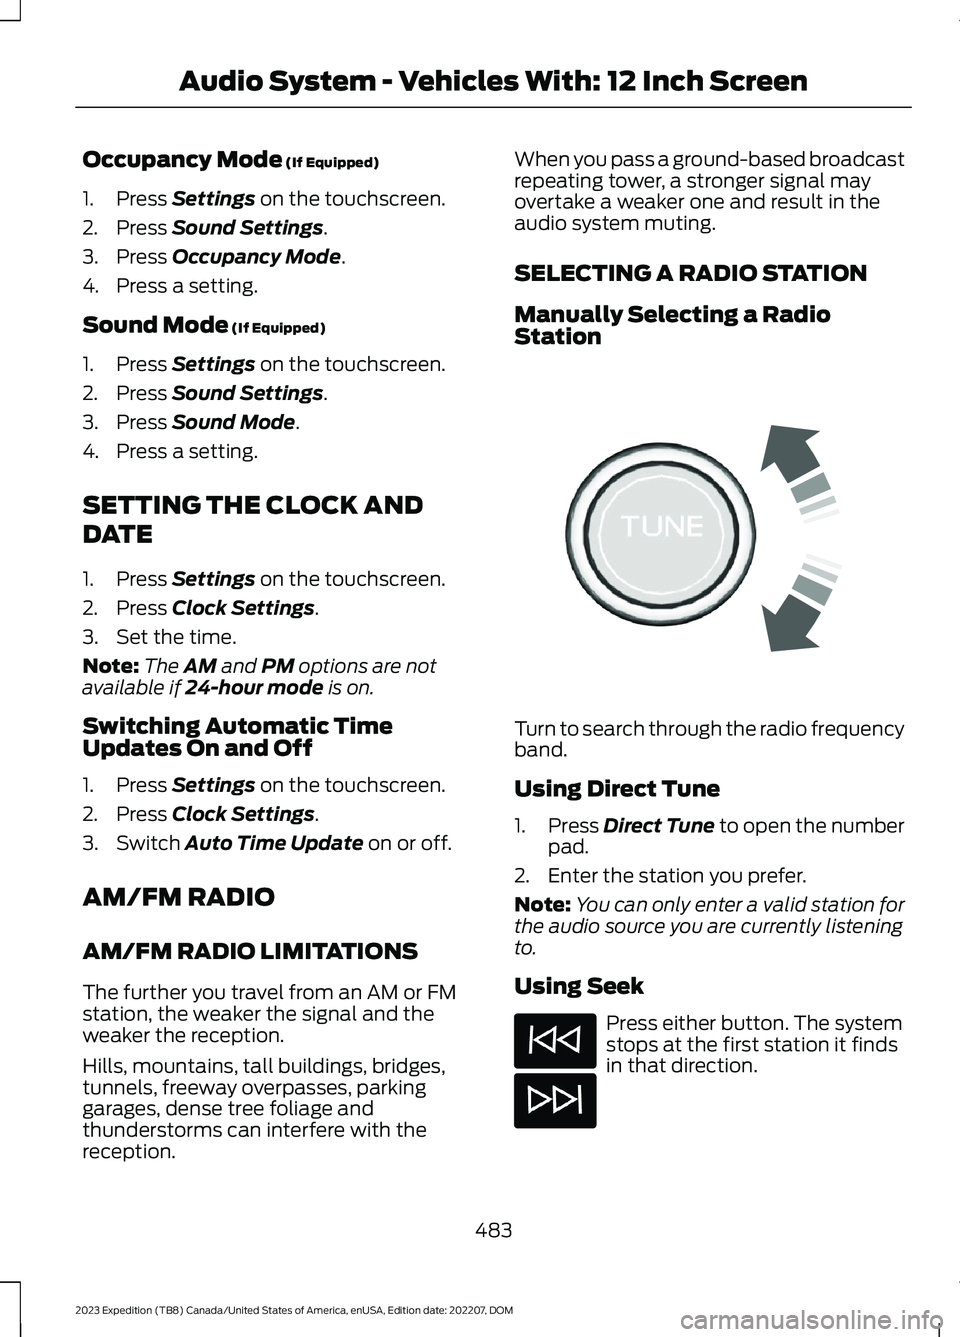
Turn to search through the radio frequencyband.
Using Direct Tune
1.Press Direct Tune to open the numberpad.
2.Enter the station you prefer.
Note:You can only enter a valid station forthe audio source you are currently listeningto.
Using Seek
Press either button. The systemstops at the first station it findsin that direction.
483
2023 Expedition (TB8) Canada/United States of America, enUSA, Edition date: 202207, DOMAudio System - Vehicles With: 12 Inch ScreenE270235
Page 490 of 658
Hills, mountains, tall buildings, bridges,tunnels, freeway overpasses, parkinggarages, dense tree foliage andthunderstorms can interfere with yourreception.
When you pass a ground-basedbroadcast-repeating tower, a strongersignal may overtake a weaker one andcould result in the audio system muting.Your display could show an error messageto indicate the interference.
LOCATING THE SATELLITE RADIOIDENTIFICATION NUMBER
1.Select SiriusXM as the audio source.
2.Tune to channel 0.
SELECTING A CHANNEL
Manually Selecting a Channel
Press the button to find theprevious or next available radiochannel.
Linear Tuner
The linear tuner is displayed whenmanually selecting a channel. You canswipe left or right on the linear tunercarousel to navigate through the channellist. Tap on a channel title to listen to it.
Using Direct Tune
1.Press the channel up or down buttonto open the linear tuner screen.
2.Press Direct Tune to open the numberpad.
3.Enter the channel you prefer.
Using Browse
1.Press Browse.
2.Select a channel.
SATELLITE RADIO SETTINGS
Subscription
Your subscription status is displayed. Youcan subscribe or manage your subscriptiondirectly from the touchscreen.
SiriusXM Favorites
While you are listening to SiriusXM, you cansave favorites by:
•Tapping the currently tuned channelor show logo on the SiriusXM audioscreen.
•Tuning to a channel or show you wantto save as a favorite. Navigate to theSiriusXM Favorites screen and pressthe Add Current button. The currentlytuned channel or show is saved as afavorite.
•Saving a radio preset. This saves thecurrently tuned SiriusXM channel orshow as a favorite
Note:Requires a trial or active subscriptionto use.
Listening History
Listening history is a list of recently listenedto SiriusXM content. You can view, manageand reset the listening history using thecontrols on the touchscreen.
Note:Requires a trial or active subscriptionto use.
Help and Support
You can contact SiriusXM Customer Caredirectly from SYNC and view informationrequired to manage your SiriusXM account.
486
2023 Expedition (TB8) Canada/United States of America, enUSA, Edition date: 202207, DOMAudio System - Vehicles With: 12 Inch ScreenE328569 E328570
Page 498 of 658
2.Press SETTINGS.
3.Press Sound.
4.Press Sound Mode.
5.Press a setting.
SETTING THE CLOCK AND
DATE
1.Access the vehicle drawer on thetouchscreen.
2.Press SETTINGS.
3.Press Clock.
4.Set the time.
Note:The AM and PM options are notavailable if 24-hour mode is on.
5.Press the arrows to adjust the settings.
Switching Automatic TimeUpdates On and Off
1.Access the vehicle drawer on thetouchscreen.
2.Press SETTINGS.
3.Press Clock.
4.Switch Automatic time zone updateon or off.
AM/FM RADIO
AM/FM RADIO LIMITATIONS
The further you travel from an AM or FMstation, the weaker the signal and theweaker the reception.
Hills, mountains, tall buildings, bridges,tunnels, freeway overpasses, parkinggarages, dense tree foliage andthunderstorms can interfere with thereception.
When you pass a ground-based broadcastrepeating tower, a stronger signal mayovertake a weaker one and result in theaudio system muting.
SELECTING A RADIO STATION
Manually Selecting a RadioStation
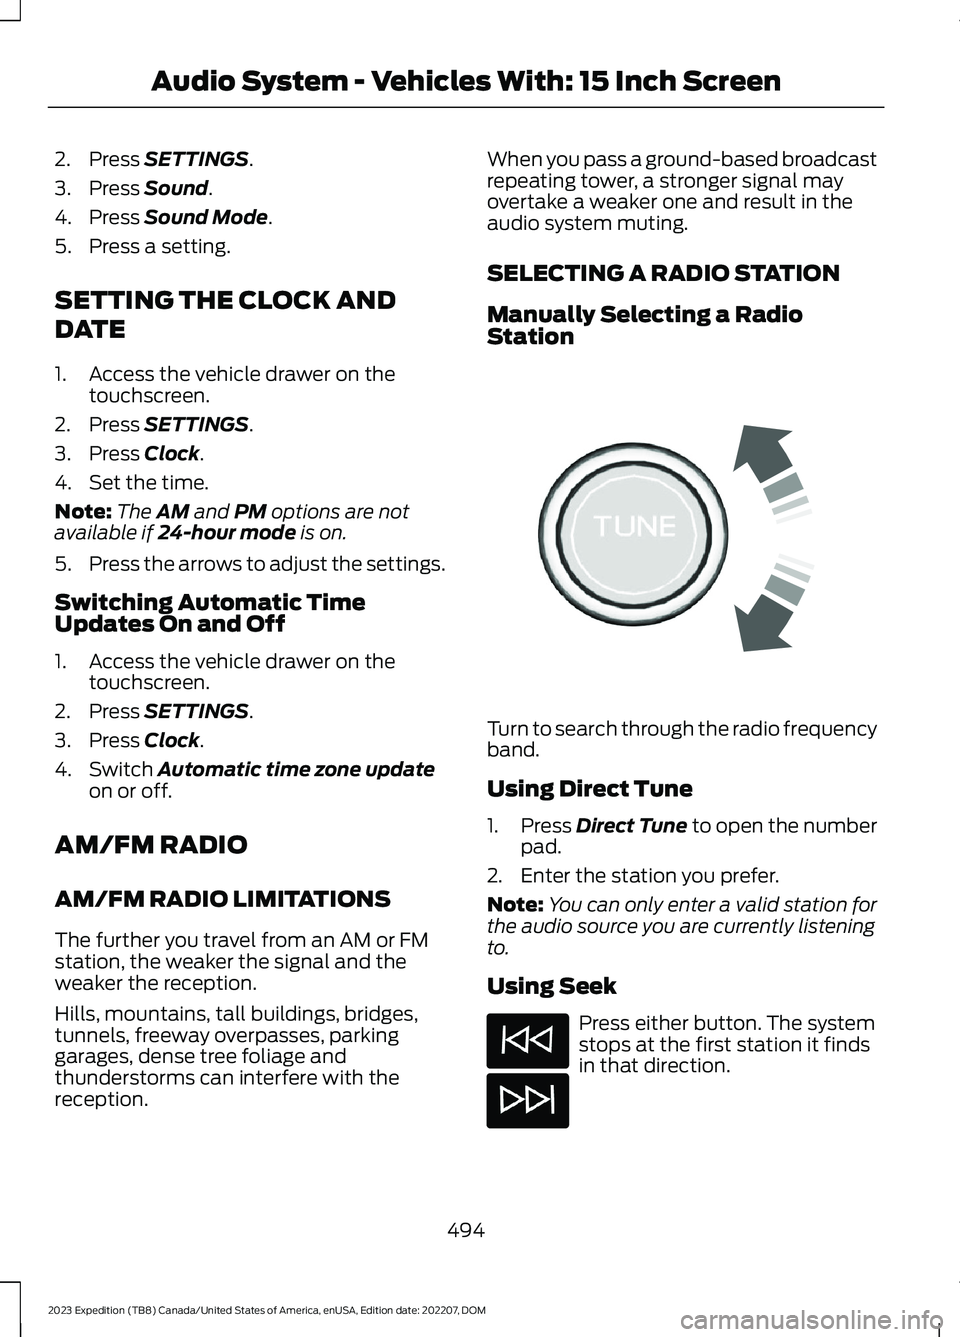
Turn to search through the radio frequencyband.
Using Direct Tune
1.Press Direct Tune to open the numberpad.
2.Enter the station you prefer.
Note:You can only enter a valid station forthe audio source you are currently listeningto.
Using Seek
Press either button. The systemstops at the first station it findsin that direction.
494
2023 Expedition (TB8) Canada/United States of America, enUSA, Edition date: 202207, DOMAudio System - Vehicles With: 15 Inch ScreenE270235
Page 501 of 658
Hills, mountains, tall buildings, bridges,tunnels, freeway overpasses, parkinggarages, dense tree foliage andthunderstorms can interfere with yourreception.
When you pass a ground-basedbroadcast-repeating tower, a strongersignal may overtake a weaker one andcould result in the audio system muting.Your display could show an error messageto indicate the interference.
LOCATING THE SATELLITE RADIOIDENTIFICATION NUMBER
1.Select SiriusXM as the audio source.
2.Tune to channel 0.
SELECTING A CHANNEL
Manually Selecting a Channel
Press the button to find theprevious or next available radiochannel.
Linear Tuner
The linear tuner is displayed whenmanually selecting a channel. You canswipe left or right on the linear tunercarousel to navigate through the channellist. Tap on a channel title to listen to it.
Using Direct Tune
1.Press the channel up or down buttonto open the linear tuner screen.
2.Press Direct Tune to open the numberpad.
3.Enter the channel you prefer.
Using Browse
1.Press Browse.
2.Select a channel.
SATELLITE RADIO SETTINGS
Subscription
Your subscription status is displayed. Youcan subscribe or manage your subscriptiondirectly from the touchscreen.
SiriusXM Favorites
While you are listening to SiriusXM, you cansave favorites by:
•Tapping the currently tuned channelor show logo on the SiriusXM audioscreen.
•Tuning to a channel or show you wantto save as a favorite. Navigate to theSiriusXM Favorites screen and pressthe Add Current button. The currentlytuned channel or show is saved as afavorite.
•Saving a radio preset. This saves thecurrently tuned SiriusXM channel orshow as a favorite
Note:Requires a trial or active subscriptionto use.
Listening History
Listening history is a list of recently listenedto SiriusXM content. You can view, manageand reset the listening history using thecontrols on the touchscreen.
Note:Requires a trial or active subscriptionto use.
Help and Support
You can contact SiriusXM Customer Caredirectly from SYNC and view informationrequired to manage your SiriusXM account.
497
2023 Expedition (TB8) Canada/United States of America, enUSA, Edition date: 202207, DOMAudio System - Vehicles With: 15 Inch ScreenE328569 E328570
Page 505 of 658
Press the button to view theprevious card.
Press the button to viewavailable cards.
You can swipe toward the main screen tomove the content into the main screen.
Note:This can only be done with someinformation on demand screens.
REBOOTING THE CENTER
DISPLAY
You can reboot the center display usingthe controls on the steering wheel.
1.Simultaneously press and hold theseek forward and audio system powerbutton for 10 seconds.
501
2023 Expedition (TB8) Canada/United States of America, enUSA, Edition date: 202207, DOMCenter Display Overview - Vehicles With: 12 Inch ScreenE353211 E353209