Page 196 of 498

1943-1. CONTROLS
collision, for example, in minor acci-
dents.
Keep your distance from the
airbags.
Always grip the steering wheel
on the steering wheel rim. Place
your hands in the 3 o'clock and 9
o'clock positions to minimise the
risk of injury to hands or arms
when the airbag deploys.
Adjust the seat and steering
wheel so the driver can reach
over the steering wheel diago-
nally. Select the settings so that,
when reaching over, the shoul-
ders stay in contact with the
backrest and the upper body
stays as far away from the steer-
ing wheel as possible.
Make sure that the front-seat
passenger is sitting correctly, i.e.
with their feet and legs in the
footwell, not resting on the dash-
board.
Make sure that vehicle occu-
pants keep their head away from
the side airbag.
Do not place any other persons,
pets or objects between the
airbags and occupants.
Keep the dashboard and wind-
screen area on the passenger
side clear, for example do not
attach adhesive foil or covers
and do not fit brackets for navi-
gation devices or mobile tele-
phones.
Do not glue the airbag covers
and do not cover or modify them
in any way.
Do not use the front airbag cover
on the front passenger's side as
a tray.
Do not install seat covers, cush-
ions or other objects on the front
seats if they are not specifically
designed for use on seats with
integral side airbags.
Do not hang items of clothing for
example coats or jackets over
the backrests.
Do not modify individual compo-
nents of the system or its wiring
in any way. This also applies to
the covers of the steering wheel,
the dashboard and seats.
Do not dismantle the airbag sys-
tem.
Even if all this information is
observed, depending on the cir-
cumstances in which an accident
occurs, certain injuries as a result
of contact with the airbag cannot be
Notes on achieving optimum
airbag effectiveness
WA R N I N G
If the seat position is wrong or the
deployment area of the airbag is
restricted, the airbag system cannot provide the intended protection or
may cause additional injuries when it
deploys. There is a danger of injury or even death. Observe the following to
achieve optimum protective effect.
Page 264 of 498

2623-1. CONTROLS
Press any button, with the following
exceptions:
Switch off.
Rear window heating.
Seat heating.
Complete system:
The automatic air conditioning
adjusts to the set temperature as
quickly as possible, using maxi-
mum cooling or heating power if
necessary. The temperature is then
maintained.
Via Toyota Supra Command:
1 "My Vehicle"
2 "Vehicle settings"
3 "Climate comfort"
4 "Temperature adjustment, upper
body"
5 Set the desired temperature.
Avoid switching between different
temperature settings in rapid suc-
cession. The automatic air condi-
tioning may not have sufficient time
to establish the temperature
selected.
Interior air is cooled and dried, then
reheated to suit the temperature
setting.
The interior can only be cooled
when drive-ready state is switched
on.
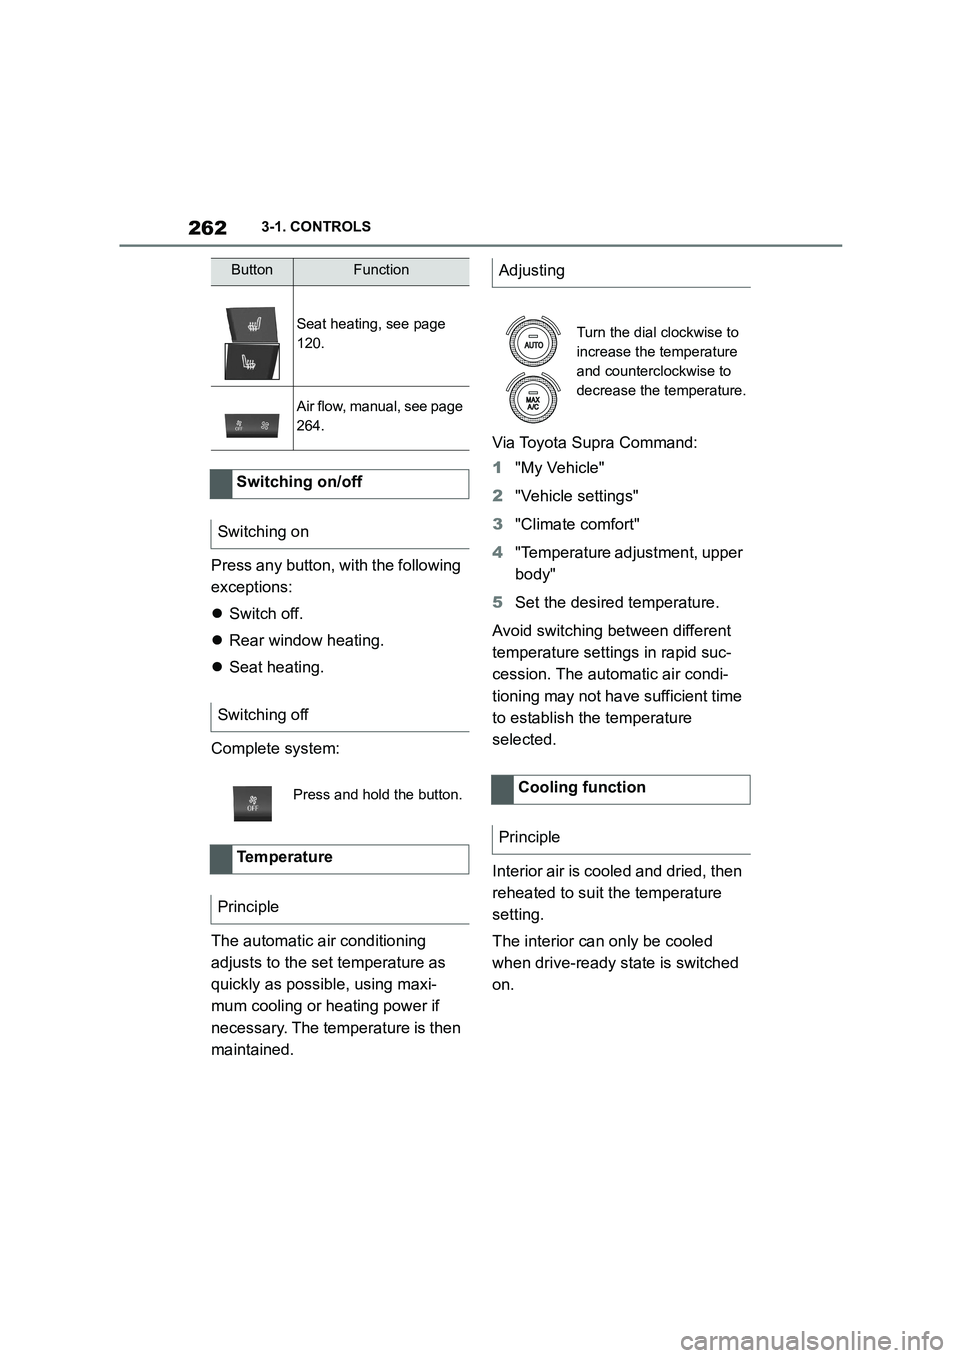
Seat heating, see page
120.
Air flow, manual, see page
264.
Switching on/off
Switching on
Switching off
Press and hold the button.
Temperature
Principle
ButtonFunctionAdjusting
Turn the dial clockwise to
increase the temperature
and counterclockwise to
decrease the temperature.
Cooling function
Principle
Page 319 of 498

317
5
5-1. MOBILITY
MOBILITY
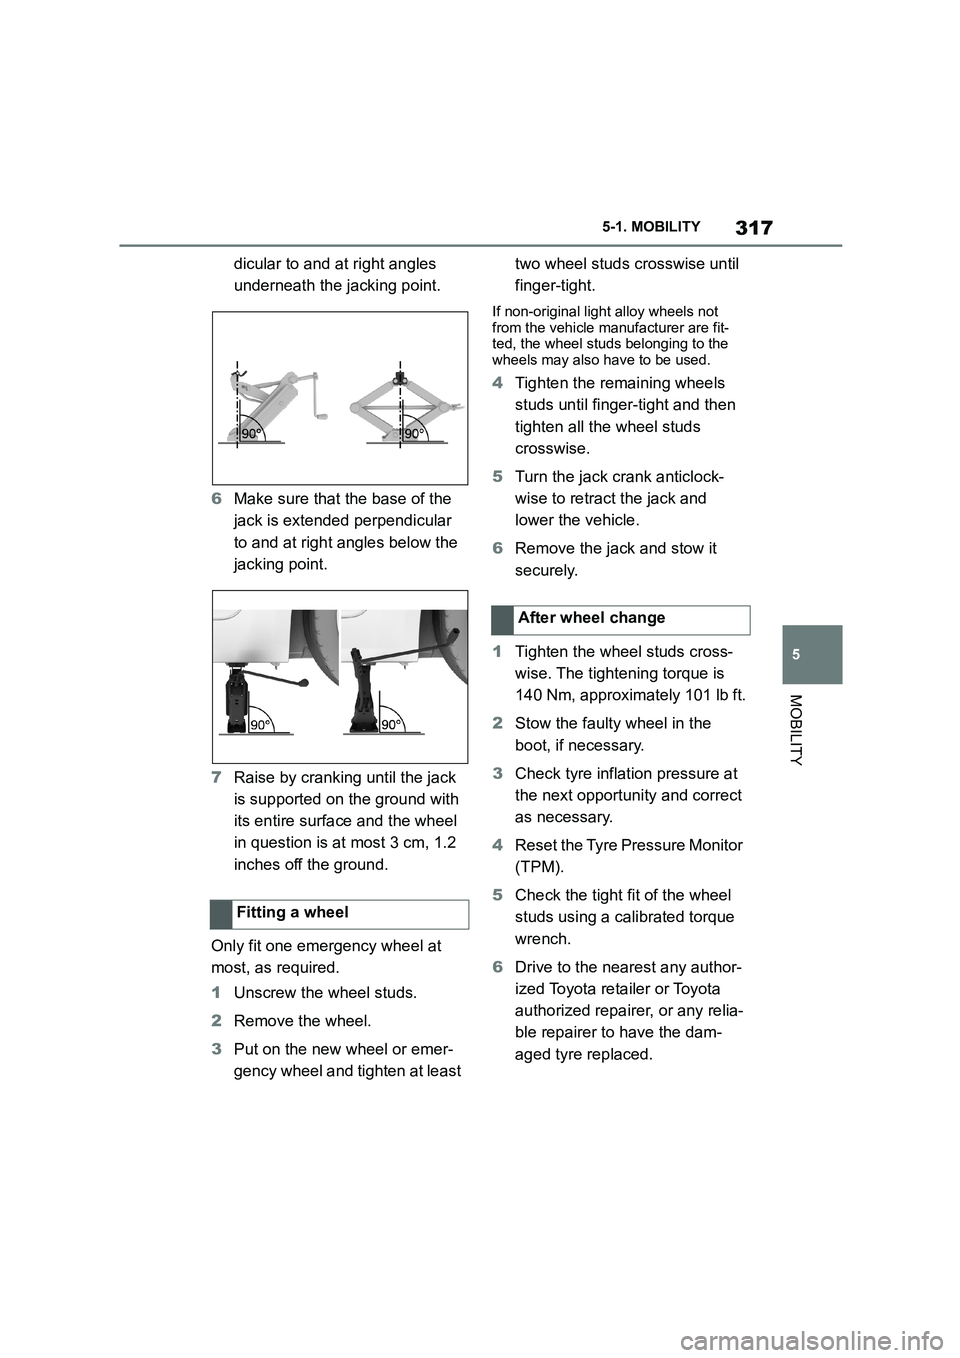
dicular to and at right angles
underneath the jacking point.
6 Make sure that the base of the
jack is extended perpendicular
to and at right angles below the
jacking point.
7 Raise by cranking until the jack
is supported on the ground with
its entire surface and the wheel
in question is at most 3 cm, 1.2
inches off the ground.
Only fit one emergency wheel at
most, as required.
1 Unscrew the wheel studs.
2 Remove the wheel.
3 Put on the new wheel or emer-
gency wheel and tighten at least
two wheel studs crosswise until
finger-tight.
If non-original light alloy wheels not
from the vehicle manufacturer are fit- ted, the wheel studs belonging to the
wheels may also have to be used.
4 Tighten the remaining wheels
studs until finger-tight and then
tighten all the wheel studs
crosswise.
5 Turn the jack crank anticlock-
wise to retract the jack and
lower the vehicle.
6 Remove the jack and stow it
securely.
1 Tighten the wheel studs cross-
wise. The tightening torque is
140 Nm, approximately 101 lb ft.
2 Stow the faulty wheel in the
boot, if necessary.
3 Check tyre inflation pressure at
the next opportunity and correct
as necessary.
4 Reset the Tyre Pressure Monitor
(TPM).
5 Check the tight fit of the wheel
studs using a calibrated torque
wrench.
6 Drive to the nearest any author-
ized Toyota reta iler or Toyota
authorized repairer, or any relia-
ble repairer to have the dam-
aged tyre replaced.
Fitting a wheel
After wheel change