Page 147 of 498
145
3
3-1. CONTROLS
CONTROLS
3 Releasing the parking brake.
4 Drive off.
The Auto Start/Stop helps you to
save fuel. The system switches the
engine off when stationary, for
example in congestion or at traffic
lights. The drive-ready state
remains switched on. For driving
off, the engine starts automatically.
Each time the engine is started via
the start/stop button, the Auto
Start/Stop is switched to standby.
The function is activated from a
speed of around 5 km/h, approxi-
mately 3 mph.
Depending on selected drive mode,
see page 160, the system is acti-
vated or deactivated automatically.
The engine is automatically shut
down when stationary under the fol-
lowing conditions:
Selector lever in selector lever
position D.
Brake pedal remains pressed
while the vehicle is at a standstill.
Driver's seat belt buckled or
driver's door closed.
If the engine was not switched off
automatically when the vehicle
came to a stop, it can be switched
off manually:
Rapidly press the brake pedal
from the current position.
Engage selector lever position P.
If all the operating requirements
have been met, the engine is
stopped.
The air flow rate of the air condi-
tioning system is reduced when the
engine is not running.
■General
The engine is not shut down auto-
matically in the following situations:
Auto Start/Stop
Principle
General
Stopping the engine
Operating requirements
Manual engine stop
Air conditioning system when the
vehicle is parked
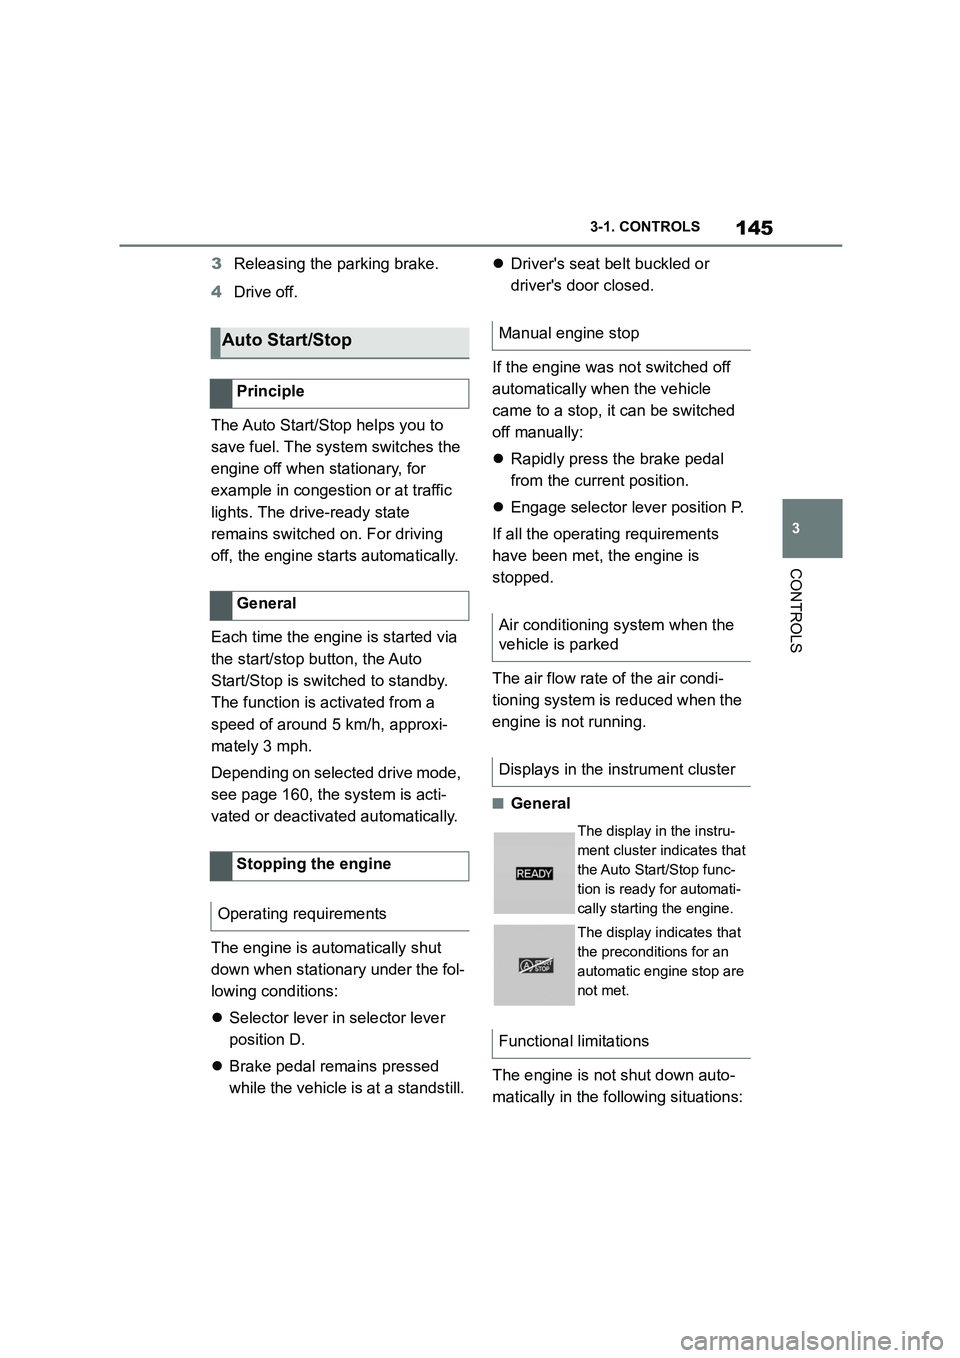
Displays in the instrument cluster
The display in the instru-
ment cluster indicates that
the Auto Start/Stop func-
tion is ready for automati-
cally starting the engine.
The display indicates that
the preconditions for an
automatic engine stop are
not met.
Functional limitations
Page 151 of 498
149
3
3-1. CONTROLS
CONTROLS
■General
Use during the journey serves as
an emergency brake.
Pull and hold the switch. Vehicle
brakes strongly for as long as the
switch is pulled.
A vehicle message is shown.
If the vehicle is braked to approxi-
mately 3 km/h, 2 mph, the parking
brake is engaged.
1 Switch on drive-ready state.
2 Press the switch with the
brake pedal depressed or selec-
tor lever position P engaged.
LED and indicator lamp turn off.
The parking brake is released.
The parking brake is automatically
released on driving off.
LED and indicator lamp turn off.
If the parking brake fails or malfunc-
tions:
After getting out, secure the vehicle
to prevent it from rolling away, for
example with a chock.
To restore parking brake functional-
ity after a power failure:
1 Switch on standby state.
2 Pull the switch with the
brake pedal depressed or selec-
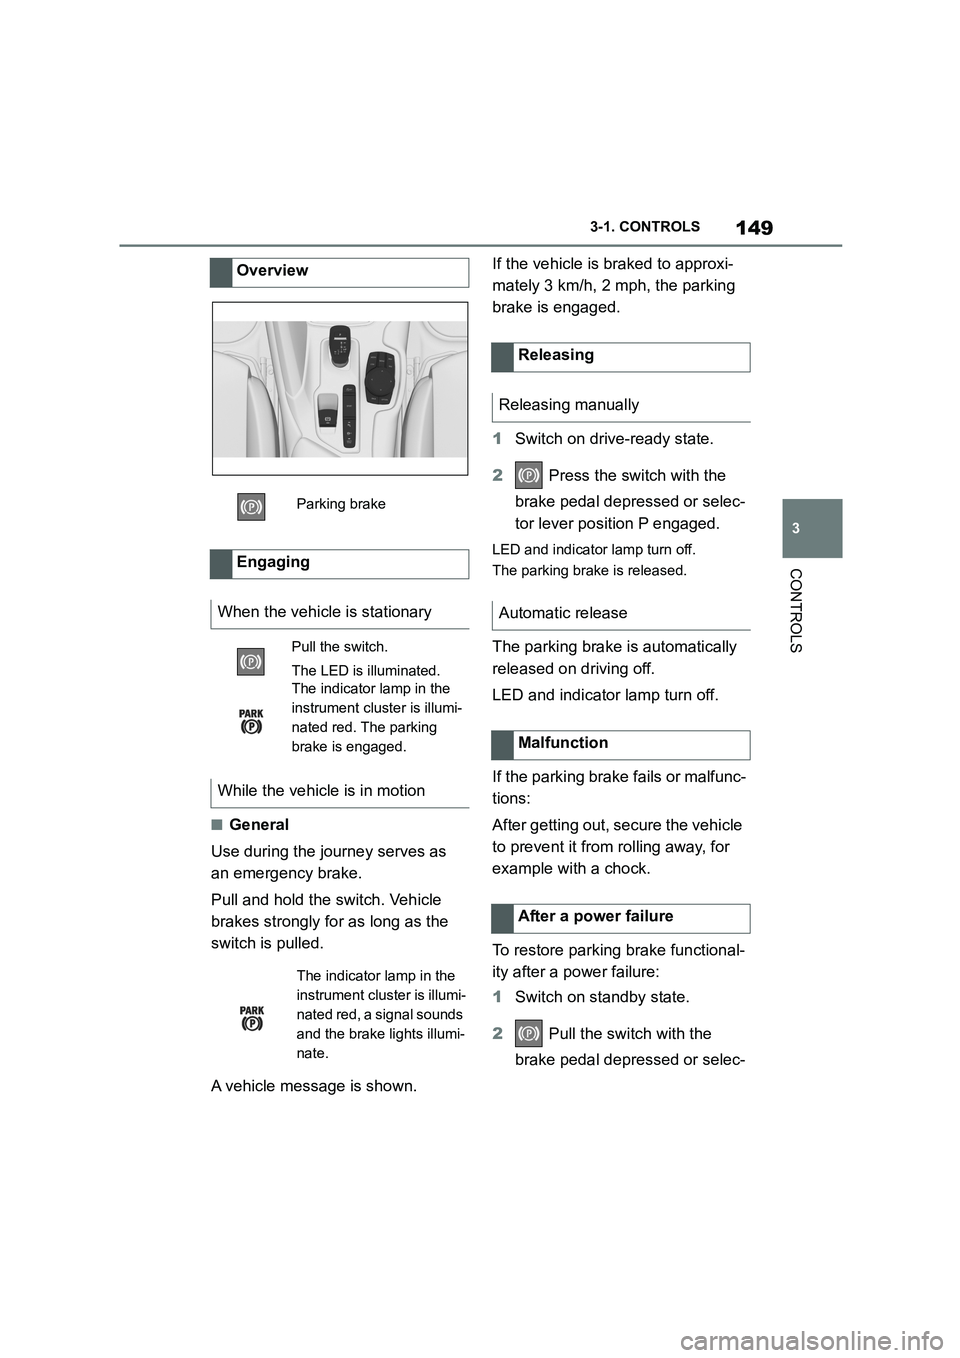
Overview
Parking brake
Engaging
When the vehicle is stationary
Pull the switch.
The LED is illuminated.
The indicator lamp in the
instrument cluster is illumi-
nated red. The parking
brake is engaged.
While the vehicle is in motion
The indicator lamp in the
instrument cluster is illumi-
nated red, a signal sounds
and the brake lights illumi-
nate.
Releasing
Releasing manually
Automatic release
Malfunction
After a power failure
Page 152 of 498
1503-1. CONTROLS
tor lever position P engaged and
then press it.
The procedure can take a few sec-
onds. Any sounds that occur are
normal.
Do not fold in the exterior mirrors
while driving or while operating the
turn indicators or hazard warning
lights to ensure that the turn indica-
tors in the exterior mirrors are well
recognisable.
Press the lever beyond the resist-
ance point.
Briefly press the lever up or down.
The duration of the triple turn signal
can be set.
Via Toyota Supra Command:
1 "My Vehicle"
2 "Vehicle settings"
3 "Exterior lighting"
4 "One-touch turn signal"
5 Select the desired setting.
Press the lever as far as the resist-
ance point and hold it there for as
long as you wish to indicate a turn.
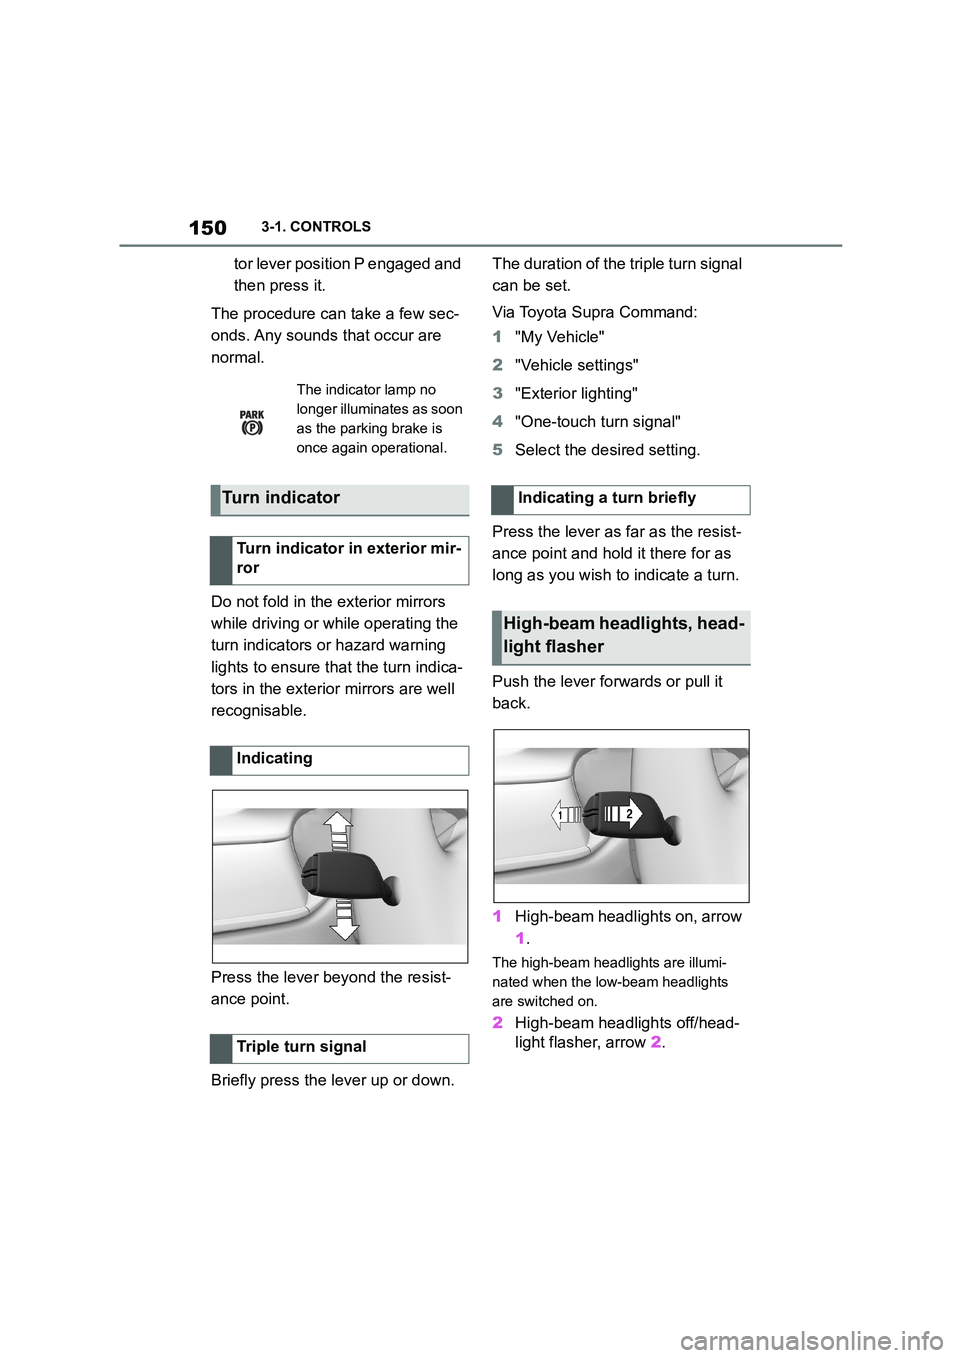
Push the lever forwards or pull it
back.
1 High-beam headlights on, arrow
1 .
The high-beam headlights are illumi-
nated when the low-beam headlights
are switched on.
2 High-beam headlights off/head-
light flasher, arrow 2.
The indicator lamp no
longer illuminates as soon
as the parking brake is
once again operational.
Turn indicator
Turn indicator in exterior mir-
ror
Indicating
Triple turn signal
Indicating a turn briefly
High-beam headlights, head-
light flasher
Page 166 of 498
1643-1. CONTROLS
3"Vehicle messages"
4 Select a text message.
Text messages and symbols in the
instrument cluster explain the
meaning of a vehicle message and
the indicator and warning lamps.
You can call up additional informa-
tion via vehicle messages, for
example the cause of the fault and
any action required.
If the message is urgent, the sup-
plementary text is shown in the
Control Display automatically.
It is possible to select additional
assistance depending on the vehi-
cle message.
Via Toyota Supra Command:
1 "My vehicle"
2 "Vehicle status"
3 "Vehicle messages"
4 Select the required text mes-
sage.
5 Select the desired setting
Certain messages displayed when
driving are displayed again when
drive-ready state is switched off.
Indicator and warning lamps in the
instrument cluster show the status
of some functions in the vehicle and
indicate any malfunctions in moni-
tored systems.
Indicator and warning lamps can
illuminate in a variety of combina-
tions and colours.
When drive-ready state is switched
on, the functionality of some lights
is checked and they illuminate
briefly.
Display
Vehicle messages
At least one vehicle mes-
sage is displayed or
saved.
Text messages
Supplementary text messages
Messages displayed at the end of
a journey
Indicator and warning lamps
Principle
General
Page 167 of 498
165
3
3-1. CONTROLS
CONTROLS
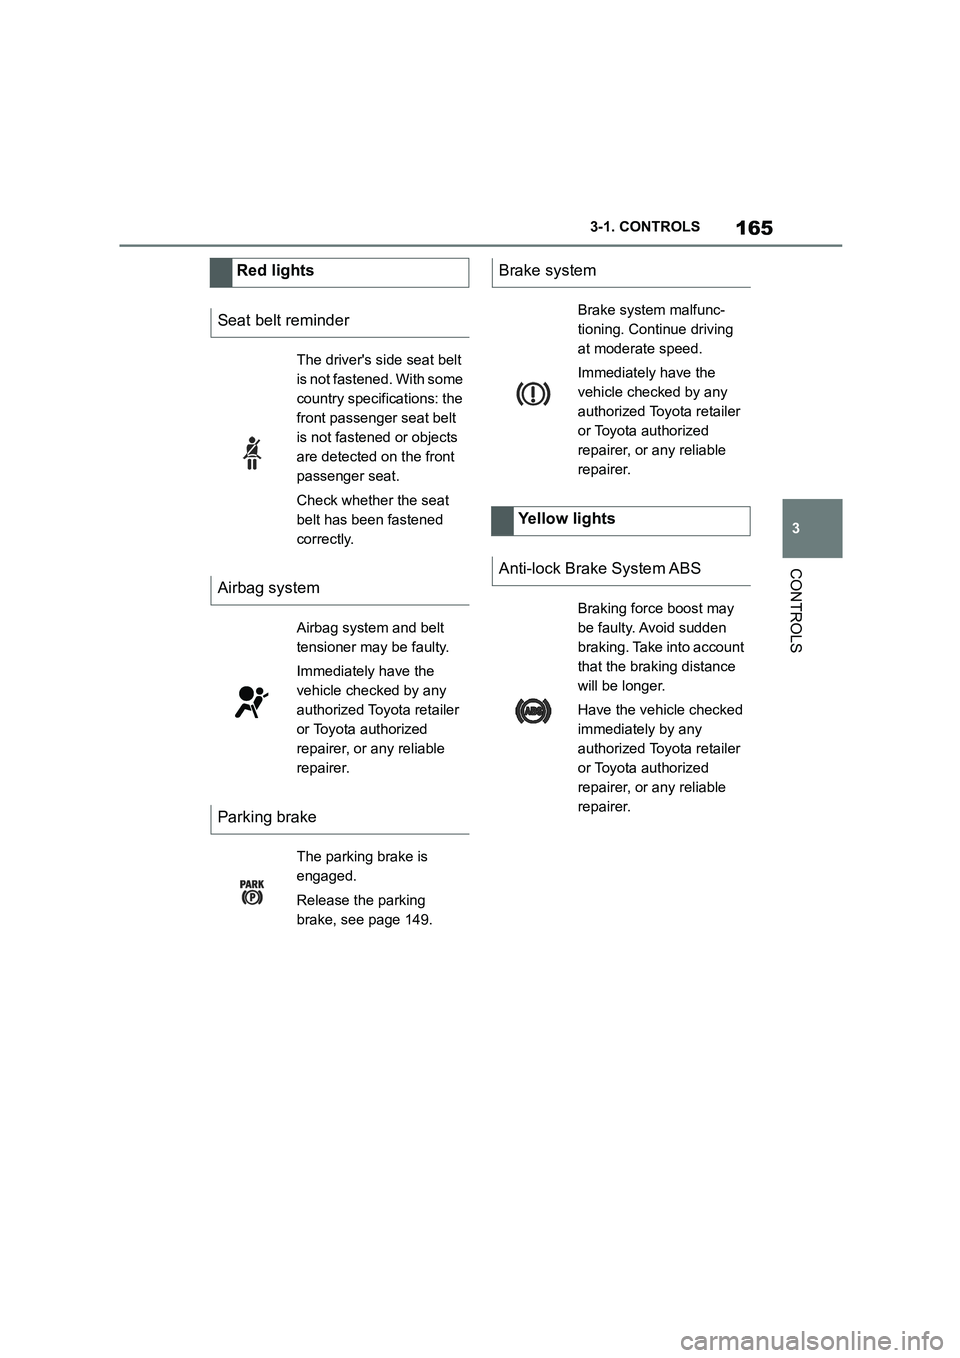
Red lights
Seat belt reminder
The driver's side seat belt
is not fastened. With some
country specifications: the
front passenger seat belt
is not fastened or objects
are detected on the front
passenger seat.
Check whether the seat
belt has been fastened
correctly.
Airbag system
Airbag system and belt
tensioner may be faulty.
Immediately have the
vehicle checked by any
authorized Toyota retailer
or Toyota authorized
repairer, or any reliable
repairer.
Parking brake
The parking brake is
engaged.
Release the parking
brake, see page 149.
Brake system
Brake system malfunc-
tioning. Continue driving
at moderate speed.
Immediately have the
vehicle checked by any
authorized Toyota retailer
or Toyota authorized
repairer, or any reliable
repairer.
Yellow lights
Anti-lock Brake System ABS
Braking force boost may
be faulty. Avoid sudden
braking. Take into account
that the braking distance
will be longer.
Have the vehicle checked
immediately by any
authorized Toyota retailer
or Toyota authorized
repairer, or any reliable
repairer.
Page 169 of 498

167
3
3-1. CONTROLS
CONTROLS
Steering system
The steering system may
be faulty.
Have the system checked
by any authorized Toyota
retailer or Toyota author-
ized repairer, or any relia-
ble repairer.
Emissions
Engine malfunction.
Have the vehicle checked
by any authorized Toyota
retailer or Toyota author-
ized repairer, or any relia-
ble repairer.
Socket for on-board diag-
nosis, see page 332.
Rear fog light
Rear fog light is switched
on.
Rear fog light, see page
190.
Green lights
Turn indicator
The turn indicator is
switched on.
If the indicator lamp
flashes more rapidly than
usual, a turn signal light
has failed.
Turn indicators, see page
150.
Side lights
The side lights are
switched on.
Side lights/low-beam
headlights, see page 185.
Low-beam headlights
Low-beam headlights are
switched on.
Side lights/low-beam
headlights, see page 185.
Lane Departure Warning
If the indicator lamp is illu-
minated: the system is
switched on. At least one
lane marking has been
detected and warnings
can be issued on at least
one side of the vehicle.
Lane Departure Warning,
see page 216.
Page 170 of 498
1683-1. CONTROLS
The current fill level of the fuel tank
is displayed.
The angle of the vehicle may cause
the display to fluctuate.
For notes on refuelling, see page
290.
It is vital to avoid engine speeds in
the red warning zone. In this zone,
the fuel supply is interrupted to pro-
tect the engine.
Depending on the equipment, the
shift lights on the revolution counter
indicate the maximum shift point at
which the best possible accelera-
tion can be achieved.
When the selected driving mode is
sport mode, a shift light will be dis-
played.
1 Select SPORT using the sport
mode switch.
2 Activate manual mode of the
transmission.
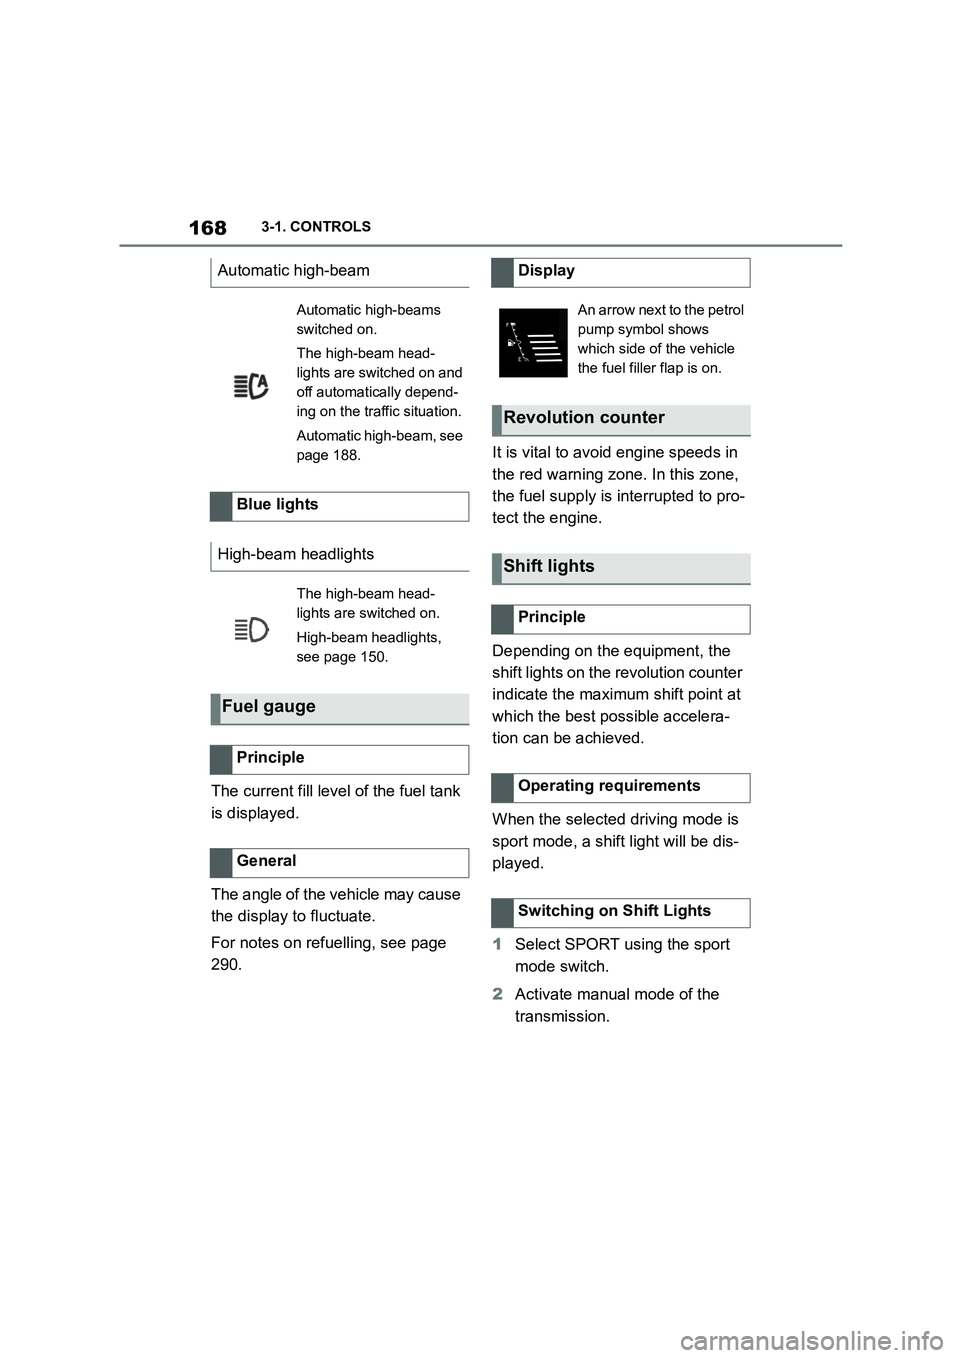
Automatic high-beam
Automatic high-beams
switched on.
The high-beam head-
lights are switched on and
off automatically depend-
ing on the traffic situation.
Automatic high-beam, see
page 188.
Blue lights
High-beam headlights
The high-beam head-
lights are switched on.
High-beam headlights,
see page 150.
Fuel gauge
Principle
General
Display
An arrow next to the petrol
pump symbol shows
which side of the vehicle
the fuel filler flap is on.
Revolution counter
Shift lights
Principle
Operating requirements
Switching on Shift Lights
Page 185 of 498
183
3
3-1. CONTROLS
CONTROLS
Various views are available in the
Head-Up Display.
Via Toyota Supra Command:
1 "My vehicle"
2 "System settings"
3 "Displays"
4 "Head-up display"
5 Select the desired setting.
The brightness is automatically
adapted to the ambient light.
The dafault setting can be adjusted
manually.
Via Toyota Supra Command:
1 "My vehicle"
2 "System settings"
3 "Displays"
4 "Head-up display"
5 "Brightness"
6 Turn the Controller until the
desired brightness is obtained.
7 Press the Controller.
The brightness of the Head-Up Dis-
play can also be adjusted with the
instrument lighting if the low-beam
headlights are switched on.
Via Toyota Supra Command:
1 "My vehicle"
2 "System settings"
3 "Displays"
4 "Head-up display"
5 "Height"
6 Turn the Controller until the
desired height is obtained.
7 Press the Controller.
The height of the Head-Up Display
can also be saved with the memory
function, see page 119.
The Head-Up Display view can be
rotated.
Via Toyota Supra Command:
1 "My vehicle"
2 "System settings"
3 "Displays"
4 "Head-up display"
5 "Rotation"
6 Turn the Controller until the
desired setting is reached.
7 Press the Controller.
The visibility of the display on the
Head-Up Display can be affected
by the following:
Seat position.
Objects on the protective glass
of the Head-Up Display cover.
Dust or dirt on the protective
glass of the Head-Up Display
Selecting the view
Adjusting the brightness
Adjusting the height
Adjusting the rotation
Visibility of the display