2022 TOYOTA SUPRA fuel
[x] Cancel search: fuelPage 57 of 498
55
3
3-1. CONTROLS
CONTROLS
Switching on drive-ready state cor-
responds to starting the engine.
Some functions, for example Vehi-
cle Stability Control VSC, can only
be operated when drive-ready state
is switched on.
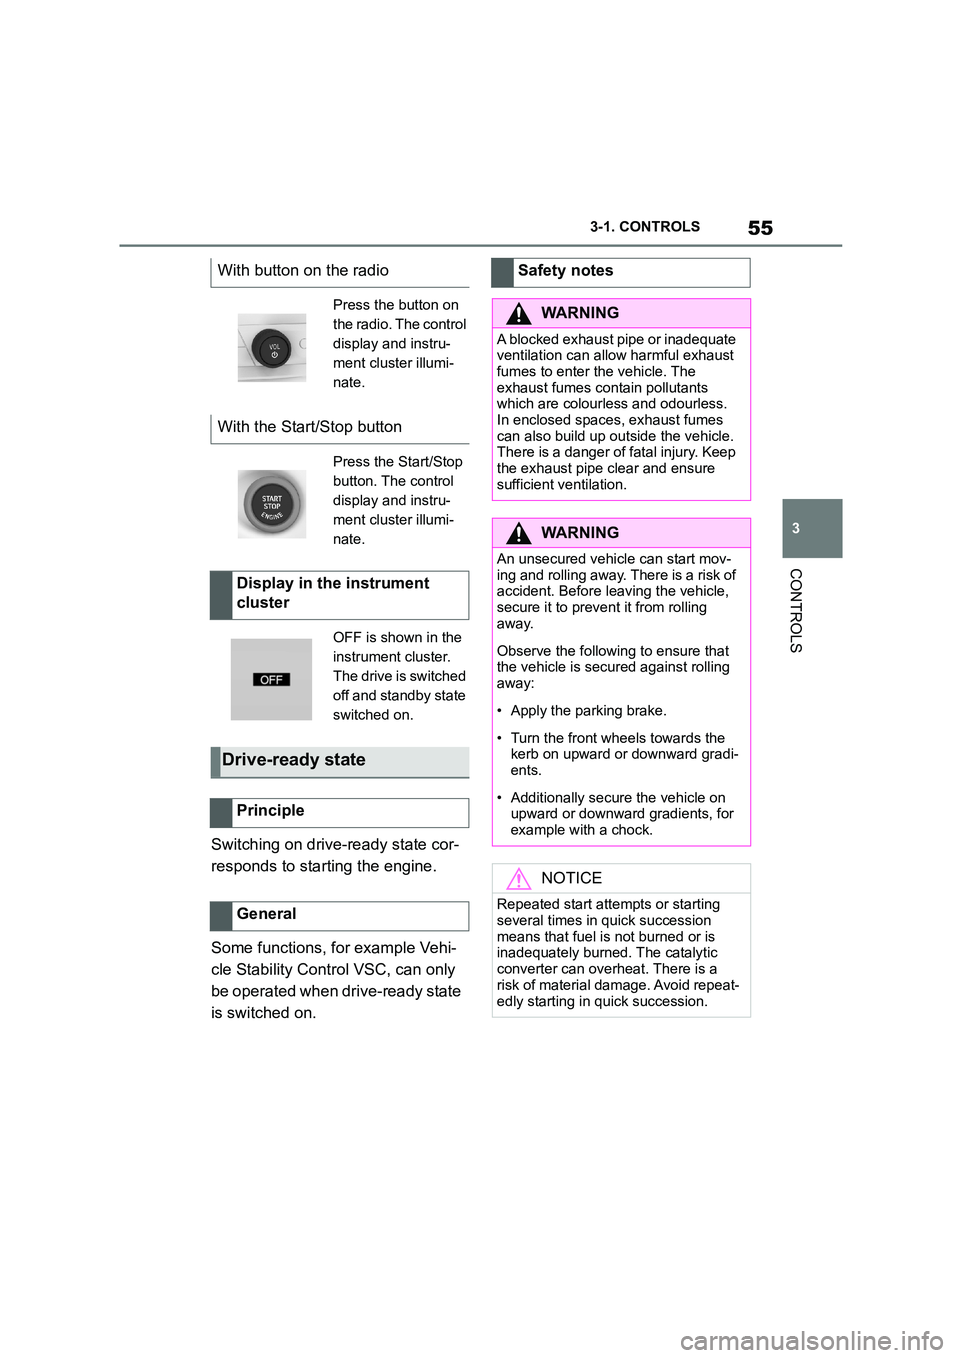
With button on the radio
Press the button on
the radio. The control
display and instru-
ment cluster illumi-
nate.
With the Start/Stop button
Press the Start/Stop
button. The control
display and instru-
ment cluster illumi-
nate.
Display in the instrument
cluster
OFF is shown in the
instrument cluster.
The drive is switched
off and standby state
switched on.
Drive-ready state
Principle
General
Safety notes
WA R N I N G
A blocked exhaust pipe or inadequate
ventilation can allow harmful exhaust fumes to enter the vehicle. The
exhaust fumes contain pollutants
which are colourless and odourless. In enclosed spaces, exhaust fumes
can also build up outside the vehicle.
There is a danger of fatal injury. Keep
the exhaust pipe clear and ensure sufficient ventilation.
WA R N I N G
An unsecured vehicle can start mov-ing and rolling away. There is a risk of
accident. Before leaving the vehicle,
secure it to prevent it from rolling away.
Observe the following to ensure that the vehicle is secured against rolling
away:
• Apply the parking brake.
• Turn the front wheels towards the
kerb on upward or downward gradi- ents.
• Additionally secure the vehicle on upward or downward gradients, for
example with a chock.
NOTICE
Repeated start attempts or starting
several times in quick succession
means that fuel is not burned or is inadequately burned. The catalytic
converter can overheat. There is a
risk of material damage. Avoid repeat-
edly starting in quick succession.
Page 91 of 498
89
3
3-1. CONTROLS
CONTROLS
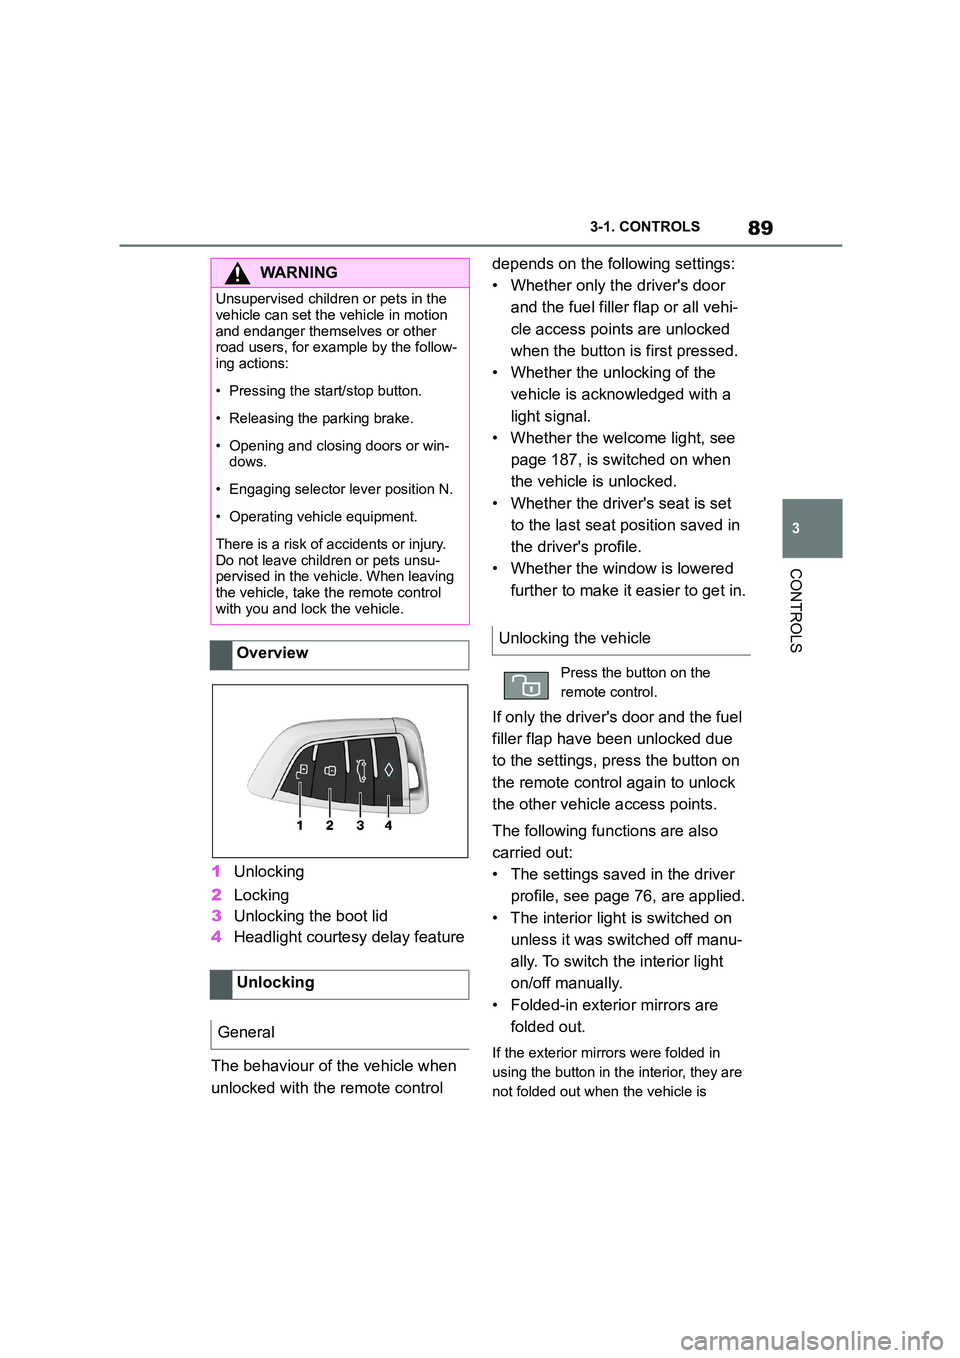
1 Unlocking
2 Locking
3 Unlocking the boot lid
4 Headlight courtesy delay feature
The behaviour of the vehicle when
unlocked with the remote control
depends on the following settings:
• Whether only the driver's door
and the fuel filler flap or all vehi-
cle access poin ts are unlocked
when the button is first pressed.
• Whether the unlocking of the
vehicle is acknowledged with a
light signal.
• Whether the welcome light, see
page 187, is switched on when
the vehicle is unlocked.
• Whether the driver's seat is set
to the last seat position saved in
the driver's profile.
• Whether the window is lowered
further to make it easier to get in.
If only the driver's door and the fuel
filler flap have been unlocked due
to the settings, press the button on
the remote control again to unlock
the other vehicle access points.
The following functions are also
carried out:
• The settings saved in the driver
profile, see page 76, are applied.
• The interior light is switched on
unless it was switched off manu-
ally. To switch the interior light
on/off manually.
• Folded-in exterior mirrors are
folded out.
If the exterior mirrors were folded in
using the button in the interior, they are
not folded out when the vehicle is
WA R N I N G
Unsupervised children or pets in the
vehicle can set the vehicle in motion
and endanger themselves or other road users, for example by the follow-
ing actions:
• Pressing the start/stop button.
• Releasing the parking brake.
• Opening and closing doors or win-
dows.
• Engaging selector lever position N.
• Operating vehicle equipment.
There is a risk of accidents or injury.
Do not leave children or pets unsu- pervised in the vehicle. When leaving
the vehicle, take the remote control
with you and lock the vehicle.
Overview
Unlocking
General
Unlocking the vehicle
Press the button on the
remote control.
Page 92 of 498
903-1. CONTROLS
unlocked.
• With anti-theft system: The
anti-theft system is switched off.
• With alarm system: The alarm
system is switched off.
Depending on the settings, the win-
dow is lowered further when open-
ing a door.
The vehicle is operational after one
of the front doors is opened.
The lighting functions may depend
on the ambient brightness.
The windows are opened for as
long as the button on the remote
control is pressed.
Exterior mirrors which were folded
in via the comfort closing feature
are folded out.
The behaviour of the vehicle in the
case of remote control locking
depends on the following settings:
• Whether locking of the vehicle is
acknowledged with a light signal.
• Whether the exterior mirrors are
automatically folded in when the
vehicle is unlocked and locked.
• Whether the headlight courtesy
delay feature is activated when
the vehicle is locked.
1 Close the driver's door.
2 Press the button on the
remote control.
The following functions are carried
out:
• All the doors, the boot lid and
fuel filler flap are locked.
• With anti-theft system: The
anti-theft system is switched on.
This prevents the doors from
being unlocked using the locking
buttons or the door openers.
• With alarm system: The alarm
system is switched on.
If the drive-ready state is still
switched on when locking, the vehi-
cle horn sounds twice. In this case,
switch off the drive-ready state
using start/ stop button.
Press remote control button
twice in direct succession to
activate comfort memory.
Comfort opening
Opening
Press and hold the button on
the remote control.
Locking
General
Locking the vehicle
Page 98 of 498
963-1. CONTROLS
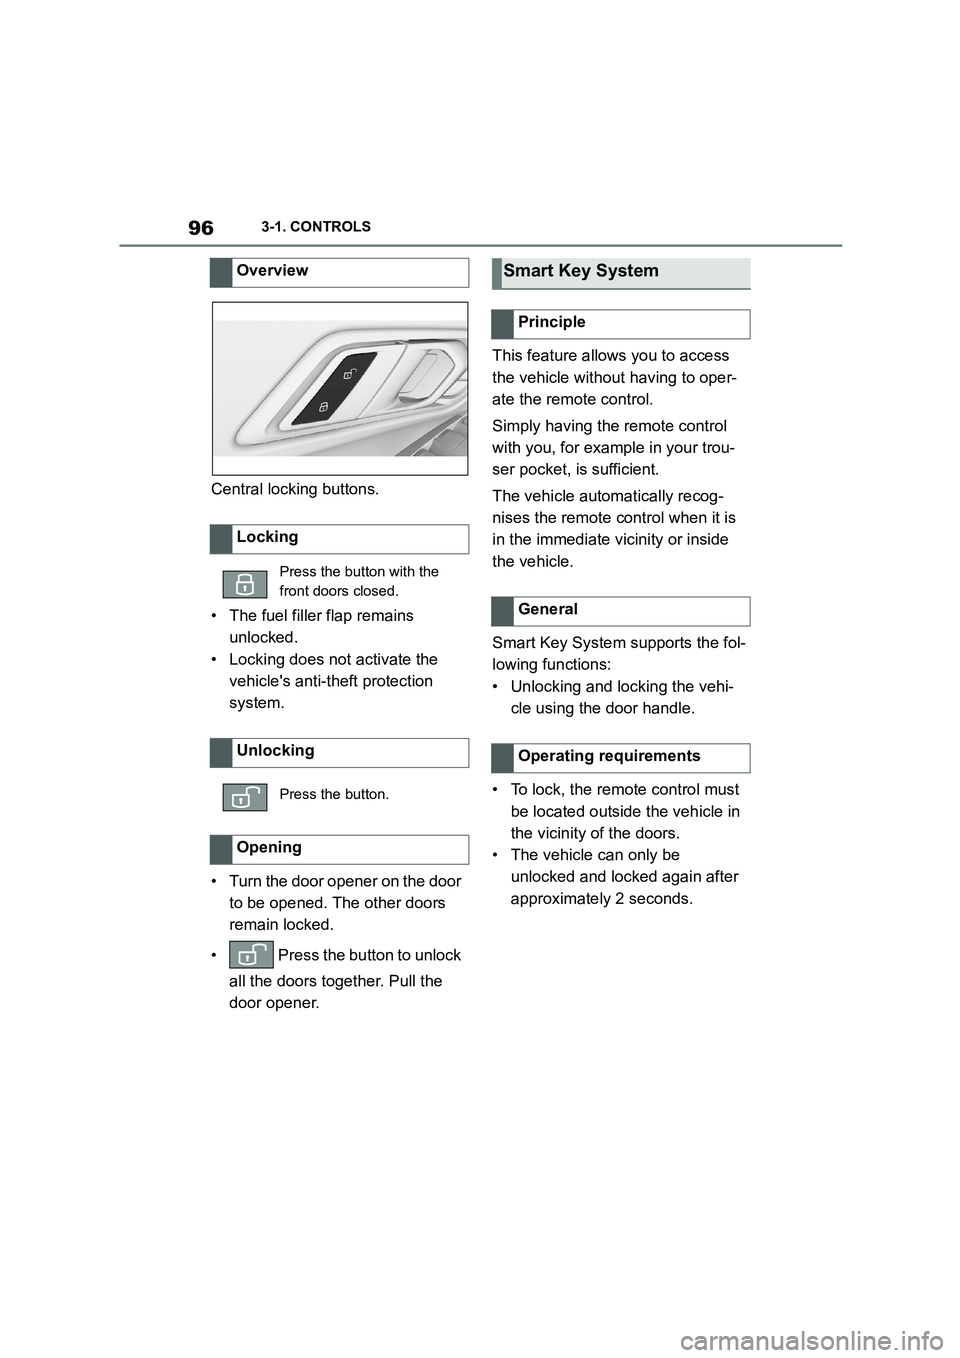
Central locking buttons.
• The fuel filler flap remains
unlocked.
• Locking does not activate the
vehicle's anti-theft protection
system.
• Turn the door opener on the door
to be opened. The other doors
remain locked.
• Press the button to unlock
all the doors together. Pull the
door opener.
This feature allows you to access
the vehicle without having to oper-
ate the remote control.
Simply having the remote control
with you, for example in your trou-
ser pocket, is sufficient.
The vehicle automatically recog-
nises the remote control when it is
in the immediate vicinity or inside
the vehicle.
Smart Key System supports the fol-
lowing functions:
• Unlocking and locking the vehi-
cle using the door handle.
• To lock, the remote control must
be located outside the vehicle in
the vicinity of the doors.
• The vehicle can only be
unlocked and locked again after
approximately 2 seconds.
Overview
Locking
Press the button with the
front doors closed.
Unlocking
Press the button.
Opening
Smart Key System
Principle
General
Operating requirements
Page 101 of 498
99
3
3-1. CONTROLS
CONTROLS
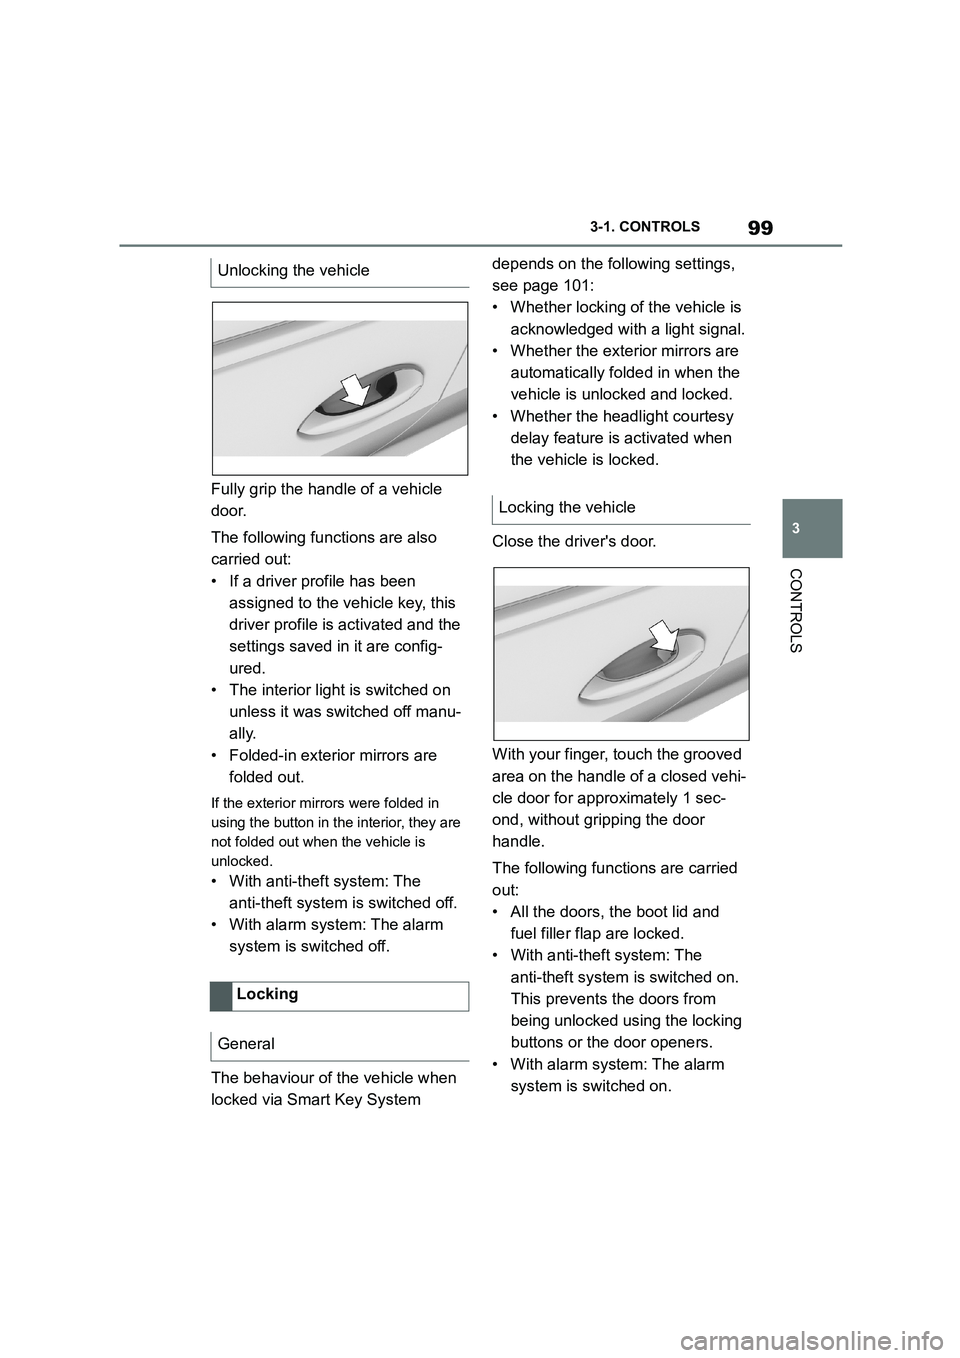
Fully grip the handle of a vehicle
door.
The following functions are also
carried out:
• If a driver profile has been
assigned to the vehicle key, this
driver profile is activated and the
settings saved in it are config-
ured.
• The interior light is switched on
unless it was switched off manu-
ally.
• Folded-in exterior mirrors are
folded out.
If the exterior mirrors were folded in
using the button in the interior, they are
not folded out when the vehicle is
unlocked.
• With anti-theft system: The
anti-theft system is switched off.
• With alarm system: The alarm
system is switched off.
The behaviour of the vehicle when
locked via Smart Key System
depends on the following settings,
see page 101:
• Whether locking of the vehicle is
acknowledged with a light signal.
• Whether the exterior mirrors are
automatically folded in when the
vehicle is unlocked and locked.
• Whether the headlight courtesy
delay feature is activated when
the vehicle is locked.
Close the driver's door.
With your finger, touch the grooved
area on the handle of a closed vehi-
cle door for approximately 1 sec-
ond, without gripping the door
handle.
The following functions are carried
out:
• All the doors, the boot lid and
fuel filler flap are locked.
• With anti-theft system: The
anti-theft system is switched on.
This prevents the doors from
being unlocked using the locking
buttons or the door openers.
• With alarm system: The alarm
system is switched on.
Unlocking the vehicle
Locking
General
Locking the vehicle
Page 103 of 498
101
3
3-1. CONTROLS
CONTROLS
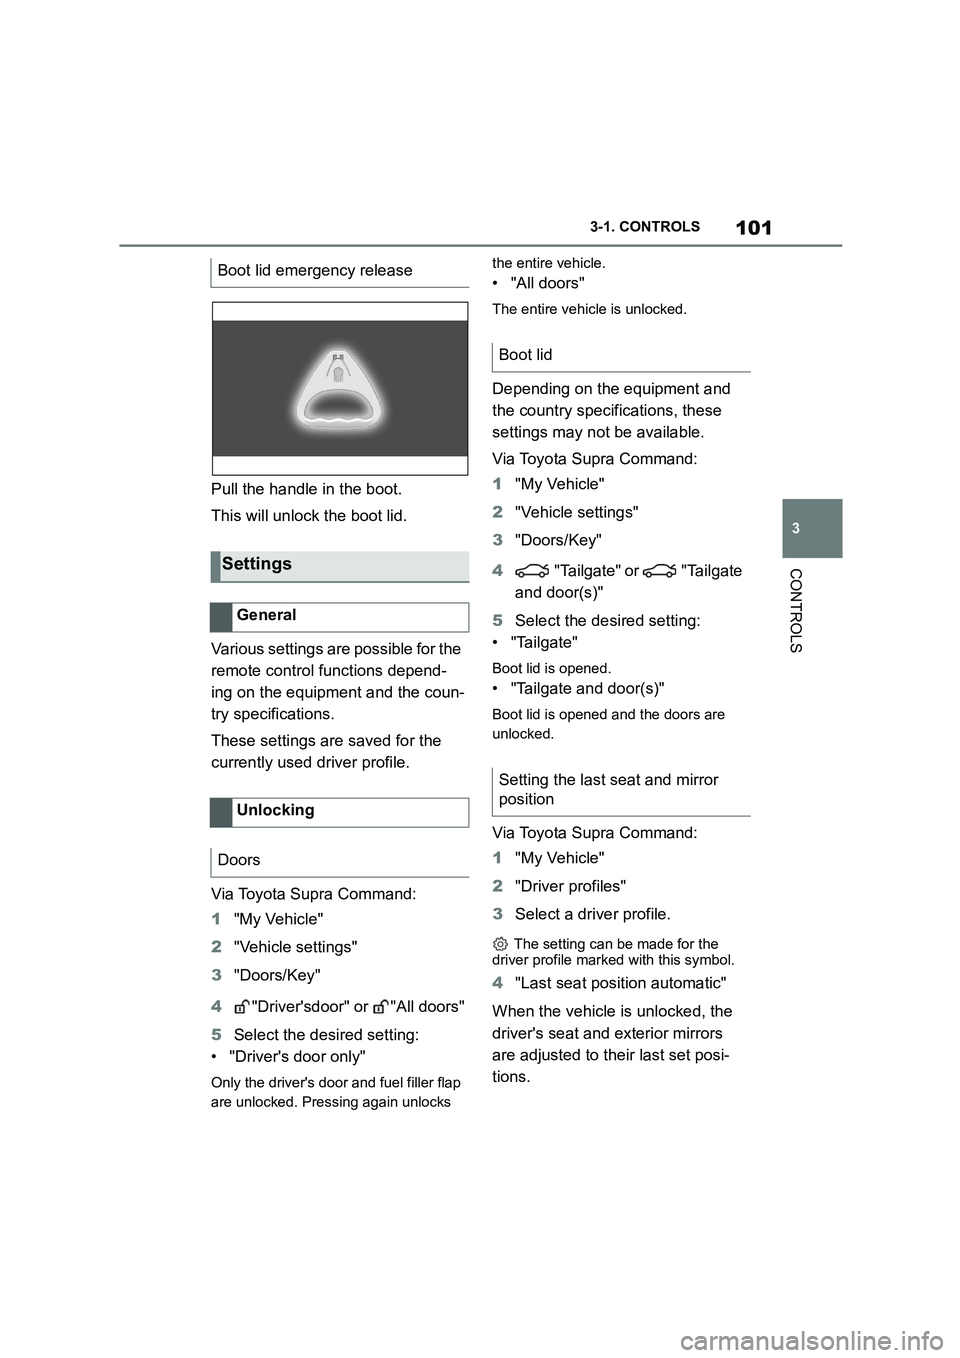
Pull the handle in the boot.
This will unlock the boot lid.
Various settings are possible for the
remote control functions depend-
ing on the equipment and the coun-
try specifications.
These settings are saved for the
currently used driver profile.
Via Toyota Supra Command:
1 "My Vehicle"
2 "Vehicle settings"
3 "Doors/Key"
4 "Driver'sdoor" or "All doors"
5 Select the desired setting:
• "Driver's door only"
Only the driver's door and fuel filler flap
are unlocked. Pressing again unlocks
the entire vehicle.
• "All doors"
The entire vehicle is unlocked.
Depending on the equipment and
the country specifications, these
settings may not be available.
Via Toyota Supra Command:
1 "My Vehicle"
2 "Vehicle settings"
3 "Doors/Key"
4 "Tailgate" or "Tailgate
and door(s)"
5 Select the desired setting:
• "Tailgate"
Boot lid is opened.
• "Tailgate and door(s)"
Boot lid is opened and the doors are
unlocked.
Via Toyota Supra Command:
1 "My Vehicle"
2 "Driver profiles"
3 Select a driver profile.
The setting can be made for the
driver profile marked with this symbol.
4 "Last seat position automatic"
When the vehicle is unlocked, the
driver's seat and exterior mirrors
are adjusted to their last set posi-
tions.
Boot lid emergency release
Settings
General
Unlocking
Doors
Boot lid
Setting the last seat and mirror
position
Page 106 of 498

1043-1. CONTROLS
net or boot lid are not closed cor-
rectly. Correctly closed access
points are secured.
If the open access points are then
closed, the interior protection and tilt
alarm sensor are switched on.
• The indicator lamp extinguishes
after the vehicle has been
unlocked: No attempt has been
made to tamper with the vehicle.
• The indicator lamp flashes after
unlocking until the drive-ready
state is switched on, but for no
longer than approximately 5 min-
utes: The alarm has been trig-
gered.
The incline of the vehicle is moni-
tored.
The alarm system responds, for
example, when there is an attempt
to steal a wheel or when towing
away.
The passenger compartment is
monitored to the height of the seat
cushions. Therefore the alarm sys-
tem, including the interior move-
ment detector, is switched on even
when the window is open. Falling
objects such as leaves can acci-
dentally trigger the alarm.
The tilt alarm sensor and the inte-
rior movement detector may trigger
an alarm without any unauthorised
activity taking place.
Possible situations for an unwanted
alarm:
• In washing bays or car washes.
• In two-level garages.
• During transport via motorail, car
ferry or trailer.
• When there are pets in the vehi-
cle.
• When the vehicle is locked after
starting to refuel.
The tilt alarm sensor and interior
protection can be switched off for
such situations.
The indicator lamp illuminates for
approximately 2 seconds and then
flashes again.
The tilt alarm sensor and the inte-
rior movement detector are
switched off until the next time the
vehicle is locked.
• Unlock the vehicle with the
Tilt alarm sensor
Interior move ment detector
Avoiding false alarms
General
Switching off the tilt alarm sensor
and interior movement detector
Within 10 seconds of locking
the vehicle, press the button
on the remote control.
Stopping the alarm
Page 147 of 498
145
3
3-1. CONTROLS
CONTROLS
3 Releasing the parking brake.
4 Drive off.
The Auto Start/Stop helps you to
save fuel. The system switches the
engine off when stationary, for
example in congestion or at traffic
lights. The drive-ready state
remains switched on. For driving
off, the engine starts automatically.
Each time the engine is started via
the start/stop button, the Auto
Start/Stop is switched to standby.
The function is activated from a
speed of around 5 km/h, approxi-
mately 3 mph.
Depending on selected drive mode,
see page 160, the system is acti-
vated or deactivated automatically.
The engine is automatically shut
down when stationary under the fol-
lowing conditions:
Selector lever in selector lever
position D.
Brake pedal remains pressed
while the vehicle is at a standstill.
Driver's seat belt buckled or
driver's door closed.
If the engine was not switched off
automatically when the vehicle
came to a stop, it can be switched
off manually:
Rapidly press the brake pedal
from the current position.
Engage selector lever position P.
If all the operating requirements
have been met, the engine is
stopped.
The air flow rate of the air condi-
tioning system is reduced when the
engine is not running.
■General
The engine is not shut down auto-
matically in the following situations:
Auto Start/Stop
Principle
General
Stopping the engine
Operating requirements
Manual engine stop
Air conditioning system when the
vehicle is parked
Displays in the instrument cluster
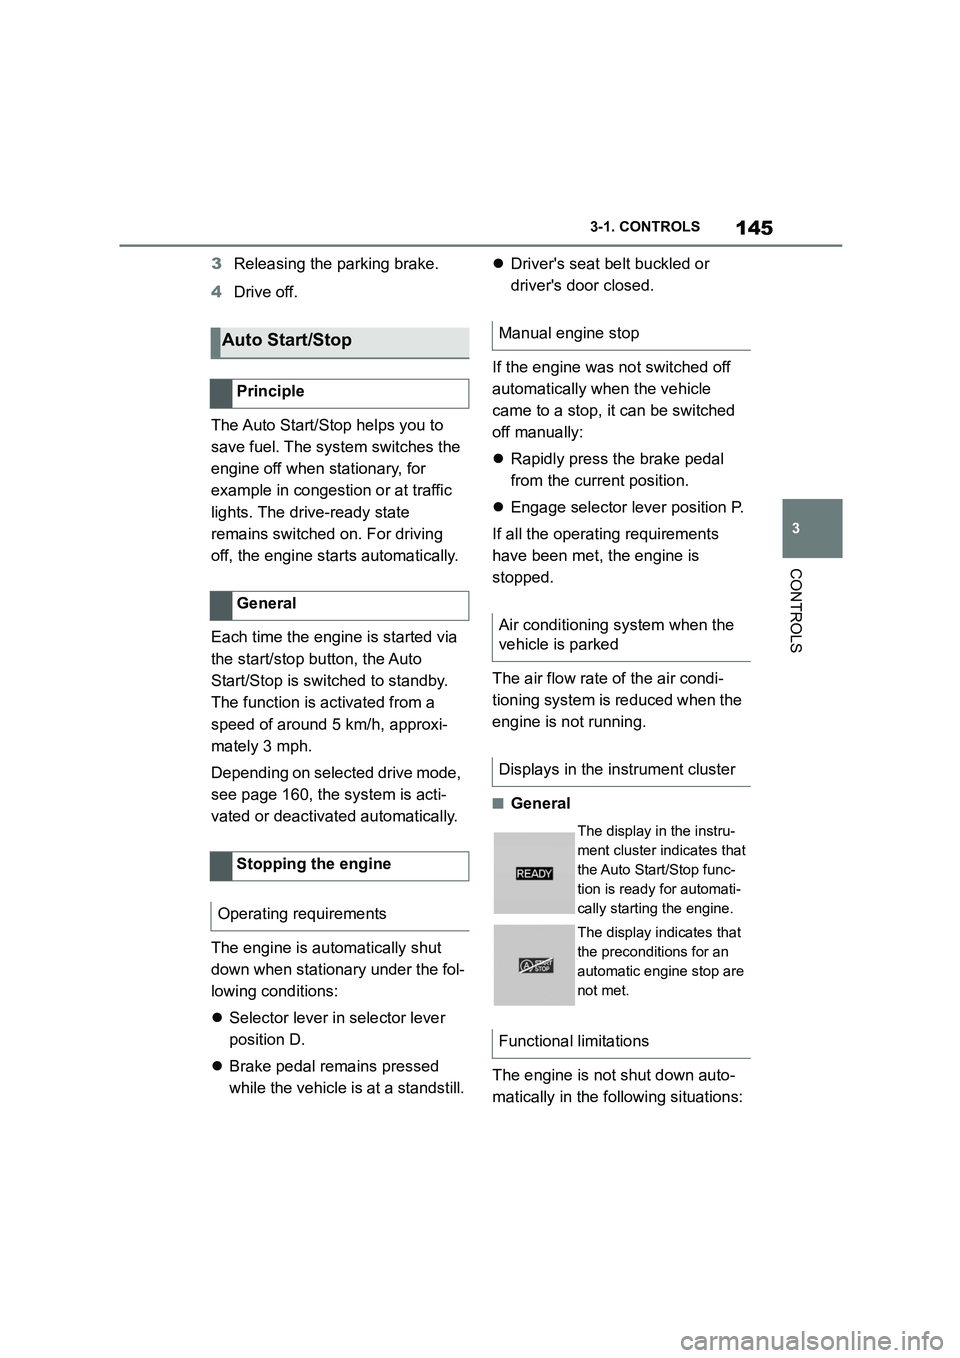
The display in the instru-
ment cluster indicates that
the Auto Start/Stop func-
tion is ready for automati-
cally starting the engine.
The display indicates that
the preconditions for an
automatic engine stop are
not met.
Functional limitations