2022 TOYOTA SUPRA oil
[x] Cancel search: oilPage 43 of 498
41
2
2-1. QUICK REFERENCE
QUICK REFERENCE
in sulphur content.
Fuels labelled on the pump as con-
taining metal must not be used.
P. 3 2 2
Information about the recom-
mended petrol grade is provided in
the Owner’s Manual.
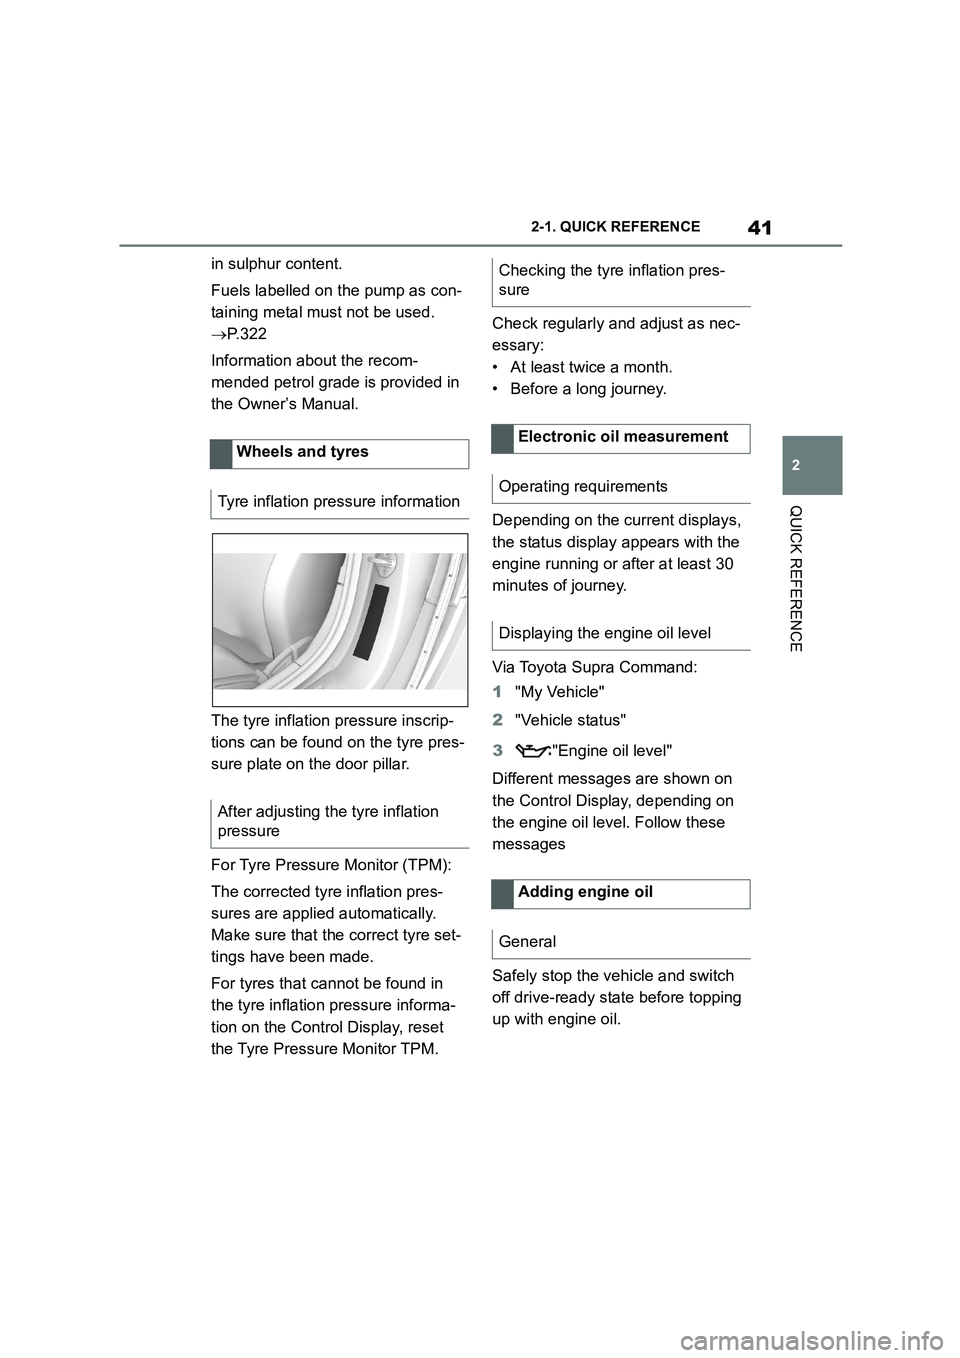
The tyre inflation pressure inscrip-
tions can be found on the tyre pres-
sure plate on the door pillar.
For Tyre Pressure Monitor (TPM):
The corrected tyre inflation pres-
sures are applied automatically.
Make sure that the correct tyre set-
tings have been made.
For tyres that cannot be found in
the tyre inflation pressure informa-
tion on the Control Display, reset
the Tyre Pressure Monitor TPM.
Check regularly and adjust as nec-
essary:
• At least twice a month.
• Before a long journey.
Depending on the current displays,
the status display appears with the
engine running or after at least 30
minutes of journey.
Via Toyota Supra Command:
1 "My Vehicle"
2 "Vehicle status"
3 "Engine oil level"
Different messages are shown on
the Control Display, depending on
the engine oil le vel. Follow these
messages
Safely stop the vehicle and switch
off drive-ready state before topping
up with engine oil.
Wheels and tyres
Tyre inflation pres sure information
After adjusting the tyre inflation
pressure
Checking the tyre inflation pres-
sure
Electronic oil measurement
Operating requirements
Displaying the engine oil level
Adding engine oil
General
Page 44 of 498
422-1. QUICK REFERENCE
Do not top up engine oil unless a
message is displayed in the instru-
ment cluster.
Note the top-up quantity in the mes-
sage.
Do not add too much engine oil.
Note recommended engine oil
types: see page 326.
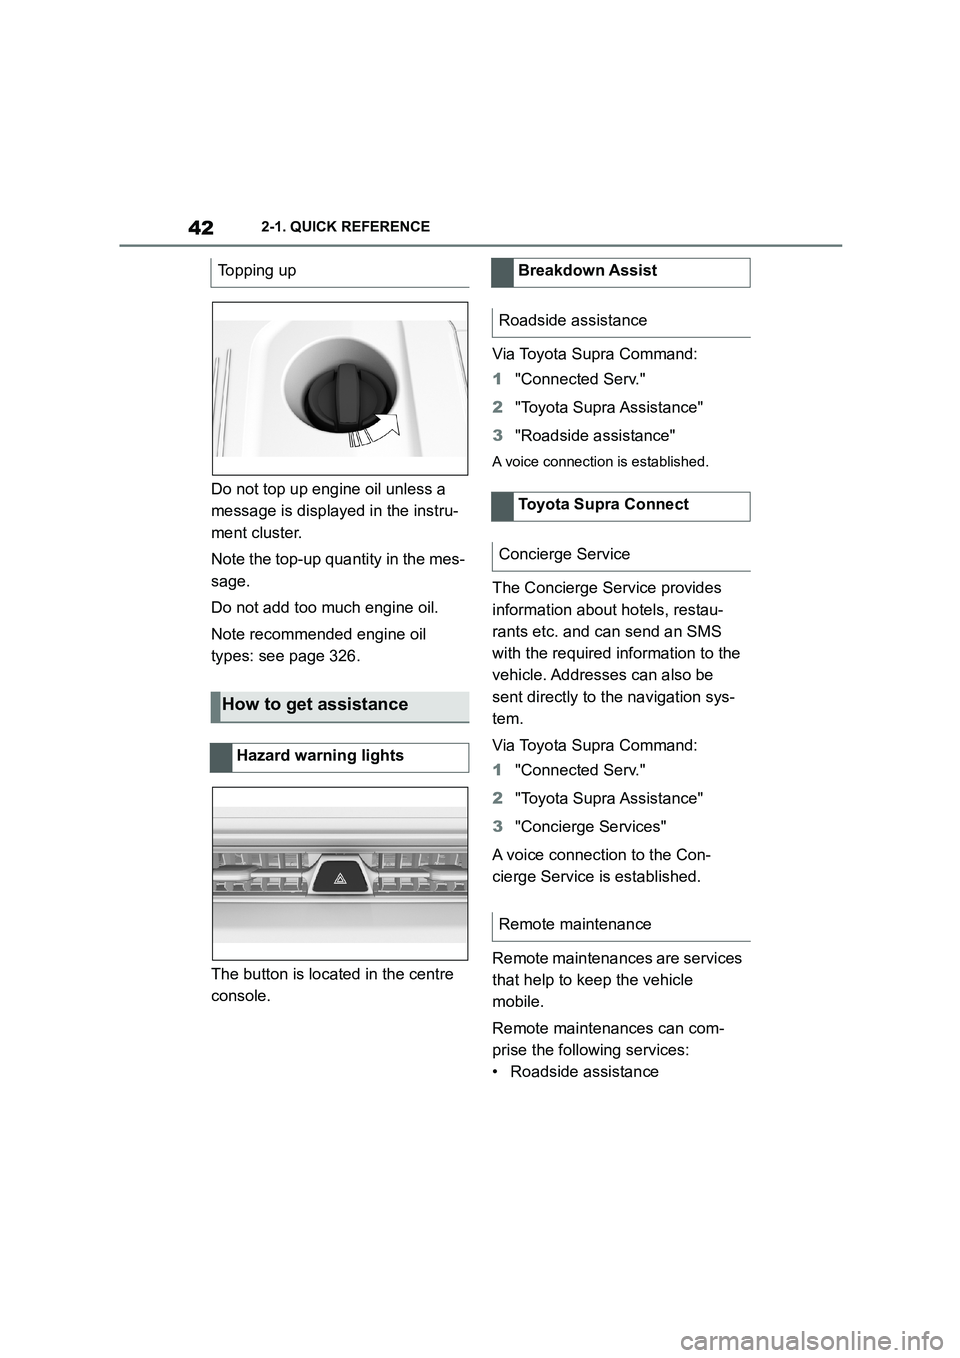
The button is located in the centre
console.
Via Toyota Supra Command:
1 "Connected Serv."
2 "Toyota Supra Assistance"
3 "Roadside assistance"
A voice connection is established.
The Concierge Service provides
information about hotels, restau-
rants etc. and can send an SMS
with the required information to the
vehicle. Addresses can also be
sent directly to the navigation sys-
tem.
Via Toyota Supra Command:
1 "Connected Serv."
2 "Toyota Supra Assistance"
3 "Concierge Services"
A voice connection to the Con-
cierge Service is established.
Remote maintenances are services
that help to keep the vehicle
mobile.
Remote maintenances can com-
prise the following services:
• Roadside assistance
Topping up
How to get assistance
Hazard warning lights
Breakdown Assist
Roadside assistance
Toyota Supra Connect
Concierge Service
Remote maintenance
Page 45 of 498
43
2
2-1. QUICK REFERENCE
QUICK REFERENCE
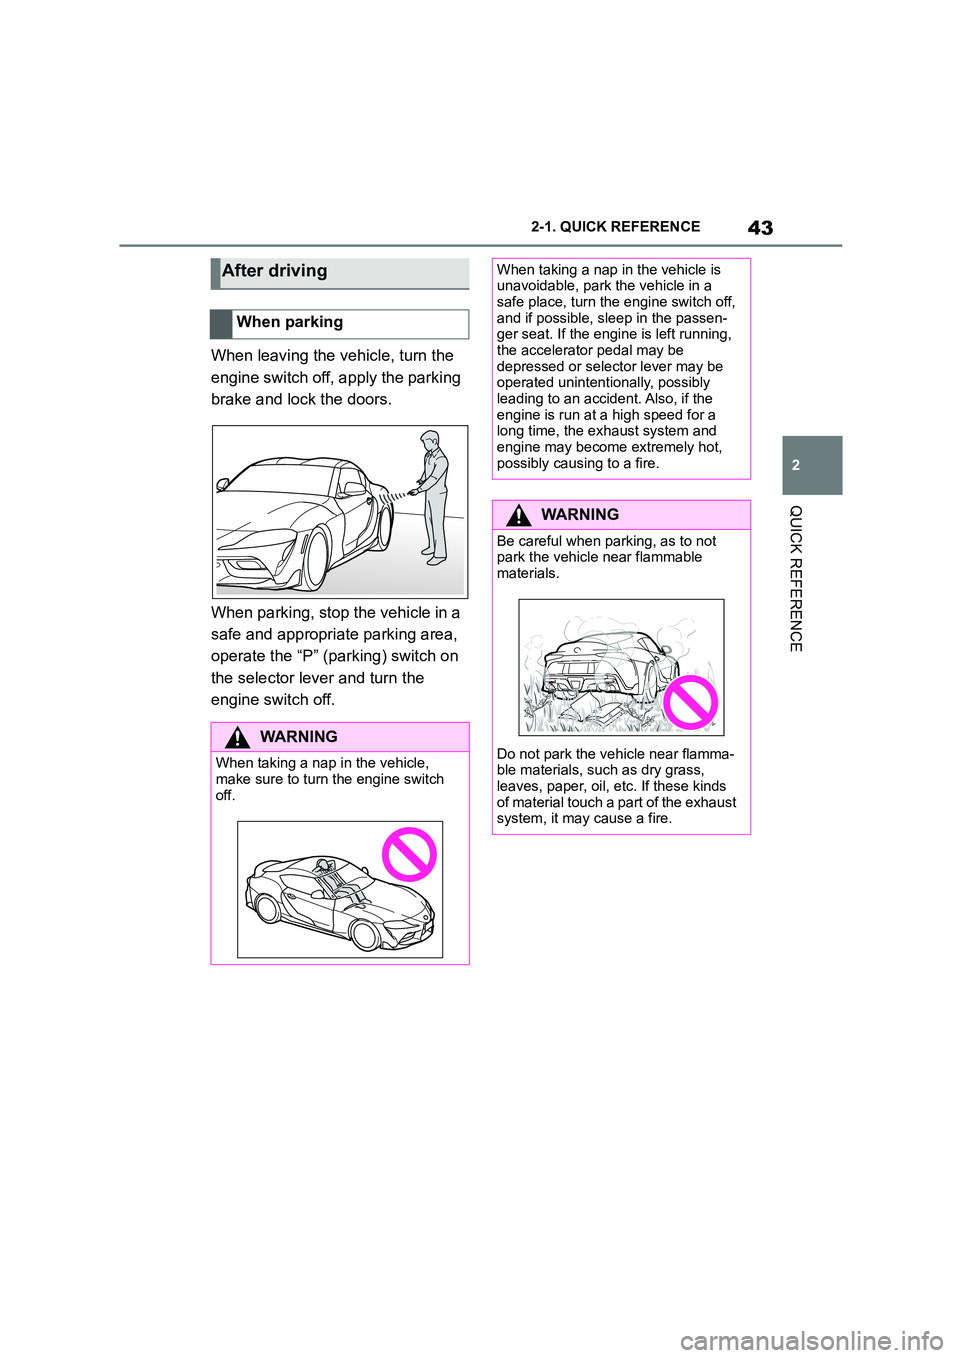
When leaving the vehicle, turn the
engine switch off, apply the parking
brake and lock the doors.
When parking, stop the vehicle in a
safe and appropriate parking area,
operate the “P” (parking) switch on
the selector lever and turn the
engine switch off.
After driving
When parking
WA R N I N G
When taking a nap in the vehicle,
make sure to turn the engine switch off.
When taking a nap in the vehicle is unavoidable, park the vehicle in a
safe place, turn the engine switch off,
and if possible, sleep in the passen- ger seat. If the engine is left running,
the accelerator pedal may be
depressed or select or lever may be operated unintentionally, possibly
leading to an accident. Also, if the
engine is run at a high speed for a long time, the exhaust system and
engine may become extremely hot,
possibly causing to a fire.
WA R N I N G
Be careful when parking, as to not park the vehicle near flammable
materials.
Do not park the vehicle near flamma-
ble materials, such as dry grass,
leaves, paper, oil, etc. If these kinds of material touch a part of the exhaust
system, it may cause a fire.
Page 53 of 498

51
3
3-1. CONTROLS
CONTROLS
• On steep crests or dips or on
tight bends.
• If the camera field of view is
obscured, for example due to
windscreen fittings or stickers.
• If the camera lens is contami-
nated or damaged.
• In the case of bright oncoming
light or strong reflections, for
example if the sun is low in the
sky.
• In the dark.
• Camera behind the windscreen:
if the camera has overheated
due to excessively high tempera-
tures and has been temporarily
deactivated.
• Camera behind the windscreen:
during camera calibration imme-
diately after vehicle delivery.
A Check Control message may be
displayed if the system has failed.
*: if equipped
The radar sensor is located in the
front bumper.
*: if equipped
The radar sensors are located in
the bumper.
The radar sensors may have lim-
ited functionality or may not be
available at all in the following situ-
ations, for example:
• If the sensors are contaminated,
for example by icing.
• If the sensors are obscured, for
example by stickers, foils or a
number plate holder.
• If the sensor is not correctly
aligned, for example following
parking damage.
• If the area covered by the sen-
sors' radar beam is obscured, for
example due to a projecting load.
• If the sensors' field of view is
obscured, for example due to
garage walls, hedges or mounds
of snow.
• After work performed incorrectly
on the vehicle paintwork near to
the sensors.
Radar sensors
Front radar sensor*
Side radar sensors, rear*
System limits of the radar
sensors
Page 114 of 498
1123-1. CONTROLS
• Insert the seat belt into the belt
guide.
• Place the seat belt tightly over
the pelvis and shoulder, close to
the body and without twisting.
• Make sure that the seat belt is
positioned low at the hip in the
area of the pelvis. The seat belt
must not press on the abdomen.
• The seat belt must not be rubbed
on sharp edges, be routed over
solid or breakable objects or be
trapped.
• Avoid wearing bulky clothing.
• Keep the seat belt taut by occa-
sionally pulling upwards on the
upper section.
WA R N I N G
Care should be taken to avoid con-
tamination of the webbing by pol-
ishes, oils and chemicals and particularly battery acid. Cleaning
may safely be carried out using a mild
soap and water solution. The belt should be replaced if webbing
becomes frayed, contaminated or
damaged. Seat belts should not be
worn with straps twisted. Each seat belt assembly must only be used by
one occupant; it is forbidden to put a
belt around a child being carried on the occupant’s lap.
It is essential to replace the entire assembly after it has been worn in a
severe impact even if damage to the
assembly is not obvious.
WA R N I N G
No modifications or additions should
be made by the user that will either
prevent the seat belt adjusting
devices from operating to remove slack, or prevent the seat belt assem-
bly from being adjusted to remove
slack.
WA R N I N G
If the rear backrest is not locked, the
protective effect of the middle seat belt is not ensured. There is a danger
of injury or even death. Lock the wider
rear seat backrest when using the middle seat belt.
WA R N I N G
The protective function of the seat
belts may be limited or may even fail completely in the following situations:
• The seat belts or belt buckles are damaged, dirty or have been modi-
fied in another way.
• The seat belt tensioners or belt retractors have been modified.
Seat belts can be damaged in an accident without the damage neces-
sarily being apparent. There is a dan-
ger of injury or danger to life. Do not modify seat belts, seat belt buckles,
seat belt tensioners, belt retractors
and belt anchor points and ensure that they are kept clean. After an acci-
dent, have the seat belts inspected at
any authorized Toyota retailer or Toyota authorized repairer, or any reli-
able repairer.
Correct seat belt use
Page 149 of 498

147
3
3-1. CONTROLS
CONTROLS
Shift from selector lever position
P to N, D or R.
Vehicle battery is heavily dis-
charged.
Start of an oil level measure-
ment.
Depending on the equipment ver-
sion and country version, the vehi-
cle has various sensors to record
the traffic situation. This enables
the intelligent auto matic Start/Stop
function to adapt to various traffic
situations and, where necessary,
behave in an anticipatory manner.
For example, in the following situa-
tions:
If a situation is detected in which
the duration of the stop is likely
to be very short, the engine is not
stopped automatically. Depend-
ing on the situation, a message
is shown on the Control Display.
If a situation is detected in which
the vehicle should drive off
immediately, the stopped engine
is started automatically.
The function may be limited if the
navigation data is invalid, outdated
or not available, for example.
The engine is not switched off auto-
matically.
During an automatic engine stop,
the engine is started.
Press the button.
The Auto Start/Stop is also deacti-
vated in selector lever position M.
The Auto Start/Stop is also deacti-
vated in the SPORT drive mode of
the Sport mode switch.
■General
With automatic engine stop, the
vehicle can be parked safely, for
Auto Start/Stop additional
function
Manually deactivating/acti-
vating the system
Principle
Using the button
Via selector lever position
Sport mode switch
Parking the vehicle during auto-
matic engine stop
Page 184 of 498
1823-1. CONTROLS
• "Tyre Pressure Monitor": Sta-
tus of the Tyre Pressure Monitor,
see page 304
• "Engine oil leve l": Electronic
oil measurement, see page 324.
• "Vehicle messages": Vehicle
messages are stored in the
background and can be shown
on the Control Display. Display-
ing of saved vehicle messages,
see page 163.
• "Service requirements": dis-
play of the service requirements,
see page 170.
• "Remote maintenance call":
Remote maintenance call.
*: if equipped
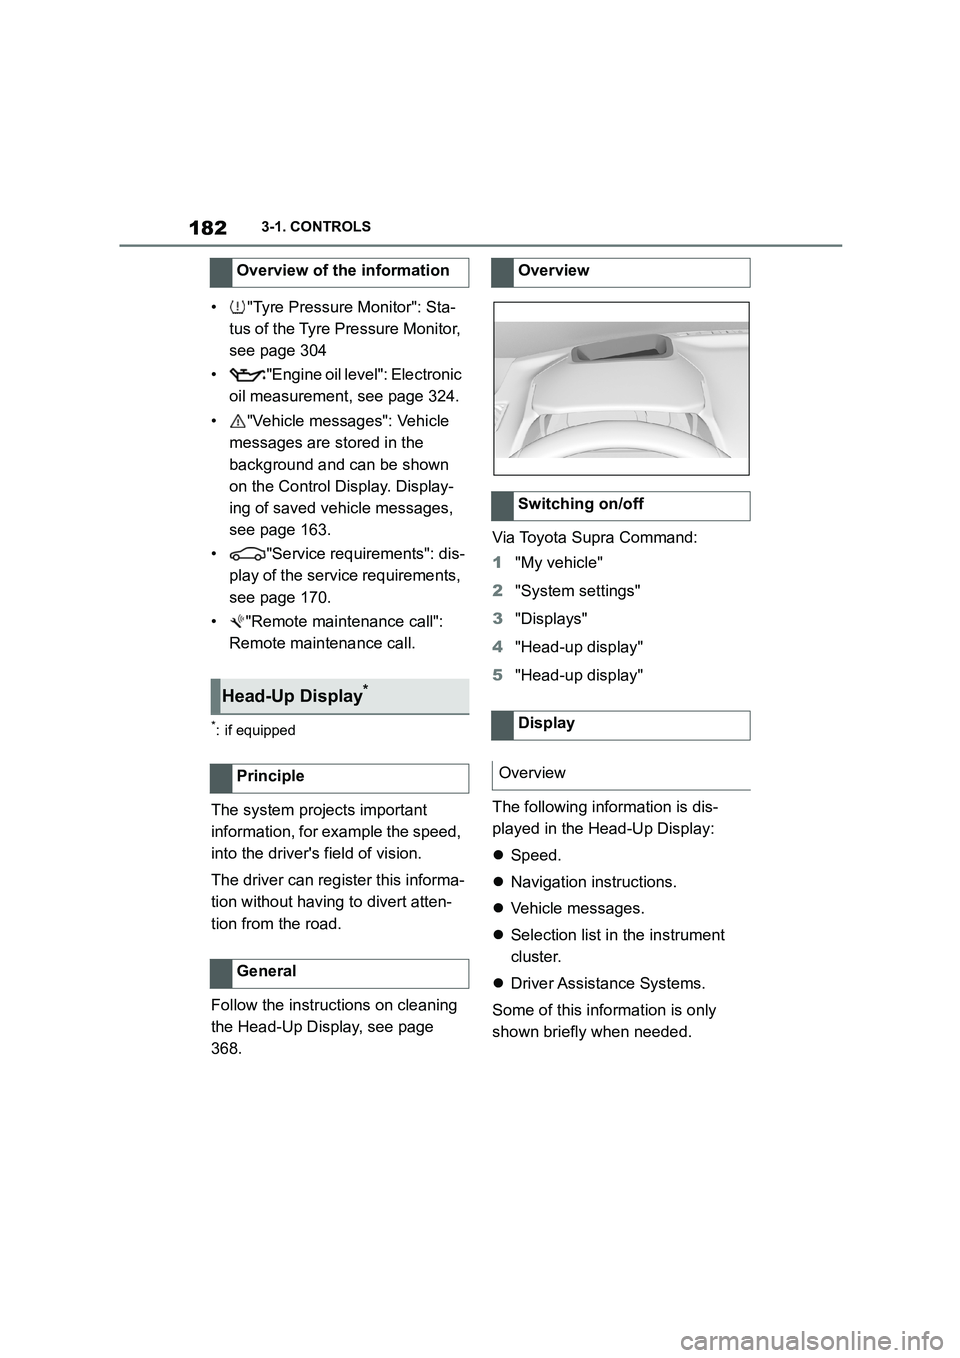
The system projects important
information, for example the speed,
into the driver's field of vision.
The driver can register this informa-
tion without having to divert atten-
tion from the road.
Follow the instruct ions on cleaning
the Head-Up Display, see page
368.
Via Toyota Supra Command:
1 "My vehicle"
2 "System settings"
3 "Displays"
4 "Head-up display"
5 "Head-up display"
The following information is dis-
played in the Head-Up Display:
Speed.
Navigation instructions.
Vehicle messages.
Selection list in the instrument
cluster.
Driver Assistance Systems.
Some of this information is only
shown briefly when needed.
Overview of the information
Head-Up Display*
Principle
General
Overview
Switching on/off
Display
Overview
Page 196 of 498
1943-1. CONTROLS
collision, for example, in minor acci-
dents.
Keep your distance from the
airbags.
Always grip the steering wheel
on the steering wheel rim. Place
your hands in the 3 o'clock and 9
o'clock positions to minimise the
risk of injury to hands or arms
when the airbag deploys.
Adjust the seat and steering
wheel so the driver can reach
over the steering wheel diago-
nally. Select the settings so that,
when reaching over, the shoul-
ders stay in contact with the
backrest and the upper body
stays as far away from the steer-
ing wheel as possible.
Make sure that the front-seat
passenger is sitting correctly, i.e.
with their feet and legs in the
footwell, not resting on the dash-
board.
Make sure that vehicle occu-
pants keep their head away from
the side airbag.
Do not place any other persons,
pets or objects between the
airbags and occupants.
Keep the dashboard and wind-
screen area on the passenger
side clear, for example do not
attach adhesive foil or covers
and do not fit brackets for navi-
gation devices or mobile tele-
phones.
Do not glue the airbag covers
and do not cover or modify them
in any way.
Do not use the front airbag cover
on the front passenger's side as
a tray.
Do not install seat covers, cush-
ions or other objects on the front
seats if they are not specifically
designed for use on seats with
integral side airbags.
Do not hang items of clothing for
example coats or jackets over
the backrests.
Do not modify individual compo-
nents of the system or its wiring
in any way. This also applies to
the covers of the steering wheel,
the dashboard and seats.
Do not dismantle the airbag sys-
tem.
Even if all this information is
observed, depending on the cir-
cumstances in which an accident
occurs, certain injuries as a result
of contact with the airbag cannot be
Notes on achieving optimum
airbag effectiveness
WA R N I N G
If the seat position is wrong or the
deployment area of the airbag is
restricted, the airbag system cannot provide the intended protection or
may cause additional injuries when it
deploys. There is a danger of injury or even death. Observe the following to
achieve optimum protective effect.