2022 TOYOTA PROACE CITY ESP
[x] Cancel search: ESPPage 84 of 320
84
NOTIC E
For maximum cooling or heating of the passenger compartment, it is possible to exceed the minimum value 14 or the maximum value 28.► Push button 1 down until "LO" is displayed or up until "HI" is displayed.
"Mono" function
The comfort setting for the passenger side can be indexed to the driver's comfort setting (mono-zone).► Press the corresponding button 8 to activate/deactivate the function.The indicator lamp in the button comes on when the function is activated.The function is deactivated automatically if a passenger uses the temperature control.
Visibility programme
► Press the “visibility” button 7 to demist or
defrost the windscreen and side windows as quickly as possible. The system automatically manages the air conditioning, air flow and air intake, and provides optimum distribution towards the windscreen and side windows.► Press the “visibility” button 7 again to stop the programme.Or
► Press the “AUTO” button 6 to return to the automatic comfort programme.
Air conditioning
With the engine running, the air conditioning is designed to operate effectively in all seasons, with the windows closed.It enables you to:– lower the temperature in summer,– enhance the effectiveness of the demisting function in winter, above 3°C.
On/Off
► Press button 5 to activate/deactivate the air conditioning system.When the air conditioning is in operation, to cool the air more quickly, you can use interior air recirculation for a few moments by pressing button 4. Then restore the intake of exterior air.
NOTIC E
The air conditioning does not operate when the air flow adjustment is set to off.
WARNI NG
Switching the system off could result in discomfort (humidity, misting).
Air distribution
► Pressing button 3 successively directs the air flow towards:– windscreen, side windows and footwells, – footwells,– central vents, side vents and footwells,– windscreen, side windows, central vents, side vents and footwells,– central and side vents, – windscreen and side windows (demisting or defrosting).
WARNI NG
For optimum comfort (depending on the outside temperature)< 15°C: press button 3 until the air flow to the windscreen and side windows and footwells is activated.15°C - 25°C: press button 3 until the air flow to the central vents, side vents and footwells is activated.> 25°C: press button 3 until the air flow to the
central vents and side vents is activated.
Air flow
► Press the buttons 2 to increase/decrease the air flow.The air flow symbol (a fan) appears. It is filled in or emptied gradually, according to the value set.
Page 85 of 320
85
Ease of use and comfort
3
Recirculation of interior air
The intake of exterior air helps avoid and eliminate misting of the windscreen and side windows.Recirculating the interior air isolates the passenger compartment from polluted air when passing through high-traffic areas or tunnels.
NOTIC E
When required, this function also allows faster heating or cooling of the air in the passenger compartment.
► Press button 4 to recirculate the interior air or allow the intake of exterior air.
WARNI NG
Avoid prolonged use of interior air recirculation in order to guarantee a good renewal of the air and reduce the risk of fogging (especially when there are several people on board, when the atmosphere is cold/humid...).
Front demisting
- defrosting
Heating
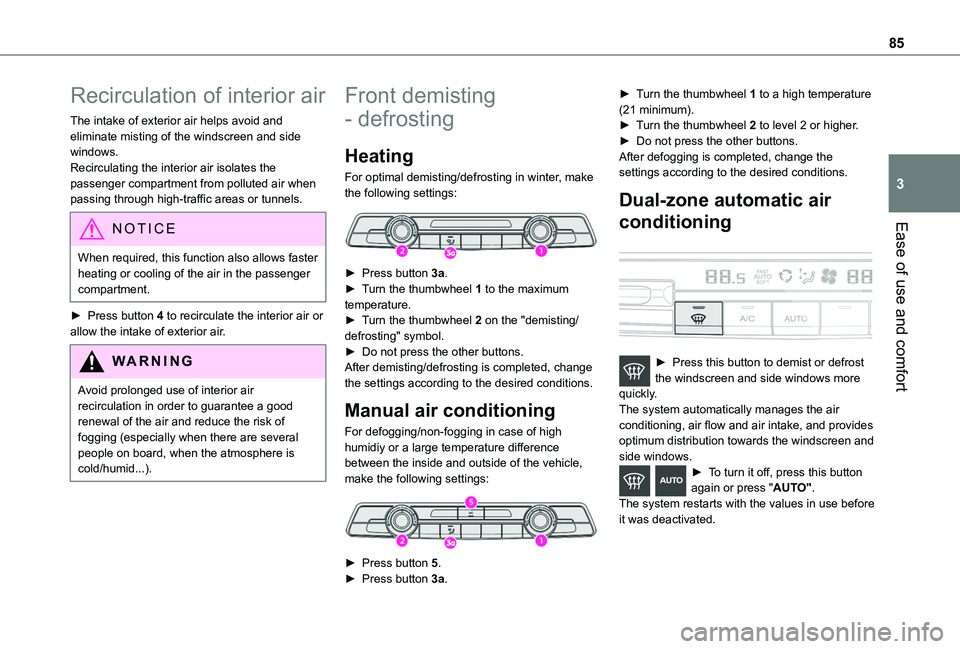
For optimal demisting/defrosting in winter, make the following settings:
► Press button 3a.► Turn the thumbwheel 1 to the maximum temperature.► Turn the thumbwheel 2 on the "demisting/defrosting" symbol.► Do not press the other buttons.After demisting/defrosting is completed, change the settings according to the desired conditions.
Manual air conditioning
For defogging/non-fogging in case of high humidiy or a large temperature difference between the inside and outside of the vehicle, make the following settings:
► Press button 5.► Press button 3a.
► Turn the thumbwheel 1 to a high temperature (21 minimum).► Turn the thumbwheel 2 to level 2 or higher.► Do not press the other buttons.After defogging is completed, change the settings according to the desired conditions.
Dual-zone automatic air
conditioning
► Press this button to demist or defrost the windscreen and side windows more quickly.The system automatically manages the air conditioning, air flow and air intake, and provides optimum distribution towards the windscreen and side windows.► To turn it off, press this button again or press "AUTO".The system restarts with the values in use before it was deactivated.
Page 86 of 320
86
NOTIC E
Heated windscreen and washer jetsFor more information on the Wiper control lever and in particular the heated windscreen and washer jets, refer to the corresponding section.
NOTIC E
With Stop & Start, when demisting - defrosting has been activated, STOP mode is not available.
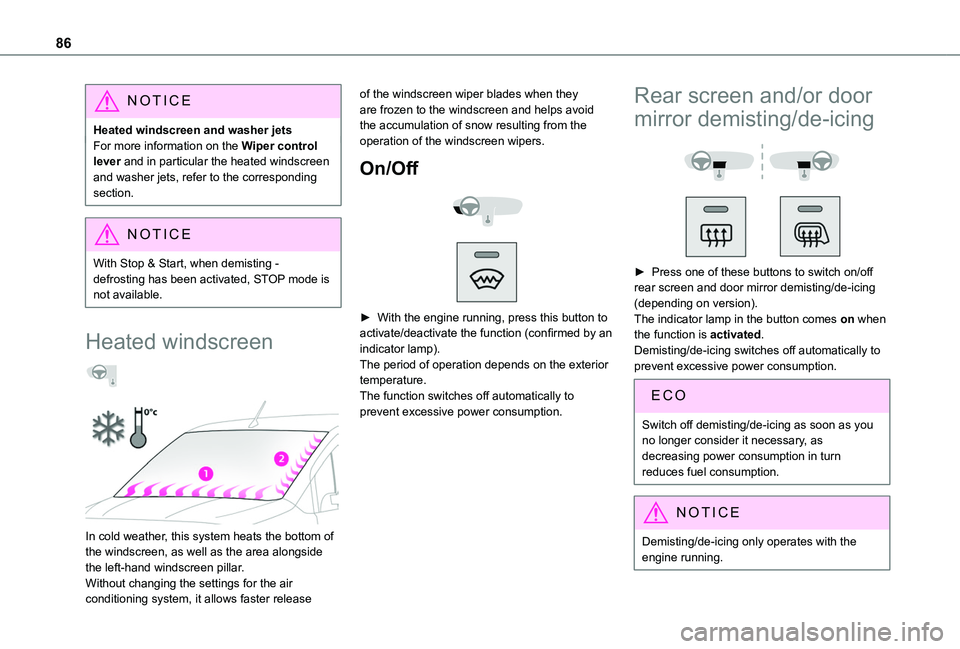
Heated windscreen
In cold weather, this system heats the bottom of the windscreen, as well as the area alongside the left-hand windscreen pillar.Without changing the settings for the air conditioning system, it allows faster release
of the windscreen wiper blades when they are frozen to the windscreen and helps avoid the accumulation of snow resulting from the operation of the windscreen wipers.
On/Off
► With the engine running, press this button to activate/deactivate the function (confirmed by an indicator lamp).The period of operation depends on the exterior temperature.The function switches off automatically to prevent excessive power consumption.
Rear screen and/or door
mirror demisting/de-icing
► Press one of these buttons to switch on/off rear screen and door mirror demisting/de-icing (depending on version).The indicator lamp in the button comes on when the function is activated.Demisting/de-icing switches off automatically to prevent excessive power consumption.
Switch off demisting/de-icing as soon as you no longer consider it necessary, as
decreasing power consumption in turn reduces fuel consumption.
NOTIC E
Demisting/de-icing only operates with the
engine running.
Page 89 of 320
89
Ease of use and comfort
3
– the battery charge and the fuel level are sufficient,– the engine has been started since the previous heating cycle,– 60 minutes have elapsed between two heating requests.
WARNI NG
The programmable heating is supplied by the
vehicle fuel tank. Before use, make sure that you have sufficient fuel. If the fuel tank is on reserve, you are strongly recommended not to program the heating.
The additional heating must always be switched off while refuelling to avoid any risk of fire or explosion.
WARNI NG
To avoid the risks of poisoning or asphyxia, the programmable heating must not be used, even for short periods, in a closed environment such as a garage or workshop
which is not equipped with an exhaust gas extraction system.Do not park the vehicle on a flammable surface (dry grass, dead leaves, paper, etc.) - Risk of fire!
WARNI NG
Glazed surfaces such as the rear screen or windscreen can become very hot in places.
Never put objects on these surfaces; never touch these surfaces - Risk of burns!
Do not throw remote control batteries away, as they contain metals that are harmful to the environment. Take them to an approved disposal point.
A/C preconditioning
(Electric)
This function allows you to programme the temperature in the passenger compartment to reach a pre-defined, non-modifiable temperature (approx. 21°C) before you enter the vehicle, on the days and at the times of your choice.This function is available when the vehicle is connected or not connected.
Programming
Programming can be carried out from a smartphone using the MyToyota application (Available soon).For more information on the Remotely-operable functions, refer to the corresponding section.
With TOYOTA Connect Nav
In the Applications menu:
Press "Car Apps" to display the applications home page.Select Temperature conditioning.
► Press + to add a programme.► Select the time of entry into the vehicle and the desired days. Press OK.► Press ON to activate this programme.The temperature pre-conditioning sequence begins approximately 45 minutes before the programmed time when the vehicle is connected (20 minutes when it is not connected) and is maintained for 10 minutes after.
NOTIC E
You can set multiple programmes.Each one is saved in the system.To optimise the driving range, we recommend starting a programme while the vehicle is connected.
Page 90 of 320
90
NOTIC E
The fan noise that occurs during temperature pre-conditioning is perfectly normal.
Operating conditions
– The function is only activated when the ignition is switched off and the vehicle locked.– When the vehicle is not connected, the function is only activated if the battery charge level is greater than 50%.– When the vehicle is not connected and a recurring programme is active (e.g. from Monday to Friday), if two temperature pre-conditioning sequences are run without the vehicle being used, the programme will be deactivated.
Courtesy lamp
Automatic switching on/off
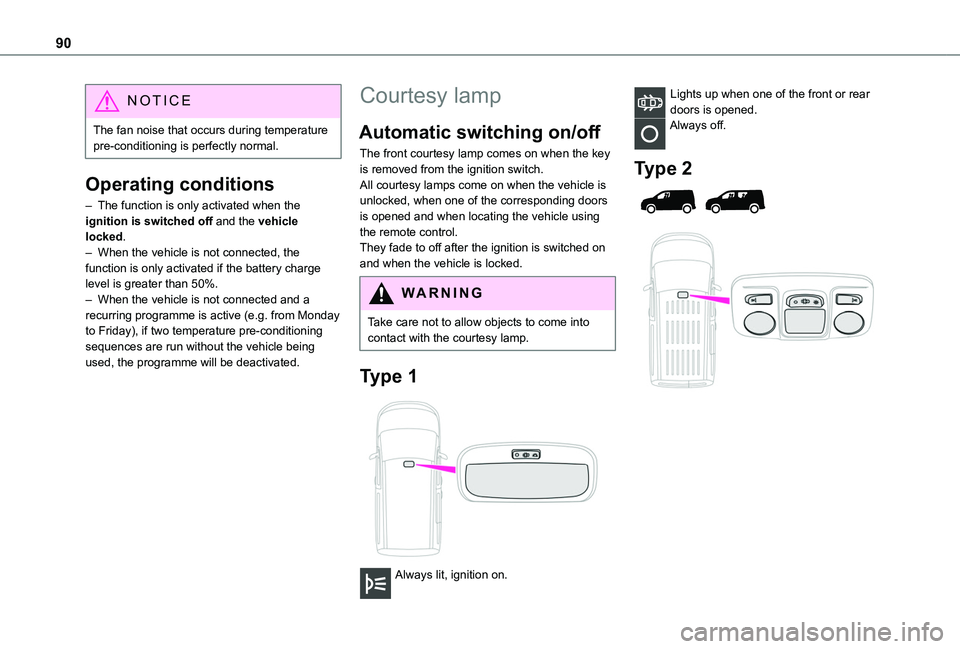
The front courtesy lamp comes on when the key is removed from the ignition switch.All courtesy lamps come on when the vehicle is unlocked, when one of the corresponding doors is opened and when locating the vehicle using the remote control. They fade to off after the ignition is switched on and when the vehicle is locked.
WARNI NG
Take care not to allow objects to come into contact with the courtesy lamp.
Type 1
Always lit, ignition on.
Lights up when one of the front or rear doors is opened.Always off.
Type 2
Page 91 of 320
91
Ease of use and comfort
3
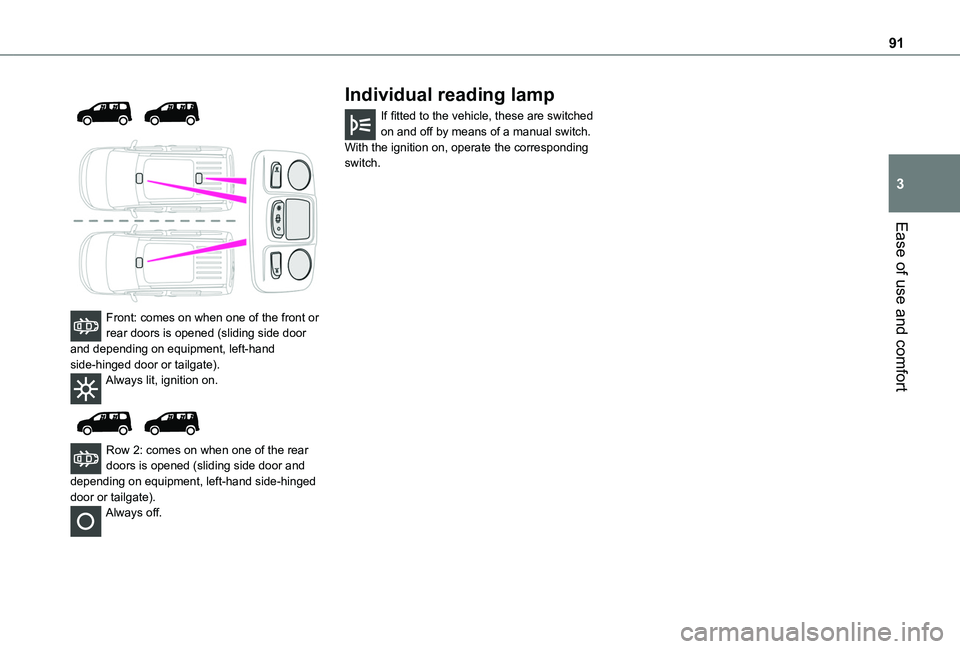
Front: comes on when one of the front or rear doors is opened (sliding side door and depending on equipment, left-hand side-hinged door or tailgate).Always lit, ignition on.
Row 2: comes on when one of the rear doors is opened (sliding side door and depending on equipment, left-hand side-hinged door or tailgate).Always off.
Individual reading lamp
If fitted to the vehicle, these are switched on and off by means of a manual switch.With the ignition on, operate the corresponding switch.
Page 92 of 320
92
Lighting control lever
Main lighting
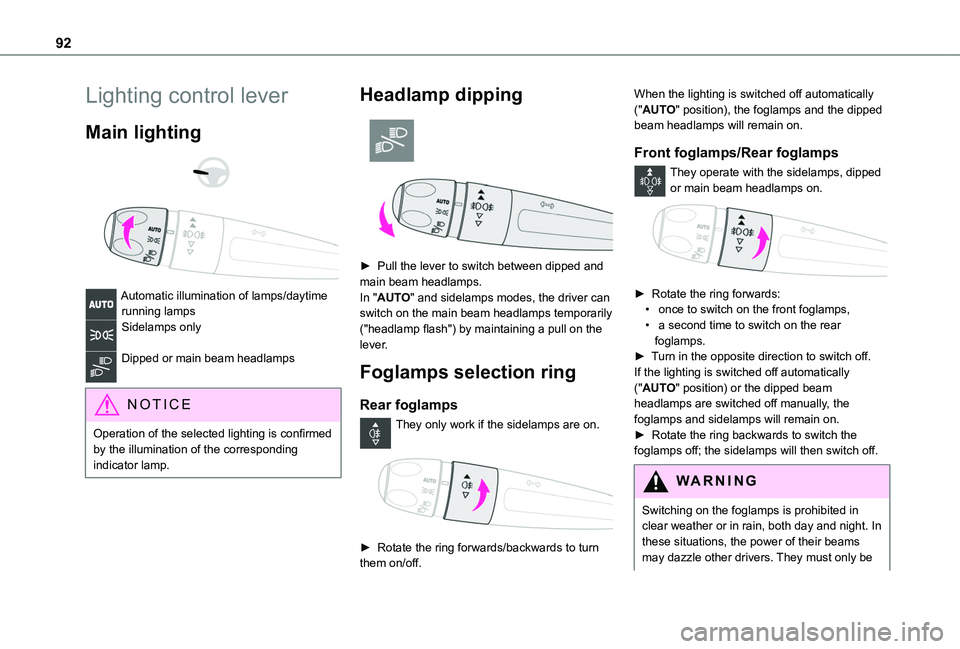
Automatic illumination of lamps/daytime running lampsSidelamps only
Dipped or main beam headlamps
NOTIC E
Operation of the selected lighting is confirmed by the illumination of the corresponding indicator lamp.
Headlamp dipping
► Pull the lever to switch between dipped and main beam headlamps.In "AUTO" and sidelamps modes, the driver can switch on the main beam headlamps temporarily ("headlamp flash") by maintaining a pull on the lever.
Foglamps selection ring
Rear foglamps
They only work if the sidelamps are on.
► Rotate the ring forwards/backwards to turn them on/off.
When the lighting is switched off automatically ("AUTO" position), the foglamps and the dipped beam headlamps will remain on.
Front foglamps/Rear foglamps
They operate with the sidelamps, dipped or main beam headlamps on.
► Rotate the ring forwards:• once to switch on the front foglamps,• a second time to switch on the rear foglamps.► Turn in the opposite direction to switch off.If the lighting is switched off automatically ("AUTO" position) or the dipped beam headlamps are switched off manually, the foglamps and sidelamps will remain on.► Rotate the ring backwards to switch the foglamps off; the sidelamps will then switch off.
WARNI NG
Switching on the foglamps is prohibited in clear weather or in rain, both day and night. In these situations, the power of their beams may dazzle other drivers. They must only be
Page 94 of 320

94
► Within one minute after switching off the ignition, operate the lighting control lever upwards or downwards, depending on the side of the traffic (for example: when parking on the right; push the lighting control lever down to light up on the left).This is confirmed by an audible signal and illumination of the corresponding direction indicator lamp in the instrument panel.► To switch off the parking lamps, return the lighting control lever to the central position.
Automatic headlamp
illumination
When a low level of ambient light is detected by a sunshine sensor, the number plate lamps, sidelamps and dipped beam headlamps are switched on automatically, without any action on the part of the driver. They can also come on if rain is detected, at the same time as the automatic rain sensitive wipers.As soon as the brightness returns to a sufficient
level or after the windscreen wipers are switched off, the lamps are switched off automatically.
► Turn the ring to the "AUTO" position. When the function is activated, a message is also displayed.
► Turn the ring to another position. An onscreen message is displayed to confirm that the function has been deactivated.
Malfunction
In the event of a malfunction of the rain/sunshine sensor, the vehicle’s lamps come on and this warning lamp is displayed on the instrument panel, accompanied by an audible signal and/or the display of a message.Have it checked by any authorized Toyota retailer or Toyota authorized repairer, or any reliable repairer.
WARNI NG
Do not cover the rain/sunshine sensor located on the dashboard or at the top centre of the windscreen behind the interior rear view mirror (depending on equipment); the associated functions would no longer be controlled.
NOTIC E
In fog or snow, the rain/sunshine sensor may detect sufficient light. For this reason, the lighting will not come on automatically.
NOTIC E
The inner surface of the windscreen may become misted up and affect the proper operation of the rain/sunshine sensor.In humid and cold weather, demist the windscreen regularly.
Daytime running lamps /
Sidelamps
The front lamps light up automatically when the engine starts.They provide the following functions:– Daytime running lamps (lighting control lever in the "AUTO" position with adequate light level).– Sidelamps (lighting control lever in the "AUTO" position with low light levels or "Sidelamps only” or "Dipped/main beam headlamps").