2022 TOYOTA PROACE CITY stop start
[x] Cancel search: stop startPage 51 of 320
51
Access
2
Reactivating the interior volumetric
and anti-tilt monitoring
► Deactivate the perimeter monitoring by unlocking the vehicle with the remote control or the Keyless Entry and Starting system.The indicator lamp in the button goes off.► Reactivate all monitoring by locking the vehicle with the remote control or the Keyless Entry and Starting system.The red indicator lamp in the button once again flashes every second.
Triggering of the alarm
This is indicated by sounding of the siren and flashing of the direction indicators for 30 seconds.Depending on the country of sale, certain monitoring functions remain active until the alarm has been triggered eleven times consecutively.When the vehicle is unlocked using the remote control or the "Keyless Entry and Starting" system, rapid flashing of the red indicator lamp
in the button informs you that the alarm was triggered during your absence. When the ignition is switched on, the flashing stops immediately.
Failure of the remote control
To deactivate the monitoring functions:► Unlock the vehicle using the key in the front left-handed door lock.► Open the door; the alarm is triggered.► Switch on the ignition; the alarm stops; the indicator lamp in the button goes off.
Locking the vehicle without
activating the alarm
► Lock or deadlock the vehicle using the key (integral to the remote control) in the driver's door lock.
Malfunction
When the ignition is switched on, the fixed lighting of the red indicator lamp in the button indicates a system malfunction.Have it checked by any authorized Toyota retailer or Toyota authorized repairer, or any reliable repairer.
Automatic activation
(Depending on version)The system is activated automatically 2 minutes after the last door or the boot is closed.► To avoid triggering the alarm on entering the vehicle, first press the unlocking button on the remote control or unlock the vehicle using the “Keyless Entry and Starting” system.
Page 67 of 320
67
Ease of use and comfort
3
12 V accessory socket(s)
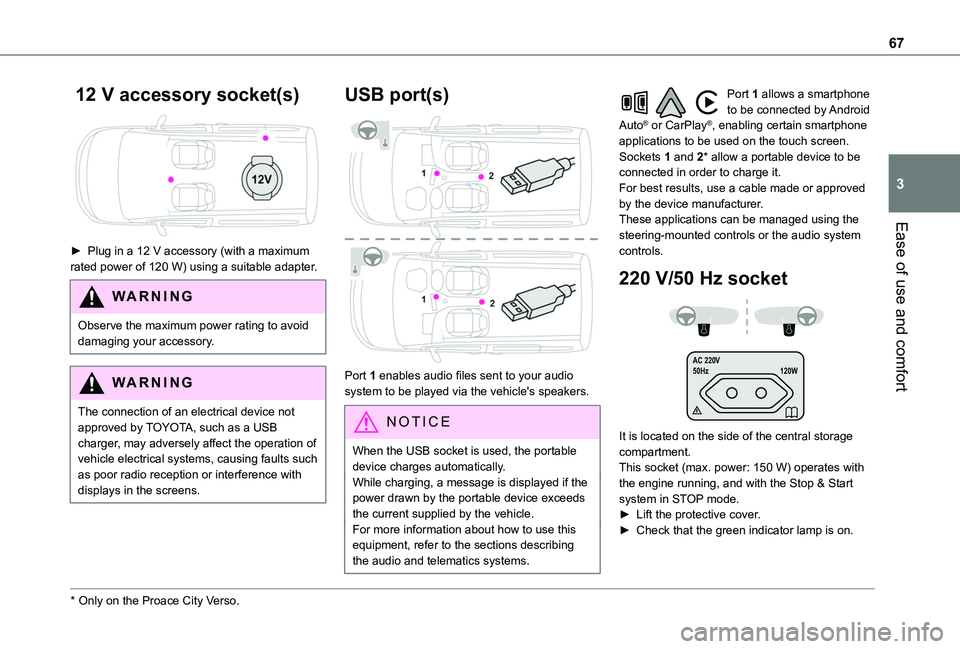
► Plug in a 12 V accessory (with a maximum rated power of 120 W) using a suitable adapter.
WARNI NG
Observe the maximum power rating to avoid damaging your accessory.
WARNI NG
The connection of an electrical device not approved by TOYOTA, such as a USB charger, may adversely affect the operation of vehicle electrical systems, causing faults such as poor radio reception or interference with
displays in the screens.
* Only on the Proace City Verso.
USB port(s)
Port 1 enables audio files sent to your audio system to be played via the vehicle's speakers.
N OTIC E
When the USB socket is used, the portable device charges automatically.While charging, a message is displayed if the power drawn by the portable device exceeds the current supplied by the vehicle.For more information about how to use this
equipment, refer to the sections describing the audio and telematics systems.
Port 1 allows a smartphone to be connected by Android Auto® or CarPlay®, enabling certain smartphone applications to be used on the touch screen.Sockets 1 and 2* allow a portable device to be connected in order to charge it.For best results, use a cable made or approved by the device manufacturer.These applications can be managed using the steering-mounted controls or the audio system controls.
220 V/50 Hz socket
AC 220 V
50Hz 120W
It is located on the side of the central storage compartment.This socket (max. power: 150 W) operates with the engine running, and with the Stop & Start system in STOP mode.► Lift the protective cover.► Check that the green indicator lamp is on.
Page 68 of 320
68
► Connect your multimedia or other electrical device (telephone charger, laptop computer, CD-DVD player, bottle warmer, etc.).In the event of a malfunction, the green indicator lamp flashes.Have the socket checked by a TOYOTA dealer or a qualified workshop.
WARNI NG
Connect only one device at a time to the socket (do not use extension leads or multi-socket adapters).Connect only devices with class II insulation (shown on the device).Do not use metal-cased devices (e.g. electric shaver, etc.).
NOTIC E
As a safety measure, if power consumption is high and power is required by the vehicle's electrical system (due to severe weather conditions, electrical overload, etc.), power to the socket may be cut off, in which case the green indicator lamp goes off.
Wireless smartphone
charger
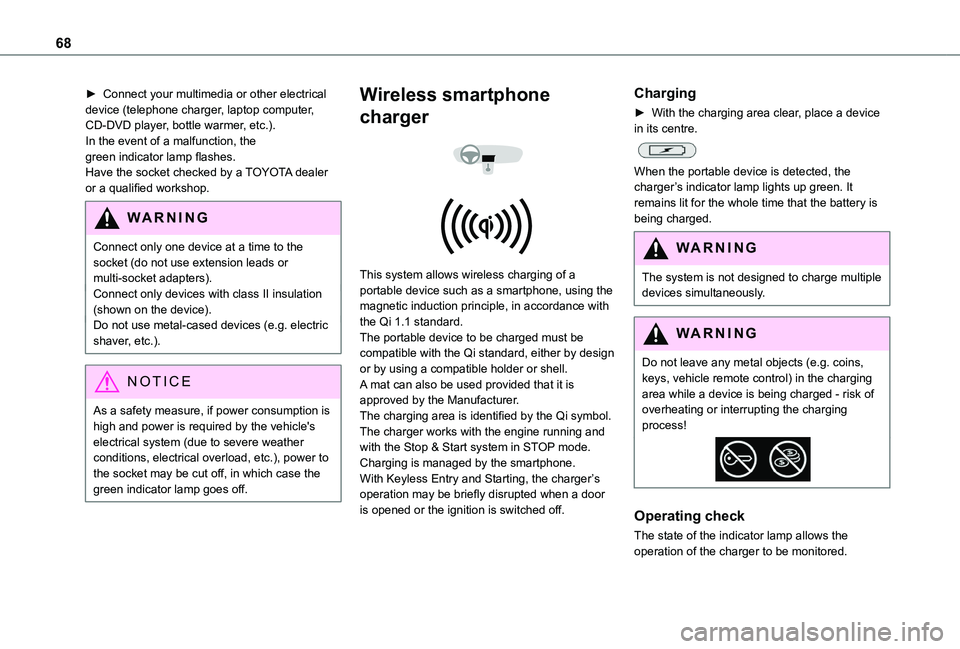
This system allows wireless charging of a portable device such as a smartphone, using the magnetic induction principle, in accordance with the Qi 1.1 standard.The portable device to be charged must be compatible with the Qi standard, either by design or by using a compatible holder or shell.A mat can also be used provided that it is approved by the Manufacturer.The charging area is identified by the Qi symbol.The charger works with the engine running and with the Stop & Start system in STOP mode.Charging is managed by the smartphone.With Keyless Entry and Starting, the charger’s operation may be briefly disrupted when a door is opened or the ignition is switched off.
Charging
► With the charging area clear, place a device in its centre.
When the portable device is detected, the charger’s indicator lamp lights up green. It remains lit for the whole time that the battery is being charged.
WARNI NG
The system is not designed to charge multiple devices simultaneously.
WARNI NG
Do not leave any metal objects (e.g. coins, keys, vehicle remote control) in the charging area while a device is being charged - risk of overheating or interrupting the charging process!
Operating check
The state of the indicator lamp allows the
operation of the charger to be monitored.
Page 81 of 320
81
Ease of use and comfort
3
NOTIC E
Servicing the ventilation and air conditioning system► Ensure that the passenger compartment filter is in good condition and have the filter elements replaced regularly.We recommend using a composite passenger compartment filter. Its specific active additive helps protect against polluting gases and bad smells.► To ensure correct operation of the air conditioning system, have it checked according to the recommendations in the Manufacturer's service schedule.
NOTIC E
Rapid heating of the interior
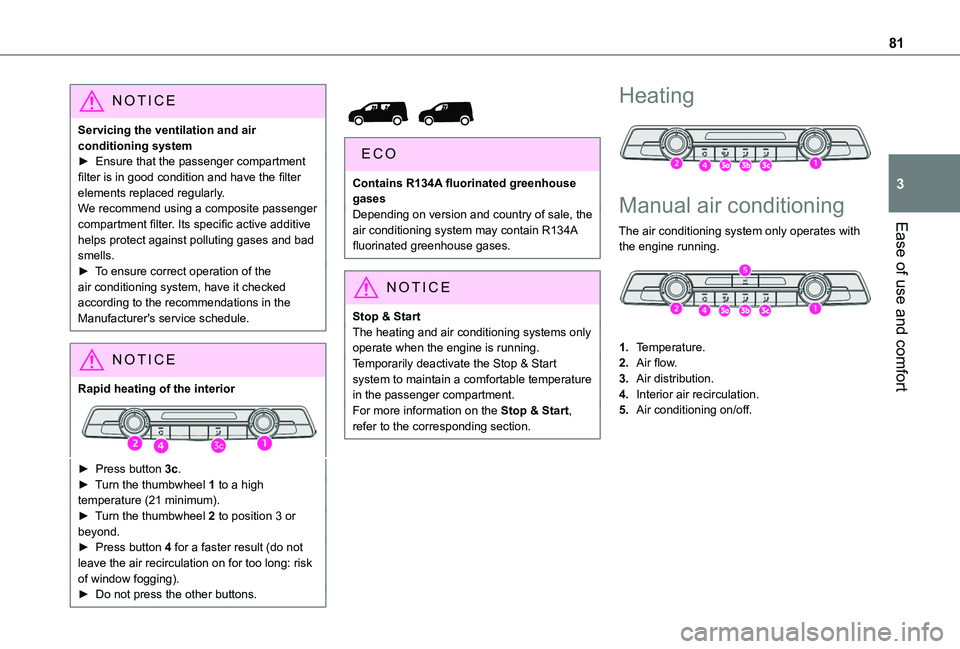
► Press button 3c.► Turn the thumbwheel 1 to a high temperature (21 minimum).► Turn the thumbwheel 2 to position 3 or beyond.► Press button 4 for a faster result (do not leave the air recirculation on for too long: risk of window fogging).► Do not press the other buttons.
Contains R134A fluorinated greenhouse gasesDepending on version and country of sale, the air conditioning system may contain R134A fluorinated greenhouse gases.
NOTIC E
Stop & StartThe heating and air conditioning systems only operate when the engine is running.Temporarily deactivate the Stop & Start system to maintain a comfortable temperature in the passenger compartment.For more information on the Stop & Start, refer to the corresponding section.
Heating
Manual air conditioning
The air conditioning system only operates with
the engine running.
1.Temperature.
2.Air flow.
3.Air distribution.
4.Interior air recirculation.
5.Air conditioning on/off.
Page 86 of 320
86
NOTIC E
Heated windscreen and washer jetsFor more information on the Wiper control lever and in particular the heated windscreen and washer jets, refer to the corresponding section.
NOTIC E
With Stop & Start, when demisting - defrosting has been activated, STOP mode is not available.
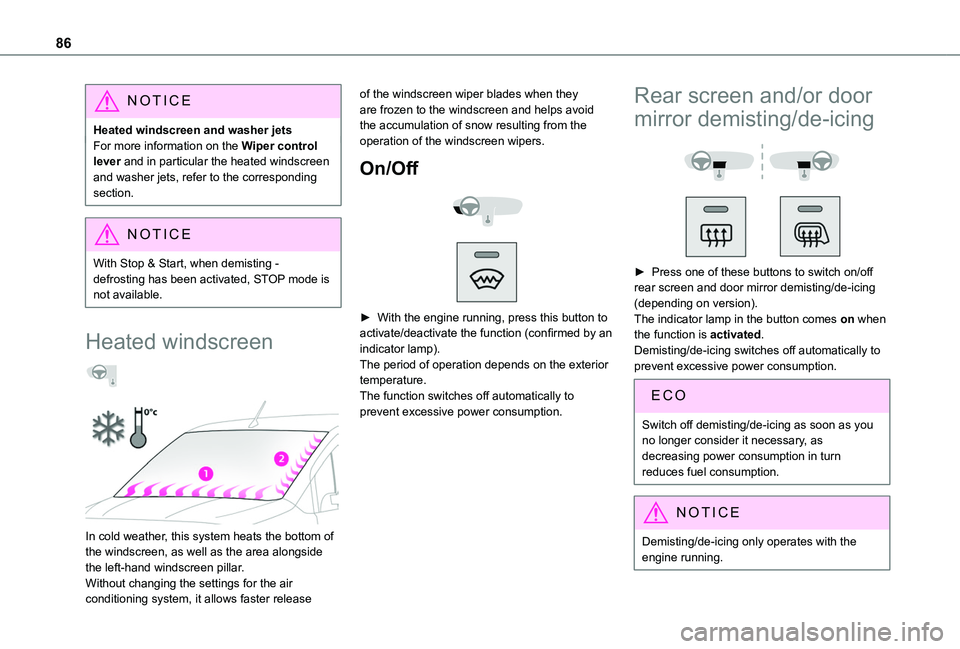
Heated windscreen
In cold weather, this system heats the bottom of the windscreen, as well as the area alongside the left-hand windscreen pillar.Without changing the settings for the air conditioning system, it allows faster release
of the windscreen wiper blades when they are frozen to the windscreen and helps avoid the accumulation of snow resulting from the operation of the windscreen wipers.
On/Off
► With the engine running, press this button to activate/deactivate the function (confirmed by an indicator lamp).The period of operation depends on the exterior temperature.The function switches off automatically to prevent excessive power consumption.
Rear screen and/or door
mirror demisting/de-icing
► Press one of these buttons to switch on/off rear screen and door mirror demisting/de-icing (depending on version).The indicator lamp in the button comes on when the function is activated.Demisting/de-icing switches off automatically to prevent excessive power consumption.
Switch off demisting/de-icing as soon as you no longer consider it necessary, as
decreasing power consumption in turn reduces fuel consumption.
NOTIC E
Demisting/de-icing only operates with the
engine running.
Page 88 of 320
88
► Then set/save the activation time for each selection.► Press "OK" to confirm.
NOTIC E
You must allow at least 60 minutes between programming operations.
NOTIC E
Depending on the outside temperature, a certain amount of pre-conditioning time is necessary in order to reach the programmed temperature by the stored activation time.This pre-conditioning time lasts up to 45 min. with a Diesel engine and up to 30 min. with a petrol engine.
Long range remote control
(Depending on version.)This enables you to switch the heating in
the passenger compartment on or off from a distance.The remote control has a range of about 1 km (0.6 miles) in open country.
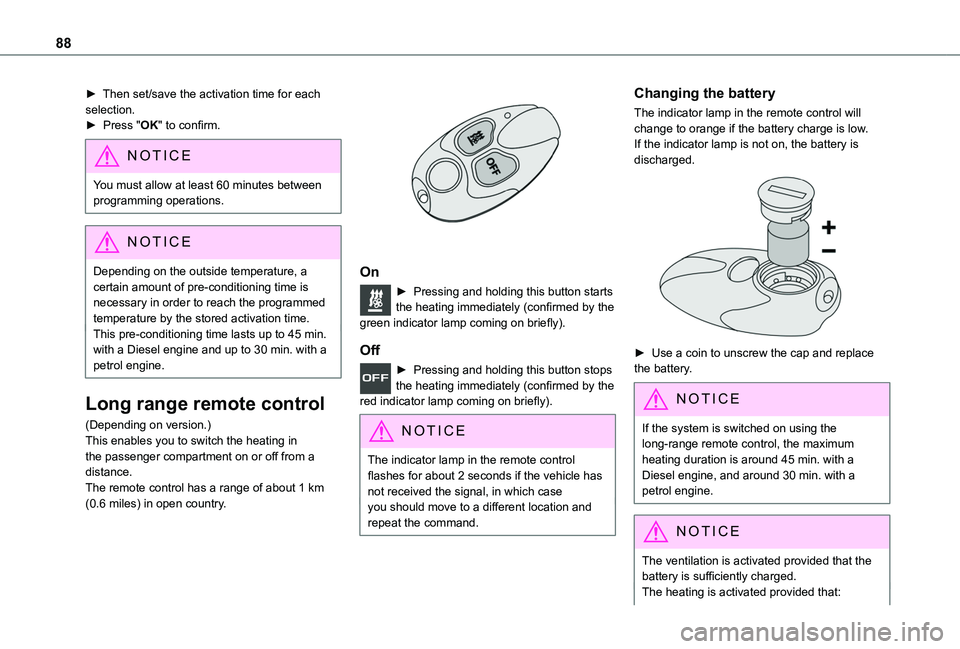
On
► Pressing and holding this button starts the heating immediately (confirmed by the green indicator lamp coming on briefly).
Off
► Pressing and holding this button stops the heating immediately (confirmed by the red indicator lamp coming on briefly).
NOTIC E
The indicator lamp in the remote control flashes for about 2 seconds if the vehicle has not received the signal, in which caseyou should move to a different location and repeat the command.
Changing the battery
The indicator lamp in the remote control will change to orange if the battery charge is low.If the indicator lamp is not on, the battery is discharged.
► Use a coin to unscrew the cap and replace the battery.
NOTIC E
If the system is switched on using the long-range remote control, the maximum
heating duration is around 45 min. with a Diesel engine, and around 30 min. with a petrol engine.
NOTIC E
The ventilation is activated provided that the battery is sufficiently charged. The heating is activated provided that:
Page 105 of 320
105
Safety
5
Vehicle stability control
(VSC)
The electronic stability control programme includes the following systems:– Anti-lock braking system (ABS) and Electronic brake force distribution (EBFD).– Emergency braking assistance (EBA).– Anti-slip regulation (ASR).– Dynamic stability control (DSC).– Trailer stability assist (TSA).
Anti-lock braking system
(ABS)/Electronic brake force
distribution (EBFD)
These systems enhance the vehicle’s stability and handling during braking, and enable greater control while cornering, particularly on poor or slippery road surfaces.ABS prevents wheel locking in the event of emergency braking.Electronic brake force distribution (EBFD)
manages overall braking pressure on each individual wheel.► When braking in an emergency, depress the pedal very firmly and maintain this pressure.
NOTIC E
Normal operation of the ABS may make itself felt by slight vibrations of the brake pedal.
The fixed illumination of this warning lamp signals that there is a fault with the ABS.The vehicle retains conventional braking. Drive carefully at a moderate speed.Have it checked by any authorized Toyota retailer or Toyota authorized repairer, or any reliable repairer.This warning lamp, when lit together with the STOP and ABS warning lamps, accompanied by a message and an audible signal, indicates an EBFD malfunction.You must stop the vehicle.Stop as soon as it is safe to do so and switch off the ignition.Contact any authorized Toyota retailer or Toyota authorized repairer, or any reliable repairer.
WARNI NG
When changing wheels (tyres and rims), ensure that these are approved for your vehicle.
WARNI NG
After an impactHave it checked by any authorized Toyota retailer or Toyota authorized repairer, or any reliable repairer.
Emergency braking
assistance (EBA)
This system reduces the emergency stopping distance, by optimising the braking pressure.It is triggered in relation to the speed at which the brake pedal is depressed. The effect of this is a reduction in the resistance of the pedal and an increase in breaking efficiency.
Anti-slip regulation (ASR)
/ Dynamic stability control
(DSC)
Anti-slip regulation (or traction control) optimises traction by using engine braking and by applying the brakes on the driving wheels to avoid one or more wheels spinning. It also enhances the vehicle's directional stability.If there is a difference between the vehicle’s trajectory and the path desired by the driver, the dynamic stability control system automatically uses engine braking and the brakes on one or
more wheels to return the vehicle to the desired path, within the limits of the laws of physics.These systems are activated automatically every time the vehicle is started.These systems are activated in the event of a problem with grip or trajectory (confirmed by this warning lamp flashing on the instrument panel).
Page 130 of 320

130
► Check that the depth of the water does not exceed 15 cm, taking account of waves that might be generated by other users.► Deactivate the Stop & Start function.► Drive as slowly as possible without stalling. In all cases, do not exceed 6 mph (10 km/h).► Do not stop and do not switch off the motor.On leaving the flooded road, as soon as safety conditions allow, make several light brake applications to dry the brake discs and pads.If in doubt about the state of your vehicle, contact any authorized Toyota retailer or Toyota authorized repairer, or any reliable repairer.
Noise (Electric)
On the outside
Due to the vehicle’s quiet operation when driving, the driver must pay particular attention.When manoeuvring, the driver must always check the vehicle's immediate surroundings.At speeds of up to 19 mph (30 km/h), the pedestrian horn warns other road users of the
vehicle’s presence.
NOTIC E
Cooling the traction batteryThe cooling fan comes on during charging to cool the on-board charger and the traction battery.
On the inside
During use, you may hear certain perfectly normal noises specific to electric vehicles, such as:– Traction battery relay when starting.– Vacuum pump when braking.– Vehicle tyres or aerodynamics when driving.– Jolting and knocking noise during hill starts.
In case of towing
WARNI NG
Driving with a trailer places greater demands on the towing vehicle and requires extra care from the driver.
NOTIC E
Respect the maximum towable weights.At altitude: reduce the maximum load by 10% per 1,000 metres (3,280 ft) of altitude; the density of the air decreases with altitude and the performance of the engine reduces.
WARNI NG
New vehicle: do not pull a trailer before having driven at least 1,000 kilometres (620 miles).
NOTIC E
If the outside temperature is high, let the engine idle for 1 to 2 minutes after the vehicle comes to a stop, to help it to cool.
Before setting off
Nose weight
► Distribute the load in the trailer so that the heaviest items are as close as possible to the axle and the nose weight (at the point where it joins your vehicle) approaches the maximum permitted without exceeding it.
Tyres
► Check the tyre pressures of the towing vehicle and of the trailer, observing the recommended pressures.
Lighting
► Check the electrical signalling on the trailer and the headlamp beam height of your vehicle.
NOTIC E
If a genuine TOYOTA towing device is used, the rear parking sensors will be deactivated automatically to avoid the audible signal.