Page 318 of 356

3185-1. MOBILITY
1Check whether the battery of
the other vehicle has a volt-
age of 12 volts. The voltage
information can be found on
the battery.
2 Switch off the engine of the
assisting vehicle.
3 Switch off any electronic sys-
tems/power consumers in
both vehicles.
The starting aid terminal in the
engine compartment acts as the
positive battery terminal.
A special connection on the
body in the engine compartment
acts as the negative battery ter-
minal.
Additional information:
Overview of engine compart-
ment, refer topage 291.
Open the cover of the positive
battery terminal.
Before you begin, switch off all
unnecessary electronic sys-
tems/power consumers, such as
the radio, on the assisting and
receiving vehicle.
1 Open the cover of the starting
aid terminal. 2
Attach one terminal clamp of
the positive jumper cable to
the positive terminal of the
battery, or to the correspond-
ing starting aid terminal of the
vehicle providing assistance.
3 Attach the terminal clamp on
the other end of the cable to
the positive terminal of the
battery, or to the correspond-
ing starting aid terminal of the
vehicle to be started.
4 Attach one terminal clamp of
the negative jumper cable to
the negative terminal of the
battery, or to the correspond-
ing engine or body ground of
assisting vehicle.
5 Attach the second terminal
clamp to the negative termi-
nal of the battery, or to the
corresponding engine or
body ground of the vehicle to
be started.
Never use spray fluids to start
the engine.
1 Start the engine of the assist-
ing vehicle and let it run for
several minutes at an
increased idle speed.
2 Start the engine of the vehicle
that is to be started in the
usual way.
If the first starting attempt is not
successful, wait a few minutes
before making another attempt in
Preparation
Starting aid terminals
Connecting the cables
Starting the engine
Page 319 of 356

3195-1. MOBILITY
5
MOBILITY
order to allow the discharged bat-
tery to recharge.
3Let both engines run for sev-
eral minutes.
4 Disconnect the jumper
cables in the reverse order.
Check the battery and recharge,
if needed.
The vehicle is not permitted to
be towed. To remove a broken-down vehi-
cle from the danger area, it can
be pushed for a short distance.
For rolling or pushing the vehi-
cle, refer to page 128.
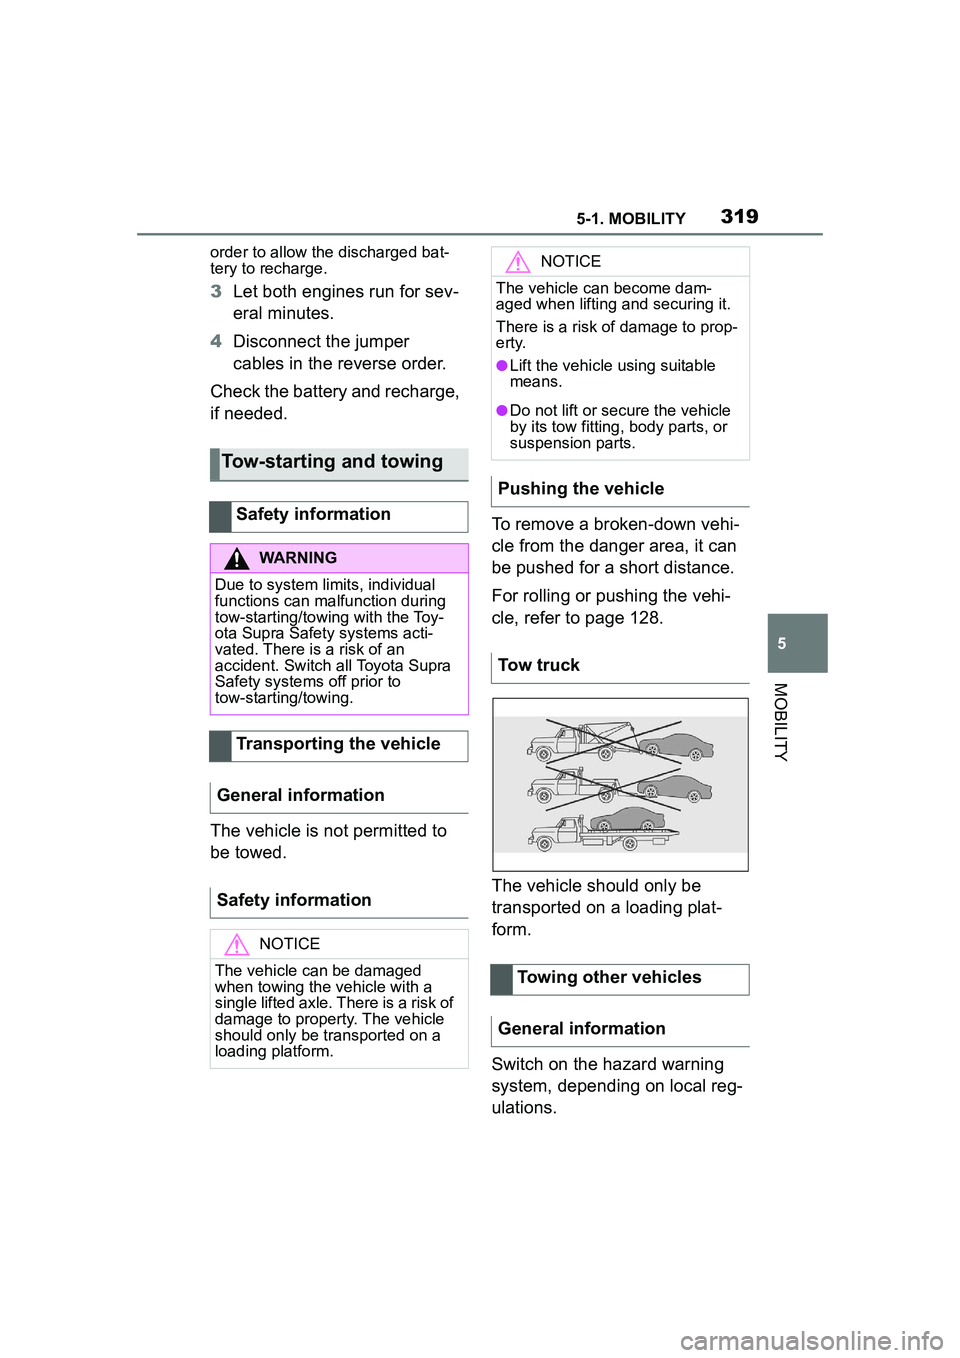
The vehicle should only be
transported on a loading plat-
form.
Switch on the hazard warning
system, depending on local reg-
ulations.
Tow-starting and towing
Safety information
WARNING
Due to system limits, individual
functions can malfunction during
tow-starting/towing with the Toy-
ota Supra Safety systems acti-
vated. There is a risk of an
accident. Switch all Toyota Supra
Safety systems off prior to
tow-starting/towing.
Transporting the vehicle
General information
Safety information
NOTICE
The vehicle can be damaged
when towing the vehicle with a
single lifted axle. There is a risk of
damage to property. The vehicle
should only be transported on a
loading platform.
NOTICE
The vehicle can become dam-
aged when lifting and securing it.
There is a risk of damage to prop-
erty.
●Lift the vehicle using suitable
means.
●Do not lift or secure the vehicle
by its tow fitting, body parts, or
suspension parts.
Pushing the vehicle
Tow truck
Towing other vehicles
General information
Page 321 of 356

3215-1. MOBILITY
5
MOBILITY
The tow fitting is found in the
onboard vehicle tool kit, refer to
page 303.
Observe the following notes
when using the tow fitting:
Use only the tow fitting pro-
vided with the vehicle.
Turn the tow fitting at least 5
turns clockwise and screw it
in as far as it will go. If neces-
sary, tighten with a suitable
object.
After use, unscrew the tow fit-
ting counter clockwise.
Use the tow fitting for towing
on paved roads only.
Avoid lateral loading of the
tow fitting, for instance do not
lift the vehicle by the tow fit-
ting.
Check the attachment of the
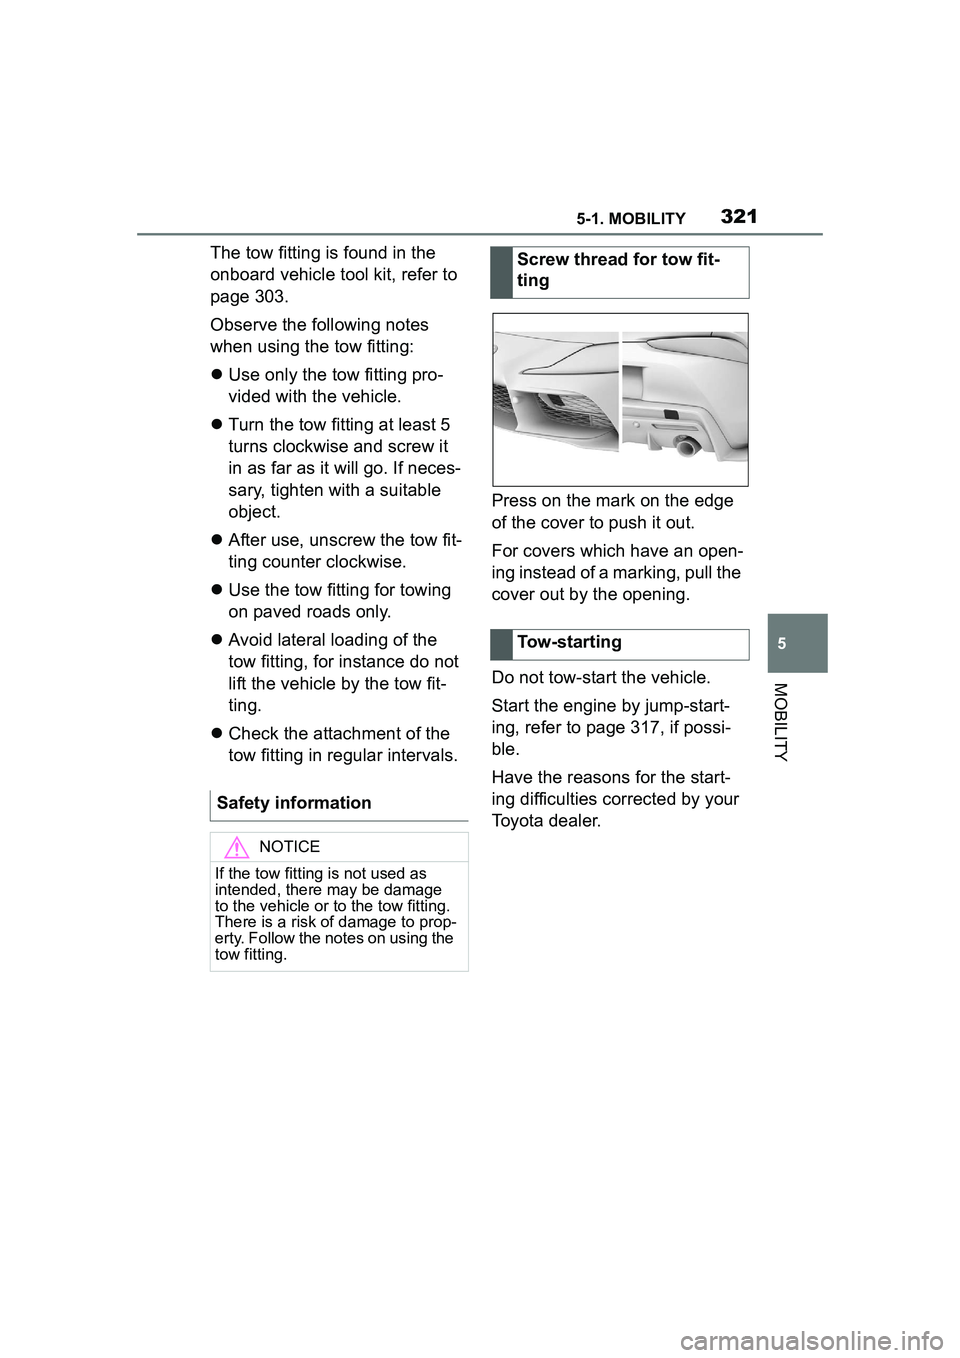
tow fitting in regular intervals. Press on the mark on the edge
of the cover to push it out.
For covers which have an open-
ing instead of a marking, pull the
cover out by the opening.
Do not tow-start the vehicle.
Start the engine by jump-start-
ing, refer to page 317, if possi-
ble.
Have the reasons for the start-
ing difficulties corrected by your
Toyota dealer.
Safety information
NOTICE
If the tow fitting is not used as
intended, there may be damage
to the vehicle or to the tow fitting.
There is a risk of damage to prop-
erty. Follow the notes on using the
tow fitting.
Screw thread for tow fit-
ting
Tow-starting
Page 346 of 356

346Alphabetical Index
Changing parts ....................... 303
Changing wheels .................... 289
Changing wheels/tires ........... 272
Chassis number, see Vehicle identification number............. 12
Checking the engine oil level electronically ........................ 295
Checking the oil level electroni- cally ....................................... 295
Child restraint systems, mount- ing .......................................... 112
Child restraint systems, see Transporting ch ildren safely 111
Child seat, mount ing .............. 112
Child seats, see Transporting children safely ...................... 111
Children, seating position ..... 111
Children, transporting safely 111
Chrome surfaces, care .......... 326
Chrome-plated surfaces, care326
Cleaning displays, screens ... 328
Cleaning, Head-up Display .... 328
Climate control ....................... 226
Combination switch, see Turn signals ................................... 121
Combination switch, see Washer/wiper system........... 122
Comfort entry ........................... 85
Comparison of entries, see Entry comparison ............................. 46
Compartments in the doors .. 245
Compressor ............................ 276
Condensation water under the parked vehicle ...................... 257
Condensation, removing from the windows.......................... 230
Condition Based Service CBS ............................................... 301
Confirmation signal from the vehicle ..................................... 91
Connecting electr ical devices,
see Sockets .......................... 238 Connections, Screen Mirroring74
Control Display .........................49
Control Display, settings .........60
Control systems, driving stability
...............................................194
Controller ..................................49
Convenient closing with the remote control . .......................80
Convenient opening with the remote control . .......................79
Coolant ....................................298
Coolant level ...........................298
Coolant temperature ..............140
Cooling system .......................298
Cooling, maximum .................228
Corrosion on brake discs ......256
Cosmetic mirror ......................238
Cruise control .........................199
Cruise control with distance con- trol, see Dynami c radar cruise
control with full-speed range ...............................................203
Cruise control without distance control, see Cruise control ..199
Cruise control, active with Stop & Go .......................................203
Cruising range ........................141
Cup holder...............................245
Curtain shield airbag ..............160
Customize Settings, see Driver profiles.....................................65
Customize Settings, see Sport mode switch ..........................131
D
Damage, tires ..... .....................271
Data memory ...............................7
Data protection, settings .........63
Data, see Deleting personal data in the vehicle ...........................64
Data, technical ........................330
Date ............................................61
Page:
< prev 1-8 9-16 17-24