2022 TOYOTA GR SUPRA transmission
[x] Cancel search: transmissionPage 130 of 356
1303-1. CONTROLS
Electronically unlock the trans-
mission lock to maneuver vehi-
cle from a danger area.
Unlocking is possible, if the
starter can spin the engine.
Before unlocking the transmis-
sion lock, set the parking brake
to prevent the vehicle from roll-
ing away.
1Press and hold down brake
pedal.
2 Press the Start/Stop button.
The starter must audibly
start. Hold the Start/Stop but-
ton pressed.
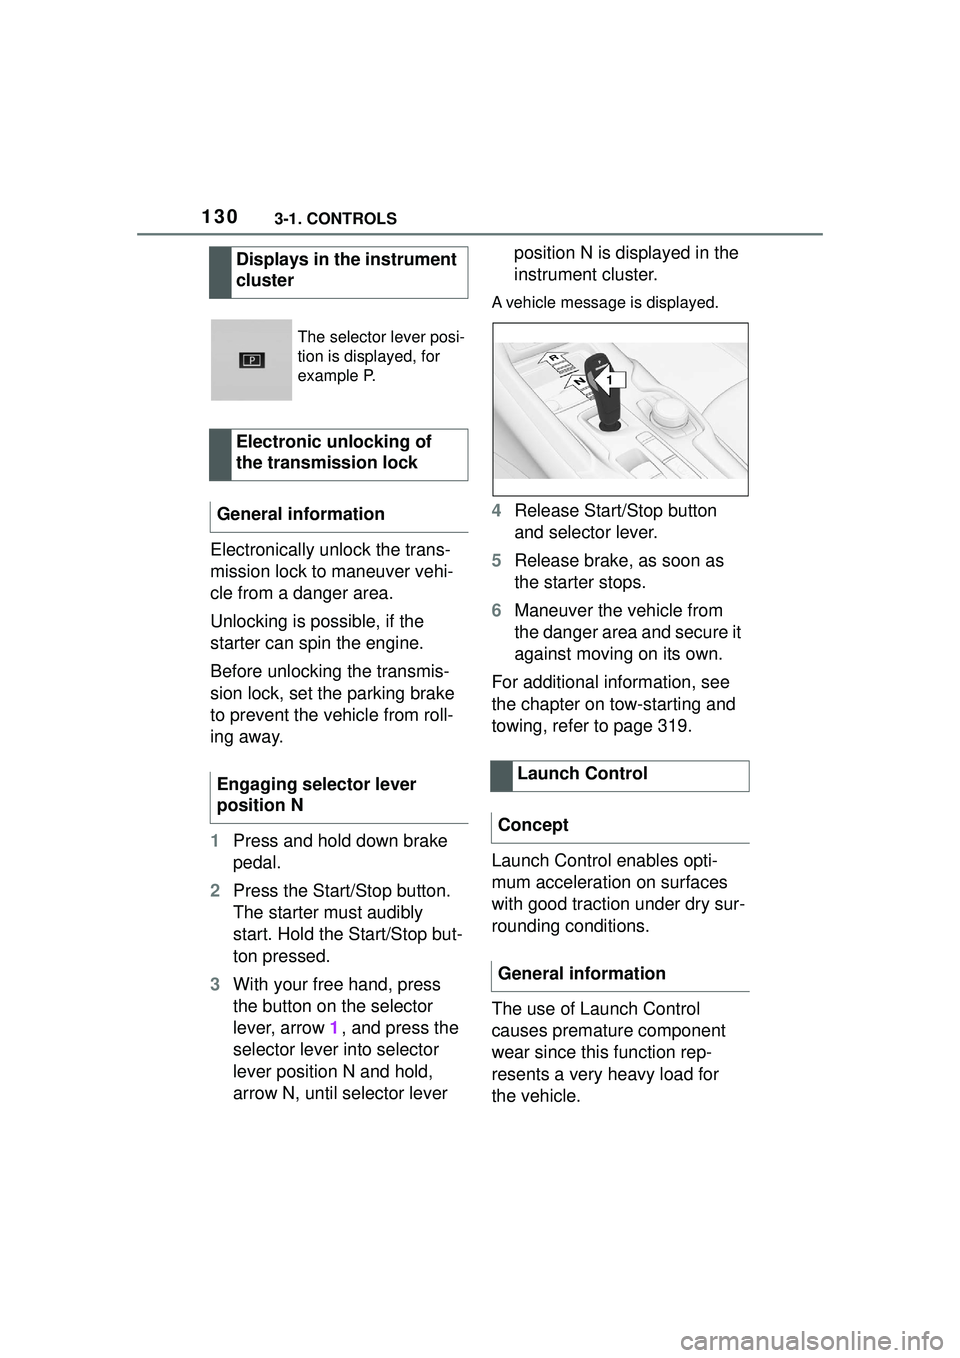
3 With your free hand, press
the button on the selector
lever, arrow 1, and press the
selector lever into selector
lever position N and hold,
arrow N, until selector lever position N is displayed in the
instrument cluster.
A vehicle message is displayed.
4
Release Start/Stop button
and selector lever.
5 Release brake, as soon as
the starter stops.
6 Maneuver the vehicle from
the danger area and secure it
against moving on its own.
For additional information, see
the chapter on tow-starting and
towing, refer to page 319.
Launch Control enables opti-
mum acceleration on surfaces
with good traction under dry sur-
rounding conditions.
The use of Launch Control
causes premature component
wear since this function rep-
resents a very heavy load for
the vehicle.
Displays in the instrument
cluster
The selector lever posi-
tion is displayed, for
example P.
Electronic unlocking of
the transmission lock
General information
Engaging selector lever
position N
Launch Control
Concept
General information
1
R
N
Page 131 of 356
1313-1. CONTROLS
3
CONTROLS
Do not use Launch Control
during the break-in, refer to
page 252, period.
Do not steer the steering wheel
when driving off with Launch
Control.
Launch Control is available
when the engine is at operating
temperature. The engine is at
operating temperature after an
uninterrupted trip of at least 6
miles/10 km.
1Switch on drive-ready state.
2 Press the sport button.
SPORT will be displayed on the
instrument cluster, indicating sport
mode has been selected.
3 Press the button.
TRACTION will be displayed on the
instrument cluster and the VSC
OFF indicator la mp will illuminate.
4Select the D selector lever
position.
5 Firmly depress the brake
pedal with your left foot.
6 Fully depress and hold the
accelerator pedal at the kick-
down position.
A flag symbol will be shown in the
instrument cluster.
7The engine speed will be
adjusted for launching. Release the brake pedal
within 3 seconds.
After Launch Control has been
used, the transmission must
cool down for approx. 5 minutes
before Launch Control can be
used again. Launch Control
adjusts to the surrounding con-
ditions, when used again.
To increase vehicle stability,
activate VSC Vehicle Stability
Control System again as soon
as possible.
An experienced driver may be
able to achieve better accelera-
tion values in VSC OFF mode.
The Sport mode button influ-
ences the driving dynamics
properties of the vehicle.
The following systems are
affected, for instance:
Engine characteristics.
Automatic transmission.
Functional requirements
Start with launch control
Repeated use during a trip
After using Launch Control
System limits
Sport mode button
Concept
General information
Page 133 of 356
1333-1. CONTROLS
3
CONTROLS
This chapter describes all stan-
dard, country-specific and
optional features offered with
the series. It also describes fea-
tures and functions that are not
necessarily available in your
vehicle, e.g., due to the selected
options or country versions. This
also applies to safety-related
functions and systems. When
using these functions and sys-
tems, the applicable laws and
regulations must be observed.
The instrument cluster is a vari-
able display. When the sport
mode switch is used to change
the driving mode, the instrument
cluster displays change to
match the driving mode.
The display change in the instru-
ment cluster can be deactivated
via Toyota Supra Command.
Some of the displays in the
instrument cluster may differ
from the illustrations in this
Owner's Manual.1
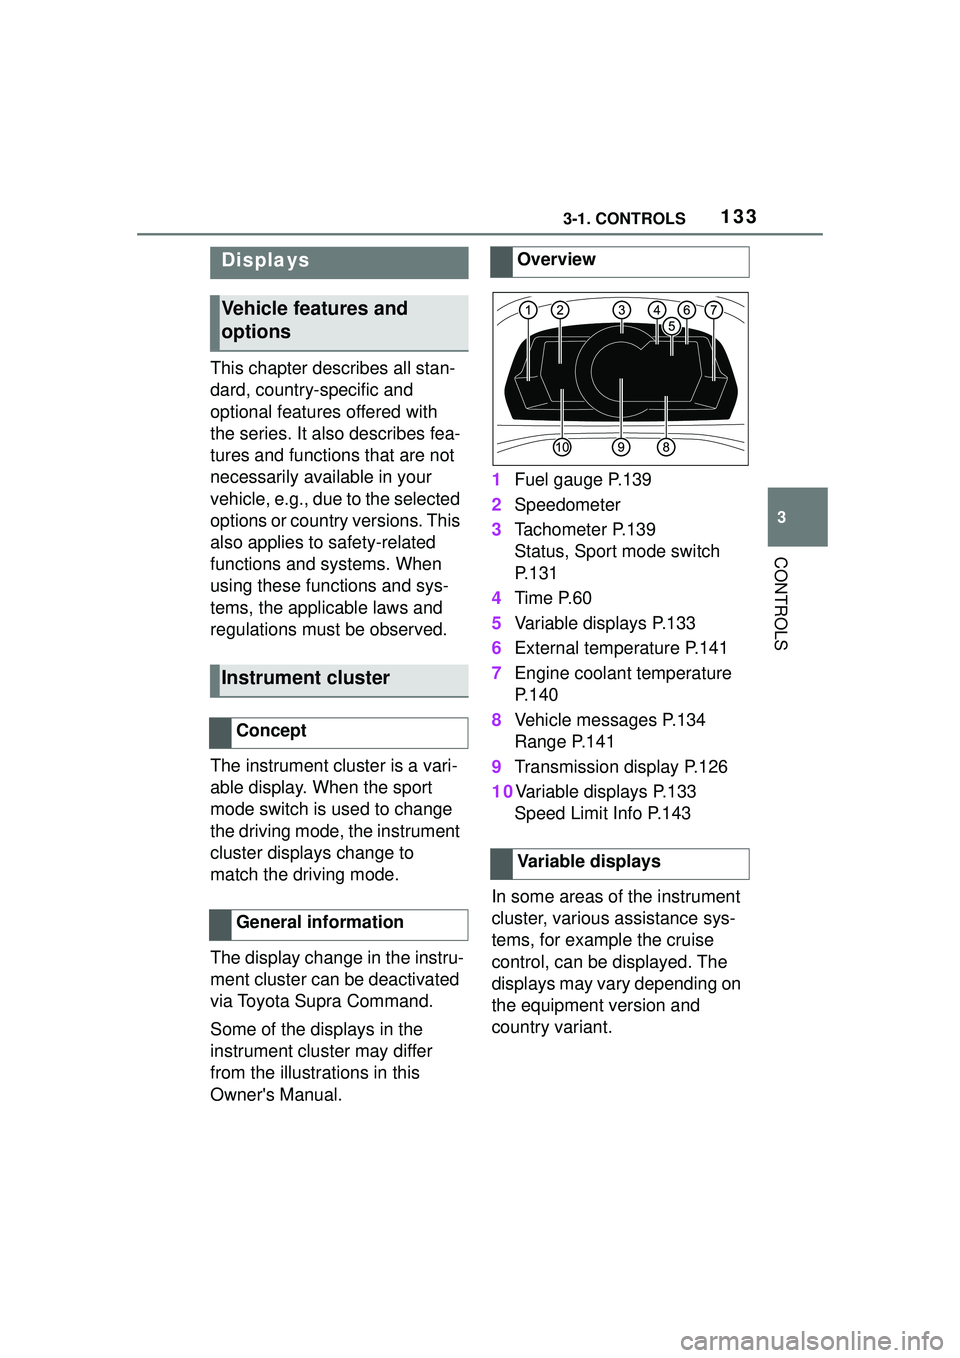
Fuel gauge P.139
2 Speedometer
3 Tachometer P.139
Status, Sport mode switch
P. 1 3 1
4 Time P.60
5 Variable displays P.133
6 External temperature P.141
7 Engine coolant temperature
P. 1 4 0
8 Vehicle messages P.134
Range P.141
9 Transmission display P.126
10Variable displays P.133 Speed Limit Info P.143
In some areas of the instrument
cluster, various assistance sys-
tems, for example the cruise
control, can be displayed. The
displays may vary depending on
the equipment version and
country variant.
Displays
Vehicle features and
options
Instrument cluster
Concept
General information
Overview
Variable displays
Page 140 of 356

1403-1. CONTROLS
1Select SPORT using the
sport mode switch.
2 Activate manual mode of the
transmission.
• Successive orange illumi- nated fields indicate the
upcoming shift moment.
• The field lights up red. Do not wait any further to shift.
When the maximum speed is
reached, the entire display
flashes red and the supply of
fuel is interrupted in order to
protect the engine. For further information, see Idle
state, standby state, and
drive-ready state, refer to page
43.
Switching on shift lights
Display
Standby state and
drive-ready state
The lettering OFF in
the instrument cluster
indicates that
drive-ready state is
switched off and
standby state is
switched on.
The lettering READY in
the instrument cluster
indicates that the
drive-ready state is
switched on.
Engine coolant tempera-
ture
Display
When the engine
temperature is low:
Only the segments in
the low temperature
range will be illumi-
nated. Drive with
moderate engine
speed and vehicle
speed.
When the engine
temperature is nor-
mal: All segments to
the middle tempera-
ture range will be illu-
minated.
When the engine
temperature is high:
All segments to the
high temperature
range will be illumi-
nated. A warning
message will also be
displayed.
To check the coolant
level, refer to page 298.
Page 142 of 356
1423-1. CONTROLS
state, the instrument cluster
briefly displays available driving
distance or time to the next
scheduled maintenance.
More information on the type of
service required may be dis-
played on the Control Display.
Via Toyota Supra Command:
1"My vehicle"
2 "Vehicle status"
3 "Service required"
Maintenance and service measures
and legally mandated inspections
are displayed.
4Select an entry to call up
detailed information. Enter the dates for the manda-
tory vehicle inspections.
Make sure that the vehicle's
date and time are set correctly.
Via Toyota Supra Command:
1
"My vehicle"
2 "Vehicle status"
3 "Service required"
4 "Date:"
5 Select the desired setting.
The system recommends the
most efficient gear for the cur-
rent driving situation.
Depending on the vehicle equip-
ment and country version, the
gear shift indicator is active in
the manual mode of the auto-
matic transmission.
Suggestions to shift gear up or
down are displayed in the instru-
ment cluster.
On vehicles without a gear shift
indicator, the engaged gear is
displayed.
Display
Detailed information on ser-
vice notifications
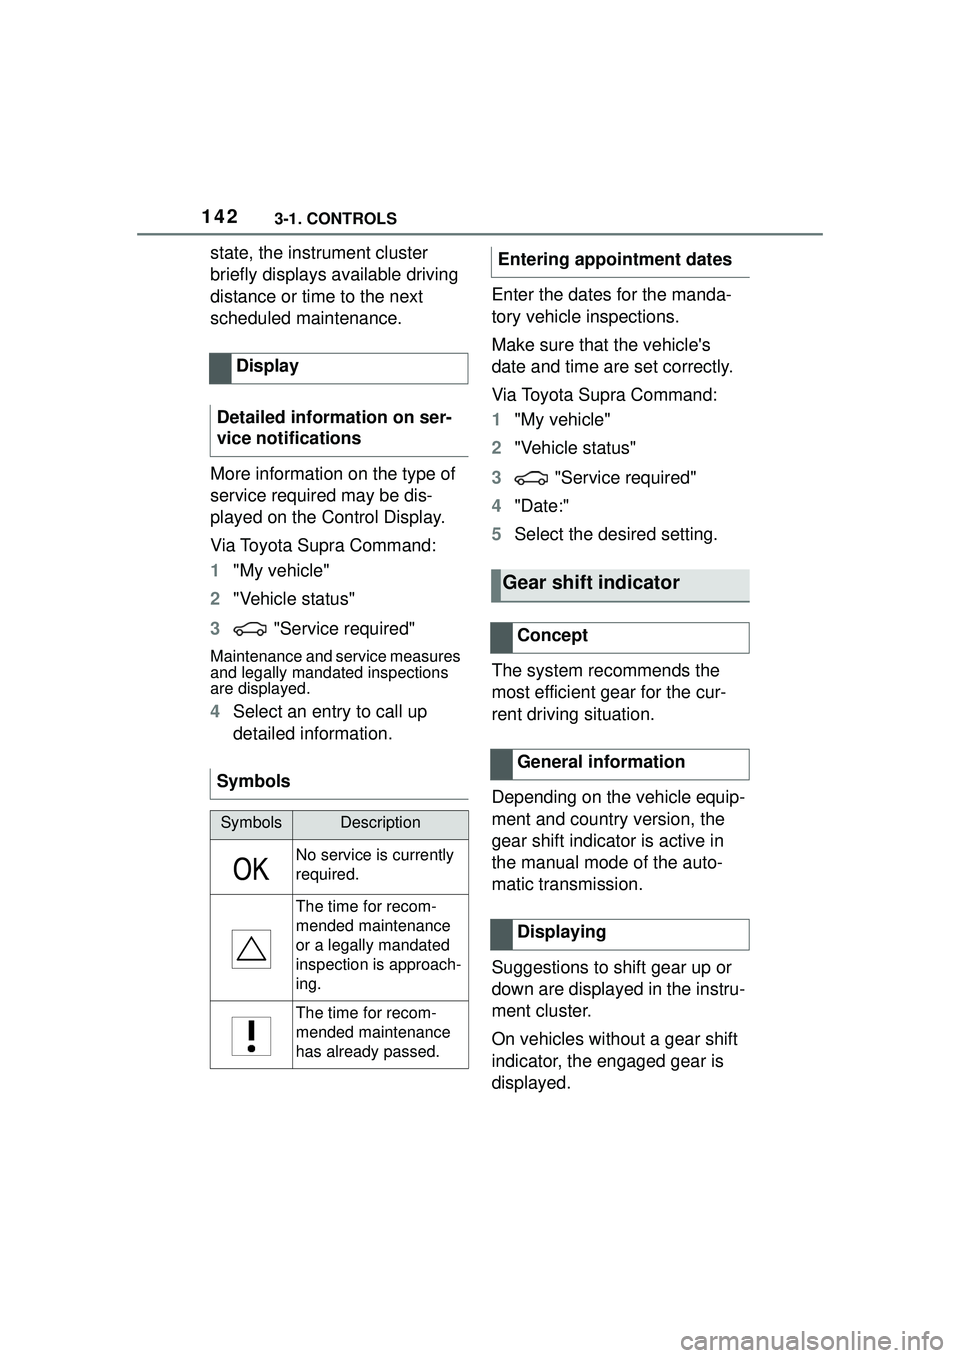
Symbols
SymbolsDescription
No service is currently
required.
The time for recom-
mended maintenance
or a legally mandated
inspection is approach-
ing.
The time for recom-
mended maintenance
has already passed.
Entering appointment dates
Gear shift indicator
Concept
General information
Displaying
Page 241 of 356

2413-1. CONTROLS
3
CONTROLS
The mobile phone must com-
patibly support the required Qi
standard.
If the mobile phone does not sup-
port the Qi standard, the mobile
phone can be charged using a spe-
cial Qi-compatible charging case.
Standby state is switched on.
Observe the maximum
dimensions of the mobile
phone.
Use only protective jackets
and covers up to a maximum
thickness of 0.07 in/2 mm.
Otherwise, the charging func-
tion may be impaired.
The mobile phone to be
charged is located in the cen-
ter of the tray.
1 LED
2 Storage area
Place the mobile phone cen-
tered in the storage tray with the
display facing up.
The mobile phone must not exceed
the maximum size of approximately
6.0 x 3.1 x 0.7 in/154.5 x 80 x 18
mm.
Safety information
WARNING
When charging a device that
meets the Qi standard in the wire-
less charging tray, any metal
objects located between the
device and the tray can become
very hot. Placing storage devices
or electronic cards, such as chip
cards, cards with magnetic strips
or cards for sig nal transmission,
between the device and the tray
may impair the card function.
There is a risk of injury and risk of
damage to property. When
charging mobile devices, make
sure there are no objects between
the device and the tray.
NOTICE
The tray is intended for mobile
phones up to a particular size.
Forceful inserting of the mobile
phone into the tray can damage
the tray or the mobile phone.
There is a risk of damage to prop-
erty. Observe the maximum
dimensions for mobile phones. Do
not force the mobile phone into
the tray.
Functional requirements
Operation
Overview
Inserting the mobile phone
Page 252 of 356
2524-1. DRIVING TIPS
4-1.DRIVING TIPS
This chapter describes all stan-
dard, country-specific and
optional features offered with
the series. It also describes fea-
tures and functions that are not
necessarily available in your
vehicle, e.g., due to the selected
options or country versions. This
also applies to safety-related
functions and systems. When
using these functions and sys-
tems, the applicable laws and
regulations must be observed.
Moving parts need to begin
working together smoothly.
The following instructions will
help you to achieve a long vehi-
cle life and good efficiency.
During break-in, do not use the
Launch Control, refer to page
130.Do not exceed the maximum
engine and road speed:
For gasoline engine 4,50
0
r
pm and 100 mph/160 km/h.
Avoid full load or kickdown
under all circumstances.
The engine and vehicle speed
can gradually be increased.
Tire traction is not optimal due to
manufacturing circumstances
when tires are brand-new; they
achieve their full traction poten-
tial after a break-in time.
Drive conservatively for the first
200 miles/300 km.
Things to remember
when driving
Vehicle features and
options
Breaking-in period
General information
Safety information
WARNING
Due to new parts and compo-
nents, safety and driver assis-
tance systems can react with a
delay. There is a risk of an acci-
dent. After insta lling new parts or
with a new vehicle, drive conser-
vatively and intervene early if nec-
essary. Observe the break-in
procedures of the respective parts
and components.
Engine, transmission, and
axle drive
Up to 1,200 miles/2,000 km
From 1,200 miles/2,000 km
Tires
Page 254 of 356
2544-1. DRIVING TIPS
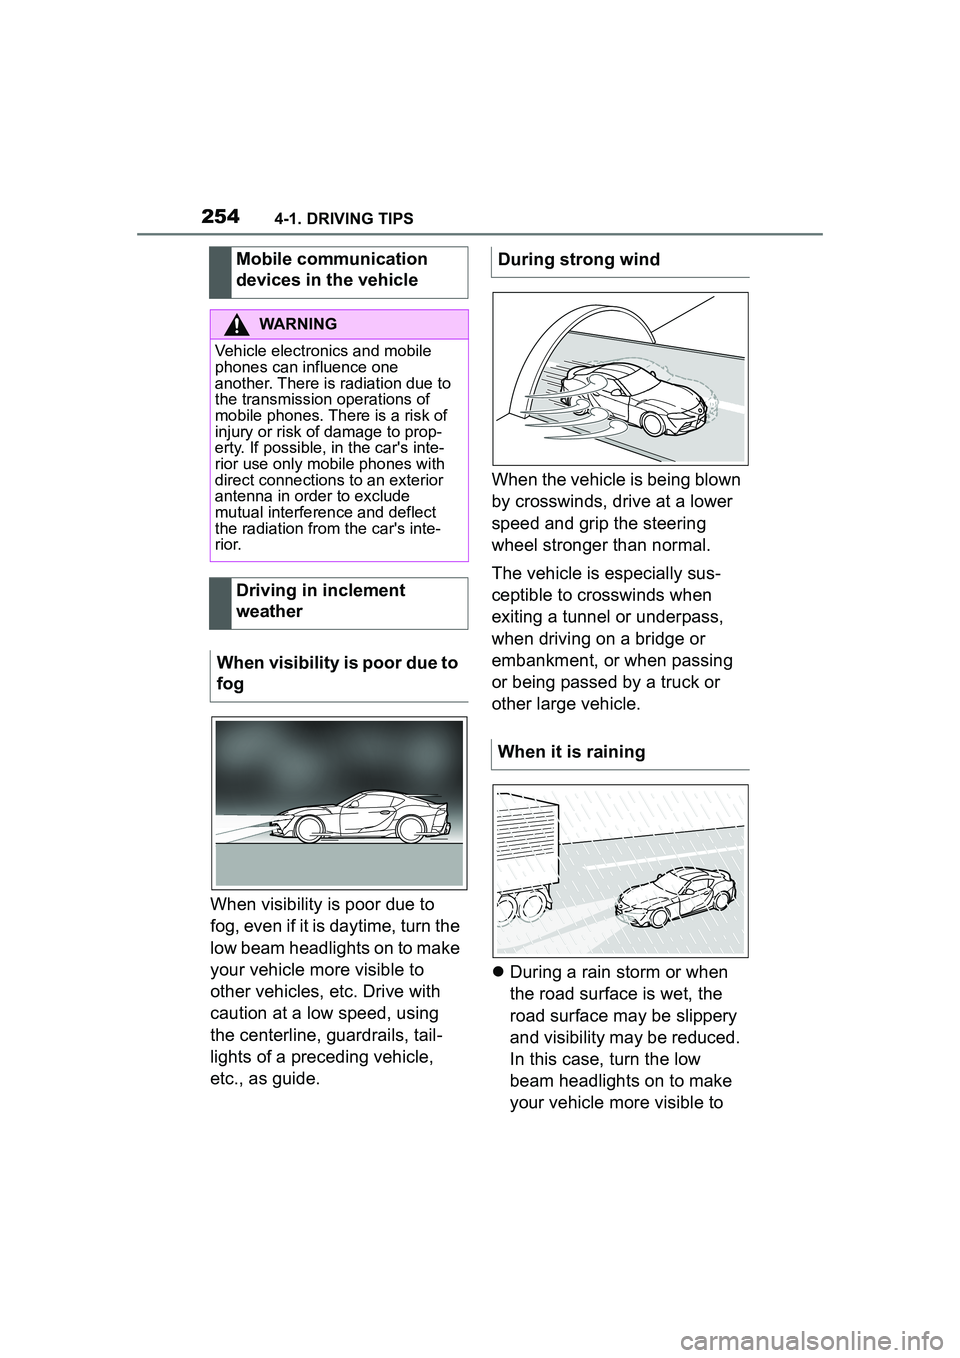
When visibility is poor due to
fog, even if it is daytime, turn the
low beam headlights on to make
your vehicle more visible to
other vehicles, etc. Drive with
caution at a low speed, using
the centerline, guardrails, tail-
lights of a preceding vehicle,
etc., as guide.When the vehicle is being blown
by crosswinds, drive at a lower
speed and grip the steering
wheel stronger than normal.
The vehicle is especially sus-
ceptible to crosswinds when
exiting a tunnel or underpass,
when driving on a bridge or
embankment, or when passing
or being passed by a truck or
other large vehicle.
During a rain storm or when
the road surface is wet, the
road surface may be slippery
and visibility may be reduced.
In this case, turn the low
beam headlights on to make
your vehicle more visible to
Mobile communication
devices in the vehicle
WARNING
Vehicle electronics and mobile
phones can influence one
another. There is radiation due to
the transmission operations of
mobile phones. There is a risk of
injury or risk of damage to prop-
erty. If possible, in the car's inte-
rior use only mobile phones with
direct connections to an exterior
antenna in order to exclude
mutual interference and deflect
the radiation from the car's inte-
r i o r.
Driving in inclement
weather
When visibility is poor due to
fog
During strong wind
When it is raining