Page 2 of 212

Overview
Interior Overview
1. Interior door handles ( Opening Doors from the Interior on page 7)
2. Traffic-Aware Cruise Control ( Traffic-Aware Cruise Control on page 89) and Autosteer
( Autosteer on page 95)
3. High beams ( High Beam Headlights on page 62), Turn signals ( Turn Signals on page 62),
Wipers and washers ( Wipers and Washers on page 64)
4. Steering wheel buttons - left ( Using Left Steering Wheel Buttons on page 46)
5. Instrument panel ( Instrument Panel on page 53)
6. Steering wheel buttons - right ( Using Right Steering Wheel Buttons on page 47)
7. Gear selector ( Shifting Gears on page 52)
8. Touchscreen ( Touchscreen Overview on page 112)
9. Glovebox button ( Glove Box on page 17)
10. Power window switches ( Opening and Closing on page 12)
11. Exterior mirror adjustment switches ( Mirrors on page 49)
12. Seats ( Front and Rear Seats on page 20)
13. Steering column adjuster (hidden from view in the above image) ( Steering Wheel on page
46)
14. Horn ( Horn on page 48)
15. Brakes ( Brakes on page 65)
16. Hazard warning lights ( Hazard Warning Flashers on page 63)
17. Cabin climate control ( Climate Controls on page 126)
18. Cup holders ( Cup Holders on page 18)
Interior Overview
2Model X Owner
Page 15 of 212

Front Trunk
Opening
To open the front trunk:
1. Ensure that the area around the hood is
free of obstacles.
2. Touch Controls > Front Trunk on the
touchscreen, touch the front trunk button
on the mobile app, or double-click the front trunk button on the key.
3. Pull the hood up.
When a door or trunk/liftgate is
open, the instrument panel displays
the Door Open indicator light. The
image of the Model X on the
touchscreen Controls window also
displays the open front trunk.Warning: Before opening or closing the
hood, it is important to check that the area around the hood is free of obstacles
(people and objects). Failure to do so
may result in damage or serious injury.
Note: The front trunk locks whenever closed
and you lock Model X using either the
touchscreen or externally using the key or
mobile app, you leave Model X carrying your key (if Walk-away Locking on page 10 is
turned on), or when Valet mode is active (see Valet Mode on page 45).
Closing
The Model X hood is not heavy enough to
latch under its own weight and applying pressure on the front edge or center of the
hood can cause damage.
To properly close the hood:
1. Lower the hood until the striker touches
the latches.
2. Place both hands on the front of the hood
in the areas shown (in green), then press
down firmly to engage the latches.
3.
Carefully try to lift the front edge of the
hood to ensure that it is fully closed.Caution: To prevent damage:
Page 16 of 212
Note: The interior release button glows
following a brief exposure to ambient light.Warning: People should never climb
inside the front trunk. Never shut the
front trunk when a person is inside.Warning: Care should be taken to ensure
that objects inside the front trunk do not
bump against the release button, causing the trunk to accidentally open.
Front Trunk
16Model X Owner
Page 17 of 212
Glove Box
Opening and Closing
To open the glove box, press the switch located on the side of the touchscreen. If you
leave the glove box open for five minutes, its
light automatically turns off.
Note: The glove box locks whenever Model X
is locked externally, using the key or walk-
away locking. It also locks when Model X is in Valet mode (see Valet Mode on page 45). It
does not lock when Model X is locked using
the touchscreen.
Warning: When driving, keep the glove
box closed to prevent injury to a
passenger if a collision or sudden stop
occurs.
Glove Box
Opening and Closing17
Page 61 of 212

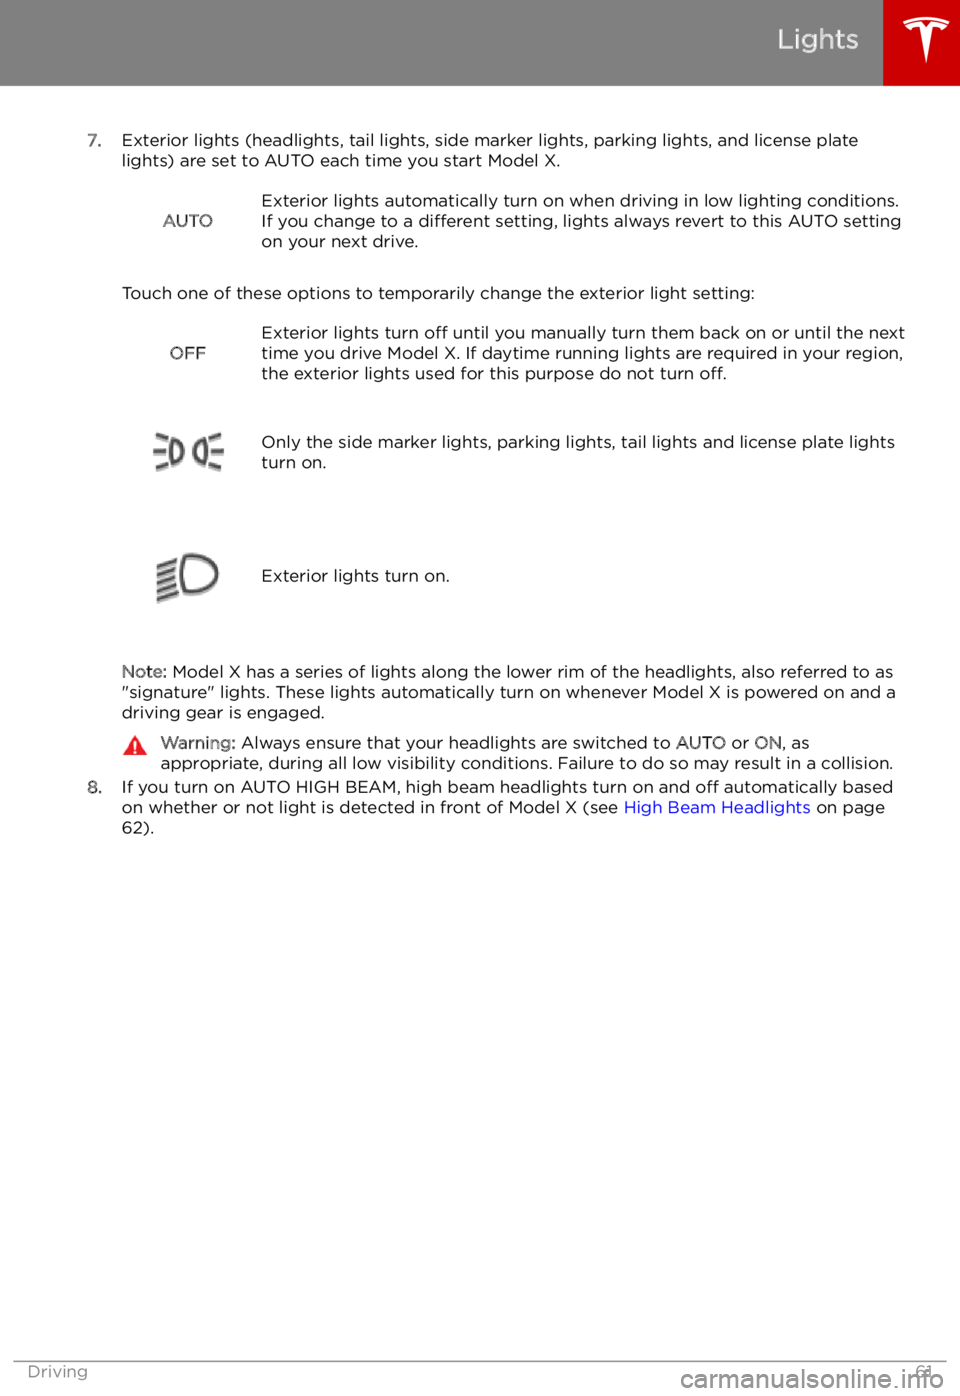
7.Exterior lights (headlights, tail lights, side marker lights, parking lights, and license plate
lights) are set to AUTO each time you start Model X.
AUTOExterior lights automatically turn on when driving in low lighting conditions.
If you change to a different setting, lights always revert to this AUTO setting
on your next drive.
Touch one of these options to temporarily change the exterior light setting:
OFFExterior lights turn off until you manually turn them back on or until the next
time you drive Model X. If daytime running lights are required in your region,
the exterior lights used for this purpose do not turn off.
Only the side marker lights, parking lights, tail lights and license plate lights
turn on.Exterior lights turn on.
Note: Model X has a series of lights along the lower rim of the headlights, also referred to as
"signature" lights. These lights automatically turn on whenever Model X is powered on and a driving gear is engaged.
Warning: Always ensure that your headlights are switched to AUTO or ON, as
appropriate, during all low visibility conditions. Failure to do so may result in a collision.
8. If you turn on AUTO HIGH BEAM, high beam headlights turn on and off automatically based
on whether or not light is detected in front of Model X (see High Beam Headlights on page
62).
Lights
Driving61
Page 63 of 212
The turn signals stop operating when canceledby the steering wheel, or when you return the
lever to the central position.
The corresponding turn signal
indicator lights up on the instrument
panel when a turn signal is
operating. You also hear a clicking
sound.Warning: If you have purchased the
optional Enhanced Autopilot or Full Self-
Driving Capability packages and Traffic-
Aware Cruise Control is active, engaging
a turn signal can cause Model X to
accelerate when using Traffic-Aware
Cruise Control in specific situations (see
Overtake Acceleration on page 92).Warning: If you have purchased the
optional Enhanced Autopilot or Full Self-
Driving Capability packages and
Autosteer is active, engaging a turn signal
may cause Model X to change lanes (see Auto Lane Change on page 98).
Lane Change Flash
To indicate a lane change, quickly press the
lever up or down against the spring pressure,
then release. The corresponding turn signal
Page 159 of 212

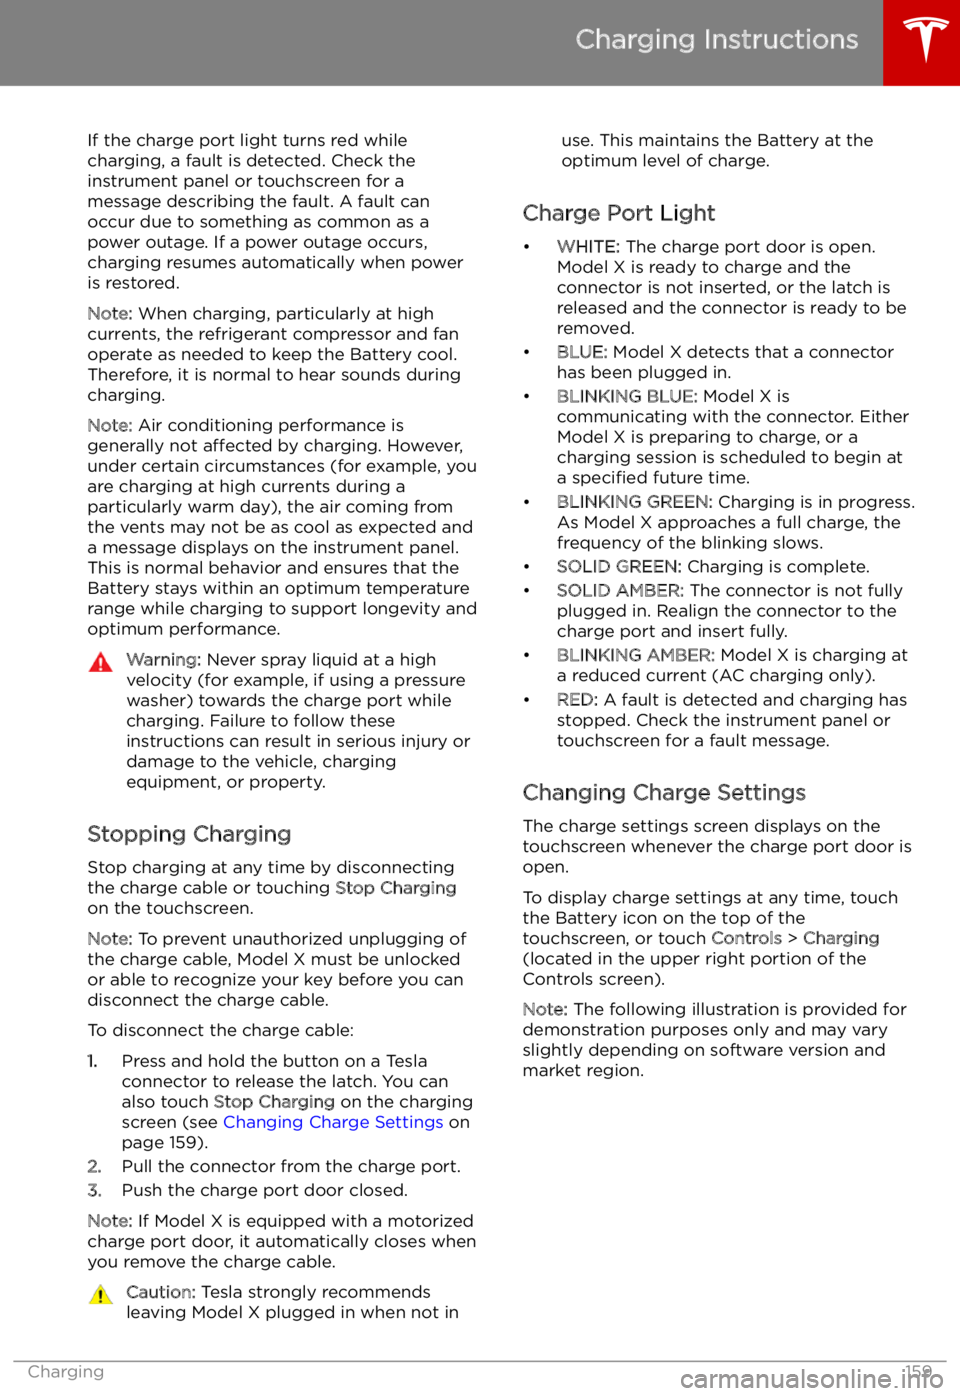
If the charge port light turns red while
charging, a fault is detected. Check the instrument panel or touchscreen for a
message describing the fault. A fault can
occur due to something as common as a power outage. If a power outage occurs,
charging resumes automatically when power
is restored.
Note: When charging, particularly at high
currents, the refrigerant compressor and fan
operate as needed to keep the Battery cool.
Therefore, it is normal to hear sounds during charging.
Note: Air conditioning performance is
generally not affected by charging. However,
under certain circumstances (for example, you
are charging at high currents during a
particularly warm day), the air coming from
the vents may not be as cool as expected and
a message displays on the instrument panel.
This is normal behavior and ensures that the Battery stays within an optimum temperature
range while charging to support longevity and
optimum performance.Warning: Never spray liquid at a high
velocity (for example, if using a pressure
washer) towards the charge port while
charging. Failure to follow these
instructions can result in serious injury or
damage to the vehicle, charging
equipment, or property.
Stopping Charging
Stop charging at any time by disconnecting
the charge cable or touching Stop Charging
on the touchscreen.
Note: To prevent unauthorized unplugging of
the charge cable, Model X must be unlocked
or able to recognize your key before you can
disconnect the charge cable.
To disconnect the charge cable:
1. Press and hold the button on a Tesla
connector to release the latch. You can
also touch Stop Charging on the charging
screen (see Changing Charge Settings on
page 159).
2. Pull the connector from the charge port.
3. Push the charge port door closed.
Note: If Model X is equipped with a motorized
charge port door, it automatically closes when
you remove the charge cable.
Caution: Tesla strongly recommends
leaving Model X plugged in when not inuse. This maintains the Battery at the
optimum level of charge.
Charge Port Light
Page 166 of 212
Replacing Tires and Wheels
Tires degrade over time due to the effects of
ultraviolet light, extreme temperatures, high
loads, and environmental conditions. It is
recommended that tires are replaced every six
years, or sooner if required.
Wheel and tires are matched to suit thehandling characteristics of the vehicle.
Replacement tires must comply with the
original specification. If tires other than those
specified are used, ensure that the load and
speed ratings marked on the tire (see Understanding Tire Markings on page 188)
equal or exceed those of the original
specification.
Ideally, you should replace all four tires at the same time. If this is not possible, replace the
tires in pairs, placing the new tires on the rear.
Always balance the wheel after replacing a
tire.
If you replace a wheel, the TPMS (Tire Pressure
Monitoring System) sensors need to be reset to ensure they provide accurate warnings
when tires are under- or over-in