2022 SUZUKI JIMNY Load mode
[x] Cancel search: Load modePage 95 of 421

•
Turn the indicator selector knob (2).
c:::::> Push the indicator selector knob (2).
NOTE: Depending on vehicle's specifications, some items may not be displayed.
How to use the setting mode: 1) When the ignition switch is "ON" and the vehicle is stationary, push and hold the indicator selector knob (2) until the display shows "[Lo[H". 2) Turn and/or push the indicator selector knob (2) to select a function that you want to set up according to the chart in the previous page. 3) Turn and/or push the indicator selector knob (2) to register settings of the following functions.
SEL I I Cl ::J 0 , -::JL C
68PM00272
NOTE: As shown in the above illustration, "SEL" indicates on the display of currently setting item. To go back to the higher level display during operation, turn the indicator selector knob (2) to display "bRCH" or " -bR C " and then push the indicator selector knob (2).
Time indication of clock "[L " • [L-t2h: 12-hourformat • CL -2'-lh: 24-hour format
NOTE: Default setting for time indication of clock varies according to the specification.
Additional flashes of the turn signal
"L2" • L2-5L 1: Turn signal flashes three times after the turn signal lever is returned (default setting) • L2-5L2: Disable the additional flashes of turn signal
Lighting time of the "To car" function 11 e, :" (if equipped) G t-SL :: Disable the "To car" function c; t-5L2: 10 seconds (default setting) G l-5L3: 15 seconds c; t-SL 'I: 20 seconds G t-5L5: 25 seconds
BEFORE DRIVING
Lighting time of the "To home" function "[,2 11 (if equipped) G2-5L :: Disable the "To home" func-tion C2-5L2: 10 seconds (default setting) G2-5L3: 15seconds G2-5L l/: 20 seconds G2-SLS: 25 seconds G2-5L5: 30 seconds
Tyre pressure monitoring system setting (if equipped) UnLRdn: Comfort Mode (default set-ting) • LRdEn : Load Mode
Refer to "Tyre pressure monitoring system (TPMS)" in "OPERATING YOUR VEHICLE" section for details.
Initialization setting "dE-a,," • dE-on: Initialize all settings
How to exit the setting mode: Switch the display to show "End" and then push the indicator selector knob (2).
2-24
Page 105 of 421

(Selecting 12H/24H format) Switch the time indication between 12-hour and 24-hour format by selecting "Clock setting" in "Setting mode". Then, select "12H" or "24H".
Door lock (Door unlock setting) You can choose either once or twice operation(s) to unlock all doors (including the tailgate) by turning the key or operating the keyless entry system transmitter.
You can also turn off or on the buzzer sound when the door(s) is (are) locked or unlocked.
Lights (Lane change setting) The turn signal and its indicator can be set whether they flash three times even if you return the turn signal control lever shortly after operating it. To change the lane change setting, select "Lane change" in "Setting mode". Then, select "ON" or "OFF" If you want to change the number of flashing, consult a SUZUKI dealer.
Guide me light setting (Light setting) (if equipped) You can change the lighting time of "To car" function or "To home" function.
Oil change (Oil life monitoring system reset setting) (if equipped) The oil life monitoring system must be reset after changing the engine oil and oil filter. To reset the system, push and hold the indicator selector knob (3) for a while.
TPMS (Tyre pressure monitoring system setting) (if equipped) You can check the current tyre pressure on the information display. You can set one of the initial values of tyre pressure below that are indicated on the tyre information label. -Comfort Mode -Load Mode
Refer to "Tyre pressure monitoring system (TPMS)" in the "OPERATING YOUR VEHICLE" section for details.
Traffic sign recognition (Traffic sign recognition setting) (if equipped) If you select "ON" the traffic sign recognition function can be activated.
Refer to "Traffic sign recognition" in the "OPERATING YOUR VEHICLE" section for details.
BEFORE DRIVING
Default (Initialization setting) If you select "YES" and push the indicator selector knob (3), all settings will be reinitialized.
2-34
Page 111 of 421

A. WARNING
The load-carrying capacity of your tyres is reduced at lower inflation pressures. If your tyres are even moderately under-inflated, the load on the tyres may exceed the load-carrying capacity of the tyres, which could lead to tyre failure. The low tyre pressure warning light will not alert you to this condition, because it only comes on when one or more of your tyres becomes significantly under
inflated. Check and adjust your tyre pressure at least once a month. Refer to "Tyres" in "INSPECTION AND MAINTENANCE" section.
A. WARNING
Continuing to drive with the low tyre pressure warning light on can lead to an accident, resulting in severe injury or death. If the low tyre pressure warning light comes on and stays on, reduce your speed and avoid abrupt steering and braking. Be aware that driving on a significantly under-inflated tyre can cause the tyre to overheat and can lead to tyre failure, and may affect steering control and brake effectiveness. Stop the vehicle in a safe place as soon as possible and check your
tyres. • If you have a flat tyre, replace it with the spare tyre (if equipped). Refer to "Jacking instructions11 in "EMERGENCY SERVICE" section for the tyre replacement method. Also refer to "Replacing tyres and/ or wheels" for instructions on how to restore normal operation of the TPMS after you have had a flat tyre. If one or more of your tyres is under-inflated, adjust the inflation pressure of all tyres to the recommended inflation pressure as soon as possible.
BEFORE DRIVING
Refer to "Tyre pressure monitoring system (TPMS)" in "OPERATING YOUR VEHICLE" section for additional details on the tyre pressure monitoring system. Refer to "Tyres" in "INSPECTION AND MAINTENANCE" section for information on maintaining proper tyre pressure.
2-40
Page 216 of 421

OPERATING YOUR VEHICLE
A WARNING
The load-carrying capacity of your tyres is reduced at lower inflation pressures. If your tyres are even moderately under-inflated, the load on the tyres may exceed the load-carrying capacity of the tyres, which could lead to tyre failure. The low tyre pressure warning light will not alert you to this condition, because it only comes on when one or more of your tyres becomes significantly underinflated.
Check and adjust your tyre pressure at least once a month. Refer to "Tyres" in "INSPECTION AND MAINTENANCE" section.
3-65
A WARNING
Continuing to drive with the low tyre pressure warning light on can lead to an accident, resulting in severe injury or death. If the low tyre pressure warning light comes on and stays on, reduce your speed and avoid abrupt steering and braking. Be aware that driving on a significantly under-inflated tyre can cause the tyre to overheat and can lead to tyre failure, and may affect steering control and brake effectiveness. Stop in a safe place as soon as possible and check your tyres. If you have a flat tyre, replace it with the spare tyre (if equipped). Refer to "Jacking instructions" in "EMERGENCY SERVICE" section for the tyre replacement method. Also refer to "Replacing tyres and/ or wheels" for instructions on how to restore normal operation of the TPMS after you have had a flat tyre. • If one or more of your tyres is under-inflated, adjust the inflation pressure in all of your tyres to the recommended inflation pressure as soon as possible.
The low tyre pressure warning light can come on due to normal causes such as natural air leakage and pressure changes caused by changes in temperature or atmospheric pressure. Adjusting the air pressure in the tyres to the pressure shown on the tyre information placard should cause the low tyre pressure warning light to turn off.
To make the low tyre pressure warning light go off, adjust the tyre pressures when the tyres are cold, and drive the vehicle for about 10 minutes. When the adjusted tyre pressure is recognized, the low tyre pressure warning light will go off and the information display shows the current tyre pressure (if you select the TPMS monitor (if equipped)).
Page 219 of 421

TPMS limitations
The tyre pressure monitoring system may not function properly under certain circumstances. In the following situations, the low tyre pressure warning light may come on and remain on or may blink. When you replace a flat tyre with the spare tyre. When you include a spare tyre during a tyre rotation. When the TPMS sensor is damaged during a tyre replacement or liquid sealants are used to repair a flat tyre. When the electronic signal of TPMS sensor is disturbed in one of the following ways: -Electric devices or facilities using similar radio wave frequencies are nearby. -A metallic film that may cause radio wave interference is attached on the window. -A lot of snow or ice covers the vehicle, in particular, around the wheels or wheel housings. -Snow tyres that are not installed with genuine TPMS sensors or snow chains are used.
When you use non-genuine SUZUKI wheels or tyres. When the pressure of any tyre is too high. When there is a problem with the receiver of the TPMS controller.
TPMS setting (For instrument cluster -Type A)
You can set one of the initial value of tyre pressure below that is indicated on the tyre information label. -Comfort Mode -Load Mode
For details on how to set the mode, refer to "Setting mode" in "BEFORE DRIVING" section.
A WARNING
If the loading weight has changed, adjust the tyre pressure according to the tyre information label and set the initial value via the information display. If the loading weight, tyre pressure and initial value do not match, the tyre pressure monitoring system will not function properly.
OPERATING YOUR VEHICLE
TPMS setting (For instrument clus
ter• Type B)
• You can check the current tyre pressure on the information display. • You can set one of the initial value of tyre pressure below that is indicated on the tyre information label. -Comfort Mode
-Load Mode
A WARNING
If the loading weight has changed, adjust the tyre pressure according to the tyre information label and set the initial value via the information display. If the loading weight, tyre pressure and initial value do not nJatch, the tyre pressure monitoring system will not function properly.
3-68
Page 233 of 421

Improving fuel economy
The following instructions will help you improve fuel economy.
Avoid excessive idling If you park your vehicle for more than one minute, stop the engine and start it again later. When warming up a cold engine, do not allow the engine to idle or apply full throttle until the engine has reached operating temperature. Allow the engine to warm up by driving.
Avoid fast starts F~st starts away from lights or stop signs will consume fuel unnecessarily and shorten engine life. Start off slowly.
Avoid unnecessary stops Avoid unnecessary deceleration and stopping. Try to maintain a moderate, steady speed whenever possible. Slowing down and then accelerating again uses more fuel.
Keep a steady cruising speed Drive at a constant speed that road and traffic conditions will permit.
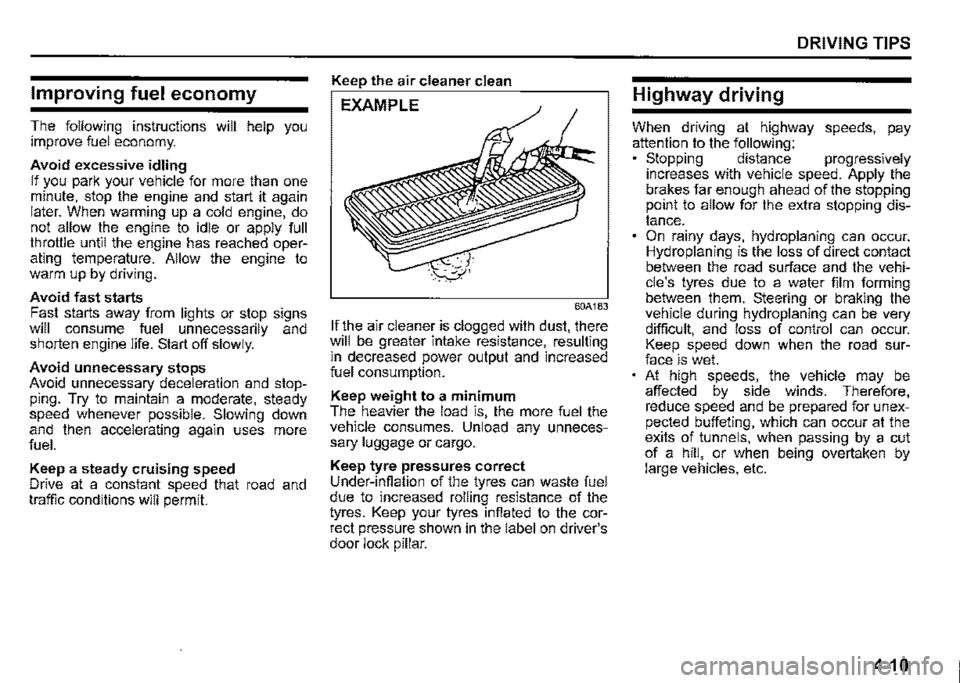
Keep the air cleaner clean
EXAMPLE
60A183
If the air cleaner is clogged with dust, there will be greater intake resistance, resulting m decreased power output and increased fuel consumption.
Keep weight to a minimum The heavier the load is, the more fuel the vehicle consumes. Unload any unnecessary luggage or cargo.
Keep tyre pressures correct Under-infiation of the tyres can waste fuel due to increased rolling resistance of the tyres. Keep your tyres infiated to the correct pressure shown in the label on driver's door lock pillar.
DRIVING TIPS
Highway driving
When driving at highway speeds, pay attention to the following: • Stopping distance progressively increases with vehicle speed. Apply the brakes far enough ahead of the stopping prnnt to allow for the extra stopping distance. On rainy days, hydroplaning can occur. Hydroplaning is the loss of direct contact between the road surface and the vehicle's tyres due to a water film forming between them. Steering or braking the vehicle during hydroplaning can be very difficult, and loss of control can occur. Keep speed down when the road surface is wet. At high speeds, the vehicle may be affected by side winds. Therefore, reduce speed and be prepared for unexpected buffeting, which can occur at the exits of tunnels, when passing by a cut of a hill, or when being overtaken by large vehicles, etc.
4-10
Page 270 of 421

OTHER CONTROLS AND EQUIPMENT
0 Bluetooth"
The Bluetooth® word mark and logo are
registered trademarks and are owned by
the Bluetooth SIG, Ink.
Stop using this unit and a Bluetooth®
ready device whenever requested.
This unit shares the communication fre
quency with other private or public wireless
communication equipment such as a wire
less LAN and other wireless communica
tion radios.
You should stop using this unit whenever
you are notified that your unit disturbs
other wireless communication immediately.
5-35
CE:
Access to http://www.ptc.panasonic.eu/,
enter the below
Model No. into the keyword search box,
you can download the latest "DECLARA
TION of CONFORMITY" (DoC).
Set No. AZ1601
Page 285 of 421

Random playback Press "ROM" button (7). Each time the button is pressed, the mode will change as follows:
OFF ➔ TRACK RANDOM
t I
TRACK RANDOM The random indicator "ROM" will light. The tracks in the loaded disc will be played in random order.
Repeat playback Press "RPT" button (6). Each time the button is pressed, the mode will change as follows:
OFF ➔ TRACK REPEAT
t I
• TRACK REPEAT The repeat indicator "RPT" will light. The track currently being played will be played repeatedly.
OTHER CONTROLS AND EQUIPMENT
Display change Press "DISP" button (8). Each time the button is pressed, display will change as follows:
Play time --------,!, Disc title .J, Track title --------~
NOTE: "NO TITLE" will be displayed when there is no text information in the disc currently being played. If text data contains more than 16 characters, ">" mark will appear at the right end. Holding down "DISP" button /8) for 1 second or longer can display the next
page.
5-50