Page 50 of 156

Hill Descent Control (HDC)
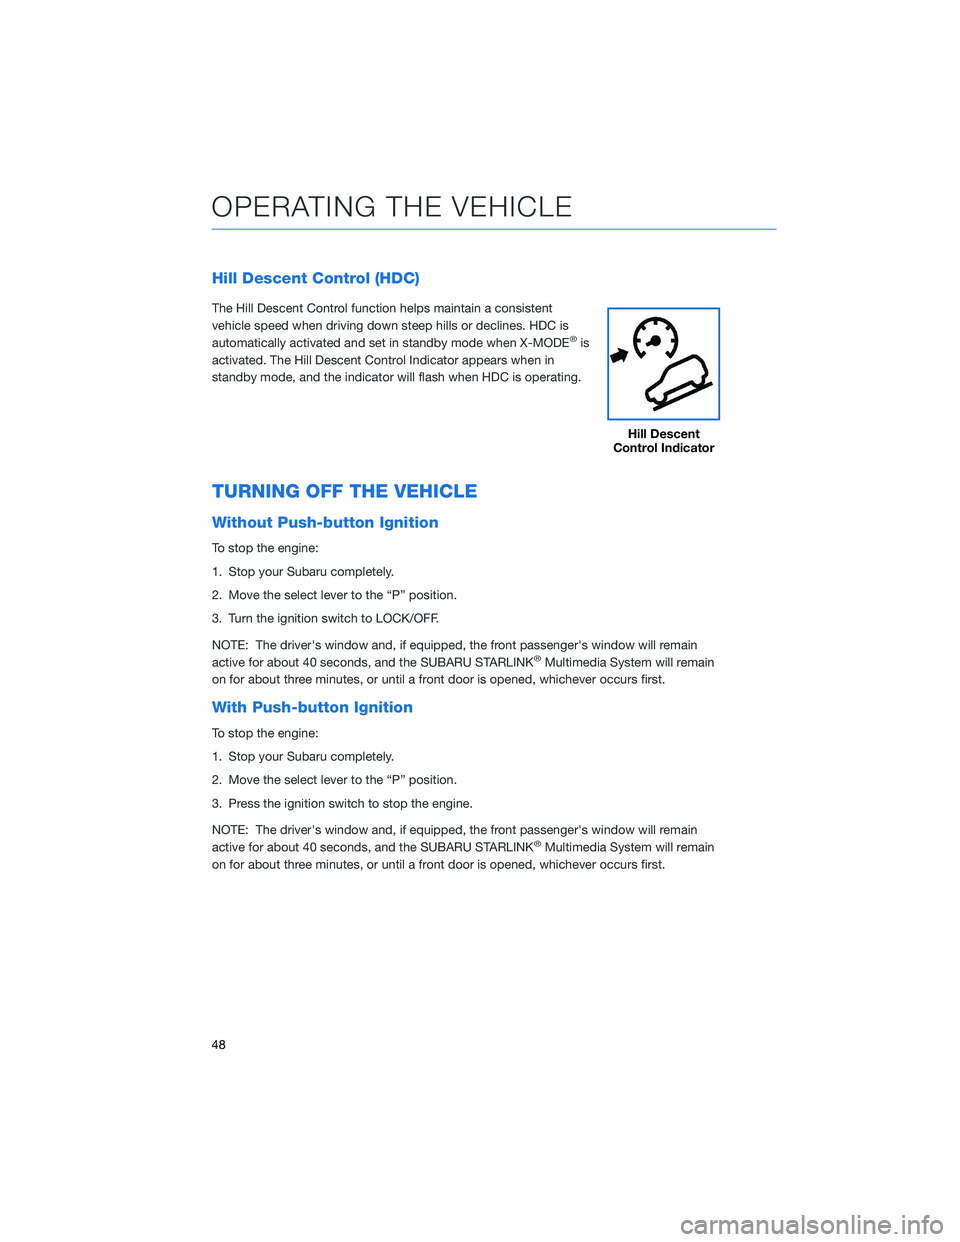
The Hill Descent Control function helps maintain a consistent
vehicle speed when driving down steep hills or declines. HDC is
automatically activated and set in standby mode when X-MODE
®is
activated. The Hill Descent Control Indicator appears when in
standby mode, and the indicator will flash when HDC is operating.
TURNING OFF THE VEHICLE
Without Push-button Ignition
To stop the engine:
1. Stop your Subaru completely.
2. Move the select lever to the “P” position.
3. Turn the ignition switch to LOCK/OFF.
NOTE: The driver's window and, if equipped, the front passenger's window will remain
active for about 40 seconds, and the SUBARU STARLINK
®Multimedia System will remain
on for about three minutes, or until a front door is opened, whichever occurs first.
With Push-button Ignition
To stop the engine:
1. Stop your Subaru completely.
2. Move the select lever to the “P” position.
3. Press the ignition switch to stop the engine.
NOTE: The driver's window and, if equipped, the front passenger's window will remain
active for about 40 seconds, and the SUBARU STARLINK
®Multimedia System will remain
on for about three minutes, or until a front door is opened, whichever occurs first.
Hill Descent
Control Indicator
OPERATING THE VEHICLE
48
Page 51 of 156

FUEL FILLER LID
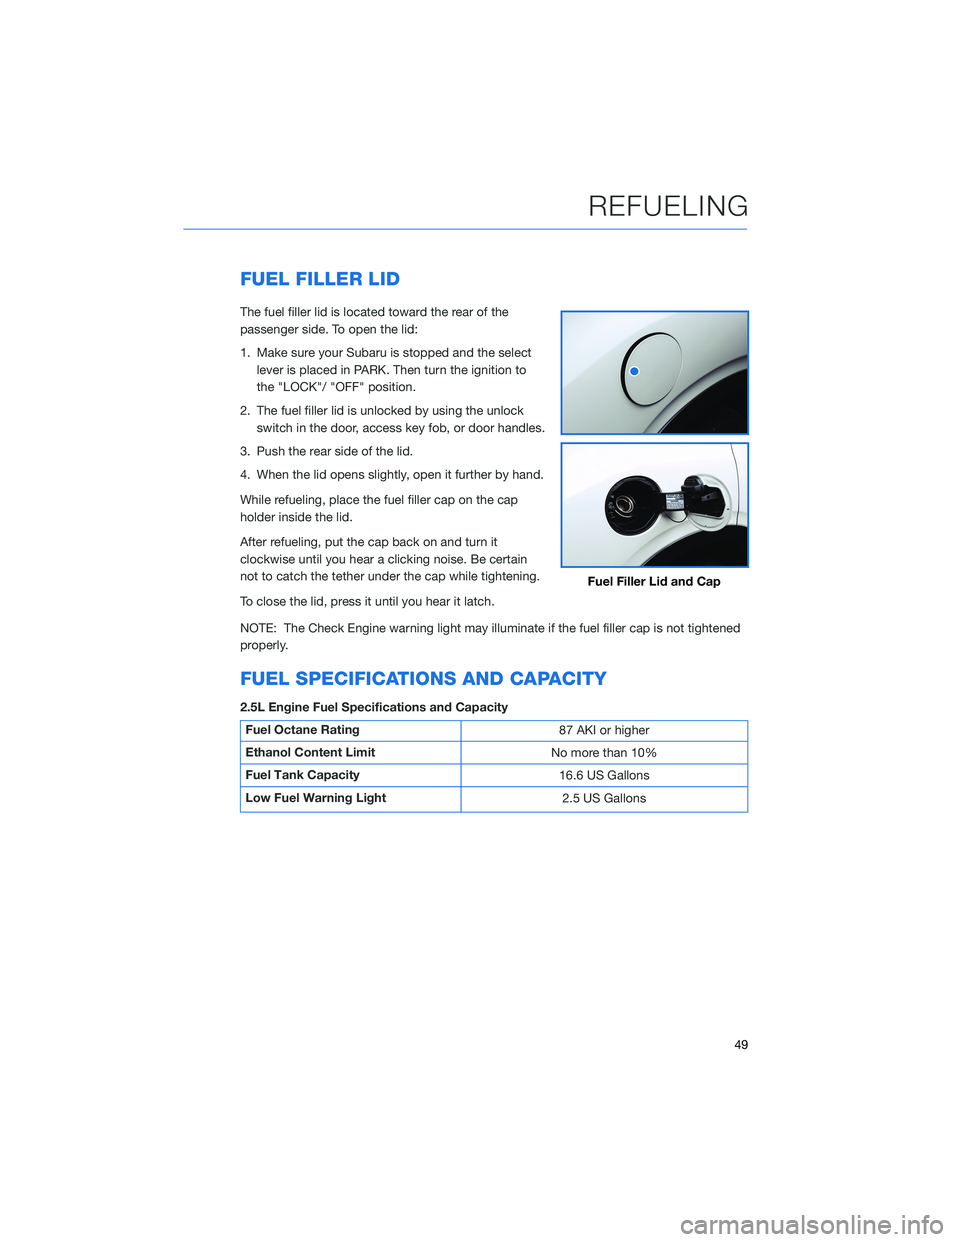
The fuel filler lid is located toward the rear of the
passenger side. To open the lid:
1. Make sure your Subaru is stopped and the selectlever is placed in PARK. Then turn the ignition to
the "LOCK"/ "OFF" position.
2. The fuel filler lid is unlocked by using the unlock switch in the door, access key fob, or door handles.
3. Push the rear side of the lid.
4. When the lid opens slightly, open it further by hand.
While refueling, place the fuel filler cap on the cap
holder inside the lid.
After refueling, put the cap back on and turn it
clockwise until you hear a clicking noise. Be certain
not to catch the tether under the cap while tightening.
To close the lid, press it until you hear it latch.
NOTE: The Check Engine warning light may illuminate if the fuel filler cap is not tightened
properly.
FUEL SPECIFICATIONS AND CAPACITY
2.5L Engine Fuel Specifications and Capacity
Fuel Octane Rating 87 AKI or higher
Ethanol Content Limit No more than 10%
Fuel Tank Capacity 16.6 US Gallons
Low Fuel Warning Light 2.5 US Gallons
Fuel Filler Lid and Cap
REFUELING
49
Page 52 of 156
FOLDING THE REAR SEATS
First, lower the headrests. Then, pull up on the
release knob until you can see the red marker
at the bottom of the knob and fold down the
seats.
To return the seatback to its original position,
raise the seatback until it locks into place. You
will no longer be able to see the red marker at
the bottom of the knob when the seat is
locked.
If equipped, release latches are located on
either side of the cargo area. Pull the release
latch on the seat side that you want to fold
down.
CHILD SAFETY LOCKS
The child safety locks are located on the
inside edges of the rear doors. In the locked
position, the rear doors can only be opened
from the outside.
Seat Release Knob
Seat Release Latch
PASSENGER/CARGO AREAS
50
Page 89 of 156
CLOCK
You can adjust the clock manually or set the clock to update
automatically. When set to “Auto,” the clock automatically adjusts
when a Bluetooth
®connected phone is paired (vehicles without
navigation), or through the GPS signal (vehicles with navigation
system).
The following sections contain step-by-step instructions for setting
the clock, and you can scan the QR codes for a helpful “how to”
video. Choose the appropriate QR code based on your
Multi-Function Display (Color LCD or Black and White LCD).
Manually
Use the STARLINK®Touchscreen to set the clock:
1 Press the “Home” button.
2 Select “Settings”.
3 Select “Vehicle”.
4 Select “Time/Date”.
5 Select “Mode”.
SETTINGS AND UPDATES
87
Page 90 of 156
6Select “Manual”.
7 Now adjust the time and date using the “+” and
“-” buttons. Select the check mark when finished.
For black-and-white Multi-Function Display
(MFD), use the “+” and “-” buttons next to the
clock.
Automatically
To set the clock automatically, the “Auto” mode must be selected in the clock adjustment
setting. To set the clock:
1 Press the “Home” button.
2 Select “Settings”.
3 Select “Vehicle”.
4 Select “Time/Date”.
5 Select “Mode”.
SETTINGS AND UPDATES
88
Page 91 of 156
6Select “Auto”. Press the “Home” button when
finished.
The clock automatically adjusts as follows:
• Systems with Navigation: Automatically adjusts the clock when a GPS signal is available.
• Systems without Navigation: Automatically adjusts the clock when a phone is paired and connected via
Bluetooth
®. “Phonebook Download” must be enabled in the Phone Settings.
For step-by-step procedures to pair a phone to the SUBARU STARLINK®
Touchscreen, see page 119 for Android devices or page 123 for Apple devices.
SETTINGS AND UPDATES
89
Page 114 of 156

STEREO CAMERA PRECAUTIONS
Your EyeSight®stereo cameras are precision components that must be kept free from
obstruction and contamination, such as fingerprints or cleaning solutions. When the
system detects that the stereo camera lenses are impaired, a malfunction indicator will be
displayed and EyeSight
®functions will not be available.
When you are in the vicinity of the EyeSight
®stereo cameras, always observe the following
precautions:
• Do not touch or attempt to clean the EyeSight
®camera lenses inside the vehicle. Extra
caution should be used when cleaning the inside of the windshield. Over-spray from
cleaning solutions may impair or even damage the camera lenses. When cleaning the
inside of the windshield around the camera cover, do not spray cleaner directly onto the
windshield. Instead, spray cleaner onto a cloth and then wipe the windshield. Please
inform others who may attempt to clean the windshield, such as car wash staff, of these
precautions.
• If the inside of the windshield in front of the stereo camera is dirty, do not try to clean the windshield yourself. Contact your Subaru retailer to have the vehicle inspected.
• If the camera system becomes hot, the cooling fans may operate. Do not block or insert anything into the ventilation holes. Do not touch the camera cover, because it may be
hot due to head generated by the camera system.
• Electronic Toll Collection devices, such as EZPass
TM, must be installed in an area that
does not obstruct the stereo cameras' field of vision. See prohibited area on page 113.
• Adjust the rearview mirror so it does not obstruct the stereo cameras' field of vision.
• Do not install any interior rearview mirror accessories, such as a wide-type mirror or hanging objects. Only approved Genuine SUBARU accessories may be installed.
For more detailed information, please refer to your EyeSight
®Owner’s Manual.
WINDSHIELD GLASS AND DASHBOARD
Since the characteristics and limitations of the EyeSight®stereo cameras are similar to
human eyes, it is important that the area in front of the cameras be kept free from dirt,
scratches, cracks, fogging, or accessories mounted to the windshield, hood or dashboard.
Visual impairments or reflections can affect EyeSight
®system performance. Extra caution
should be taken when cleaning the windshield to prevent over-spray from cleaning
solutions.
The image in the following section outlines those areas that must be kept clean and free
from obstruction. Please refer to the Owner’s Manual for a complete listing of limitations.
CARE AND LIMITATIONS
112
Page 120 of 156

MEMORY DRIVER’S SEAT(if equipped)
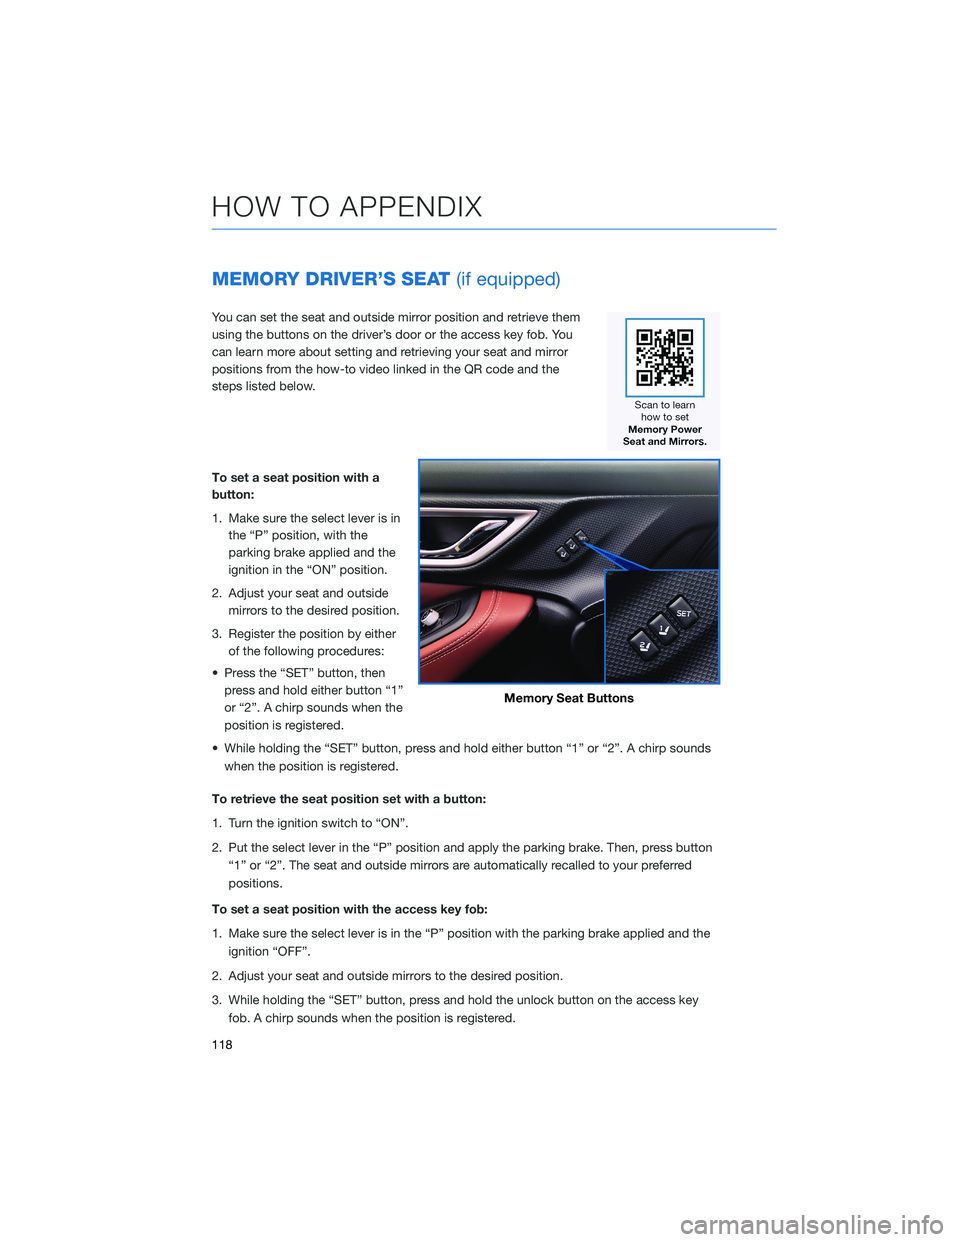
You can set the seat and outside mirror position and retrieve them
using the buttons on the driver’s door or the access key fob. You
can learn more about setting and retrieving your seat and mirror
positions from the how-to video linked in the QR code and the
steps listed below.
To set a seat position with a
button:
1. Make sure the select lever is in
the “P” position, with the
parking brake applied and the
ignition in the “ON” position.
2. Adjust your seat and outside mirrors to the desired position.
3. Register the position by either of the following procedures:
• Press the “SET” button, then press and hold either button “1”
or “2”. A chirp sounds when the
position is registered.
• While holding the “SET” button, press and hold either button “1” or “2”. A chirp sounds when the position is registered.
To retrieve the seat position set with a button:
1. Turn the ignition switch to “ON”.
2. Put the select lever in the “P” position and apply the parking brake. Then, press button “1” or “2”. The seat and outside mirrors are automatically recalled to your preferred
positions.
To set a seat position with the access key fob:
1. Make sure the select lever is in the “P” position with the parking brake applied and the ignition “OFF”.
2. Adjust your seat and outside mirrors to the desired position.
3. While holding the “SET” button, press and hold the unlock button on the access key fob. A chirp sounds when the position is registered.
Memory Seat Buttons
HOW TO APPENDIX
118