2022 SUBARU FORESTER stop start
[x] Cancel search: stop startPage 4 of 156

OPERATING THE VEHICLE
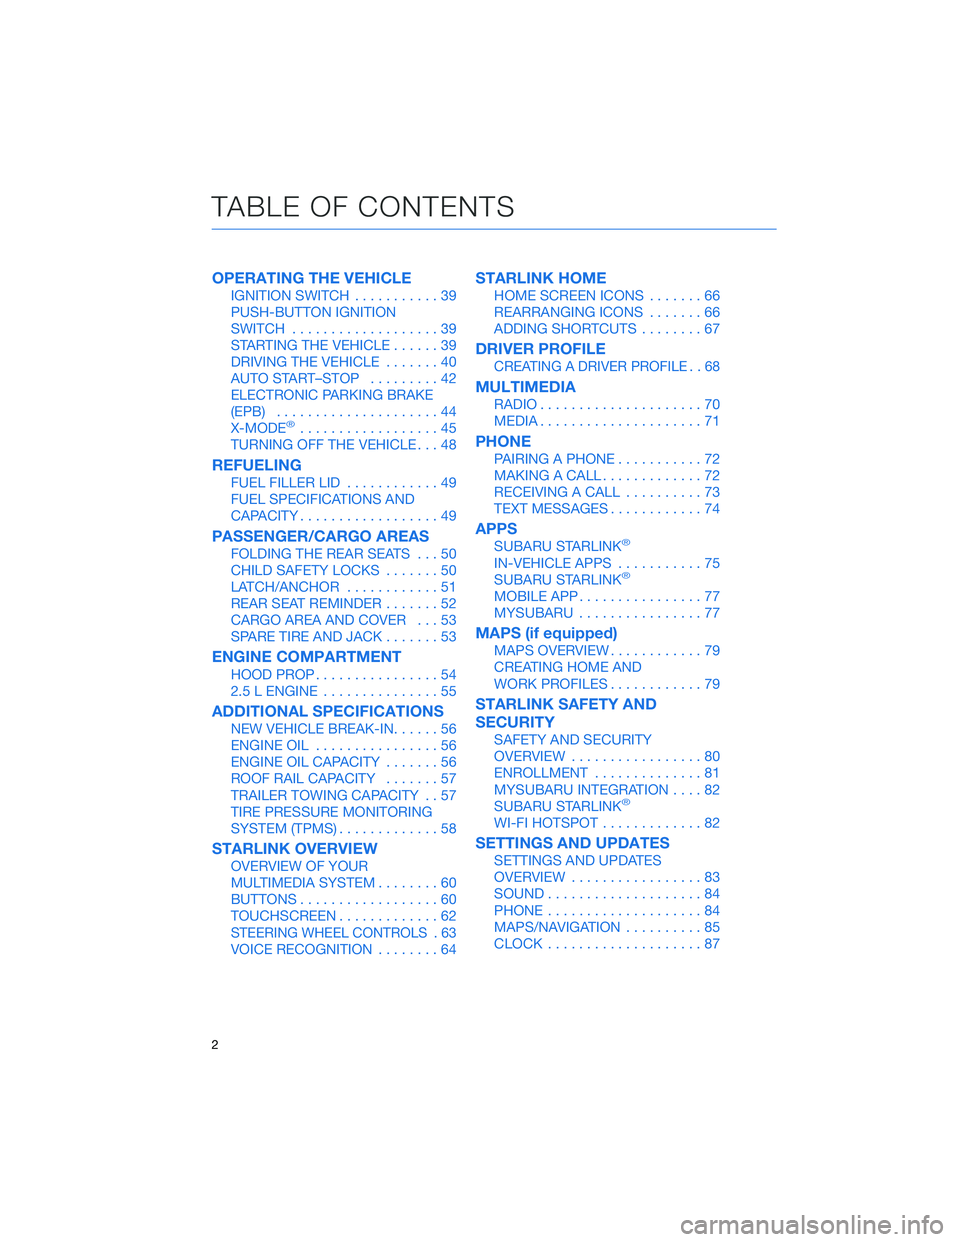
IGNITION SWITCH...........39
PUSH-BUTTON IGNITION
SWITCH ...................39
STARTING THE VEHICLE ......39
DRIVING THE VEHICLE .......40
AUTO START–STOP .........42
ELECTRONIC PARKING BRAKE
(EPB) .....................44
X-MODE
®..................45
TURNING OFF THE VEHICLE ...48
REFUELING
FUEL FILLER LID............49
FUEL SPECIFICATIONS AND
CAPACITY ..................49
PASSENGER/CARGO AREAS
FOLDING THE REAR SEATS ...50
CHILD SAFETY LOCKS .......50
LATCH/ANCHOR ............51
REAR SEAT REMINDER .......52
CARGO AREA AND COVER ...53
SPARE TIRE AND JACK .......53
ENGINE COMPARTMENT
HOOD PROP................54
2.5 L ENGINE ...............55
ADDITIONAL SPECIFICATIONS
NEW VEHICLE BREAK-IN ......56
ENGINE OIL ................56
ENGINE OIL CAPACITY .......56
ROOF RAIL CAPACITY .......57
TRAILER TOWING CAPACITY . . 57
TIRE PRESSURE MONITORING
SYSTEM (TPMS) .............58
STARLINK OVERVIEW
OVERVIEW OF YOUR
MULTIMEDIA SYSTEM ........60
BUTTONS ..................60
TOUCHSCREEN .............62
STEERING WHEEL CONTROLS . 63
VOICE RECOGNITION ........64
STARLINK HOME
HOME SCREEN ICONS .......66
REARRANGING ICONS .......66
ADDING SHORTCUTS ........67
DRIVER PROFILE
CREATING A DRIVER PROFILE . . 68
MULTIMEDIA
RADIO.....................70
MEDIA .....................71
PHONE
PAIRING A PHONE ...........72
MAKING A CALL .............72
RECEIVING A CALL ..........73
TEXT MESSAGES ............74
APPS
SUBARU STARLINK®
IN-VEHICLE APPS ...........75
SUBARU STARLINK®
MOBILE APP ................77
MYSUBARU ................77
MAPS (if equipped)
MAPS OVERVIEW ............79
CREATING HOME AND
WORK PROFILES ............79
STARLINK SAFETY AND
SECURITY
SAFETY AND SECURITY
OVERVIEW.................80
ENROLLMENT ..............81
MYSUBARU INTEGRATION ....82
SUBARU STARLINK
®
WI-FI HOTSPOT .............82
SETTINGS AND UPDATES
SETTINGS AND UPDATES
OVERVIEW.................83
SOUND ....................84
PHONE ....................84
MAPS/NAVIGATION ..........85
CLOCK ....................87
TABLE OF CONTENTS
2
Page 20 of 156

INSTRUMENT PANEL SWITCHES (LOWER LEFT)
The switches in the lower left of the instrument panel allow you to control several
convenient and important features. Knowing their location and function will improve your
driving experience.1 Power Rear Gate (if
equipped, p. 11)
2 Steering Responsive
Headlights OFF (p. 104)
3 Power Rear Gate Memory
Height (if equipped, p. 116)
4 Illumination Brightness
(p. 21)
5 Vehicle Dynamics Control
OFF (if equipped)
6 Auto Start-Stop OFF (p. 42)
7 Blind Spot Detection/Rear
Cross Traffic Alert OFF (if equipped, p. 103)
8 Driver Monitoring System OFF (if equipped, p. 111)
For more information, please refer to your Owner’s Manual.
AUDIO CONTROLS
1Presets/Skip
2 Volume
3 Source
4 INFO
5 Call/Voice Recognition
For more information about your audio
system and controls, please refer to page 63 in
this Getting Started Guide or “Quick Guide” in
your STARLINK
®Owner’s Manual.
CONTROLS
18
Page 41 of 156

IGNITION SWITCH
The ignition switch has four positions:
LOCK:You can only insert or remove the key in this position.
ACC (Accessory): Provides power to the audio system and accessory power outlets.
ON: All electrical systems are available. The key returns to this position after starting the
engine.
START: Turn the key to this position to start the engine.
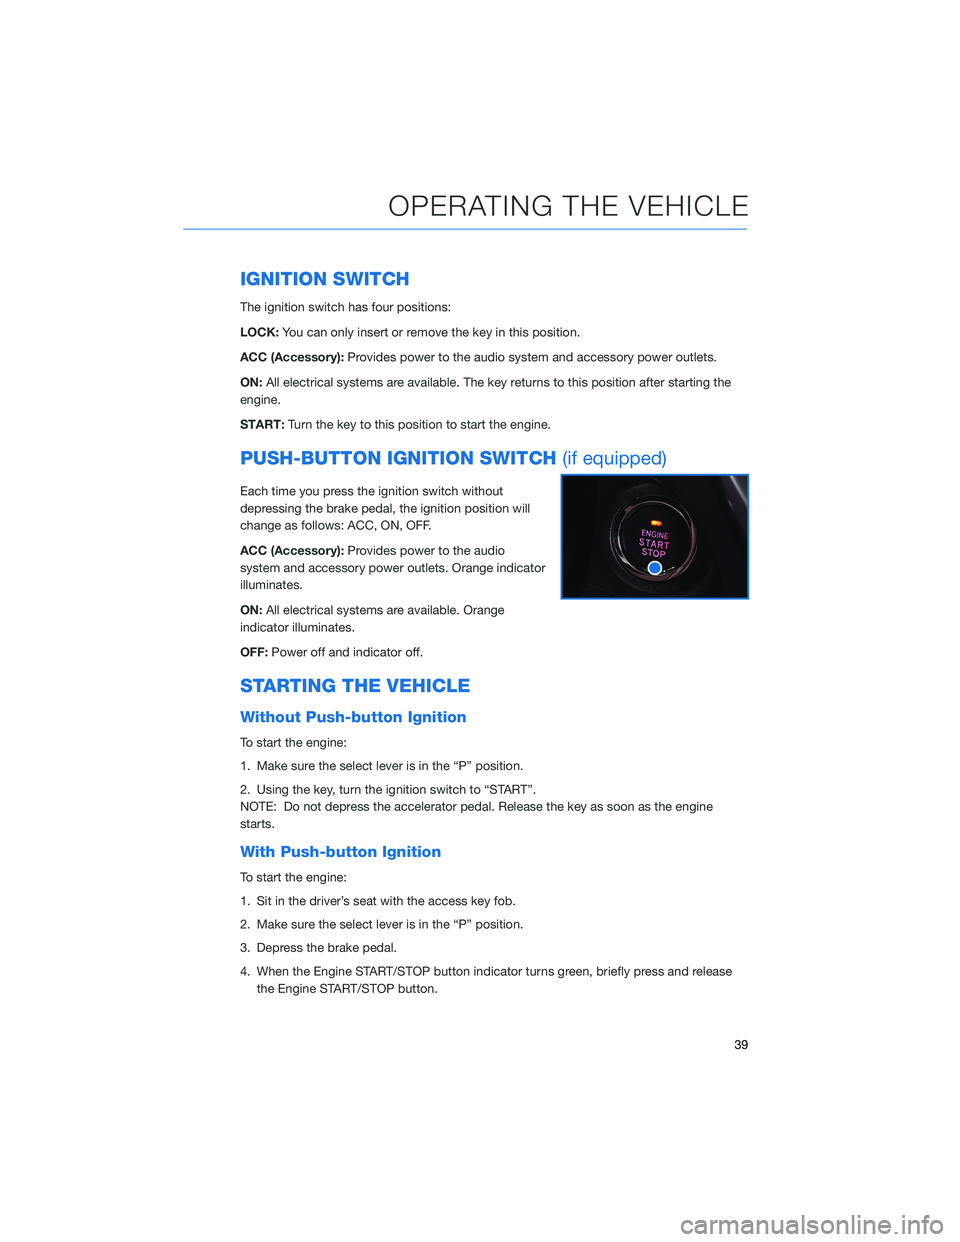
PUSH-BUTTON IGNITION SWITCH (if equipped)
Each time you press the ignition switch without
depressing the brake pedal, the ignition position will
change as follows: ACC, ON, OFF.
ACC (Accessory):Provides power to the audio
system and accessory power outlets. Orange indicator
illuminates.
ON: All electrical systems are available. Orange
indicator illuminates.
OFF: Power off and indicator off.
STARTING THE VEHICLE
Without Push-button Ignition
To start the engine:
1. Make sure the select lever is in the “P” position.
2. Using the key, turn the ignition switch to “START”.
NOTE: Do not depress the accelerator pedal. Release the key as soon as the engine
starts.
With Push-button Ignition
To start the engine:
1. Sit in the driver’s seat with the access key fob.
2. Make sure the select lever is in the “P” position.
3. Depress the brake pedal.
4. When the Engine START/STOP button indicator turns green, briefly press and release
the Engine START/STOP button.
OPERATING THE VEHICLE
39
Page 44 of 156

AUTO START–STOP
The Auto Start-Stop system is designed to automatically stop and
restart the engine when the vehicle is stationary for a short period of
time after the engine has warmed up (while waiting for a traffic light
or in a traffic jam, for example). The system operates in order to
reduce fuel consumption, exhaust emissions, and undesired idling
noise. You can learn more about using the Auto Start-Stop system
from the how-to video linked in the QR code and from the sections
below.
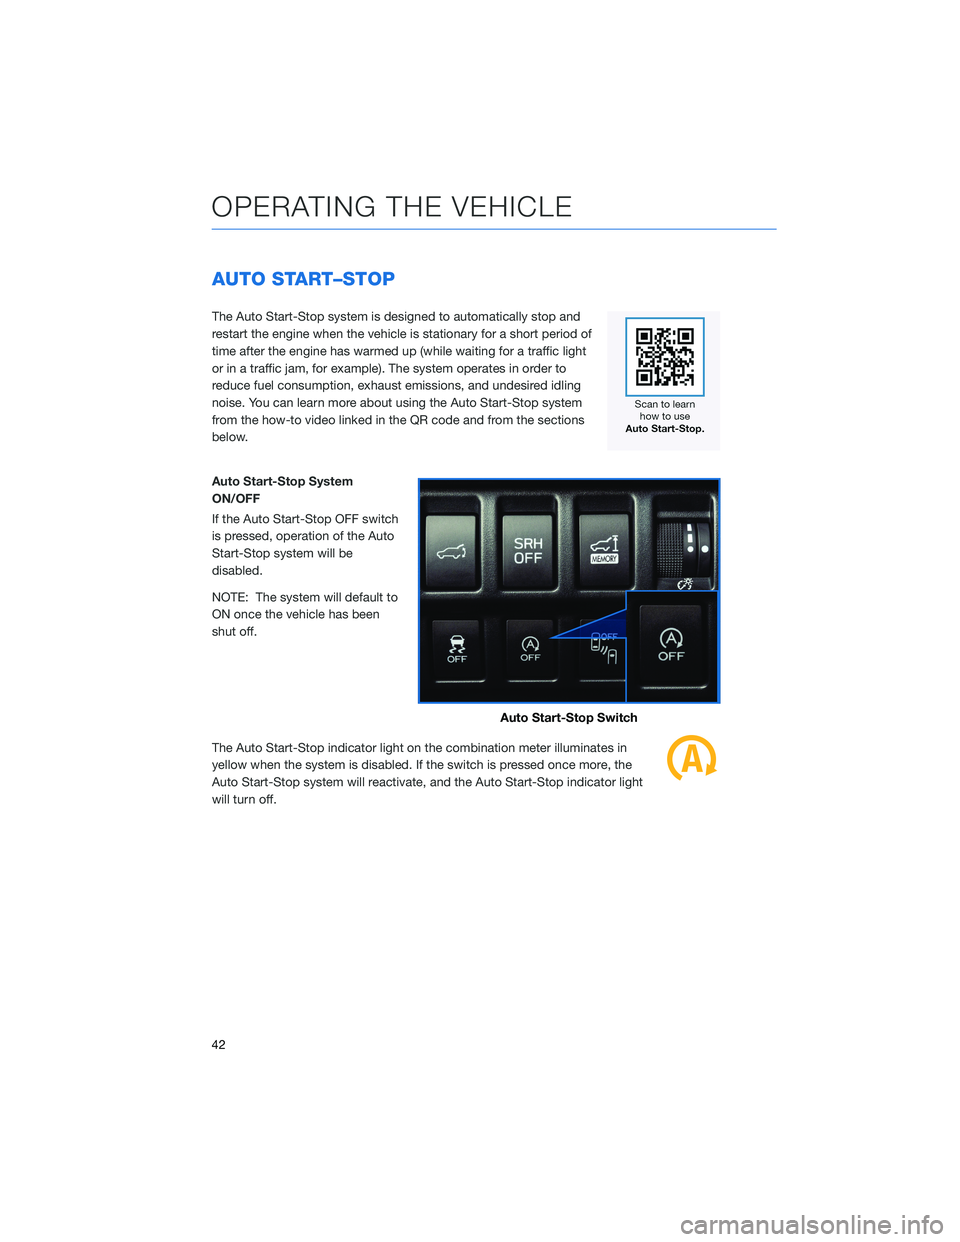
Auto Start-Stop System
ON/OFF
If the Auto Start-Stop OFF switch
is pressed, operation of the Auto
Start-Stop system will be
disabled.
NOTE: The system will default to
ON once the vehicle has been
shut off.
The Auto Start-Stop indicator light on the combination meter illuminates in
yellow when the system is disabled. If the switch is pressed once more, the
Auto Start-Stop system will reactivate, and the Auto Start-Stop indicator light
will turn off.
Auto Start-Stop Switch
OPERATING THE VEHICLE
42
Page 45 of 156

System Operation
So that it can be used safely and comfortably, the Auto Start-Stop system is designed to
constantly monitor vehicle conditions, the environment inside and outside the vehicle, as
well as driver operations, in order to control stopping and restarting the engine.
After the vehicle has been completely stopped by depressing the brake pedal
with the select lever in the “D” position, the engine will be automatically
stopped and the green indicator will illuminate in the combination meter.
If you release the brake pedal with the select lever kept in the “D” position, the
engine will be automatically restarted. The indicator light will turn off when the system
restarts the engine.
There are several operating conditions for this system to operate as intended.
For more information, please refer to “Starting and Operating” in your Owner’s
Manual.
Auto Start-Stop Screen
You can use the “i/Set” and arrow switches to
display the Auto Start-Stop Screen in the
Combination Meter Display (CMD), showing
how much time the engine was off in the top
line and the amount of fuel saved in the
bottom line. Displayed are the total stop time
and fuel saved since the trip meter was reset.
No Activity Detected Indicator Light
If the operational conditions are not met when the vehicle is stopped, the
engine will not stop and the white Auto Start-Stop No Activity Detected
indicator light will illuminate. It will turn off when the brake pedal is released.
OPERATING THE VEHICLE
43
Page 46 of 156

Auto Start-Stop Warning Light
The Auto Start-Stop warning light will illuminate in yellow when initially turning
the ignition switch to the “ON” position. The light will turn off after the engine
has started.
NOTE: If the Auto Start-Stop warning light does not turn off after the engine
has started or is flashing, the Auto Start-Stop system may be malfunctioning. We
recommend that you contact your authorized SUBARU retailer for an inspection.
INDICATOR PATTERN CONDITION
Solid green This indicator light illuminates when the engine has beentemporarily stopped by the Auto Start-Stop system.
It will turn off when the engine is restarted.
Solid White Operational conditions have not been met, the enginewill not stop and this light will illuminate. The light turns
off once the brake pedal is released.
Solid Yellow This light indicates that the system has been turned off.The light will turn off once the system is turned back on.
Flashing
Yellow A fault has been detected with the Start-Stop system.
Please contact your authorized Subaru Retailer.
ELECTRONIC PARKING BRAKE (EPB)
To apply the parking brake,
depress the brake pedal and pull
the parking brake switch up. The
indicator light on the parking
brake switch will illuminate and
“PARK” will appear in the
Combination Meter.
To release the parking brake
manually, depress the brake pedal
and push the parking brake
switch down with the ignition in
the “ON” position. To
automatically release the parking
brake, gently press the
accelerator pedal with the select lever in the “D” or “R” position.
NOTE: Automatic parking brake release will not work unless all the doors are closed and
your seatbelt is fastened.
OPERATING THE VEHICLE
44
Page 95 of 156

Pre-Collision Throttle Management
This function is designed to help prevent you from unintentionally accelerating into a
stopped vehicle or other obstacle by reducing engine power. Warnings are displayed in the
Combination Meter Display (CMD) with audible beeps.
Pre-Collision Throttle Management is helpful when:
• You unintentionally place the select lever in the “D” position instead of the “R” positionand start to accelerate toward a parked car, wall or parking structure.
• While you are at a stop, the vehicle ahead of you accelerates, but then suddenly slows down or stops as you begin to accelerate.
This system can be turned on or off by using the Pre-Collision Braking System OFF switch
(see page 100).
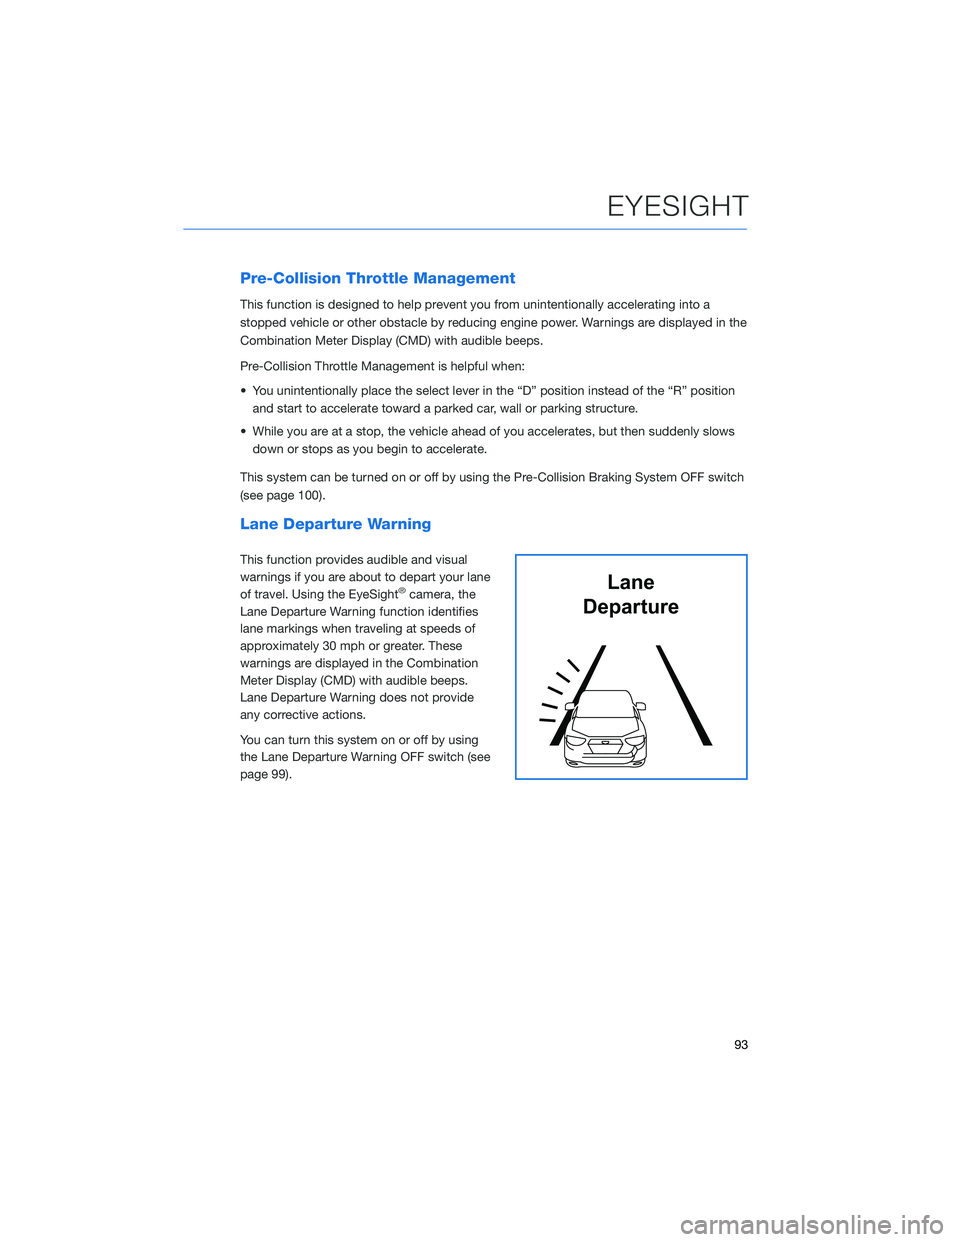
Lane Departure Warning
This function provides audible and visual
warnings if you are about to depart your lane
of travel. Using the EyeSight
®camera, the
Lane Departure Warning function identifies
lane markings when traveling at speeds of
approximately 30 mph or greater. These
warnings are displayed in the Combination
Meter Display (CMD) with audible beeps.
Lane Departure Warning does not provide
any corrective actions.
You can turn this system on or off by using
the Lane Departure Warning OFF switch (see
page 99).Lane
Departure
EYESIGHT
93
Page 99 of 156

Lead Vehicle Start Alert
This function will provide a visual and audible
alert when a stopped vehicle in front of you
begins to move, and your vehicle remains
stationary. Warnings are displayed in the
Combination Meter Display (CMD) with
audible beeps. Lead Vehicle Start Alert is
helpful in situations where you may become
temporarily distracted at a traffic light, and the
vehicle ahead begins to move.
This function can be customized. To change
this setting, use the steering wheel mounted
“i/SET” switches to access the EyeSight
®
settings menu on the CMD.
Vehicle AheadHas Moved
EYESIGHT
97