Page 43 of 148

IGNITION SWITCH
The ignition switch has four positions:
LOCK:You can only insert or remove the key in this position.
ACC (Accessory):Provides power to the audio system and accessory power outlets.
ON:All electrical systems are available. The key returns to this position after starting the
engine.
START:Turn the key to this position to start the engine.
PUSH-BUTTON IGNITION SWITCH(if equipped)
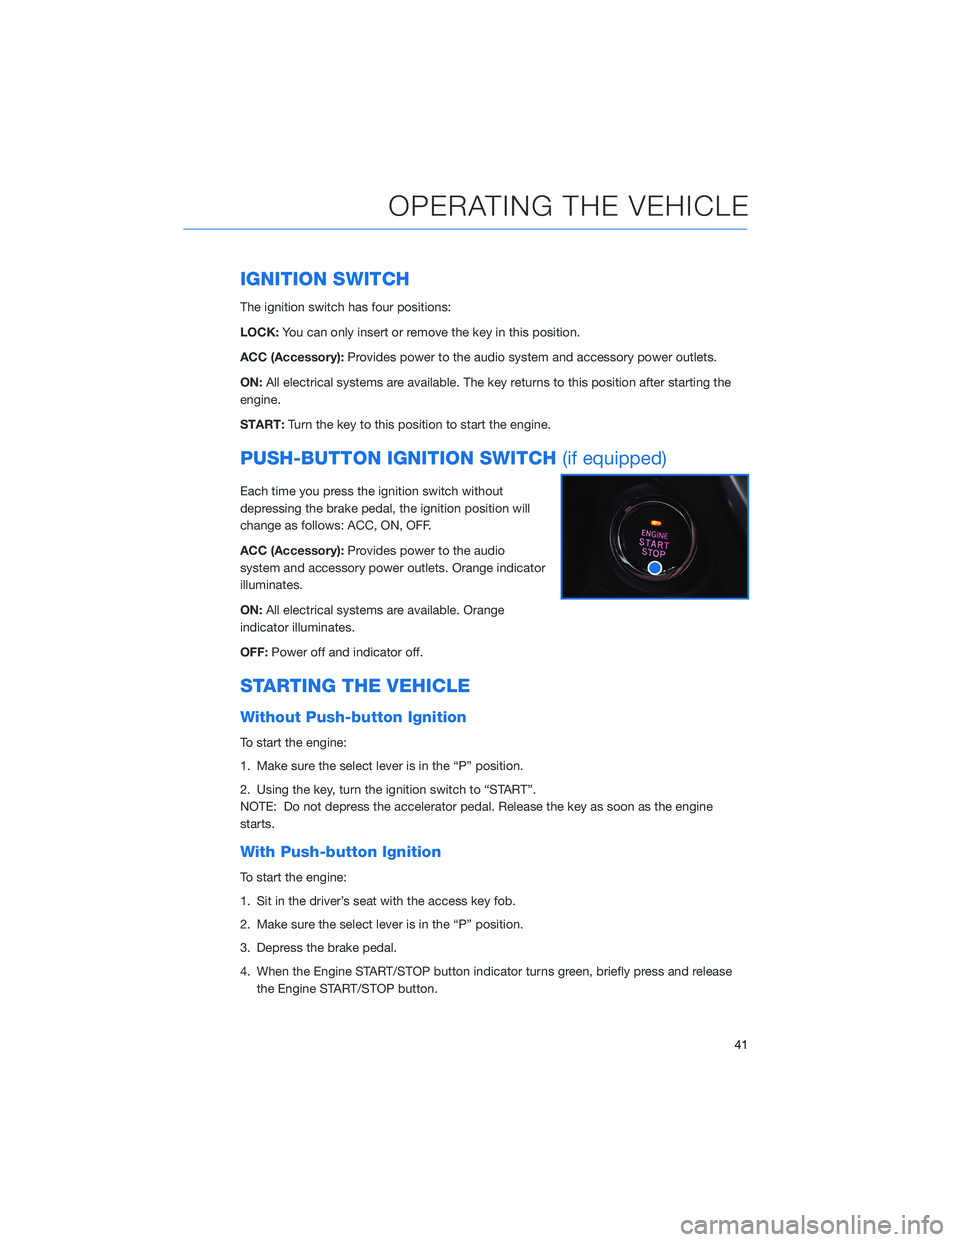
Each time you press the ignition switch without
depressing the brake pedal, the ignition position will
change as follows: ACC, ON, OFF.
ACC (Accessory):Provides power to the audio
system and accessory power outlets. Orange indicator
illuminates.
ON:All electrical systems are available. Orange
indicator illuminates.
OFF:Power off and indicator off.
STARTING THE VEHICLE
Without Push-button Ignition
To start the engine:
1. Make sure the select lever is in the “P” position.
2. Using the key, turn the ignition switch to “START”.
NOTE: Do not depress the accelerator pedal. Release the key as soon as the engine
starts.
With Push-button Ignition
To start the engine:
1. Sit in the driver’s seat with the access key fob.
2. Make sure the select lever is in the “P” position.
3. Depress the brake pedal.
4. When the Engine START/STOP button indicator turns green, briefly press and release
the Engine START/STOP button.
OPERATING THE VEHICLE
41
Page 98 of 148

Conventional Cruise Control
Conventional Cruise Control maintains a
constant traveling speed you set, but it does
not adapt to the other vehicles in front of you.
To activate Conventional Cruise Control, press
the Adaptive Cruise Control On/Off button to
set Advanced Adaptive Cruise Control into
standby status. Then, with Advanced Adaptive
Cruise Control in standby status, press and
hold the “Increase Distance” or “Decrease
Distance” button on the steering wheel for
approximately two seconds.
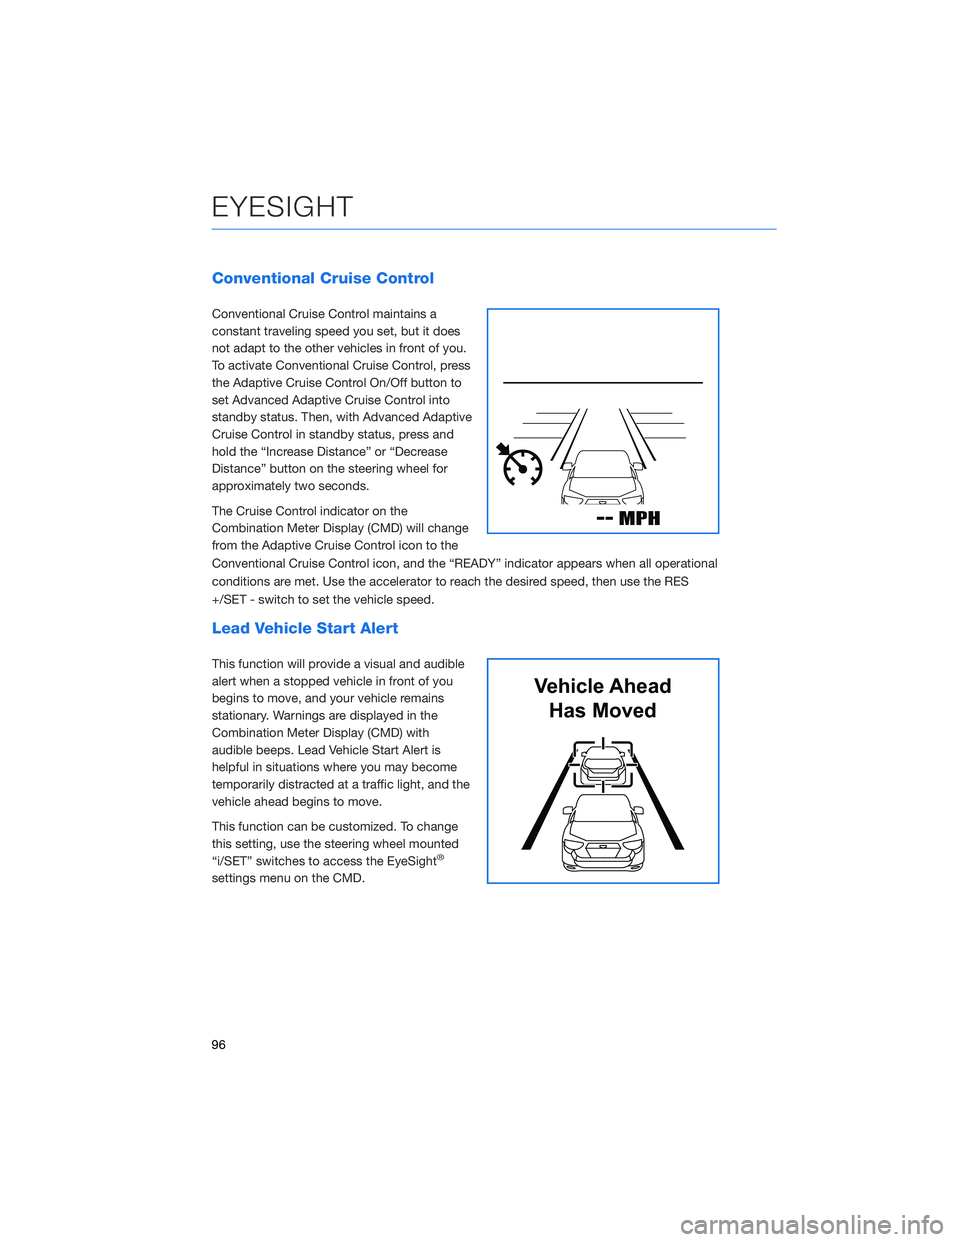
The Cruise Control indicator on the
Combination Meter Display (CMD) will change
from the Adaptive Cruise Control icon to the
Conventional Cruise Control icon, and the “READY” indicator appears when all operational
conditions are met. Use the accelerator to reach the desired speed, then use the RES
+/SET - switch to set the vehicle speed.
Lead Vehicle Start Alert
This function will provide a visual and audible
alert when a stopped vehicle in front of you
begins to move, and your vehicle remains
stationary. Warnings are displayed in the
Combination Meter Display (CMD) with
audible beeps. Lead Vehicle Start Alert is
helpful in situations where you may become
temporarily distracted at a traffic light, and the
vehicle ahead begins to move.
This function can be customized. To change
this setting, use the steering wheel mounted
“i/SET” switches to access the EyeSight
®
settings menu on the CMD.
Vehicle Ahead
Has Moved
EYESIGHT
96
Page 135 of 148

FIRMWARE AND SOFTWARE UPDATES
For 8.0–inch Multimedia Plus and 8.0–inch Multimedia Navigation systems, you can
update the system software via a Wi-Fi connection or the aha®application on your
smartphone (depending on your smartphone communication and transfer speed).
To accurately check for updates, make sure the clock is set to “Auto” with a GPS signal
available (system with navigation) or a phone paired via Bluetooth
®(system without
navigation). See page 87 for step by step directions on setting the clock. System
functionality will be restricted during installation.
1. Connect to a Wi-Fi network or start the aha application on your smartphone
(see page 122).
2. Return to the general settings screen (if needed, press the “Home” button, select
“Settings”, and then select “General”).
3. Select “Check for Updates”.
• If “Automatically Check for Updates” is turned on at the general settings screen,
an update check will be performed automatically before proceeding to the next step.
• If “Automatically Download Updates” is turned on at the general settings screen,
the software update will be downloaded automatically before proceeding to “Update
Installation”.
4. If the “Software Update Ready to Download” pop-up is displayed, select “Download
Now” to begin the download. The download status progress is displayed in the upper
right of the screen.
5. Select “Install Now” to start the installation process. The installation process will take
several minutes to complete. If you need to stop the installation process, press
“Cancel”.
6. When the installation is complete, select “I Agree” on the confirmation message to
complete the update process. By selecting “I Agree”, the system will restart
automatically.
HOW TO APPENDIX
133