Page 52 of 148
Third-Row Seat
1Fold:While pulling the strap,
fold the seatback forward.
2Return:To return the
seatback to the upright
position from inside your
Ascent, lift the seatback up.
From outside, pull up on the
strap on the back of the
seatback. Lift the seat up
securely until it locks in
place.
CHILD SAFETY LOCKS
The child safety locks are located on the inside
edges of the rear doors. In the locked position,
the rear doors can only be opened from the
outside.
PASSENGER/CARGO AREAS
50
Page 53 of 148

LATCH/ANCHOR
Your Subaru is equipped with Lower Anchors
and Tethers for Children (LATCH). For
maximum safety, first carefully read the
LATCH system instructions from the device
manufacturer, as well as the installation
instructions in your Owner’s Manual, to
properly install the LATCH compatible restraint
system. Use the appropriate seatbelts or
anchorages provided in your Subaru. Children
age 12 and under must properly occupy the
rear seat at all times.
For more information, please refer to
“Seat, seatbelt and SRS airbags” in your
Owner’s Manual.
REAR SEAT REMINDER
The Rear Seat Reminder system assists you in
preventing a child or pet from being left in your
Subaru, prompting you to confirm the
presence of passengers and cargo in the rear
seats. The system monitors the opening and
closing of the rear doors. It does not physically
sense the presence of a child or pet.
The system activates when the rear doors are
opened and closed. When the ignition switch
is turned from the “ON” position to the “OFF”
position, the system warns you with audible
beeps and with a “Reminder, Look in Rear
Seat” message in the Combination Meter
Display (CMD).
You can turn the Rear Seat Reminder off in the Combination Meter Display (CMD).
PASSENGER/CARGO AREAS
51
Page 62 of 148
Tire pressure specification is listed on the tire
inflation pressure label located on the driver’s
side door pillar and in the table below. For
complete tire pressure specifications and
information, please refer to the tire
specifications in your Owner’s Manual.
Ascent (Base), Premium
Tire Inflation Pressure
Front Wheel Rear Wheel Temporary Spare Tire
35 psi 35 psi 60 psi
Onyx, Limited, Touring
Tire Inflation Pressure
Front Wheel Rear Wheel Temporary Spare Tire
33 psi 33 psi 60 psi
NOTE: The temporary spare tire must be used only on a rear wheel. If a front wheel tire
gets punctured, replace the wheel with a rear wheel and install the temporary spare tire in
place of the removed rear wheel.
Tire Inflation Pressure Label
ADDITIONAL SPECIFICATIONS
60
Page 111 of 148
3Press the memory switch in
the instrument panel to
select the “ON” status
(switch is depressed and
you can no longer see the
white line on top).
4With the rear gate at the
desired height, press and
hold the Power Rear Gate
Close Button on the inside
edge of the rear gate.
A chirp will sound and the
hazard warning lights will
flash to confirm the height
is set.
When the memory switch is in the “ON” status, the rear gate will stop at the set memory
height when you use any of the Power Rear Gate buttons.
For more information, please refer to “Keys and Doors” in your Owner’s Manual.
Memory Height Button
Power Rear Gate Close Button
HOW TO APPENDIX
109
Page 112 of 148

MEMORY DRIVER’S SEAT(if equipped)
You can set the seat position and
retrieve it using the buttons on
the driver’s door or the access
key fob.
To set a seat position with a button:
1. Make sure the select lever is in the “P” position, with the parking brake applied and the
ignition in the “ON” position.
2. Adjust your seat to the desired position.
3. While holding the “SET” button, press and hold either button “1” or “2”. A chirp sounds
when the position is registered.
To retrieve the seat position set with a button:
1. Turn the ignition switch to “ON”.
2. Put the select lever in the “P” position and apply the parking brake. Then, press button
“1” or “2”. The seat is automatically recalled to your preferred position.
To set a seat position with the access key fob:
1. Make sure the select lever is in the “P” position with the parking brake applied and the
ignition “OFF”.
2. Adjust your seat to the desired position.
3. While holding the “SET” button, press and hold the unlock button on the access key
fob. A chirp sounds when the position is registered.
To retrieve the seat position set with the access key fob:
1. Hold the access key fob.
2. Unlock and open the driver’s door. The seat is automatically recalled to your preferred
position.
Memory Seat Buttons
HOW TO APPENDIX
110
Page 137 of 148
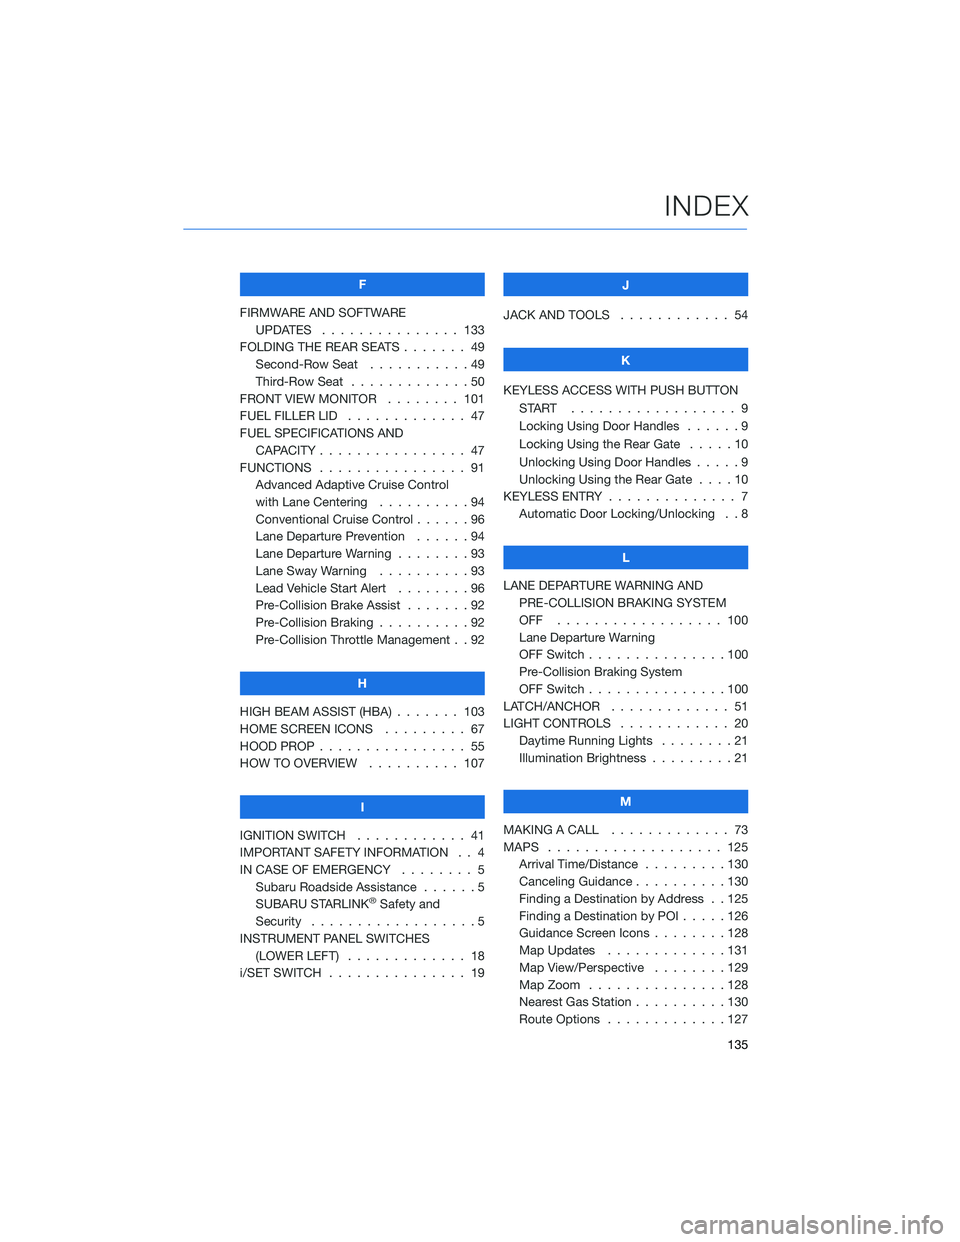
F
FIRMWARE AND SOFTWARE
UPDATES . . . ............ 133
FOLDING THE REAR SEATS....... 49
Second-Row Seat . . . . .......49
Third-Row Seat . . . . .........50
FRONT VIEW MONITOR . . . . . . . . 101
FUEL FILLER LID . . . .......... 47
FUEL SPECIFICATIONS AND
CAPACITY . . . . ............ 47
FUNCTIONS . . . . ............ 91
Advanced Adaptive Cruise Control
with Lane Centering . . . . . . . . . . 94
Conventional Cruise Control......96
Lane Departure Prevention . . . . . . 94
Lane Departure Warning . . . . . . . . 93
Lane Sway Warning..........93
Lead Vehicle Start Alert . . . . . . . . 96
Pre-Collision Brake Assist.......92
Pre-Collision Braking..........92
Pre-Collision Throttle Management . . 92
H
HIGH BEAM ASSIST (HBA) . . . . . . . 103
HOME SCREEN ICONS . . . . . . . . . 67
HOOD PROP . . . . ............ 55
HOW TO OVERVIEW .......... 107
I
IGNITION SWITCH . ........... 41
IMPORTANT SAFETY INFORMATION . . 4
IN CASE OF EMERGENCY . . . . . . . . 5
Subaru Roadside Assistance . . . . . . 5
SUBARU STARLINK
®Safety and
Security . . . . . . . . . .........5
INSTRUMENT PANEL SWITCHES
(LOWER LEFT) . . . . . . . . . . . . . 18
i/SET SWITCH . . . . ........... 19J
JACK AND TOOLS . . .......... 54
K
KEYLESS ACCESS WITH PUSH BUTTON
START .................. 9
Locking Using Door Handles ......9
Locking Using the Rear Gate . . . . . 10
Unlocking Using Door Handles .....9
Unlocking Using the Rear Gate....10
KEYLESS ENTRY . ............. 7
Automatic Door Locking/Unlocking . . 8
L
LANE DEPARTURE WARNING AND
PRE-COLLISION BRAKING SYSTEM
OFF .................. 100
Lane Departure Warning
OFF Switch . . . ............100
Pre-Collision Braking System
OFF Switch . . . ............100
LATCH/ANCHOR . . ........... 51
LIGHT CONTROLS . ........... 20
Daytime Running Lights . .......21
Illumination Brightness . ........21
M
MAKING A CALL . . . .......... 73
MAPS . . . ................ 125
Arrival Time/Distance.........130
Canceling Guidance . . ........130
Finding a Destination by Address . . 125
Finding a Destination by POI.....126
Guidance Screen Icons . .......128
Map Updates .............131
Map View/Perspective . . . .....129
Map Zoom . . . . . . . . . ......128
Nearest Gas Station ..........130
Route Options . . . . . . . ......127
INDEX
135
Page:
< prev 1-8 9-16 17-24


