2022 NISSAN TITAN center console
[x] Cancel search: center consolePage 81 of 635

WARNING
To ensure proper operation of the pas-
senger’s NISSAN Advanced Air Bag Sys-
tem, please observe the following
items.
• Do not allow a passenger in the rear
bench seats to push or pull on the
seatback pocket.
• Do not place heavy loads heavier
than 9.1 lbs. (4 kg) on the seatback,
head restraint or in the seatback
pocket.
• Make sure that there is nothing
pressing against the rear of the seat-
back, such as a child restraint in-
stalled in the rear seat or an object
stored on the floor.
• Make sure that there is no object
placed under the front passenger
seat.
• Make sure that there is no object
placed between the seat cushion and
center console, or between the seat
cushion and the door. •
If a forward-facing child restraint is
installed in the front passenger seat,
do not position the front passenger
seat so the child restraint contacts
the instrument panel. If the child re-
straint does contact the instrument
panel, the system may determine the
seat as occupied and the front pas-
senger air bag and front passenger
supplemental knee air bag may de-
ploy in a collision. Also the front pas-
senger air bag status light may not
illuminate. For additional informa-
tion, see “Child restraints” (P. 1-28).
• Confirm the operating condition with
the front passenger air bag status
light.
• If you notice that the front passenger
air bag status light is not operating
as described in this section, get the
occupant classification system
checked. It is recommended that you
take your vehicle to a NISSAN dealer
for this service.
• Until you have confirmed with a
dealer that your passenger seat oc-
cupant classification system is work-
ing properly, position the occupants
in the rear seating positions. •
Do not position the front passenger
seat so it contacts the rear bench
seats. If the front seat does contact
the rear bench seats, the air bag sys-
tem may determine a sensor mal-
function has occurred and the front
passenger air bag status light may
illuminate and the supplemental air
bag warning light may flash.
This vehicle is equipped with the NISSAN
Advanced Air Bag System for the driver and
front passenger seats. All of the informa-
tion, cautions and warnings in this
manual still apply and must be followed.
The driver supplemental front-impact air
bag is located in the center of the steering
wheel. The front passenger supplemental
front-impact air bag is mounted in the
dashboard above the glove box. The front
air bags are designed to inflate in higher
severity frontal collisions, although they
may inflate if the forces in another type of
collision are similar to those of a higher
severity frontal impact. They may not in-
flate in certain frontal collisions. Vehicle
damage (or lack of it) is not always an indi-
cation of proper front air bag system
operation.
Safety-Seats, seat belts and supplemental restraint system1-61
Page 86 of 635

NOTE:
This vehicle’s occupant classification
sensor system locks the classification
during driving so it is important that you
confirm that the front passenger is prop-
erly classified prior to driving. Also, the
occupant classification sensor system
may recalculate the weight of the occu-
pant when the vehicle comes to a stop
(i.e. stop light, stop sign, etc.), so front
passenger seat occupants should con-
tinue to remain seated as outlined
above.
Troubleshooting
If you think the front passenger air bag
status light is incorrect:
1. If the light is ON with no front passengerand no objects on the front passenger
seat:
This may be due to the following condi-
tions that may be interfering with the
weight sensors:
• An object weighing over 9.1 lbs. (4 kg) hanging on the seat or placed in the seat-
back pocket.
• A child restraint or other object pressing against the rear of the seatback. • A rear passenger pushing or pulling on
the back of the front passenger seat.
• Forcing the front seat or seatback against an object on the seat or floor be-
hind it.
• An object placed under the front passen- ger seat.
• An object placed between the seat cush- ion and center console or between the
seat cushion and the door.
If the vehicle is moving, please come to a
stop when it is safe to do so. Check and
correct any of the above conditions. Re-
start the vehicle and wait 1 minute.
NOTE:
A system check will be performed during
which the front passenger air bag status
light will remain lit for about 7 seconds
initially.
If the light is still ON af ter this, the vehicle
should be checked as soon as possible. It is
recommended that you visit a NISSAN
dealer for this service.
2. If the light is ON with an adult occupying the front passenger seat:
• Occupant is a small adult — the air bag light is functioning as intended. The
front passenger air bag is suppressed. However, if the occupant is not a small
adult, then this may be due to the following
conditions that may be interfering with the
weight sensors:
• Occupant is not sitting upright, leaning
against the seatback, and centered on
the seat cushion with his/her feet com-
fortably extended to the floor.
• A child restraint or other object pressing against the rear of the seatback.
• A rear passenger pushing or pulling on the back of the front passenger seat.
• Forcing the front seat or seatback against an object on the seat or floor be-
hind it.
• An object placed under the front passen- ger seat.
• An object placed between the seat cush- ion and center console or between the
seat cushion and the door.
If the vehicle is moving, please come to a
stop when it is safe to do so. Check and
correct any of the above conditions. Re-
start the vehicle and wait 1 minute.
1-66Safety-Seats, seat belts and supplemental restraint system
Page 108 of 635
Hill descent control switch (if so equipped).....2-59
Electronic locking rear differential (E-Lock)
system switch (if so equipped) .................2-60
Power inverter switch (if so equipped) ..........2-61
Parking Aids system switch ....................2-62
Tow mode switch .............................. 2-63
Emergency call (SOS) button (if so equipped) . . . 2-63
Trailer Brake Controller Unit (TBCU)
(if so equipped) ................................. 2-63
Rear Door Alert ................................. 2-64
Power outlets .................................. 2-65
12v Outlets .................................. 2-65
120v outlets (if so equipped) .................2-66
USB/iPod® charging ports (if so equipped) ......2-68
Extended storage switch .......................2-69
Storage ........................................ 2-70
Front-door pockets ......................... 2-70
Rear-door pockets .......................... 2-70
Console side pockets (if so equipped) .......2-70
Seatback pockets ........................... 2-71
Under-seat storage (if so equipped) .........2-71
Console box storage trays
(if so equipped) .............................. 2-73
Cell phone storage tray (if so equipped) .....2-73
Glovebox ................................... 2-73Console box (if so equipped)
................2-74
Center armrest storage (if so equipped) .....2-75
Under front seat storage bin
(if so equipped) .............................. 2-76
Overhead sunglasses storage
(if so equipped) .............................. 2-76
Cup holders ................................. 2-77
Grocery hooks (if so equipped) ..............2-80
Bed liner storage bins (if so equipped) .......2-80
Cargo hooks (if so equipped) ................2-81
C-Channel cargo hooks (if so equipped) .....2-81
Windows ....................................... 2-82
Power windows ............................. 2-82
Rear power window switch
(if so equipped) .............................. 2-84
Rear sliding window (if so equipped) .........2-85
Moonroof (if so equipped) ......................2-86
P
ower moonroof ............................ 2-86
Interior lights ................................... 2-88
Console light (if so equipped) ................2-89
Map lights (if so equipped) ...................2-89
Personal Lights (if so equipped) .............2-90
HomeLink® Universal Transceiver
(if so equipped) ................................. 2-90
Programming HomeLink® ...................2-91
Page 160 of 635
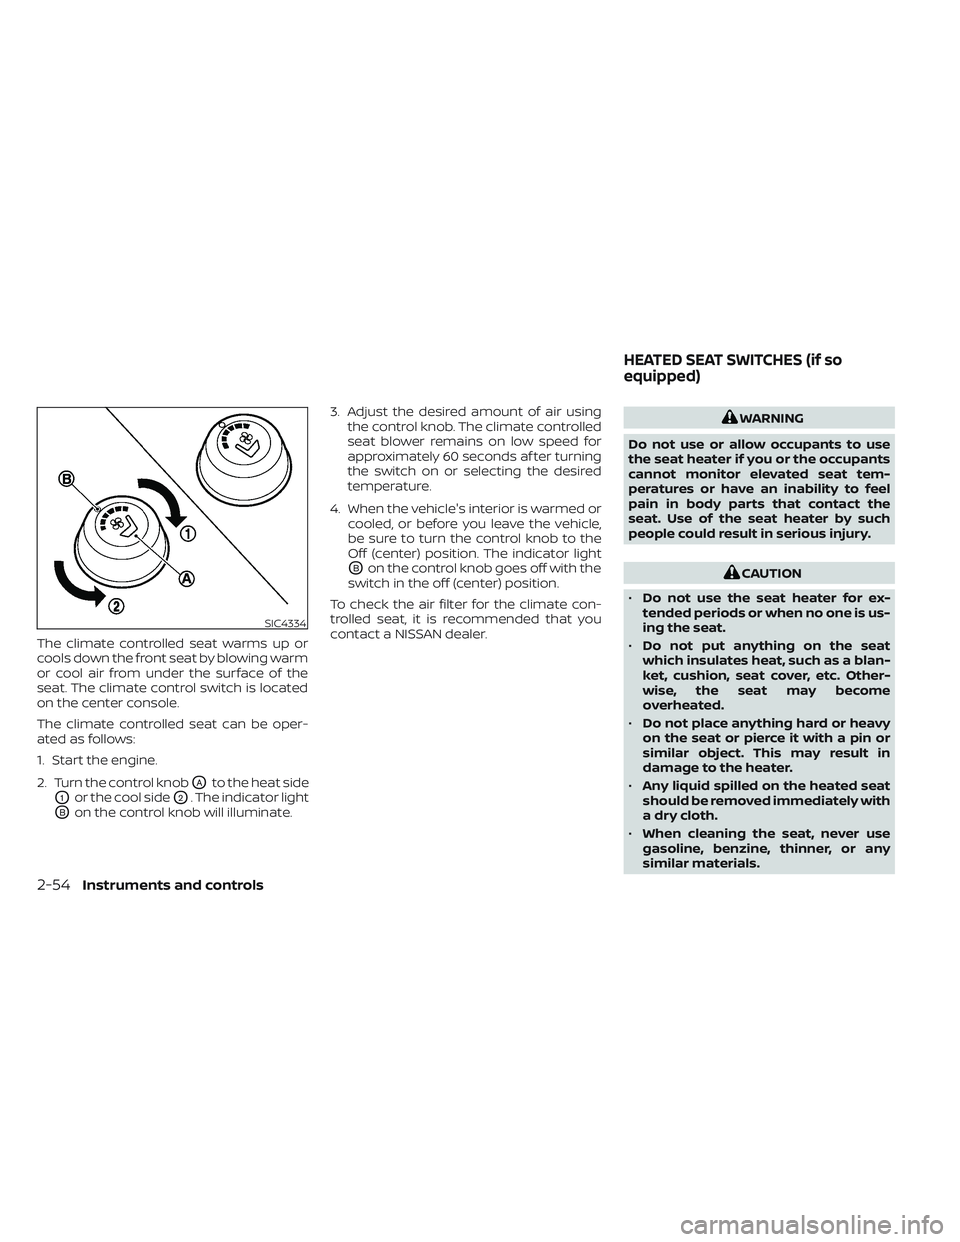
The climate controlled seat warms up or
cools down the front seat by blowing warm
or cool air from under the surface of the
seat. The climate control switch is located
on the center console.
The climate controlled seat can be oper-
ated as follows:
1. Start the engine.
2. Turn the control knob
OAto the heat side
O1or the cool sideO2. The indicator light
OBon the control knob will illuminate.3. Adjust the desired amount of air using
the control knob. The climate controlled
seat blower remains on low speed for
approximately 60 seconds af ter turning
the switch on or selecting the desired
temperature.
4. When the vehicle's interior is warmed or cooled, or before you leave the vehicle,
be sure to turn the control knob to the
Off (center) position. The indicator light
OBon the control knob goes off with the
switch in the off (center) position.
To check the air filter for the climate con-
trolled seat, it is recommended that you
contact a NISSAN dealer.
WARNING
Do not use or allow occupants to use
the seat heater if you or the occupants
cannot monitor elevated seat tem-
peratures or have an inability to feel
pain in body parts that contact the
seat. Use of the seat heater by such
people could result in serious injury.
CAUTION
• Do not use the seat heater for ex-
tended periods or when no one is us-
ing the seat.
• Do not put anything on the seat
which insulates heat, such as a blan-
ket, cushion, seat cover, etc. Other-
wise, the seat may become
overheated.
• Do not place anything hard or heavy
on the seat or pierce it with a pin or
similar object. This may result in
damage to the heater.
• Any liquid spilled on the heated seat
should be removed immediately with
a dry cloth.
• When cleaning the seat, never use
gasoline, benzine, thinner, or any
similar materials.
SIC4334
HEATED SEAT SWITCHES (if so
equipped)
2-54Instruments and controls
Page 162 of 635
•When cleaning the seat, never use
gasoline, benzine, thinner, or any
similar materials.
• If any malfunctions are found or the
heated seat does not operate, turn
the switch off and have the system
checked. It is recommended that you
visit a NISSAN dealer for this service.
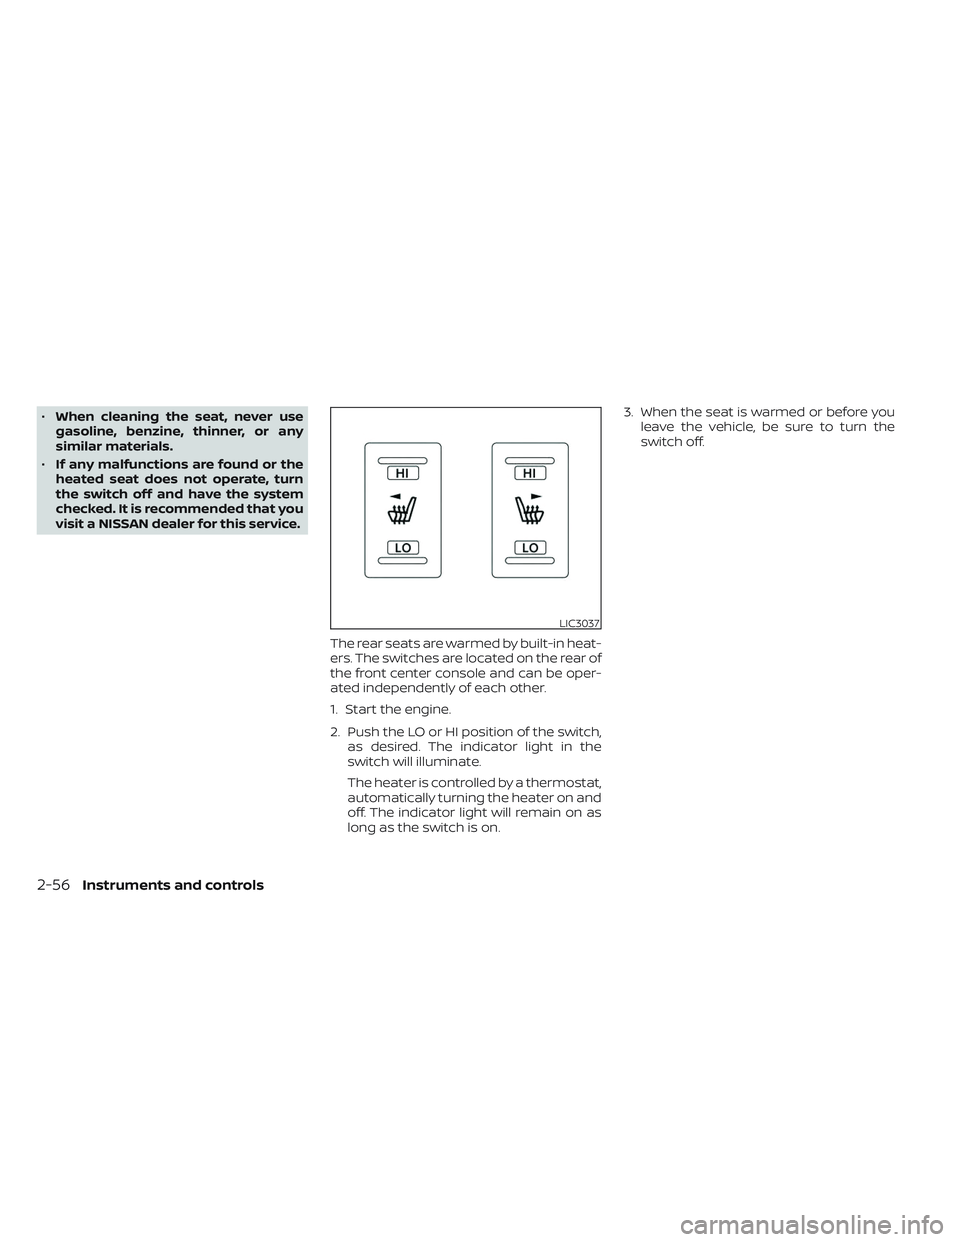
The rear seats are warmed by built-in heat-
ers. The switches are located on the rear of
the front center console and can be oper-
ated independently of each other.
1. Start the engine.
2. Push the LO or HI position of the switch,as desired. The indicator light in the
switch will illuminate.
The heater is controlled by a thermostat,
automatically turning the heater on and
off. The indicator light will remain on as
long as the switch is on. 3. When the seat is warmed or before you
leave the vehicle, be sure to turn the
switch off.
LIC3037
2-56Instruments and controls
Page 171 of 635
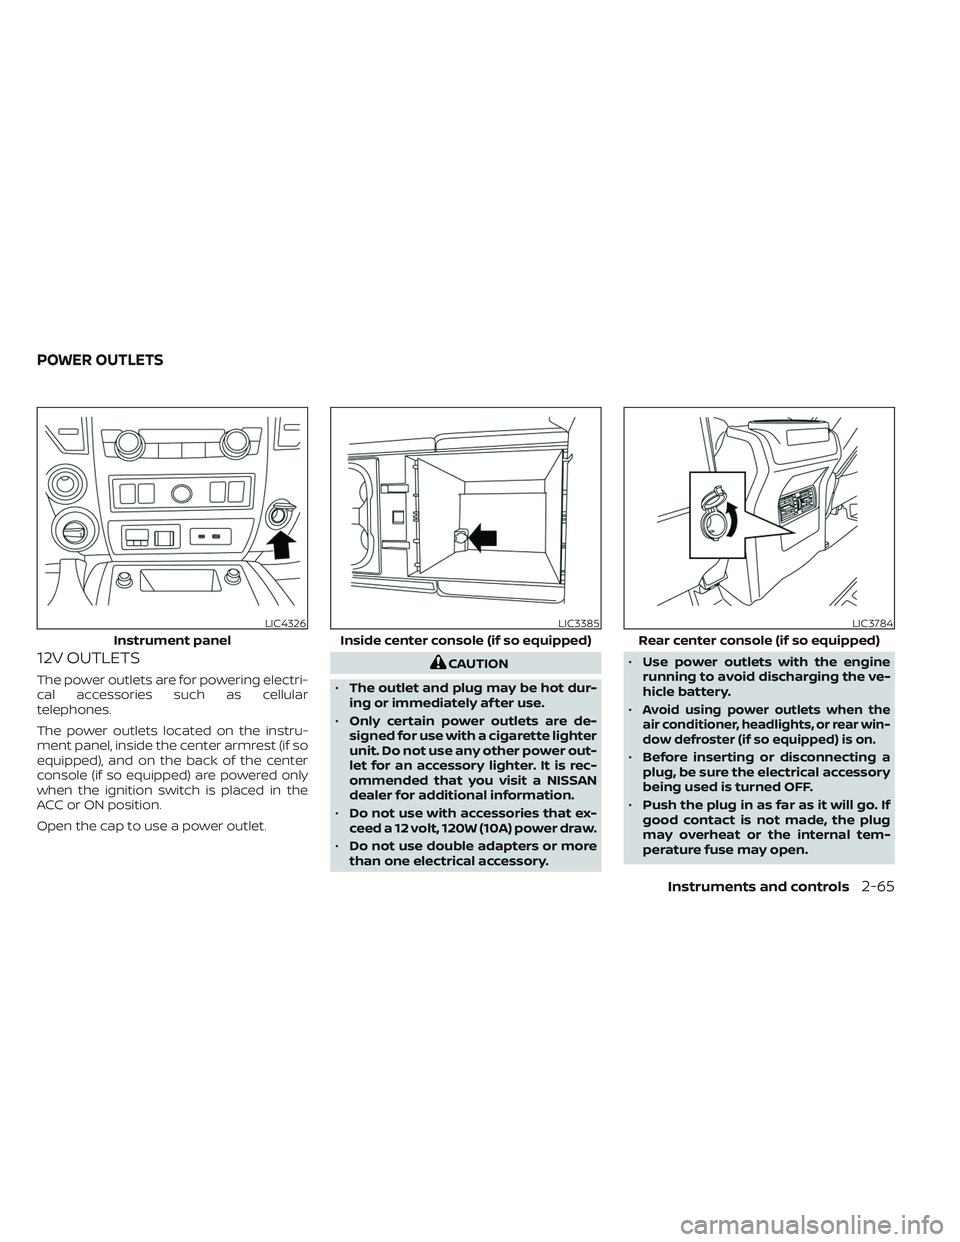
12V OUTLETS
The power outlets are for powering electri-
cal accessories such as cellular
telephones.
The power outlets located on the instru-
ment panel, inside the center armrest (if so
equipped), and on the back of the center
console (if so equipped) are powered only
when the ignition switch is placed in the
ACC or ON position.
Open the cap to use a power outlet.
CAUTION
• The outlet and plug may be hot dur-
ing or immediately af ter use.
• Only certain power outlets are de-
signed for use with a cigarette lighter
unit. Do not use any other power out-
let for an accessory lighter. It is rec-
ommended that you visit a NISSAN
dealer for additional information.
• Do not use with accessories that ex-
ceed a 12 volt, 120W (10A) power draw.
• Do not use double adapters or more
than one electrical accessory. •
Use power outlets with the engine
running to avoid discharging the ve-
hicle battery.
•
Avoid using power outlets when the
air conditioner, headlights, or rear win-
dow defroster (if so equipped) is on.
• Before inserting or disconnecting a
plug, be sure the electrical accessory
being used is turned OFF.
• Push the plug in as far as it will go. If
good contact is not made, the plug
may overheat or the internal tem-
perature fuse may open.
LIC4326
Instrument panel
LIC3385
Inside center console (if so equipped)
LIC3784
Rear center console (if so equipped)
POWER OUTLETS
Instruments and controls2-65
Page 172 of 635
•When not in use, be sure to close the
cap. Do not allow water or any other
liquid to contact the outlet.
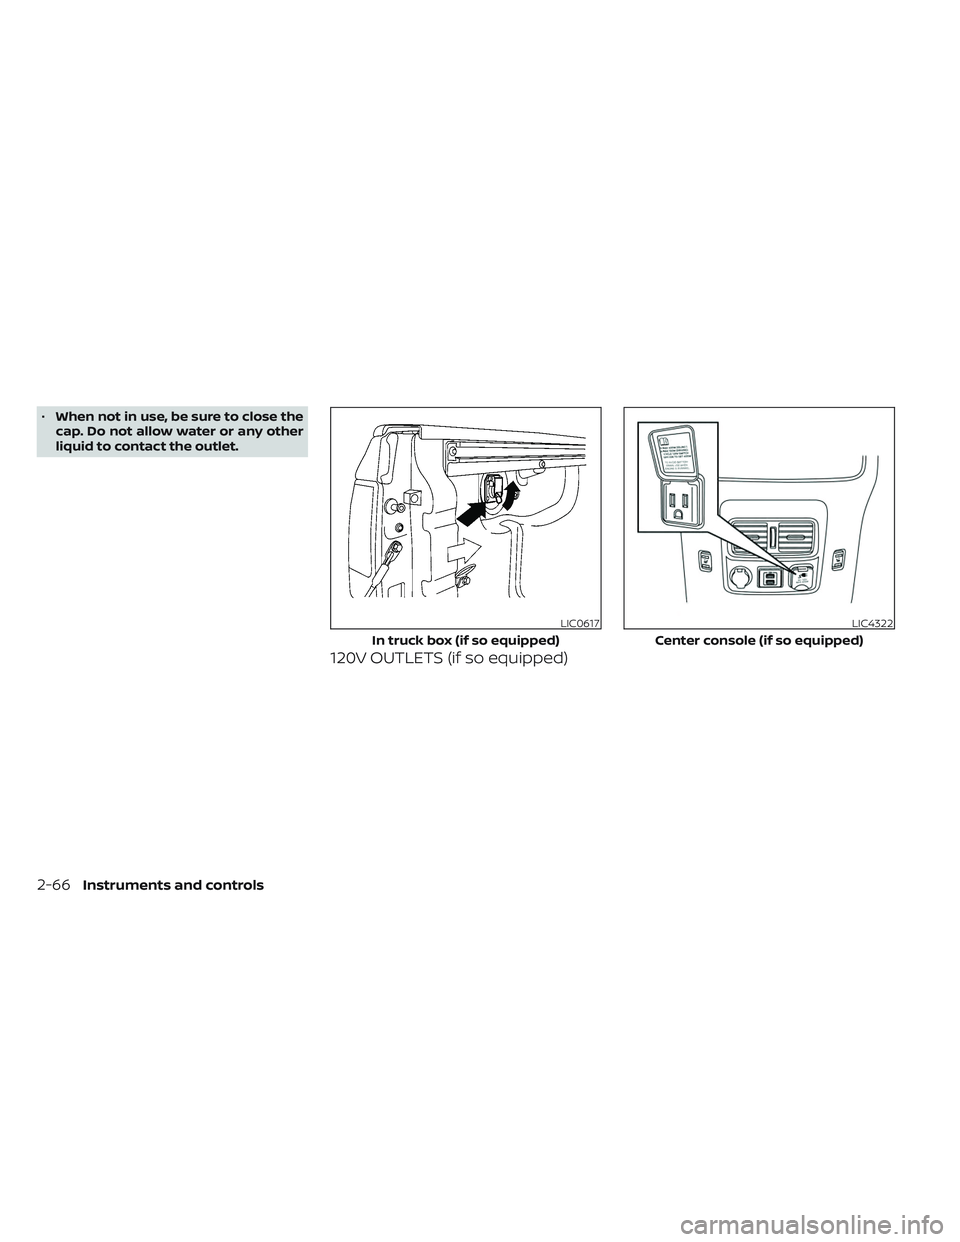
120V OUTLETS (if so equipped)
LIC0617
In truck box (if so equipped)
LIC4322
Center console (if so equipped)
2-66Instruments and controls
Page 174 of 635
Do not use the outlet located in the truck
box with accessories that exceed 120 volt.
Do not use double adapters or more than
one electrical accessory. When the dual
wall bed liner is installed (if so equipped),
the power outlet is still accessible through
the access door in the bed liner.
CAUTION
• Operation of the 120 volt system with
the ignition in the ON position and
the engine not running (idle) will
drain the battery charge. This could
lead to a dead battery or no start
condition.
• The outlet and plug may be hot dur-
ing or immediately af ter use.
• Use power outlets with the engine
running to avoid discharging the ve-
hicle battery.
• Do not use double adaptors or more
than one electrical accessory.
• Avoid using power outlets when the
air conditioner, headlights or rear
window defroster is on.
• Before inserting or disconnecting a
plug, be sure the electrical accessory
being used is turned OFF. •
Push the plug in as far as it will go. If
good contact is not made, the plug
may overheat or the internal tem-
perature fuse may open.
• When not in use, be sure to close the
cap. Do not allow water or any other
liquid to contact the outlet.
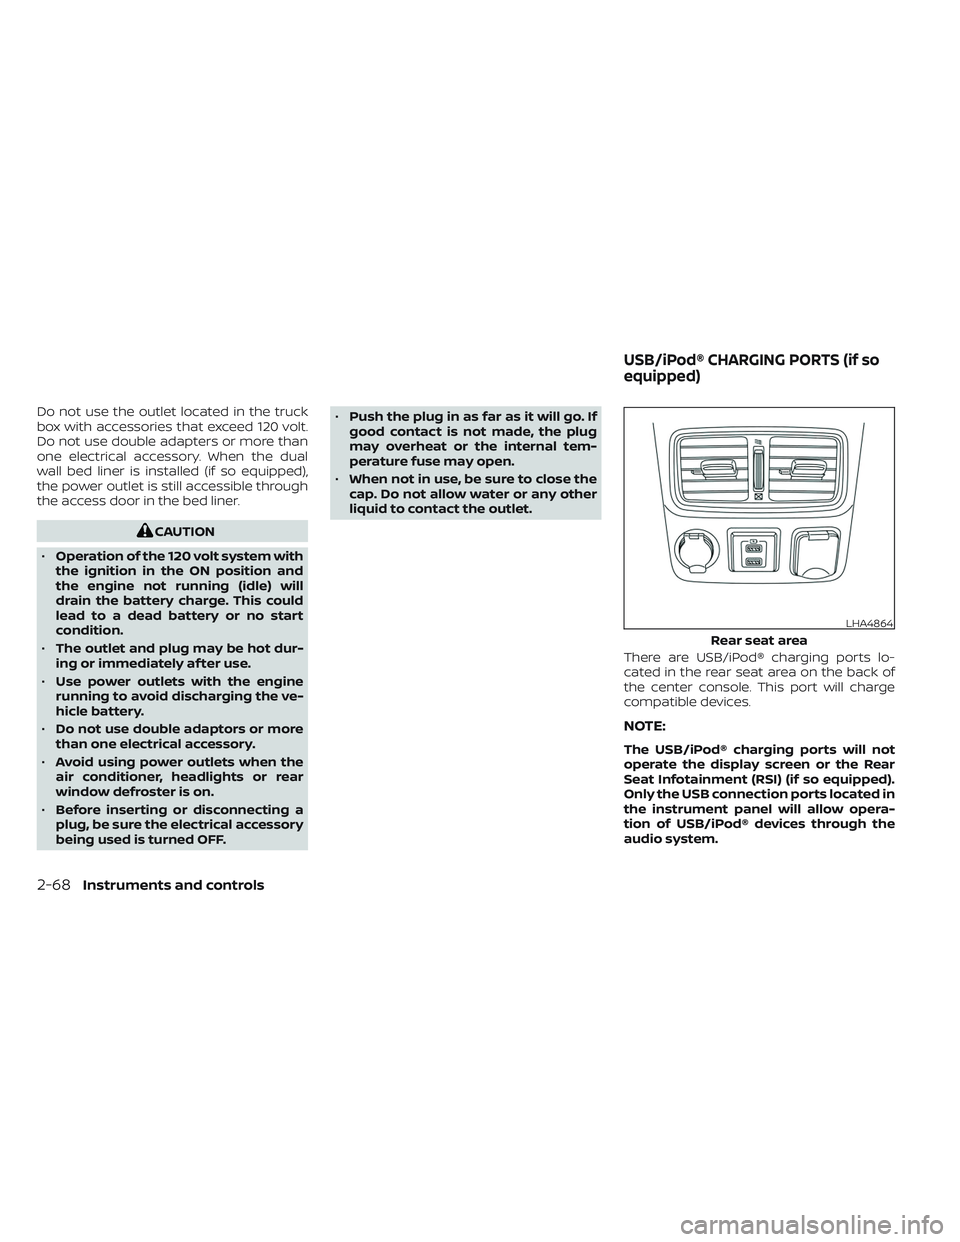
There are USB/iPod® charging ports lo-
cated in the rear seat area on the back of
the center console. This port will charge
compatible devices.
NOTE:
The USB/iPod® charging ports will not
operate the display screen or the Rear
Seat Infotainment (RSI) (if so equipped).
Only the USB connection ports located in
the instrument panel will allow opera-
tion of USB/iPod® devices through the
audio system.
LHA4864
Rear seat area
USB/iPod® CHARGING PORTS (if so
equipped)
2-68Instruments and controls