2022 NISSAN TITAN display
[x] Cancel search: displayPage 214 of 635
Unlocking doors
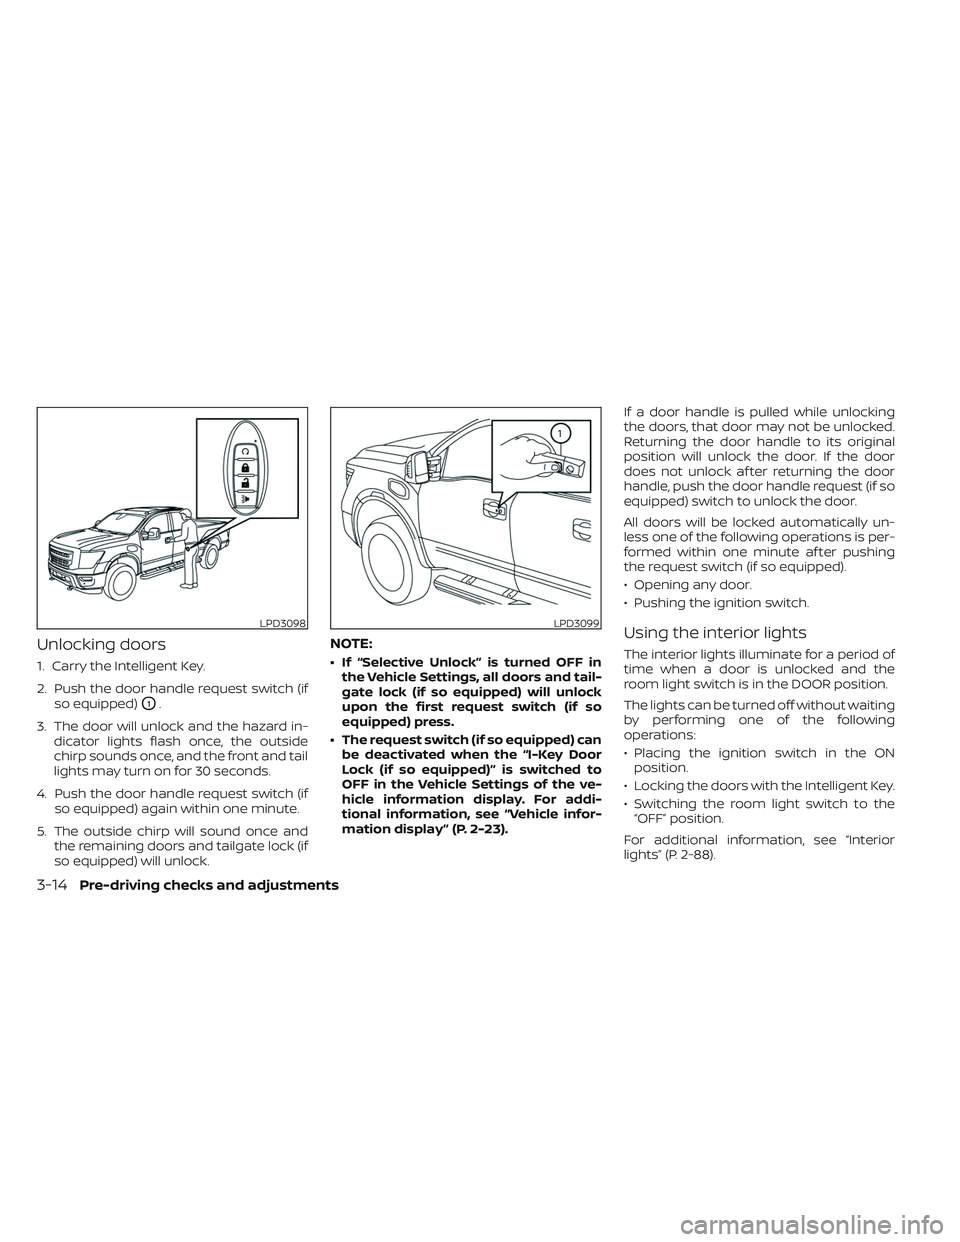
1. Carry the Intelligent Key.
2. Push the door handle request switch (ifso equipped)
O1.
3. The door will unlock and the hazard in- dicator lights flash once, the outside
chirp sounds once, and the front and tail
lights may turn on for 30 seconds.
4. Push the door handle request switch (if so equipped) again within one minute.
5. The outside chirp will sound once and the remaining doors and tailgate lock (if
so equipped) will unlock.
NOTE:
• If “Selective Unlock” is turned OFF inthe Vehicle Settings, all doors and tail-
gate lock (if so equipped) will unlock
upon the first request switch (if so
equipped) press.
• The request switch (if so equipped) can be deactivated when the “I-Key Door
Lock (if so equipped)” is switched to
OFF in the Vehicle Settings of the ve-
hicle information display. For addi-
tional information, see “Vehicle infor-
mation display ” (P. 2-23). If a door handle is pulled while unlocking
the doors, that door may not be unlocked.
Returning the door handle to its original
position will unlock the door. If the door
does not unlock af ter returning the door
handle, push the door handle request (if so
equipped) switch to unlock the door.
All doors will be locked automatically un-
less one of the following operations is per-
formed within one minute af ter pushing
the request switch (if so equipped).
• Opening any door.
• Pushing the ignition switch.
Using the interior lights
The interior lights illuminate for a period of
time when a door is unlocked and the
room light switch is in the DOOR position.
The lights can be turned off without waiting
by performing one of the following
operations:
• Placing the ignition switch in the ON
position.
• Locking the doors with the Intelligent Key.
• Switching the room light switch to the “OFF” position.
For additional information, see “Interior
lights” (P. 2-88).
LPD3098LPD3099
3-14Pre-driving checks and adjustments
Page 216 of 635
4. The hazard warning lights flash twiceand the horn beeps once.
5. All doors and the tailgate (if so equipped) will be locked.
WARNING
Af ter locking the doors using the Intel-
ligent Key, be sure that the doors have
been securely locked by operating the
door handles. Failure to follow these in-
structions may result in inadvertently
unlocking the doors, which may de-
crease the safety and security of your
vehicle.
Unlocking doors
1. Press thebutton on the Intelligent
Key to unlock the driver’s door.
2. The hazard warning lights flash once.
3. Press the
button again within 1
minute to unlock all doors and tailgate (if
so equipped).
All doors and tailgate (if so equipped) will be
locked automatically unless one of the fol-
lowing operations is performed within 1
minute af ter pressing the
button:
• Opening any doors.
• Pushing the ignition switch.
Using the interior lights
The interior lights illuminate for a period of
time when a door is unlocked and the
room light switch is in the DOOR position.
The lights can be turned off without waiting
by performing one of the following
operations:
• Placing the ignition switch in the ON position.
• Locking the doors with the Intelligent Key.
• Switching the room light switch to the “OFF” position.
For additional information, see “Interior
lights” (P. 2-88).
Opening windows
The Intelligent Key allows you to simultane-
ously open windows equipped with auto-
matic operation.
To open the windows, press the
but-
ton on the Intelligent Key for longer than 3
seconds af ter all doors are unlocked
The door windows will open while pressing
the
button on the Intelligent Key.
The door windows cannot be closed by
using the Intelligent Key.
Using the panic alarm
If you are near your vehicle and feel threat-
ened, you may activate the panic alarm to
call attention by pressing and holding the
button on the Intelligent Key for lon-
ger than 0.5 seconds.
The panic alarm and headlights will stay on
for a period of time.
The panic alarm stops when:
• It has run for a period of time.
• Any button is pressed on the Intelligent Key.
• The request switch (if so equipped) on the driver or passenger door is pushed and
the Intelligent Key is in range of the door
handle.
Trailer light check (if so equipped)
This functionality allows the customer to
confirm trailer light operation, without the
need of a second person to press the brake
pedal or activate each turn signal light. The
trailer light check can be performed by the
Intelligent Key or through the Vehicle Set-
tings in the vehicle information display. For
additional information, see “Vehicle infor-
mation display” (P. 2-23).
3-16Pre-driving checks and adjustments
Page 218 of 635
Intelligent Key button operation
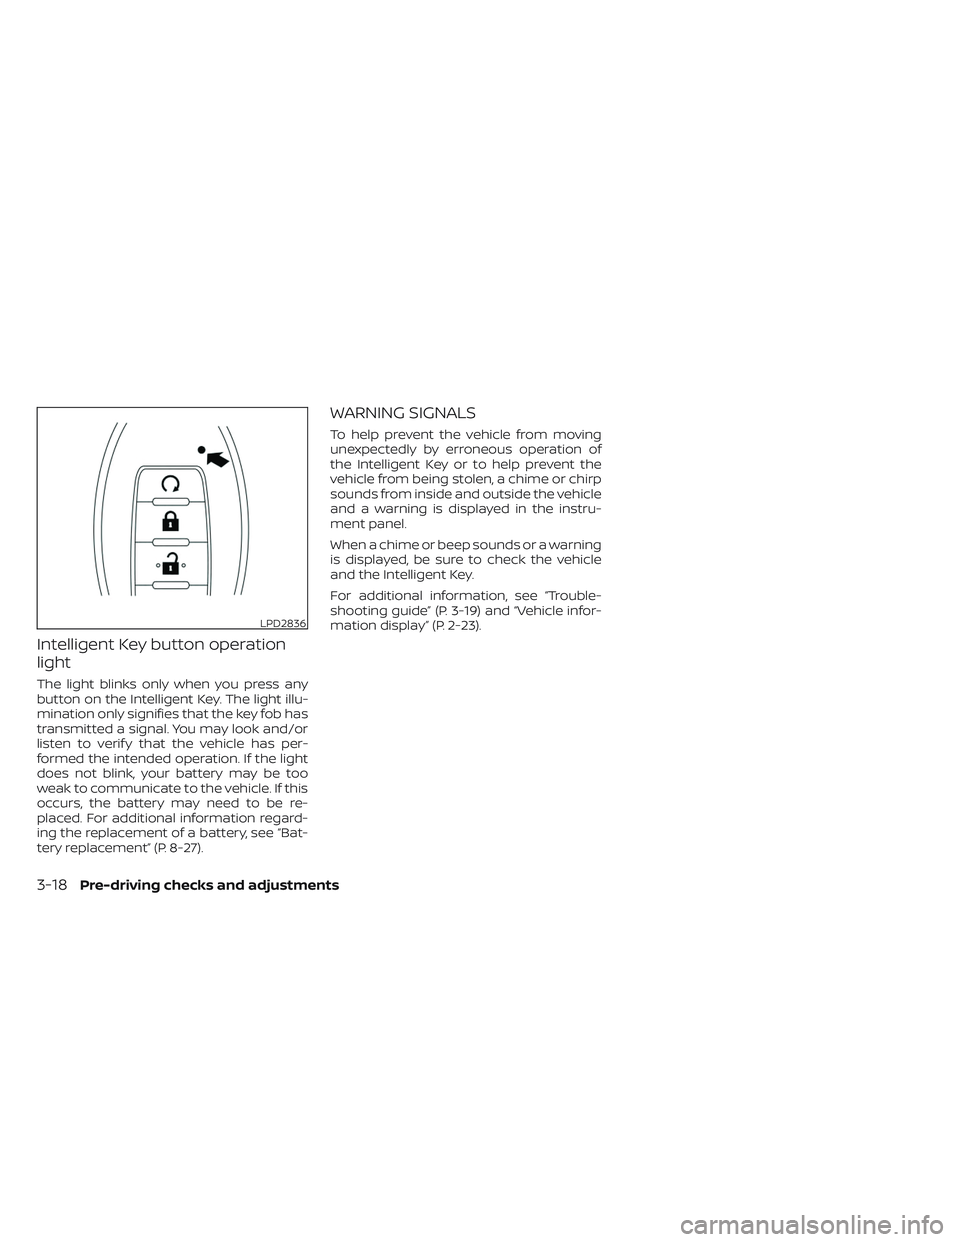
light
The light blinks only when you press any
button on the Intelligent Key. The light illu-
mination only signifies that the key fob has
transmitted a signal. You may look and/or
listen to verif y that the vehicle has per-
formed the intended operation. If the light
does not blink, your battery may be too
weak to communicate to the vehicle. If this
occurs, the battery may need to be re-
placed. For additional information regard-
ing the replacement of a battery, see “Bat-
tery replacement” (P. 8-27).
WARNING SIGNALS
To help prevent the vehicle from moving
unexpectedly by erroneous operation of
the Intelligent Key or to help prevent the
vehicle from being stolen, a chime or chirp
sounds from inside and outside the vehicle
and a warning is displayed in the instru-
ment panel.
When a chime or beep sounds or a warning
is displayed, be sure to check the vehicle
and the Intelligent Key.
For additional information, see “Trouble-
shooting guide” (P. 3-19) and “Vehicle infor-
mation display” (P. 2-23).
LPD2836
3-18Pre-driving checks and adjustments
Page 219 of 635

TROUBLESHOOTING GUIDE
Verif y the location of all Intelligent Keys that are programmed for the vehicle. If another Intelligent Key is in range or inside the vehicle, the
vehicle system may respond differently than expected.
SymptomPossible CauseRemedy
When pushing the ignition switch to
stop the engine The “Shif t to Park” warning appears on the
vehicle information display and the inside
warning chime sounds continuously. The shif t lever is not in the P (Park)
position.
Move the shif t lever to the P (Park)
position.
When opening the driver's door to
get out of the vehicle The Door Open warning appears on the
display and the inside warning chime sounds
continuously. The ignition switch is in the ACC
position.
Place the ignition switch in the ON
position or close the driver’s door.
When closing the door af ter getting
out of the vehicle The “No Key Detected” warning appears on
the vehicle information display, the outside
chime sounds three times and the inside
warning chime sounds for approximately
three seconds.
The Intelligent Key is not detected
inside of the vehicle.
Place the ignition switch in the OFF
position.
The Rear Door Alert warning message
appears on the display, the horn sounds
three times twice, or a Check Back Seat For
All Articles warning appears on the display. The Rear Door Alert is activated.
Check the back seat for all articles,
press the ENTER button to clear the
Rear Door Alert warning message.
When closing the door with the
inside lock knob turned to LOCK The outside chime sounds for approximately
three seconds and all the doors unlock. The Intelligent Key is inside the
vehicle.
Carry the Intelligent Key with you.
When pushing the door handle
request switch (if so equipped) or
the
button on the Intelligent
Key to lock the door The outside chime sounds for approximately
three seconds.
The Intelligent Key is inside the
vehicle.
Carry the Intelligent Key with you.
When pushing the ignition switch to
start the engine The Intelligent Key battery indicator appears
on the display.
The battery charge is low.Replace the battery with a new one.
For additional information, see
“Battery replacement” (P. 8-27).
The “Key ID Incorrect” warning appears on
the vehicle information display . The Intelligent Key is not detected
inside of the vehicle.Carry the registered Intelligent Key
with you.
Pre-driving checks and adjustments3-19
Page 222 of 635

• The shif t lever is moved out of park.
• The alarm sounds due to illegal entry intothe vehicle.
• The ignition switch is pushed without an Intelligent Key in the vehicle.
• The ignition switch is pushed with an In- telligent Key in the vehicle but the brake
pedal is not depressed.
CONDITIONS THE REMOTE ENGINE
START WILL NOT WORK
The Remote Engine Start will not operate if
any of the following conditions are present:
• The ignition switch is placed in the ONposition.
• The hood is not securely closed.
• The hazard warning lights are on.
• The engine is still running. The engine must be completely stopped. Wait at
least 6 seconds if the engine goes from
running to off. This is not applicable when
extending engine run time.
• The
button is not pressed and held
for at least 2 seconds.
• The
button is not pressed and held
within 5 seconds of pressing the lock
button. • The brake is pressed.
• The doors are not closed and locked.
• The Key System Error Light remains solid
in the vehicle information display.
• The alarm sounds due to illegal entry into the vehicle.
• Two Remote Engine Starts, or a single Remote Engine Start with an extension,
have already been used.
• The vehicle is not in P (Park).
• There is a detected registered key already inside of the vehicle.
The Remote Engine Start Mode (if so
equipped) may display a warning or indica-
tor in the vehicle information display. For
additional information, see “Vehicle infor-
mation display” (P. 2-23).
3-22Pre-driving checks and adjustments
Page 225 of 635

–Keep the pump nozzle in contact
with the container while you are
filling it.
– Use only approved portable fuel
containers for flammable liquid.
CAUTION
• Do not use E-15 or E-85 fuel in your
vehicle. For additional information,
see “Fuel recommendation” (P. 10-4).
• The Loose Fuel Cap warning mes-
sage will appear if the fuel-filler cap
is not properly tightened. It may take
a few driving trips for the message to
be displayed. Failure to tighten the
fuel-filler cap properly af ter the
Loose Fuel Cap warning message ap-
pears may cause the
Malfunc-
tion Indicator Light (MIL) to
illuminate. •
Failure to tighten the fuel-filler cap
properly may cause the
Mal-
function Indicator Light (MIL) to illu-
minate. If the
light illuminates
because the fuel-filler cap is loose or
missing, tighten or install the cap and
continue to drive the vehicle. The
light should turn off af ter a few
driving trips. If thelight does not
turn off af ter a few driving trips, have
the vehicle inspected. It is recom-
mended that you visit a NISSAN
dealer for this service.
• For additional information, see “Mal-
function Indicator Light (MIL)”
(P. 2-15).
• If fuel is spilled on the vehicle body,
flush it away with water to avoid
paint damage. To remove the fuel-filler cap:
1. Turn the fuel-filler cap counterclockwise
to remove.
2. Loop the tether strap around the hook while refueling.
To install the fuel-filler cap:
1. Insert the fuel-filler cap straight into the fuel-filler tube.
2. Turn the fuel-filler cap clockwise until a single click is heard.
LPD3101
Pre-driving checks and adjustments3-25
Page 226 of 635
Loose Fuel Cap warning
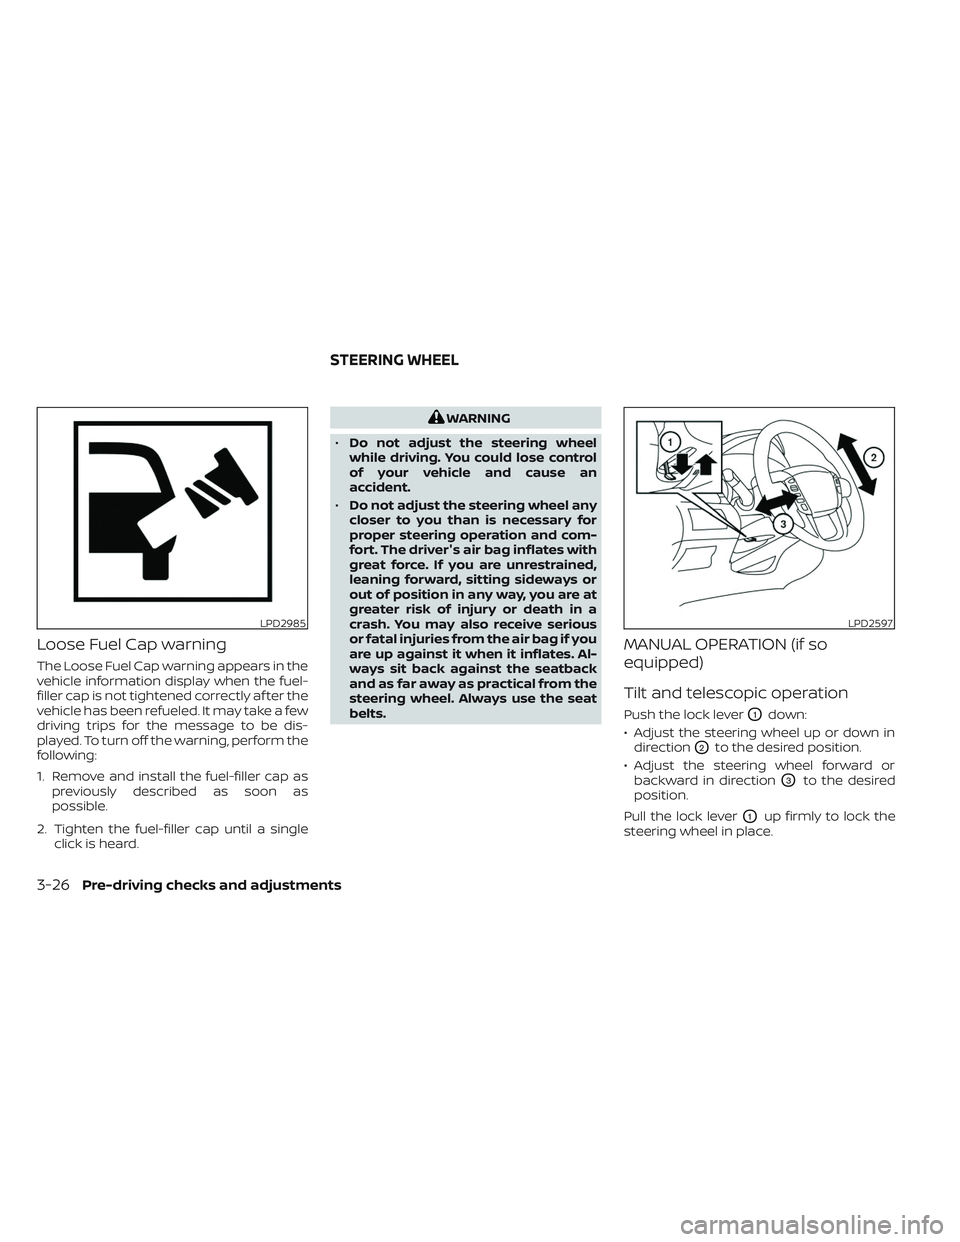
The Loose Fuel Cap warning appears in the
vehicle information display when the fuel-
filler cap is not tightened correctly af ter the
vehicle has been refueled. It may take a few
driving trips for the message to be dis-
played. To turn off the warning, perform the
following:
1. Remove and install the fuel-filler cap aspreviously described as soon as
possible.
2. Tighten the fuel-filler cap until a single click is heard.
WARNING
• Do not adjust the steering wheel
while driving. You could lose control
of your vehicle and cause an
accident.
• Do not adjust the steering wheel any
closer to you than is necessary for
proper steering operation and com-
fort. The driver's air bag inflates with
great force. If you are unrestrained,
leaning forward, sitting sideways or
out of position in any way, you are at
greater risk of injury or death in a
crash. You may also receive serious
or fatal injuries from the air bag if you
are up against it when it inflates. Al-
ways sit back against the seatback
and as far away as practical from the
steering wheel. Always use the seat
belts.
MANUAL OPERATION (if so
equipped)
Tilt and telescopic operation
Push the lock leverO1down:
• Adjust the steering wheel up or down in direction
O2to the desired position.
• Adjust the steering wheel forward or backward in direction
O3to the desired
position.
Pull the lock lever
O1up firmly to lock the
steering wheel in place.
LPD2985LPD2597
STEERING WHEEL
3-26Pre-driving checks and adjustments
Page 240 of 635
ENTRY/EXIT FUNCTION
This system is designed so that the driver's
seat and steering column will automati-
cally move when the shif t lever is in the P
(Park) position. This allows the driver to
easily get in and out of the driver’s seat.
The driver’s seat will slide backward and
the steering column will move up:
• When the driver’s door is opened with theignition switch in the OFF position.
• When the ignition switch is changed from ACC to OFF with the driver’s door open.
The driver’s seat and steering wheel will
return to the previous position:
• When the ignition switch is changed from ACC or ON while the shif t lever is in the P
(Park) position.
The entry/exit function can be adjusted or
canceled through the vehicle settings in
the vehicle information display by perform-
ing the following:
• Switch the Exit Seat Slide from ON to OFF.
• Switch the Exit Steering UP from ON to OFF.
Restarting the entry/exit function
If the battery cable is disconnected, or if the
fuse opens, the stored memory positions
will be lost and some of the functions will
be restricted:
1. Drive the vehicle over 25 mph (40 km/h).
OR
2. Open and close the driver's door more than two times with the ignition switch
in the OFF position.
The entry/exit function should now work
properly.
SYSTEM OPERATION
The memory seat system will not work or
will stop operating under the following
conditions:
• When the vehicle speed is above 4 mph (7 km/h).
• When any of the memory switches are pushed while the memory seat system is
operating.
• When the switch for the driver’s seat and steering column is pushed while the
memory seat system is operating.
• When the seat has already been moved to the memorized position. • When no seat position is stored in the
memory switch.
• When the shif t lever is moved from P (Park) to any other position.
The memory seat system can be adjusted
and canceled. It is recommended you visit
a NISSAN dealer for this service.
3-40Pre-driving checks and adjustments