2022 NISSAN TITAN steering wheel
[x] Cancel search: steering wheelPage 129 of 635
When the buzzer sounds, be sure to check
both the vehicle and the Intelligent Key. For
additional information, see “NISSAN Intelli-
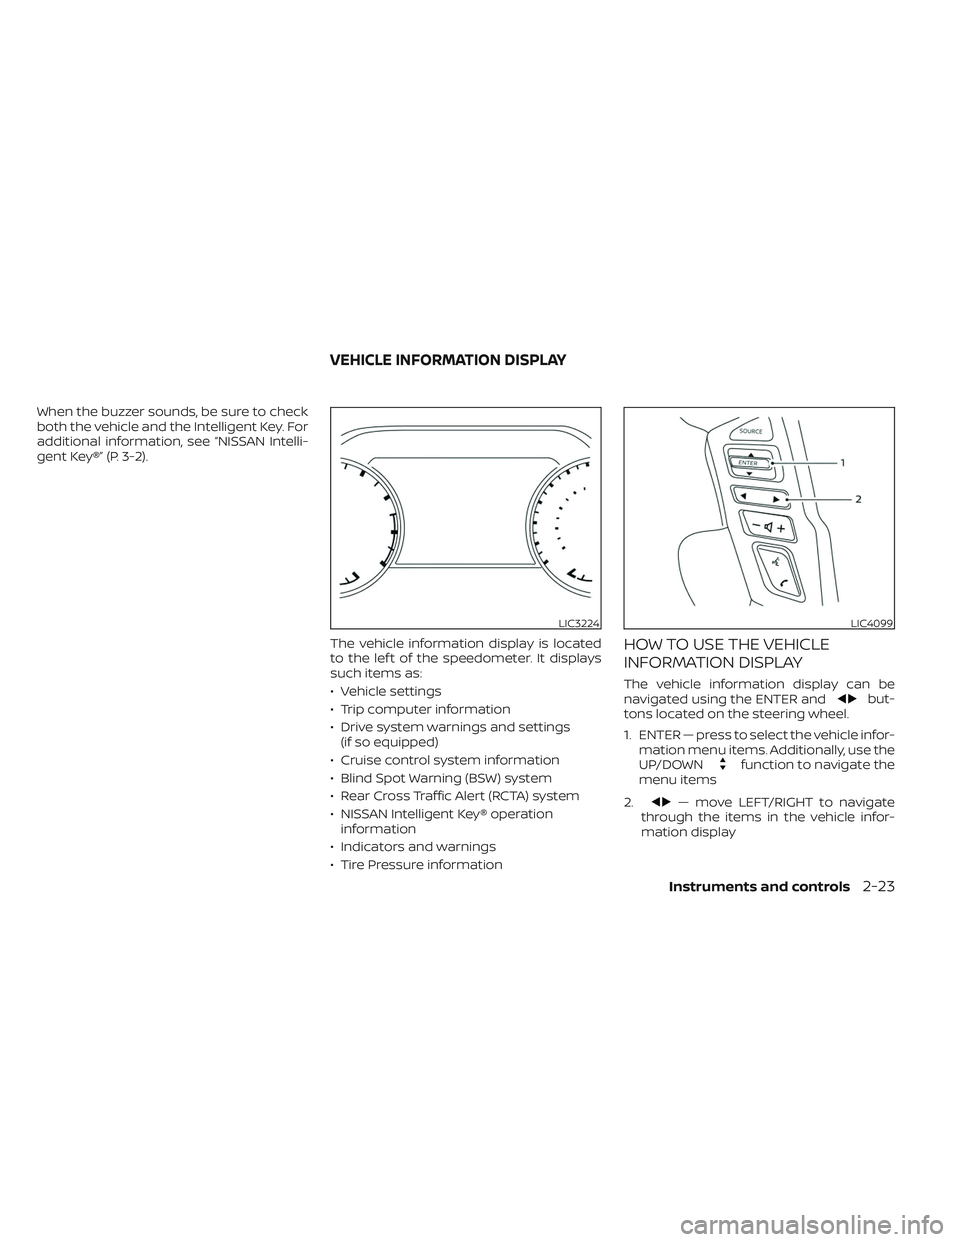
gent Key®” (P. 3-2).The vehicle information display is located
to the lef t of the speedometer. It displays
such items as:
• Vehicle settings
• Trip computer information
• Drive system warnings and settings(if so equipped)
• Cruise control system information
• Blind Spot Warning (BSW) system
• Rear Cross Traffic Alert (RCTA) system
• NISSAN Intelligent Key® operation information
• Indicators and warnings
• Tire Pressure information
HOW TO USE THE VEHICLE
INFORMATION DISPLAY
The vehicle information display can be
navigated using the ENTER andbut-
tons located on the steering wheel.
1. ENTER — press to select the vehicle infor- mation menu items. Additionally, use the
UP/DOWN
function to navigate the
menu items
2.
— move LEFT/RIGHT to navigate
through the items in the vehicle infor-
mation display
LIC3224LIC4099
VEHICLE INFORMATION DISPLAY
Instruments and controls2-23
Page 134 of 635

Menu itemExplanation
Wipers Displays available wiper options.
Speed Dependent Allows user to turn the speed dependent feature on or off. For additional information, see “Wiper and washer
switch” (P. 2-41).
Rain Sensor Allows user to turn the rain sensor feature on or off. For additional information, see “Wiper and washer
switch” (P. 2-41).
Headlamp On Displays available headlamp on options.
Off Headlights do not activate automatically when the wipers are activated.
Wiper Low & High Headlights activate when the wiper stalk is set to either low or high mode.
Wiper INT, Low & High Headlights activate when the wiper stalk is set to intermittent, low, or high mode.
Memory Seat (ADP) Displays available memory seat options.
Exit Seat Slide Allows the user to turn the exit seat slide on or off. When turned on, this feature will move the driver’s seat
backward for an easy exit when the ignition is turned off and the driver’s door is opened. Af ter getting into
the vehicle and placing the ignition switch in the ACC position, the driver’s seat will move to the previous set
position. For additional information, see “Memory Seat” (P. 3-38).
Exit Steering Up Allows the user to turn the exit steering up feature on or off. When turned on, this feature will move the
steering wheel upward for an easy exit when the ignition is turned off and the driver’s door is opened.
Af ter getting into the vehicle and placing the ignition switch in the ACC position, the steering wheel moves to
the previous position. For additional information, see “Memory Seat” (P. 3-38).
Reverse Tilt Mirror Displays reverse tilt mirror information.
2-28Instruments and controls
Page 140 of 635
This indicator means that the engine will
start by pushing the ignition switch with
the brake pedal depressed. You can start
the engine from any position of the ignition
switch.
Range XX miles
This warning appears to indicate the ap-
proximate distance remaining before the
fuel reaches 0 (Empty).
Check Rear Seat For All Articles
When the system is enabled, this message
appears when the vehicle comes to a com-
plete stop, the vehicle is transitioned from
the D (Drive) position to P (Park) position,
and the driver exits the vehicle. This mes-
sage alerts the driver, af ter a period of time,
to check for items in the rear seat af ter the
audible alert has been provided.
NOTE:
This system is disabled until a driver en-
ables it using the vehicle information
display. For additional information, see
“How to use the vehicle information dis-
play ” (P. 2-23).
For additional information, see “Rear Door
Alert” (P. 2-64).
Rear Door Alert is activated
When the system is enabled, this message
appears when the Rear Door Alert system
is active and can remind the driver to check
the back seat.
• Using the steering wheel switch, a drivercan select “Dismiss Message” to clear the
display for a period of time. If no selection
is made, this message automatically
turns off af ter a period of time.
• Using the steering wheel switch, a driver can select “Disable Alert” to disable the
horn alert for the remainder of the cur-
rent trip.
WARNING
Selecting “Dismiss Message” during a
stop within a trip temporarily dis-
misses the message for that stop with-
out turning the system off. Alerts can
be provided for other stops during the
trip. Selecting “Disable Alert” turns off
the Rear Door Alert system for the re-
mainder of a trip and no audible alert
will be provided.
NOTE:
This system is disabled until a driver en-
ables it using the vehicle information
display. For additional information, “How
to use the vehicle information display ”
(P. 2-23).
For additional information, “Rear Door Alert”
(P. 2-64).
Rear seat belt reminder
This rear seat belt reminder appears af ter
starting the engine.
If any of the rear passenger seat belts are
not fastened, the seat belt icon illuminates
in red to show which seat belt is not fas-
tened. When a rear passenger’s seat belt
has been securely fastened, the color of the
corresponding seat belt icon will change.
The warning will automatically turn off af-
ter approximately 35 seconds.
A chime will sound one time and the rear
seat belt warning will appear if a rear pas-
senger’s seat belt is unfastened. The chime
will not sound when the vehicle speed ex-
ceeds 10 mph (15km/h). The seat belt icon
illuminates in red until the corresponding
rear passenger’s seat belt is fastened. The
warning will automatically turn off af ter ap-
proximately 35 seconds.
2-34Instruments and controls
Page 158 of 635
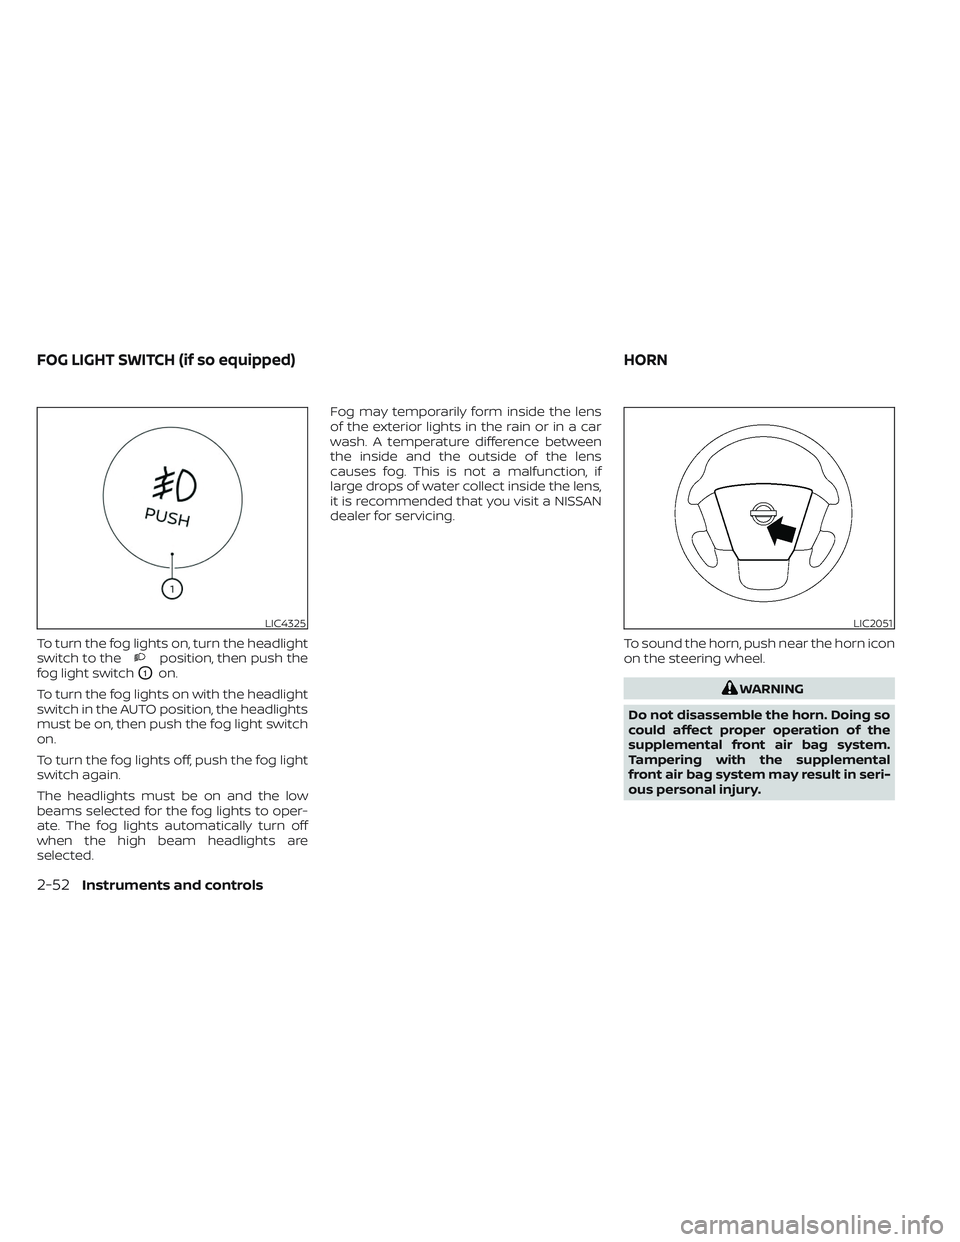
To turn the fog lights on, turn the headlight
switch to theposition, then push the
fog light switch
O1on.
To turn the fog lights on with the headlight
switch in the AUTO position, the headlights
must be on, then push the fog light switch
on.
To turn the fog lights off, push the fog light
switch again.
The headlights must be on and the low
beams selected for the fog lights to oper-
ate. The fog lights automatically turn off
when the high beam headlights are
selected. Fog may temporarily form inside the lens
of the exterior lights in the rain or in a car
wash. A temperature difference between
the inside and the outside of the lens
causes fog. This is not a malfunction, if
large drops of water collect inside the lens,
it is recommended that you visit a NISSAN
dealer for servicing.
To sound the horn, push near the horn icon
on the steering wheel.
WARNING
Do not disassemble the horn. Doing so
could affect proper operation of the
supplemental front air bag system.
Tampering with the supplemental
front air bag system may result in seri-
ous personal injury.
LIC4325LIC2051
FOG LIGHT SWITCH (if so equipped) HORN
2-52Instruments and controls
Page 163 of 635
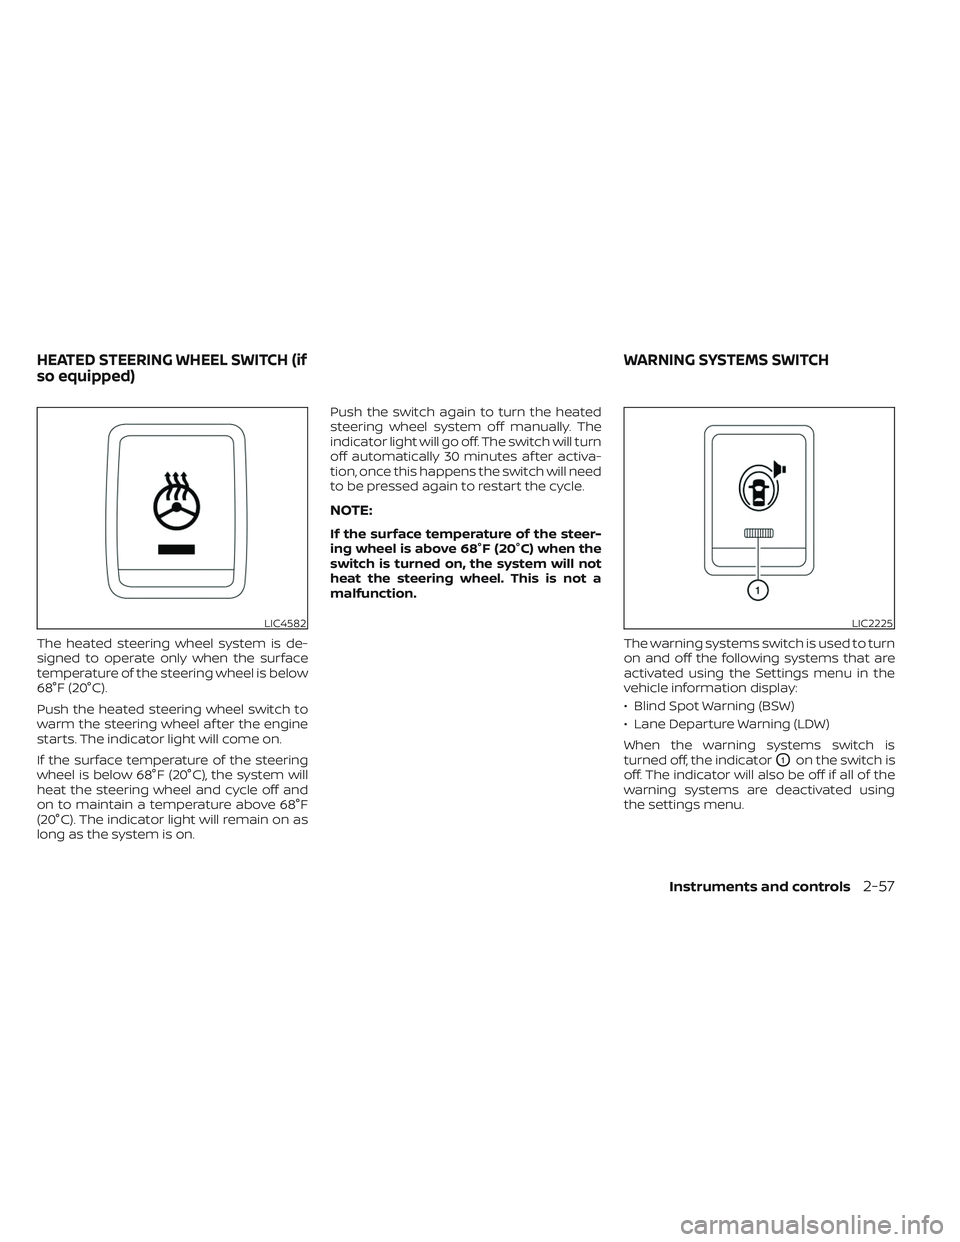
The heated steering wheel system is de-
signed to operate only when the surface
temperature of the steering wheel is below
68°F (20°C).
Push the heated steering wheel switch to
warm the steering wheel af ter the engine
starts. The indicator light will come on.
If the surface temperature of the steering
wheel is below 68°F (20°C), the system will
heat the steering wheel and cycle off and
on to maintain a temperature above 68°F
(20°C). The indicator light will remain on as
long as the system is on.Push the switch again to turn the heated
steering wheel system off manually. The
indicator light will go off. The switch will turn
off automatically 30 minutes af ter activa-
tion, once this happens the switch will need
to be pressed again to restart the cycle.
NOTE:
If the surface temperature of the steer-
ing wheel is above 68°F (20°C) when the
switch is turned on, the system will not
heat the steering wheel. This is not a
malfunction.
The warning systems switch is used to turn
on and off the following systems that are
activated using the Settings menu in the
vehicle information display:
• Blind Spot Warning (BSW)
• Lane Departure Warning (LDW)
When the warning systems switch is
turned off, the indicator
O1on the switch is
off. The indicator will also be off if all of the
warning systems are deactivated using
the settings menu.
LIC4582LIC2225
HEATED STEERING WHEEL SWITCH (if
so equipped) WARNING SYSTEMS SWITCH
Instruments and controls2-57
Page 164 of 635

The BSW system will turn on the side indi-
cator lights, located by the outside mirrors,
if the radar sensors detect a vehicle in the
detection zone. If the turn signal is acti-
vated in the direction of the detected ve-
hicle, a chime sounds twice and the side
indicator light will flash.
The LDW system will sound a warning; the
steering wheel will vibrate; and the LDW
indicator (orange) will blink to alert the
driver of the vehicle is traveling close to
either the lef t or the right of a traveling lane
with detectable lane markers.
For additional information, see “Blind Spot
Warning (BSW)” (P. 5-32) and “Lane Depar-
ture Warning (LDW)” (P. 5-27).The vehicle should be driven with the VDC
system on for most driving conditions.
If the vehicle is stuck in mud or snow, the
VDC system reduces the engine output to
reduce wheel spin. The engine speed will
be reduced even if the accelerator is de-
pressed to the floor. If maximum engine
power is needed to free a stuck vehicle,
turn the VDC system off.
To turn off the VDC system, push the VDC
OFF switch. The
indicator light will
come on. Push the VDC OFF switch again or restart
the engine to turn on the system. For addi-
tional information, see “Vehicle Dynamic
Control (VDC) system” (P. 5-120).
LIC3344
VEHICLE DYNAMIC CONTROL (VDC)
OFF SWITCH
2-58Instruments and controls
Page 167 of 635
•Use the E-lock system only in an
emergency when it is not possible to
free a stuck vehicle even using 4LO.
Never use the E-Lock system on a
slippery road surface such as snow
or ice surface. Using the E-Lock sys-
tem when driving in these road con-
ditions may cause unexpected
movement of the vehicle during en-
gine braking, accelerating or turning,
which may result in an accident and
serious personal injury.
• Observe the above warnings. Other-
wise, loss of normal steering control
may result. This may result in an ac-
cident and serious personal injury.
CAUTION
• Af ter using the E-Lock system, or
during normal driving, turn the
switch OFF to prevent possible dam-
age to drivetrain components from
extended use.
• When the E-Lock system is in opera-
tion, turning the vehicle becomes dif-
ficult. This can be dangerous, espe-
cially at high speeds. Doing so could
damage drivetrain components. •
Do not operate the E-Lock system
when the vehicle is turning or when
one side wheel is rotating. Otherwise,
the drivetrain components could be
damaged.
• The E-Lock system operates only
when the engine is running.
• In 4H mode, the E-Lock system does
not operate when the E-Lock system
switch is turned to the ON position.
(The E-Lock system indicator light
will flash.)
• Avoid quick starts while the E-Lock
system is in operation. Otherwise the
drivetrain components could be
damaged.
• Observe the above cautions. Other-
wise, loss of normal steering may
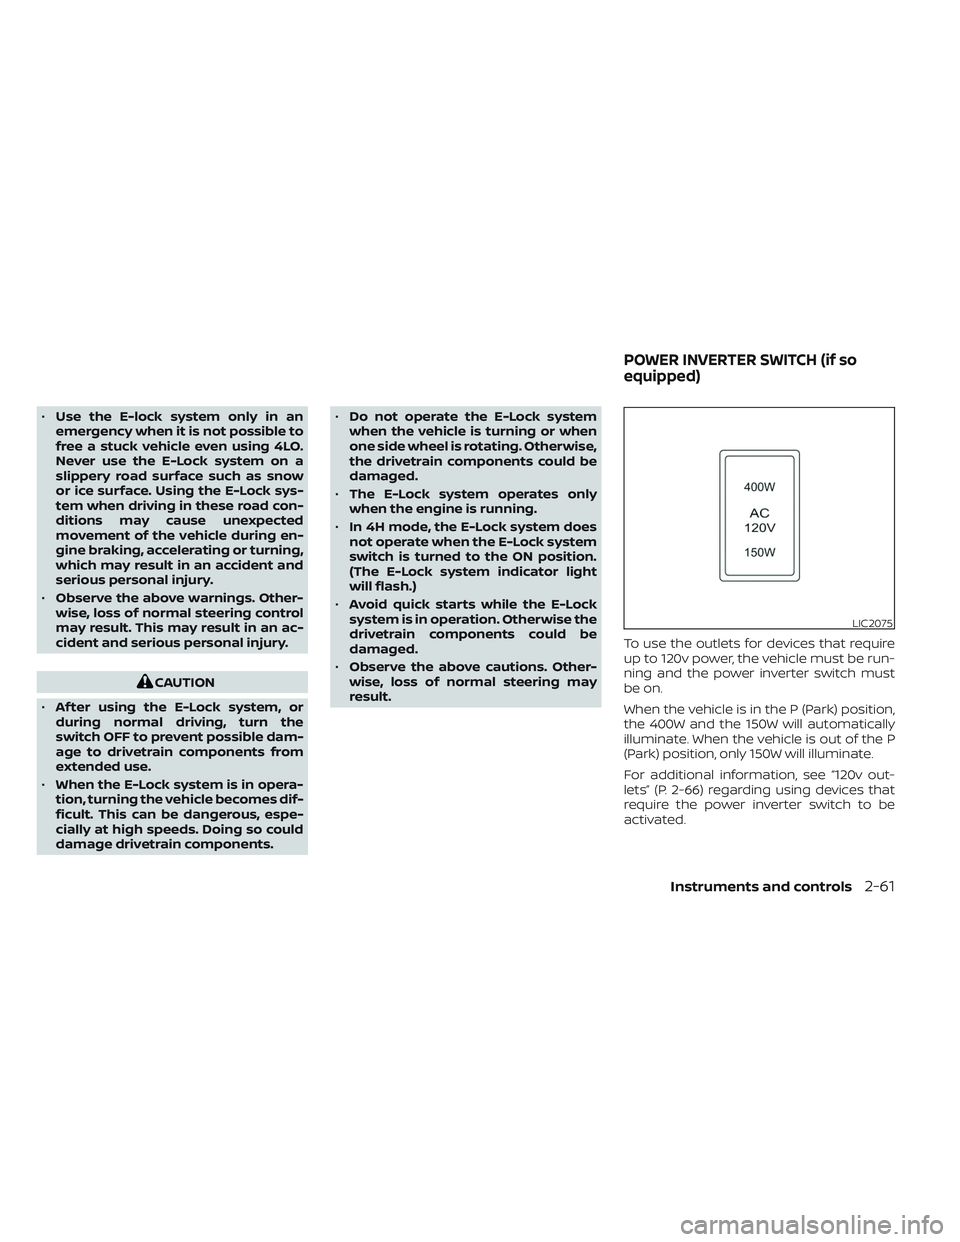
result. To use the outlets for devices that require
up to 120v power, the vehicle must be run-
ning and the power inverter switch must
be on.
When the vehicle is in the P (Park) position,
the 400W and the 150W will automatically
illuminate. When the vehicle is out of the P
(Park) position, only 150W will illuminate.
For additional information, see “120v out-
lets” (P. 2-66) regarding using devices that
require the power inverter switch to be
activated.
LIC2075
POWER INVERTER SWITCH (if so
equipped)
Instruments and controls2-61
Page 201 of 635
3 Pre-driving checks and adjustments
Keys.............................................3-2NISSAN Intelligent Key® .......................3-2
NISSAN Vehicle Immobilizer System
keys..........................................3-4
Doors ...........................................3-4
Locking with key .............................3-5
Locking with inside lock knob ................3-6
Locking with power door lock switch .........3-6
Rear doors (King Cab® models) ............... 3-7
Automatic door locks (if so equipped) ........3-8
Child safety rear door lock (if so
equipped) ....................................3-9
NISSAN Intelligent Key® system ..................3-9
Operating range ............................ 3-10
Door locks/unlocks precaution ...............3-11
NISSAN Intelligent Key® Operation ............3-11
How to use the remote keyless entry
function ..................................... 3-15
Warning signals ............................. 3-18
Troubleshooting guide ......................3-19
Remote Engine Start (if so equipped) ...........3-20
Remote Engine Start operating range .......3-20
Remote starting the vehicle .................3-21
Extending engine run time ..................3-21
Canceling a Remote Engine Start ...........3-21 Conditions the Remote Engine Start will
notwork ....................................
3-22
Hood ........................................... 3-23
Fuel-filler door .................................. 3-23
Gasoline fuel engines .......................3-24
Steering wheel ................................. 3-26
Manual operation (if so equipped) ...........3-26
Automatic operation (if so equipped) ........3-27
Sun visors ...................................... 3-28
Vanity mirrors (if so equipped) ...............3-28
Card holder (driver’s side only) ...............3-29
Mirrors ......................................... 3-29
Manual anti-glare rearview mirror
(if so equipped) .............................. 3-29
Automatic anti-glare rearview mirror
(if so equipped) .............................. 3-29
Outside mirrors ............................. 3-30
Truck box ...................................... 3-34
Tailgate ..................................... 3-34
Tie down hooks ............................. 3-38
Memor
y Seat (if so equipped) ..................3-38
Memory storage function ...................3-39
Entry/exit function .......................... 3-40
System operation ........................... 3-40