2022 NISSAN TITAN transmission
[x] Cancel search: transmissionPage 142 of 635

4WD shif t indicators
These indicators show which 4WD mode is
selected. For additional information, see
“Using 4–wheel drive (4WD)” (P. 5-107).
4WD MODE SHIFTING
This message appears when the vehicle is
shif ting into 4WD. For additional informa-
tion, see “Using 4–wheel drive (4WD)”
(P. 5-107).
AT (Automatic
Transmission) CHECK
If the service warning appears while the
engine is running, or while driving, it may
indicate that the AT is not functioning prop-
erly and may need servicing. Have the sys-
tem checked, and if necessary, repaired
promptly. It is recommended that you visit
a NISSAN dealer for this service.
AT (Automatic Transmission) Error:
See Owner’s Manual
If this message appears while the engine is
running, or while driving, it may indicate
that the AT is not functioning properly and
may need servicing. Have the system
checked, and if necessary, repaired
promptly. It is recommended that you visit
a NISSAN dealer for this service.
Service AT
This transmission has a high fluid tem-
perature protection mode. If the fluid tem-
perature becomes too high (for example,
climbing steep grades in high tempera-
tures with heavy loads, such as when tow-
ing a trailer), engine power and, under
some conditions, vehicle speed will be de-
creased automatically to reduce the
chance of transmission damage. Vehicle
speed can be controlled with the accelera-
tor pedal, but the engine and vehicle speed
may be reduced.
WARNING
When the high fluid temperature pro-
tection mode operation occurs, vehicle
speed may be gradually reduced. The
reduced speed may be lower than
other traffic, which could increase the
chance of a collision. Be especially
careful when driving. If necessary, pull
to the side of the road at a safe place
and allow the transmission to return to
normal operation; or have it repaired if
necessary.
Automatic Emergency
Braking (AEB) with
Pedestrian Detection
emergency warning
indicator
This indicator appears along, with an au-
dible warning, when the system detects
the possibility of a forward collision.
For additional information, see “Automatic
Emergency Braking (AEB) with Pedestrian
Detection” (P. 5-80).
Blind Spot Warning (BSW)/
Rear Cross Traffic Alert
(RCTA) indicator
This indicator appears when the BSW and
RCTA systems are engaged.
For additional information, see “Blind Spot
Warning (BSW)” (P. 5-32) and “Rear Cross
Traffic Alert (RCTA)” (P. 5-42).
Cruise control indicator
This indicator shows the cruise control sys-
tem status.
For additional information, see “Cruise con-
trol” (P. 5-49).
2-36Instruments and controls
Page 165 of 635
WARNING
• Never rely solely on the hill descent
control system to control vehicle
speed when driving on steep down-
hill grades. Always drive carefully
when using the hill descent control
system and decelerate the vehicle
speed by depressing the brake pedal
if necessary. Be especially careful
when driving on frozen, muddy or ex-
tremely steep downhill roads. Failure
to control vehicle speed may result in
a loss of control of the vehicle and
possible serious injury or death. •
The hill descent control may not con-
trol the vehicle speed on a hill under
all load or road conditions. Always be
prepared to depress the brake pedal
to control vehicle speed. Failure to do
so may result in a collision or serious
personal injury.
CAUTION
When the hill descent control system
operates continuously for a long time,
the temperature of the brake pads may
increase and the hill descent control
system may be temporarily disabled
(the indicator light will blink). If the indi-
cator light does not come on continu-
ously af ter blinking, stop using the
system.
The hill descent control system is designed
to reduce driver workload when going
down steep hills. The hill descent control
system helps to control vehicle speed so
the driver can concentrate on steering the
vehicle. To activate the hill descent control system:
• activate the 4H or 4LO switch,
• the transmission shif t lever must be in
forward or reverse gear,
• the hill descent control system switch must be ON.
The vehicle speed must be kept below 15
mph (25 km/h).
The hill descent control indicator light will
come on when the system is activated.
Also, the stop/tail lights illuminate while the
hill descent control system applies the
brakes to control vehicle speed.
You may hear a noise from under the hood
or feel a vibration from the actuator when it
is operating. This is normal and indicates
the hill descent control system is working
properly.
If the accelerator or brake pedal is de-
pressed while the hill descent control sys-
tem is on, the system will stop operating
temporarily. As soon as the accelerator or
brake pedal is released, the hill descent
control system begins to function again if
the hill descent control operating condi-
tions are fulfilled.
LIC3447
HILL DESCENT CONTROL SWITCH (if
so equipped)
Instruments and controls2-59
Page 169 of 635
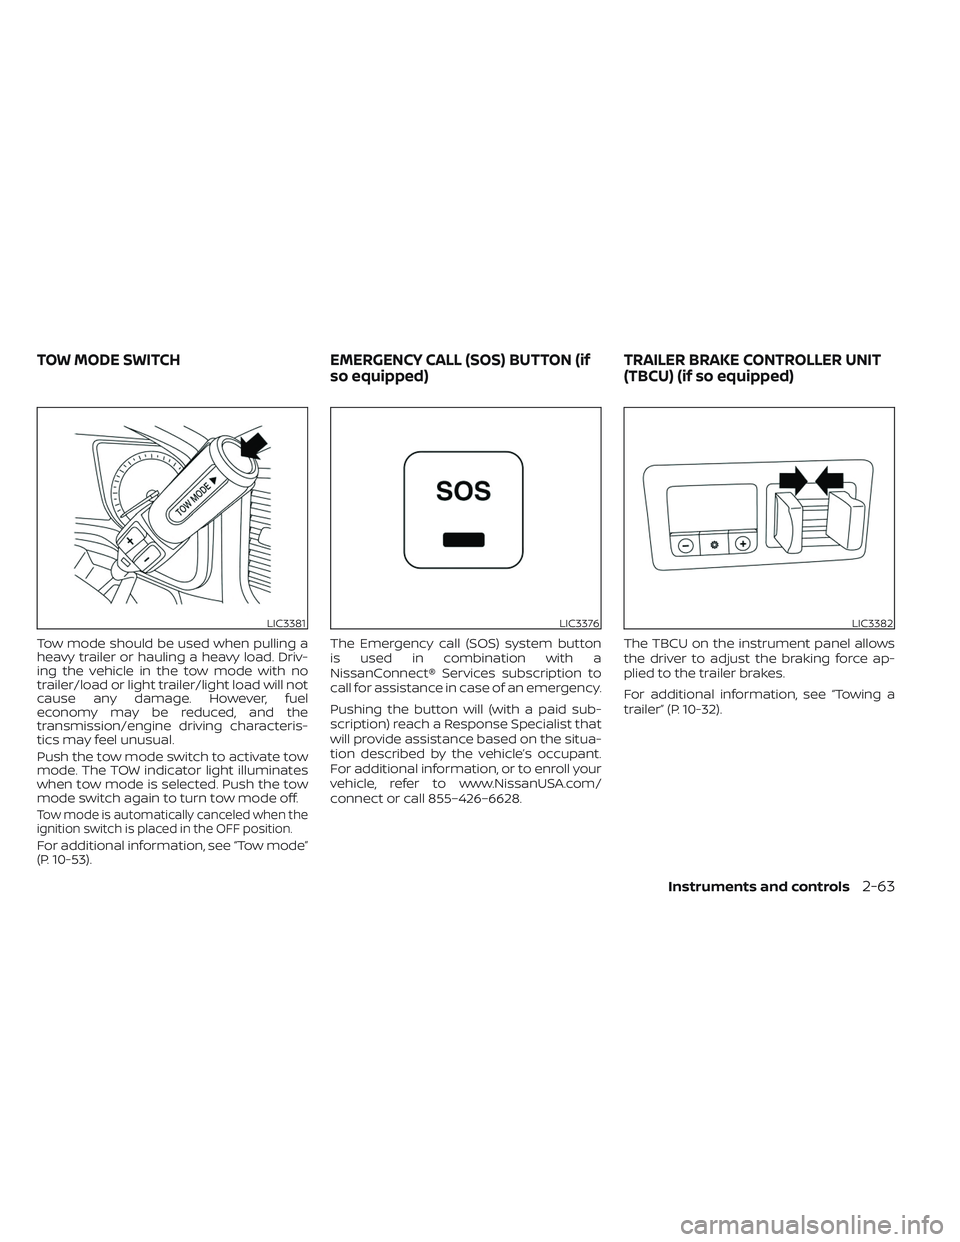
Tow mode should be used when pulling a
heavy trailer or hauling a heavy load. Driv-
ing the vehicle in the tow mode with no
trailer/load or light trailer/light load will not
cause any damage. However, fuel
economy may be reduced, and the
transmission/engine driving characteris-
tics may feel unusual.
Push the tow mode switch to activate tow
mode. The TOW indicator light illuminates
when tow mode is selected. Push the tow
mode switch again to turn tow mode off.
Tow mode is automatically canceled when the
ignition switch is placed in the OFF position.
For additional information, see “Tow mode”
(P. 10-53).The Emergency call (SOS) system button
is used in combination with a
NissanConnect® Services subscription to
call for assistance in case of an emergency.
Pushing the button will (with a paid sub-
scription) reach a Response Specialist that
will provide assistance based on the situa-
tion described by the vehicle’s occupant.
For additional information, or to enroll your
vehicle, refer to www.NissanUSA.com/
connect or call 855–426–6628.
The TBCU on the instrument panel allows
the driver to adjust the braking force ap-
plied to the trailer brakes.
For additional information, see “Towing a
trailer” (P. 10-32).
LIC3381LIC3376LIC3382
TOW MODE SWITCH
EMERGENCY CALL (SOS) BUTTON (if
so equipped) TRAILER BRAKE CONTROLLER UNIT
(TBCU) (if so equipped)
Instruments and controls2-63
Page 197 of 635

•During the programming procedure
your garage door or security gate will
open and close (if the transmitter is
within range). Make sure that people
or objects are clear of the garage
door, gate, etc., that you are
programming.
PROGRAMMING HOMELINK®
If you have any questions or are having
difficulty programming your HomeLink®
buttons, refer to the HomeLink® web site at:
www.homelink.com or call 1-800-355-3515.
NOTE:
Place the ignition switch in the ON or ACC
position (without starting the engine)
when programming HomeLink®. It is also
recommended that a new battery be
placed in the hand-held transmitter of
the device being programmed to
HomeLink® for quicker programming
and accurate transmission of the radio
frequency. 1. Position the end of your hand-held
transmitter 1–3 in (2–8 cm) away from
the HomeLink® surface, keeping the
HomeLink® indicator light
O1in view. 2. Using both hands, simultaneously press
and hold the desired HomeLink® button
and hand-held transmitter button. DO
NOT release until the HomeLink® indica-
tor light
O1flashes slowly and then rap-
idly. When the indicator light flashes rap-
idly, both buttons may be released. (The
rapid flashing indicates successful
programming.)
NOTE:
Some devices may require you to replace
Step 2 with the cycling procedure noted
in “Programming HomeLink® for gate
openers” (P. 2-92).
LIC2365LIC4095
Instruments and controls2-91
Page 208 of 635
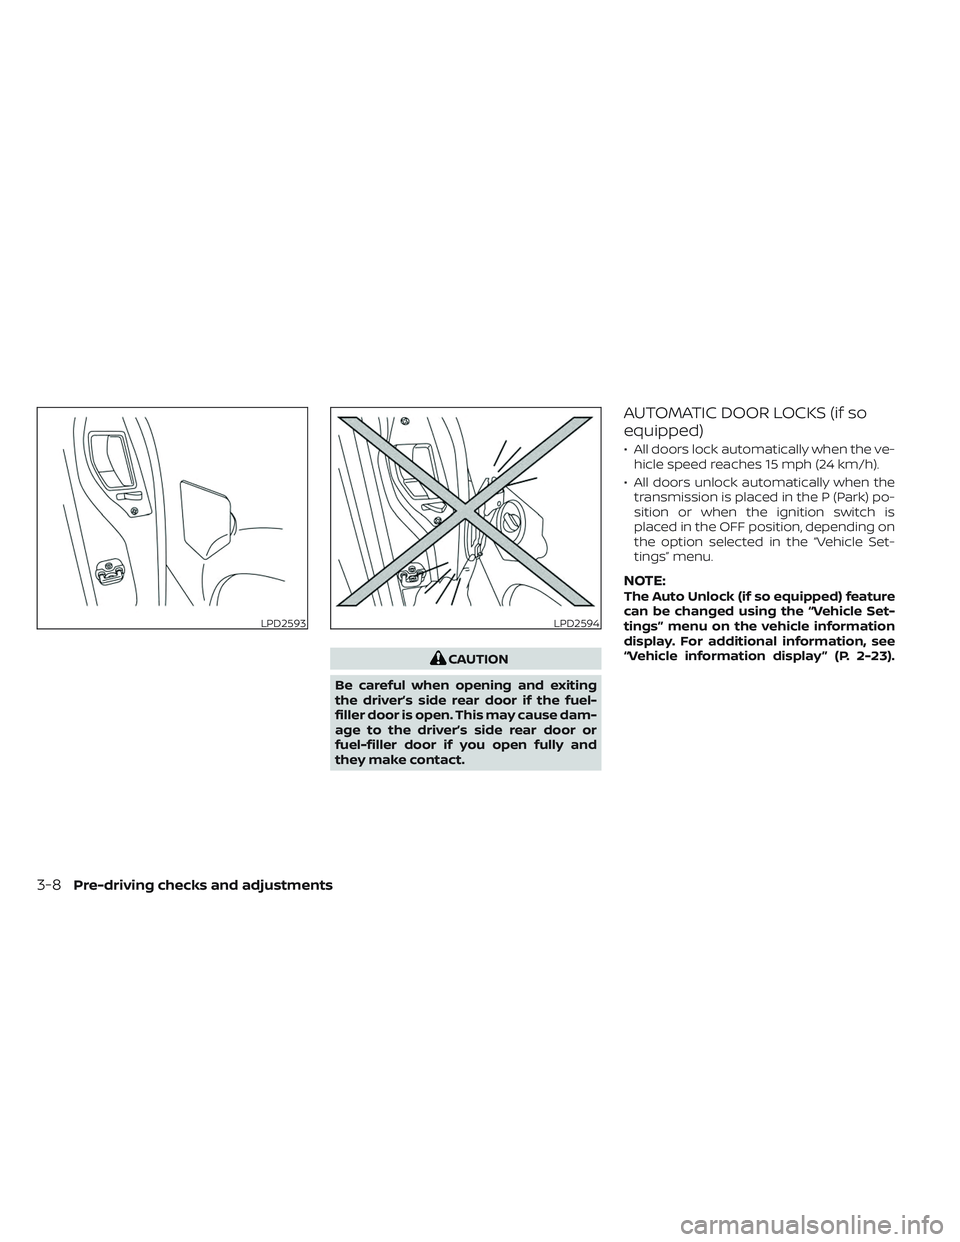
CAUTION
Be careful when opening and exiting
the driver’s side rear door if the fuel-
filler door is open. This may cause dam-
age to the driver’s side rear door or
fuel-filler door if you open fully and
they make contact.
AUTOMATIC DOOR LOCKS (if so
equipped)
• All doors lock automatically when the ve- hicle speed reaches 15 mph (24 km/h).
• All doors unlock automatically when the transmission is placed in the P (Park) po-
sition or when the ignition switch is
placed in the OFF position, depending on
the option selected in the “Vehicle Set-
tings” menu.
NOTE:The Auto Unlock (if so equipped) feature
can be changed using the “Vehicle Set-
tings” menu on the vehicle information
display. For additional information, see
“Vehicle information display ” (P. 2-23).
LPD2593LPD2594
3-8Pre-driving checks and adjustments
Page 327 of 635
5 Starting and driving
Precautions when starting and driving..........5-4
Exhaust gas (carbon monoxide) ..............5-4
Three-way catalyst (if so equipped) ...........5-4
Tire Pressure Monitoring System
(TPMS) .......................................5-5
On-pavement and off-road driving
precautions ..................................5-8
Avoiding collision and rollover ................5-9
Off-roadrecovery ............................5-9
Rapid air pressure loss .......................5-9
Drinking alcohol/drugs and driving ..........5-10
Driving safety precautions ....................5-11
Push-button ignition switch ....................5-13
Operating range ............................ 5-14
Push-button ignition switch positions .......5-14
Emergency engine shut off ..................5-15
NISSAN Intelligent Key® battery
discharge ................................... 5-15
NISSAN Vehicle Immobilizer System .........5-16
Before starting the engine .....................5-16
Starting the engine ............................. 5-17
Remote Engine Start (if so equipped) ........5-18
Driving the vehicle .............................. 5-18
Engine protection mode ....................5-18
Automatic transmission (A/T) ...............5-19
Parking brake .................................. 5-23Traffic Sign Recognition (TSR) (if so equipped) . . . 5-24
System operation ........................... 5-25
Turning the Traffic Sign Recognition
(TSR) system on and off .....................5-26
System temporarily unavailable .............5-26
System malfunction ......................... 5-26
System maintenance .......................5-26
Lane Departure Warning (LDW) .................5-27
LDW system operation ......................5-28
How to enable/disable the LDW system .....5-29
LDW system limitations .....................5-30
System temporarily disabled ................5-31
System malfunction ......................... 5-31
System maintenance ....................... 5-31
Blind Spot Warning (BSW) .......................5-32
BSW system operation ......................5-34
How to enable/disable the BSW system .....5-34
BS
W system limitations .....................5-35
BSW driving situations .......................5-36
System temporarily disabled ................5-40
System maintenance ....................... 5-41
RearCrossTrafficAlert(RCTA) .................. 5-42
RCTA system operation .....................5-42
How to enable/disable the RCTA
system ...................................... 5-44
RCTA system limitations .....................5-45
Page 338 of 635
•Lower your speed when encounter-
ing strong crosswinds. With a higher
center of gravity, your NISSAN is more
affected by strong side winds. Slower
speeds ensure better vehicle control.
• Do not drive beyond the perfor-
mance capability of the tires, even
with 4WD engaged.
• For 4WD equipped vehicles, do not
attempt to raise two wheels off the
ground and shif t the transmission to
any drive or reverse position with the
engine running. Doing so may result
in drivetrain damage or unexpected
vehicle movement which could result
in serious vehicle damage or per-
sonal injury. •
Do not attempt to test a 4WD
equipped vehicle on a 2-wheel dyna-
mometer (such as the dynamom-
eters used by some states for emis-
sions testing) or similar equipment
even if the other two wheels are
raised off the ground. Make sure you
inform test facility personnel that
your vehicle is equipped with 4WD
before it is placed on a dynamom-
eter. Using the wrong test equipment
may result in drivetrain damage or
unexpected vehicle movement
which could result in serious vehicle
damage or personal injury.
• Accelerating quickly, sharp steering
maneuvers or sudden braking may
cause loss of control.
• If at all possible, avoid sharp turning
maneuvers, particularly at high
speeds. Your NISSAN 4WD vehicle has
a higher center of gravity than a pas-
senger car. The vehicle is not de-
signed for cornering at the same
speeds as passenger cars. Failure to
operate this vehicle correctly could
result in loss of control and/or a roll-
over accident. •
Always use tires of the same type,
size, brand, construction (bias, bias-
belted, or radial), and tread pattern
on all four wheels. Install tire chains
on the rear wheels when driving on
slippery roads and drive carefully.
• Be sure to check the brakes immedi-
ately af ter driving in mud or water.
For additional information, see “Wet
brakes” (P. 5-117).
• Avoid parking your vehicle on steep
hills. If you get out of the vehicle and
it rolls forward, backward or side-
ways, you could be injured.
• Whenever you drive off-road through
sand, mud or water as deep as the
wheel hub, more frequent mainte-
nance may be required. For addi-
tional information, see “Maintenance
schedules” (P. 9-7).
5-12Starting and driving
Page 344 of 635
REMOTE ENGINE START (if so
equipped)
Vehicles started with the Remote Engine
Start require the ignition switch to be
placed in the ON position before the shif t
lever can be moved from the P (Park) posi-
tion. To place the ignition switch in the ON
position, follow these steps:
1. Make sure that the Intelligent Key is onyou.
2. Apply the brake.
3. Push the ignition switch once to the ON position.
For additional information, see “NISSAN In-
telligent Key®” (P. 3-2).
ENGINE PROTECTION MODE
The engine has an engine protection mode
to reduce the chance of damage if the
coolant temperature becomes too high
(for example, when climbing steep grades
in high temperatures with heavy loads,
such as when towing a trailer). When the
engine temperature reaches a certain
level:
• The engine coolant temperature gauge will move toward the H position.
• Engine power may be reduced.
• The air conditioning cooling function may be automatically turned off for a short
time (the blower will continue to operate).
Engine power and, under some conditions,
vehicle speed will decrease. Vehicle speed
can be controlled with the accelerator
pedal, but the vehicle may not accelerate at
the desired speed. The transmission will
downshif t or upshif t as it reaches pre-
scribed shif t points. You can also shif t
manually.
As driving conditions change and engine
coolant temperature is reduced, vehicle
speed can be increased using the accel-
erator pedal, and the air conditioning cool-
ing function will automatically be turned
back on. The Malfunction Indicator Light (MIL) may
also come on if the engine coolant tem-
perature is not reduced or the air condi-
tioning cooling function does not turn back
on. If
only it remains on, you do not need to
have your vehicle towed, but have it in-
spected soon. It is recommended that you
visit a NISSAN dealer for this service. For
additional information, see “Malfunction In-
dicator Light (MIL)” (P. 2-20).
WARNING
Overheating can result in reduced en-
gine power and vehicle speed. The re-
duced speed may be lower than other
traffic, which could increase the chance
of a collision. Be especially careful
when driving. If the vehicle cannot
maintain a safe driving speed, pull to
the side of the road in a safe area. Allow
the engine to cool and return to normal
operation. For additional information,
see “If your vehicle overheats” (P. 6-12).
DRIVING THE VEHICLE
5-18Starting and driving