2022 HYUNDAI VELOSTER light
[x] Cancel search: lightPage 150 of 446

3-72
Daytime running light (DRL)
The Daytime Running Lights (DRL)
can make it easier for others to see
the front of your vehicle during the
day, especially after dawn and before
sunset.
The DRL system will turn the dedi-
cated lamp OFF when :
• The headlamps are ON.
• The parking lamps are ON.
• The vehicle is turned off.
• The parking brake is engaged.
Interior Lights
Do not use the interior lights for
extended periods when the vehi-
cle is turned off or the battery will
discharge.
Interior lamp AUTO cut
The interior lamps will automatically
go off approximately 20 minutes after
the engine is turned off and the
doors are closed. If a door is opened,
the lamp will go off 40 minutes after
the engine is turned off. If the doors
are locked by the smart key and the
vehicle enters the armed stage of the
theft alarm system, the lamps will go
off five seconds later.
Front lamps
Front Map Lamp (1) :
Press either lenses to turn the map
lamp on or off. This light produces a
spot beam for convenient use as a
map lamp at night or as a personal
lamp for the driver and the front pas-
senger.
NOTICE
Convenient features of your vehicle
Do not use the interior lights
when driving in the dark. The
interior lights may obscure your
view and cause an accident.
WARNING
OPD046041
Page 152 of 446
3-74
Convenient features of your vehicle
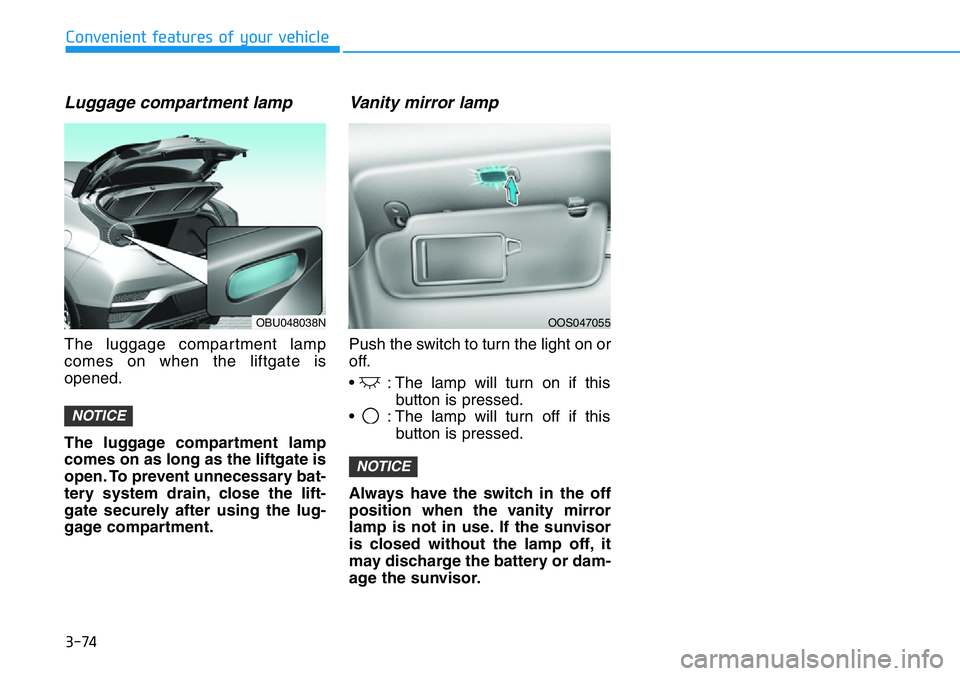
Luggage compartment lamp
The luggage compartment lamp
comes on when the liftgate is
opened.
The luggage compartment lamp
comes on as long as the liftgate is
open. To prevent unnecessary bat-
tery system drain, close the lift-
gate securely after using the lug-
gage compartment.
Vanity mirror lamp
Push the switch to turn the light on or
off.
• : The lamp will turn on if this
button is pressed.
• : The lamp will turn off if this
button is pressed.
Always have the switch in the off
position when the vanity mirror
lamp is not in use. If the sunvisor
is closed without the lamp off, it
may discharge the battery or dam-
age the sunvisor.
NOTICE
NOTICE
OBU048038NOOS047055
Page 153 of 446

3-75
Convenient features of your vehicle
High Beam Assist will automatically
adjust the headlamp range (switches
between high beam and low beam)
depending on the brightness of
detected vehicles and certain road
conditions.
Detecting sensor
[1] : Front view camera
The front view camera is used as a
detecting sensor to detect ambient
light and brightness while driving.
Refer to the picture above for the
detailed location of the detecting
sensor.Always keep the front view cam-
era in good condition to maintain
optimal performance of High
Beam Assist.
For more details on the precau-
tions of the front view camera,
refer to “Forward Collision-
Avoidance Assist (FCA)” section
in chapter 5.
NOTICE
HIGH BEAM ASSIST (HBA) (IF EQUIPPED)
3
OIK047090
OBU050218N
Page 154 of 446

3-76
Convenient features of your vehicle
System operation
Display and control
• High Beam Assist will operate by
following the procedure below.
- Place the headlamp switch in the
AUTO position and push the
headlamp lever towards the
instrument cluster. The High
Beam Assist ( ) indicator light
will illuminate on the cluster and
the system will be enabled.
- When the system is enabled,
high beam will turn on when vehi-
cle speed is above 25 mph (40
km/h). When vehicle speed is
below 15 mph (25 km/h), high
beam will not turn on.
- The High Beam ( ) indicator
light will illuminate on the cluster
when high beam is on.• When High Beam Assist is operat-
ing, if the headlamp lever or switch
is used, the system operates as
follow:
- If the headlamp lever is pulled
towards you when the high beam
is off, the high beam will turn on
without High Beam Assist can-
celed. When you let go of the
headlamp lever, the lever will
move to the middle and the high
beam will turn off.
- If the headlamp lever is pulled
towards you when the high beam
is on by High Beam Assist, low
beam will be on and the system
will turn off.
- If the headlamp switch is placed
from AUTO to another position
(headlamp/position/off), High
Beam Assist will turn off and the
corresponding lamp will turn on.• When High Beam Assist is operat-
ing, high beam switches to low
beam if any of the following condi-
tions occur:
- When the headlamp of an
oncoming vehicle is detected.
- When the tail lamp of a vehicle in
front is detected.
- When the headlamp or tail lamp
of a motorcycle or a bicycle is
detected.
- When the surrounding ambient
light is bright enough that high
beams are not required.
- When streetlights or other lights
are detected.
Page 155 of 446
3-77
Convenient features of your vehicle
3
System malfunction and limi-
tations
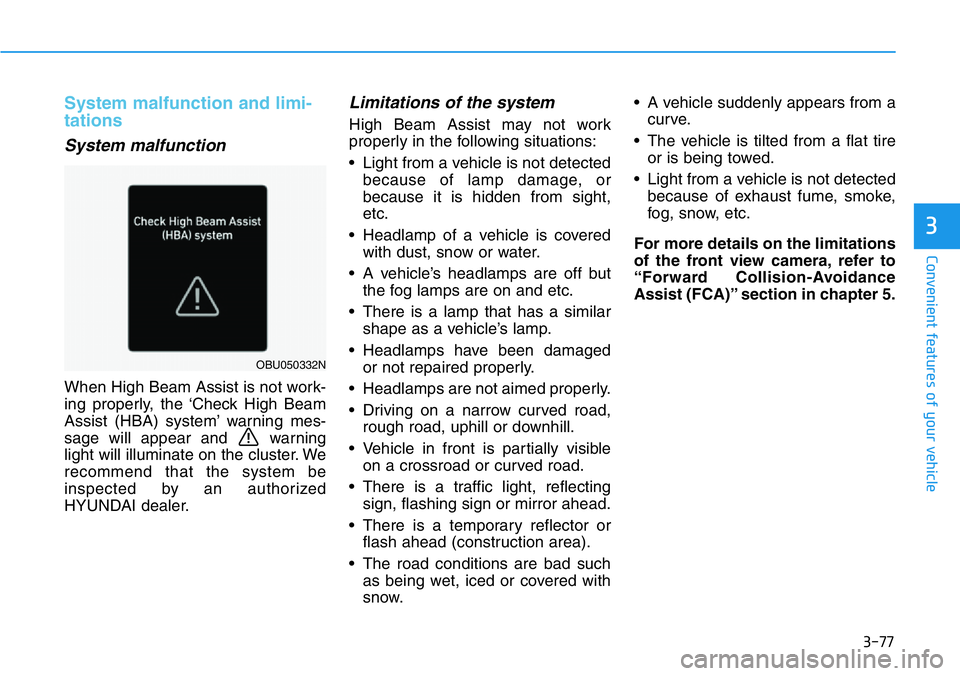
System malfunction
When High Beam Assist is not work-
ing properly, the ‘Check High Beam
Assist (HBA) system’ warning mes-
sage will appear and warning
light will illuminate on the cluster. We
recommend that the system be
inspected by an authorized
HYUNDAI dealer.
Limitations of the system
High Beam Assist may not work
properly in the following situations:
• Light from a vehicle is not detected
because of lamp damage, or
because it is hidden from sight,
etc.
• Headlamp of a vehicle is covered
with dust, snow or water.
• A vehicle’s headlamps are off but
the fog lamps are on and etc.
• There is a lamp that has a similar
shape as a vehicle’s lamp.
• Headlamps have been damaged
or not repaired properly.
• Headlamps are not aimed properly.
• Driving on a narrow curved road,
rough road, uphill or downhill.
• Vehicle in front is partially visible
on a crossroad or curved road.
• There is a traffic light, reflecting
sign, flashing sign or mirror ahead.
• There is a temporary reflector or
flash ahead (construction area).
• The road conditions are bad such
as being wet, iced or covered with
snow.• A vehicle suddenly appears from a
curve.
• The vehicle is tilted from a flat tire
or is being towed.
• Light from a vehicle is not detected
because of exhaust fume, smoke,
fog, snow, etc.
For more details on the limitations
of the front view camera, refer to
“Forward Collision-Avoidance
Assist (FCA)” section in chapter 5.
OBU050332N
Page 165 of 446
3-87
Convenient features of your vehicle
3
Fan speed control (1)
Turn the knob to the right to increase
the fan speed and airflow. Turn the
knob to the left to decrease fan
speed and airflow.
Setting the fan speed control knob to
the "0" position turns off the fan.
Operating the fan speed when the
ignition switch is in the ON posi-
tion could cause the battery to
discharge. Operate the fan speed
when the engine is running.
Air conditioning (6)
Push the A/C button to turn the sys-
tem on (indicator light will illuminate)
and off.
System Operation
Cooling / Ventilation
1. Select the Face Level mode.
2. Set the air intake control to fresh
mode.
3. Set the temperature control to the
desired position.
4. Set the fan speed control to the
desired speed.
Heating
1. Select the Floor Level mode.
2. Set the air intake control to fresh
mode.
3. Set the temperature control to the
desired position.
4. Set the fan speed control to the
desired speed.
5. If desired, turn the air conditioning
ON with the temperature control
knob set to heat in order to dehu-
midify the air before it enters into
the cabin.
If the windshield fogs up, select the
Floor & Defrost mode or press
the Front Defrost mode.
NOTICE
•Continued use of the climate
control system operation in
Recirculation mode for a pro-
longed period of time may
cause drowsiness to the
occupants in the cabin. This
may lead to loss of vehicle
control which may lead to an
accident.
•Continued use of the climate
control system operation in
Recirculation mode with the
A/C OFF may allow humidity
to increase inside the cabin.
This may cause condensation
to accumulate on the wind-
shield and obscure visibility.
•Do not sleep in your vehicle or
remain parked in your vehicle
with the windows up and
either the heater or the air
conditioning ON for pro-
longed periods of time. Doing
so may increase the levels of
carbon dioxide in the cabin
which may lead to serious
injury or death.
WARNING
Page 167 of 446
3-89
Convenient features of your vehicle
3
Air conditioning system operation tips
• If the vehicle has been parked in
direct sunlight during hot weather,
open the windows for a short time
to let the hot air inside the vehicle
escape.
• After sufficient cooling has been
achieved, switch back from the
recirculated air to the fresh outside
air position.
• To help reduce moisture inside of
the windows on rainy or humid
days, decrease the humidity inside
the vehicle by operating the air con-
ditioning system with the windows
closed.
• Use the air conditioning system
every month only for a few minutes
to ensure maximum system per-
formance.
• If you operate air conditioner exces-
sively, the difference between the
temperature of the outside air and
that of the windshield could cause
the outer surface of the windshield
to fog up, causing loss of visibility.
In this case, set the mode selection
knob or button to the position
and fan speed control to the lower
speed.
System Maintenance
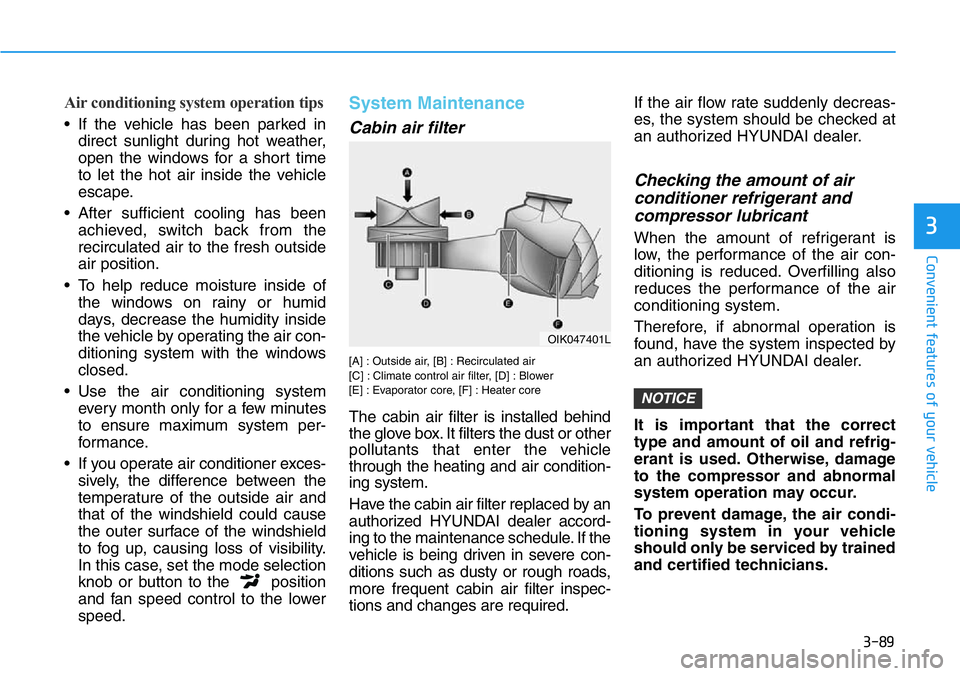
Cabin air filter
[A] : Outside air, [B] : Recirculated air
[C] : Climate control air filter, [D] : Blower
[E] : Evaporator core, [F] : Heater core
The cabin air filter is installed behind
the glove box. It filters the dust or other
pollutants that enter the vehicle
through the heating and air condition-
ing system.
Have the cabin air filter replaced by an
authorized HYUNDAI dealer accord-
ing to the maintenance schedule. If the
vehicle is being driven in severe con-
ditions such as dusty or rough roads,
more frequent cabin air filter inspec-
tions and changes are required.If the air flow rate suddenly decreas-
es, the system should be checked at
an authorized HYUNDAI dealer.
Checking the amount of air
conditioner refrigerant and
compressor lubricant
When the amount of refrigerant is
low, the performance of the air con-
ditioning is reduced. Overfilling also
reduces the performance of the air
conditioning system.
Therefore, if abnormal operation is
found, have the system inspected by
an authorized HYUNDAI dealer.
It is important that the correct
type and amount of oil and refrig-
erant is used. Otherwise, damage
to the compressor and abnormal
system operation may occur.
To prevent damage, the air condi-
tioning system in your vehicle
should only be serviced by trained
and certified technicians.
NOTICE
OIK047401L
Page 170 of 446
3-92
Convenient features of your vehicle
Automatic Temperature
Control Mode
The Automatic Climate Control
System is controlled by setting the
desired temperature.
1. Press the AUTO button (3).
The modes, fan speeds, air intake
and air-conditioning will be con-
trolled automatically by the tem-
perature setting you select.
2. Turn the temperature control knob
(1) to the desired temperature. If
the temperature is set to the low-
est setting (Lo), the air condition-
ing system will operate continu-
ously. After the interior has cooled
sufficiently, adjust the knob to a
higher temperature set point
whenever possible.
To turn the automatic operation off,
select any button of the following:
- Mode selection button
- Front windshield defroster button
(Press the button one more time
to deselect the front windshield
defroster function. The 'AUTO'
sign will illuminate on the infor-
mation display once again.)
- Fan speed control buttonThe selected function will be con-
trolled manually while other functions
operate automatically.
For your convenience and to improve
the efficiency of the climate control,
use the AUTO button and set the
temperature to 72°F (22°C).
To change the temperature unit from
°F to °C or °C to °F:
- Press and hold the AUTO and OFF
buttons on the climate control unit
for 3 seconds.
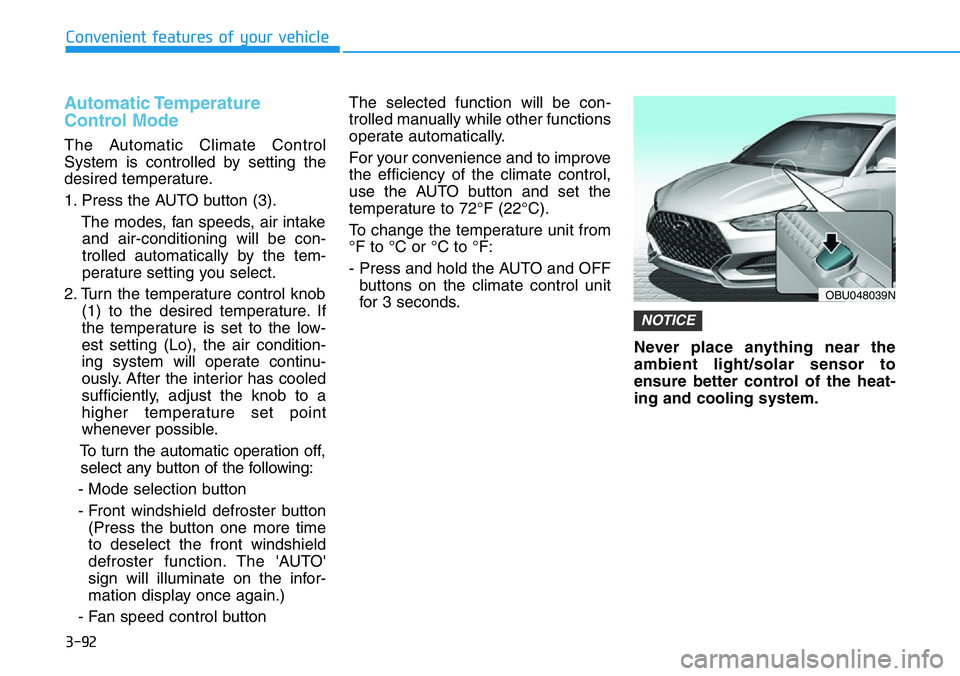
Never place anything near the
ambient light/solar sensor to
ensure better control of the heat-
ing and cooling system.
NOTICE
OBU048039N