Page 552 of 657

550
uuMaintenance Under the Hood uOpening the Hood
Maintenance
Opening the Hood
1. Park the vehicle on a level surface, and set
the parking brake.
2. Pull the hood release handle under the
driver’s side lower corner of the dashboard.
u The hood will pop up slightly.
3. Push the hood latch lever (located under
the front edge of the hood to the center) to
the side and raise the hood. Once you have
raised the hood slightly, you can release the
lever.
4. Remove the support rod from the clamp
using the grip. Mount the support rod in
the hood.
When closing, remove the support rod, and
stow it in the clamp, then gently lower the
hood. Remove your hand at a height of
approximately 12 inches (30 cm) and let the
hood close.1 Opening the Hood
NOTICE
Do not open the hood when the wiper arms are
raised.
The hood will strike the wipe rs, resulting in possible
damage to the hood and/or the wipers.
Do not press the engine cover forcibly. This may
damage the engine cover and component parts.
When closing the hood, check that the hood is
securely latched.
If the hood latch lever moves stiffly, or if you can
open the hood without lifti ng the lever, the latch
mechanism should be cl eaned and lubricated.
Do not open the hood while the Auto Idle Stop
function is activated.
3WARNING
The hood support rod can become very hot
due to heat fr om the engine.
To ensure against po ssible burns, do not
handle the metal section of the rod:
Use the foam grip instead.
2.0 L engine models
Models with Auto Idle Stop
Hood Release Handle
Pull
Lever
Support Rod
Grip
Clamp
Page 599 of 657

597Continued
Handling the Unexpected
If a Tire Goes Flat
Changing a Flat Tire
If a tire goes flat while driving, grasp the steering wheel firmly, and brake gradually
to reduce speed. Then, stop in a safe plac e. Replace the flat tire with a compact
spare tire. Go to a dealer as soon as possib le to have the full-size tire repaired or
replaced.
1. Park the vehicle on a firm, level, and n on-slippery surface, and apply the parking
brake.
2. Put the transmission into
(P.
3. Turn on the hazard warning lights an d set the power mode to VEHICLE OFF.
1Changing a Flat Tire
Follow these compact spare precautions:
Periodically check the tire pressure of the compact
spare. It should be set to the specified pressure.
Specified Pressure: 60 psi (420 kPa, 4.2 kgf/cm
2)
When driving with the compact spare tire, keep the
vehicle speed under 50 mph (80 km/h). Replace with
a full-size tire as soon as possible.
The compact spare tire and wheel in your vehicle are
specifically for this model. Do not use them with
another vehicle. Do not us e another type of compact
spare tire or wheel with your vehicle.
Do not mount tire chains on a compact spare tire.
If a chain-mounted front tire goes flat, remove one of
the full-size rear tires and replace it with the compact
spare tire. Remove the flat front tire and replace it
with the full-size tire that was removed from the rear.
Mount the tire chains on the front tire.
NOTICE
Do not use the jack if it doesn’t work properly.
Call your dealer or a pr ofessional towing service.
Do not mount the compact spare on the front.
If either front tire goes flat, remove the rear tire on
the same side, and mount the compact spare on the
rear and the rear tire on the front.
Page 611 of 657
609Continued
Handling the Unexpected
Shift Lever Does Not Move
Follow the procedure below if you cannot move the shift lever out of the (P
position.
1.Set the parking brake.
2. Remove the built-in key from the keyless
remote.
3. Open the center pocket.
2 Center Pocket P. 225
4.Remove the cover in the center pocket.
5. Wrap a cloth around the tip of the built-in
key. Put it into the shift lock release slot (as
shown in the image) and remove the cover.
■Releasing the Lock
Continuously variable transmission models
Models without wireless charger
Cover
Models without wireless charger
Slot
Cover
All models
Page 617 of 657

615
uuIndicator, Comi ng On/BlinkinguIf the Brake System Indicator (Red) Comes On or Blinks
Handling the Unexpected
If the Brake System Indicator (Red) Comes On or
Blinks
■Reasons for the indicator to come on
• The brake fluid is low.
• There is a malfunction in the brake system.
■What to do when the indica tor comes on while driving
Depress the brake pedal lightly to check pedal pressure.
• If normal, check the brake fluid level the next time you stop.
• If abnormal, take immediate acti on. If necessary, downshift the
transmission to slow the vehicle using engine braking.
■Reasons for the indicator to blink
There is a problem with the electric parking brake system.
■What to do when the indicator blinks
Avoid using the parking brake and have your vehicle checked by a dealer
immediately.
1 If the Brake System Indicator (Red) Comes On or Blinks
Have your vehicle re paired immediately.
It is dangerous to drive with low brake fluid. If there
is no resistance from the brake pedal, stop
immediately in a safe plac e. If necessary, downshift
the gears.
If the brake system indicator (red) and ABS indicator
come on simultaneously , the electronic brake
distribution system is not wo rking. This can result in
vehicle instability under sudden braking.
Have your vehicle inspecte d by a dealer immediately.
If the brake system indicator (red) blinks at the same
time when the brake system indicator (amber) comes
on, the parking br ake may not work.
Avoid using the parking brak e and have your vehicle
checked by a dealer immediately. 2 If the Brake System Indicator (Red) Comes
On or Blinks at the Same Time When the
Brake System Indicator (Amber) Comes On
P. 616
U.S.
Canada (Red)
Page 618 of 657

616
uuIndicator, Coming On/BlinkinguIf the Brake System Indicator (Red) Comes On or Blinks at the Same Time When the Brake System Indicator (Amber) Comes On
Handling the Unexpected
If the Brake System Indicator (Red) Comes On or
Blinks at the Same Time When the Brake System
Indicator (Amber) Comes On
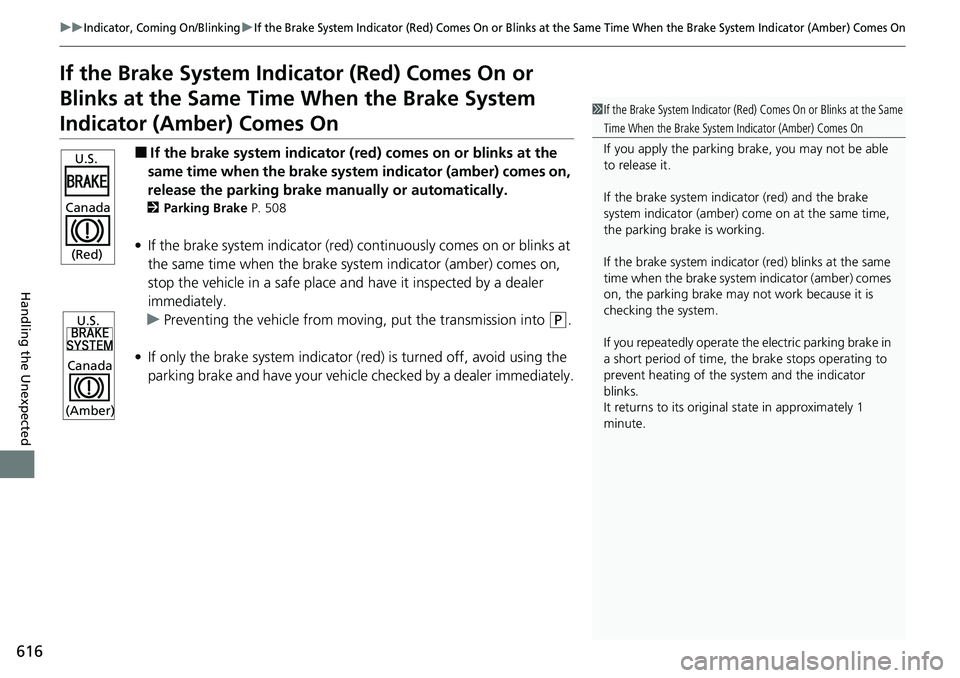
■If the brake system indicator (red) comes on or blinks at the
same time when the brake syst em indicator (amber) comes on,
release the parking brake manually or automatically.
2 Parking Brake P. 508
•If the brake system indicator (red) co ntinuously comes on or blinks at
the same time when the brake system indicator (amber) comes on,
stop the vehicle in a safe place a nd have it inspected by a dealer
immediately.
u Preventing the vehicle from moving, put the transmission into
(P.
• If only the brake system indicator (red ) is turned off, avoid using the
parking brake and have your vehicle checked by a dealer immediately.
1If the Brake System Indicator (Red) Comes On or Blinks at the Same
Time When the Brake System Indicator (Amber) Comes On
If you apply the parking brake, you may not be able
to release it.
If the brake system indicator (red) and the brake
system indicator (amber) come on at the same time,
the parking brake is working.
If the brake system indicator (red) blinks at the same
time when the brake system indicator (amber) comes
on, the parking brake may not work because it is
checking the system.
If you repeatedly operate the electric parking brake in
a short period of time, the brake stops operating to
prevent heating of the system and the indicator
blinks.
It returns to its original state in approximately 1
minute.U.S.
Canada (Red)
U.S.
Canada
(Amber)
Page 621 of 657
619
uuIndicator, Coming On/Blinking uIf the Transmission System Indicator Blinks along with the Warning Message
Handling the Unexpected
If the Transmission System Indicator Blinks along
with the Warning Message
■Reasons for the indicator to blink
The transmission is malfunctioning.
■What to do when the indicator blinks
• Immediately have your vehicle inspected by
a dealer.
• Put the transmission into
(N after starting
the engine.
u Check if the
(N position on the driver
information interface and the indicator
on the
(N button light/blink.
2 Starting the Engine P. 412
Automatic transmission models
1If the Transmission System In dicator Blinks along with the
Warning Message
You may not be able to start the engine.
Make sure to set the pa rking brake when parking
your vehicle.
Call a professional towing service if you need to tow
your vehicle. 2 Emergency Towing P. 626
Page 628 of 657

626
Handling the Unexpected
Emergency Towing
Call a professional towing service if you need to tow your vehicle.
■Flatbed equipment
The operator loads your vehicle on the back of a truck.
This is the best way to transport your vehicle.
■Wheel lift equipment
The tow truck uses two pivoti ng arms that go under the front tires and lift them off
the ground. The rear tires remain on the ground. This is an acceptable way to
tow your vehicle.
1 Emergency Towing
NOTICE
Trying to lift or tow your vehicle by the bumpers will
cause serious damage. The bumpers are not designed
to support the vehicle’s weight.
Make sure the parking brake is released. If you
cannot release the parking brake, your vehicle must
be transported by the flatbed equipment. 2 Parking Brake P. 508
NOTICE
Improper towing such as towing behind a
motorhome or other motor vehicle can damage the
transmission.
Never tow your vehicle with just a rope or chain.
It is very dangerous, since ropes or chains may shift
from side to side or break.
Page 634 of 657

632
Information
Specifications
■Vehicle Specifications
■ Air Conditioning
ModelACCORD
No. of Passengers:
Front 2
Rear 3
Total 5
Weights:Gross Vehicle
Weight Rating See the certification label on the driver’s
doorjamb
Gross Axle Weight
Rating (Front)See the certification label on the driver’s
doorjamb
Gross Axle Weight
Rating (Rear)See the certification label on the driver’s
doorjamb
Refrigerant TypeHFO-1234yf (R-1234yf)
Charge Quantity 13.9 – 15.7 oz (395 – 445 g)
Lubricant TypeND-OIL 14
Quantity 5.6 – 6.5 cu-in (92 – 107 cm3)
1.5 L engine models■ Engine Specifications
■ Fuel
■ Washer Fluid
Displacement91 cu-in (1,498 cm3)
Spark Plugs NGK DILKAR8P8SY
TypeUnleaded gasoline, Pump octane number
of 87 or higher
Fuel Tank Capacity 14.8 US gal (56 L)
Tank CapacityU.S.: 2.6 US qt (2.5 L)
Canada: 4.8 US qt (4.5 L)
■ Light Bulbs
*1: Models with halogen high beam headlights
*2: Models with LED high beam headlights
Headlights (Low Beam)LED
Headlights (High Beam) 60W (HB3)*1
LED*2
Fog Lights*LED
Parking/Daytime Running Lights LED
Front Turn Signal LightsLED
Front Side Marker Lights LED
Side Turn Signal Lights
(on Door Mirrors)*LED
Brake Lights LED
Rear Turn Signal Lights21W (Amber)
Rear Side Marker Lights LED
TaillightsLED
Back-Up Lights 16W
High-Mount Brake LightLED
Rear License Plate Light LED
Interior LightsMap Lights8WCeiling Light8WAmbient LightsLEDVanity Mirror Lights1.4WCenter Pocket LightLEDDoor Courtesy Lights*2CP (3.8W)Door Inner Handle Lights*LEDTrunk Light5W
* Not available on all models