2021 TOYOTA PROACE CITY VERSO door lock
[x] Cancel search: door lockPage 41 of 272
41
Ease of use and comfort
3
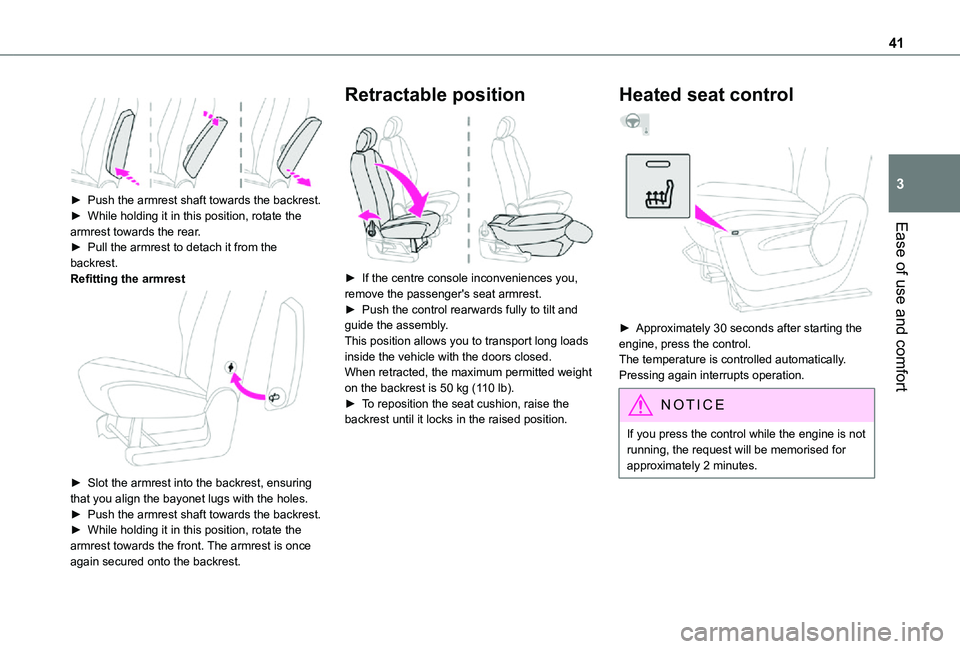
► Push the armrest shaft towards the backrest.► While holding it in this position, rotate the armrest towards the rear.
► Pull the armrest to detach it from the backrest.Refitting the armrest
► Slot the armrest into the backrest, ensuring that you align the bayonet lugs with the holes.► Push the armrest shaft towards the backrest.► While holding it in this position, rotate the armrest towards the front. The armrest is once again secured onto the backrest.
Retractable position
► If the centre console inconveniences you, remove the passenger's seat armrest.► Push the control rearwards fully to tilt and guide the assembly.This position allows you to transport long loads inside the vehicle with the doors closed.When retracted, the maximum permitted weight on the backrest is 50 kg (110 lb).► To reposition the seat cushion, raise the backrest until it locks in the raised position.
Heated seat control
► Approximately 30 seconds after starting the engine, press the control.The temperature is controlled automatically.Pressing again interrupts operation.
NOTIC E
If you press the control while the engine is not running, the request will be memorised for approximately 2 minutes.
Page 42 of 272
42
ECO
Do not use the function when the seat is not occupied.Reduce the heating intensity as soon as possible.When the seat and passenger compartment have reached a satisfactory temperature, switch the function off; reducing electricity consumption in turn decreases fuel consumption.
WARNI NG
Prolonged use of the heated seats is not recommended for those with sensitive skin.There is a risk of burns for people whose perception of heat is impaired (illness, taking medication, etc.).To keep the heated pad intact and to prevent a short circuit:– do not place sharp or heavy objects on the
seat,– do not kneel or stand on the seat,– do not spill liquids onto the seat,– never use the heating function if the seat is wet.
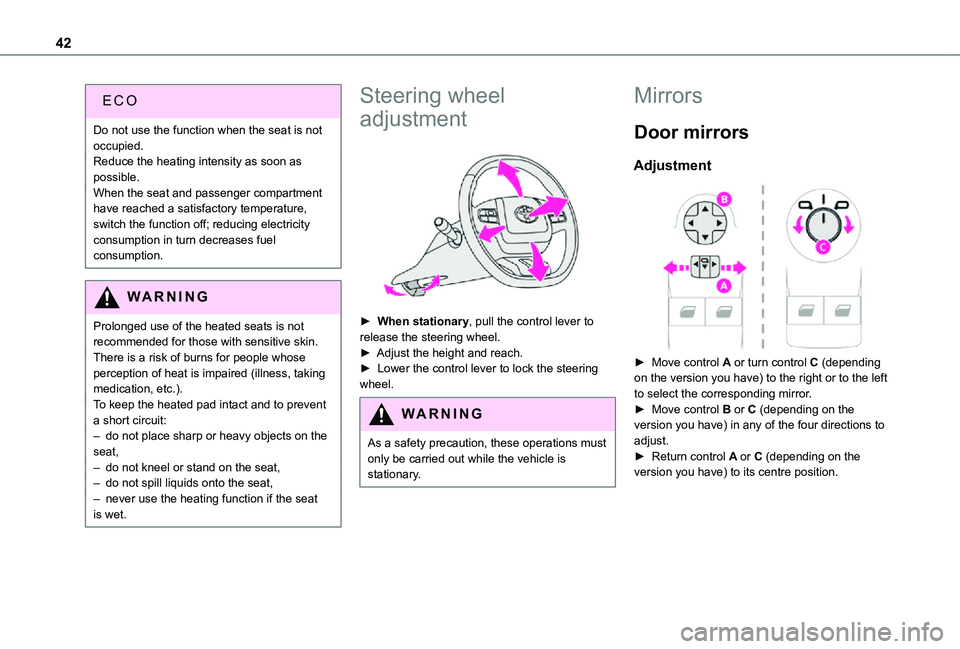
Steering wheel
adjustment
► When stationary, pull the control lever to release the steering wheel.► Adjust the height and reach.► Lower the control lever to lock the steering wheel.
WARNI NG
As a safety precaution, these operations must only be carried out while the vehicle is stationary.
Mirrors
Door mirrors
Adjustment
► Move control A or turn control C (depending on the version you have) to the right or to the left to select the corresponding mirror.► Move control B or C (depending on the version you have) in any of the four directions to adjust.
► Return control A or C (depending on the version you have) to its centre position.
Page 64 of 272
64
NOTIC E
The ventilation is activated provided that the battery is sufficiently charged. The heating is activated provided that: – the battery charge and the fuel level are sufficient,– the engine has been started since the previous heating cycle,– 60 minutes have elapsed between two heating requests.
WARNI NG
The programmable heating is supplied by the vehicle fuel tank. Before use, make sure that you have sufficient fuel. If the fuel tank is on reserve, you are strongly recommended not to program the heating.
The additional heating must always be switched off while refuelling to avoid any risk of fire or explosion.
WARNI NG
To avoid the risks of poisoning or asphyxia, the programmable heating must not be used, even for short periods, in a closed environment such as a garage or workshop which is not equipped with an exhaust gas extraction system.Do not park the vehicle on a flammable surface (dry grass, dead leaves, paper, etc.) - Risk of fire!
WARNI NG
Glazed surfaces such as the rear screen or windscreen can become very hot in places.Never put objects on these surfaces; never touch these surfaces - Risk of burns!
Do not throw remote control batteries away, as they contain metals that are harmful to the environment. Take them to an approved disposal point.
Courtesy lamp
Automatic switching on/off
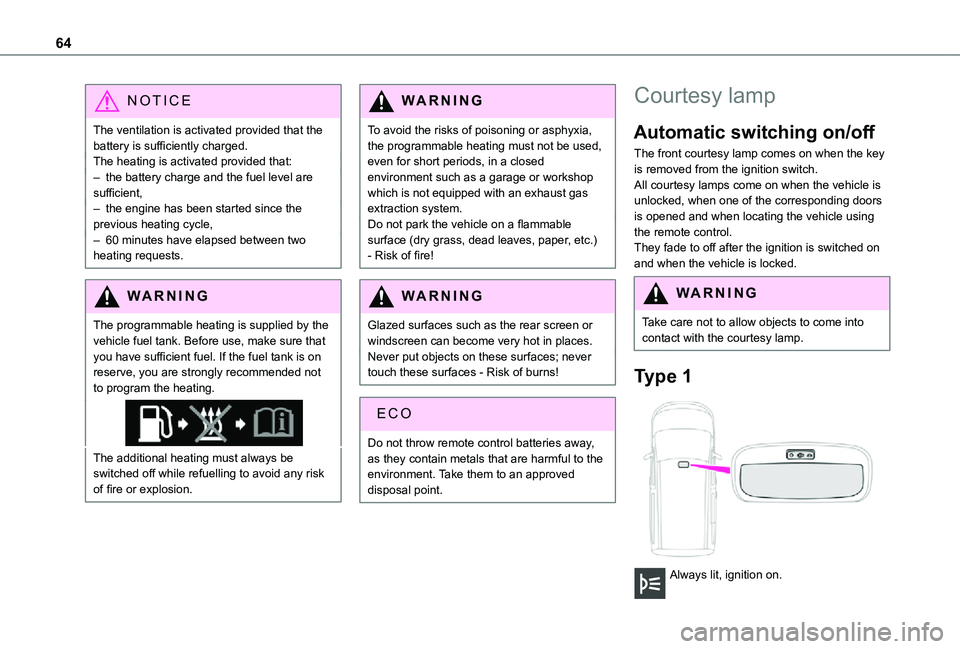
The front courtesy lamp comes on when the key is removed from the ignition switch.All courtesy lamps come on when the vehicle is unlocked, when one of the corresponding doors is opened and when locating the vehicle using the remote control. They fade to off after the ignition is switched on and when the vehicle is locked.
WARNI NG
Take care not to allow objects to come into contact with the courtesy lamp.
Type 1
Always lit, ignition on.
Page 90 of 272
90
WARNI NG
Installing a booster seatThe chest part of the seat belt must be positioned on the child's shoulder without touching the neck.Ensure that the lap part of the seat belt passes correctly over the child's thighs.Use a booster seat with backrest, equipped with a belt guide at shoulder level.
WARNI NG
Additional protectionsTo prevent accidental opening of the doors and rear windows, use the "Child lock".Take care not to open the rear windows by more than one third.To protect young children from the rays of the sun, fit side blinds on the rear windows.As a safety precaution, do not leave:– a child alone and unattended in a vehicle,– a child or an animal in a vehicle which is exposed to the sun, with the windows closed,– the keys within reach of children inside the vehicle.
Child seat at the rear
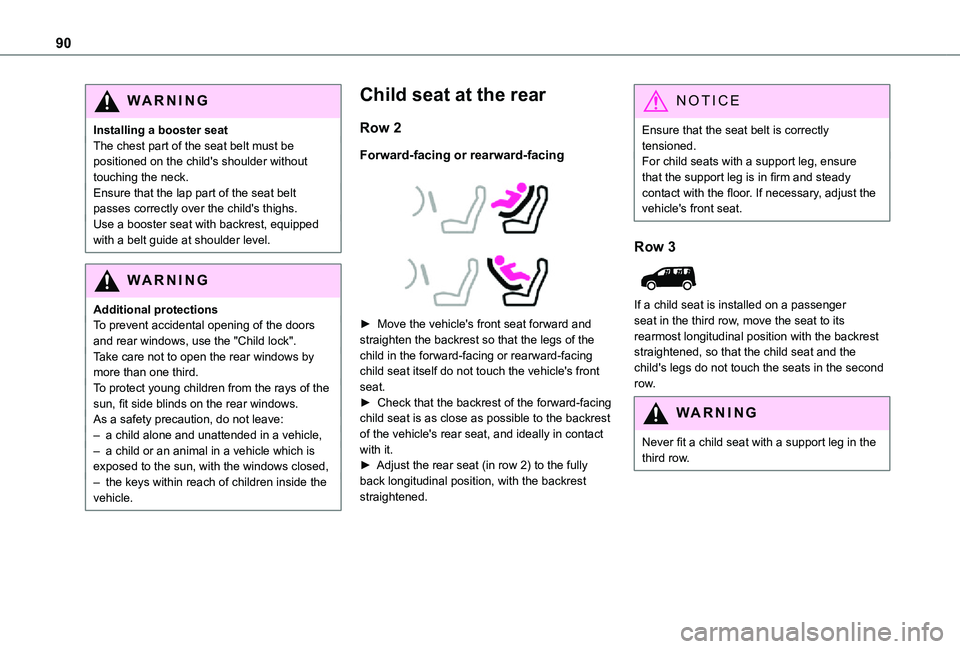
Row 2
Forward-facing or rearward-facing
► Move the vehicle's front seat forward and straighten the backrest so that the legs of the child in the forward-facing or rearward-facing child seat itself do not touch the vehicle's front seat.► Check that the backrest of the forward-facing child seat is as close as possible to the backrest of the vehicle's rear seat, and ideally in contact with it.► Adjust the rear seat (in row 2) to the fully back longitudinal position, with the backrest straightened.
NOTIC E
Ensure that the seat belt is correctly tensioned.For child seats with a support leg, ensure that the support leg is in firm and steady contact with the floor. If necessary, adjust the vehicle's front seat.
Row 3
If a child seat is installed on a passenger seat in the third row, move the seat to its rearmost longitudinal position with the backrest straightened, so that the child seat and the child's legs do not touch the seats in the second row.
WARNI NG
Never fit a child seat with a support leg in the
third row.
Page 98 of 272
98
Manual child lock
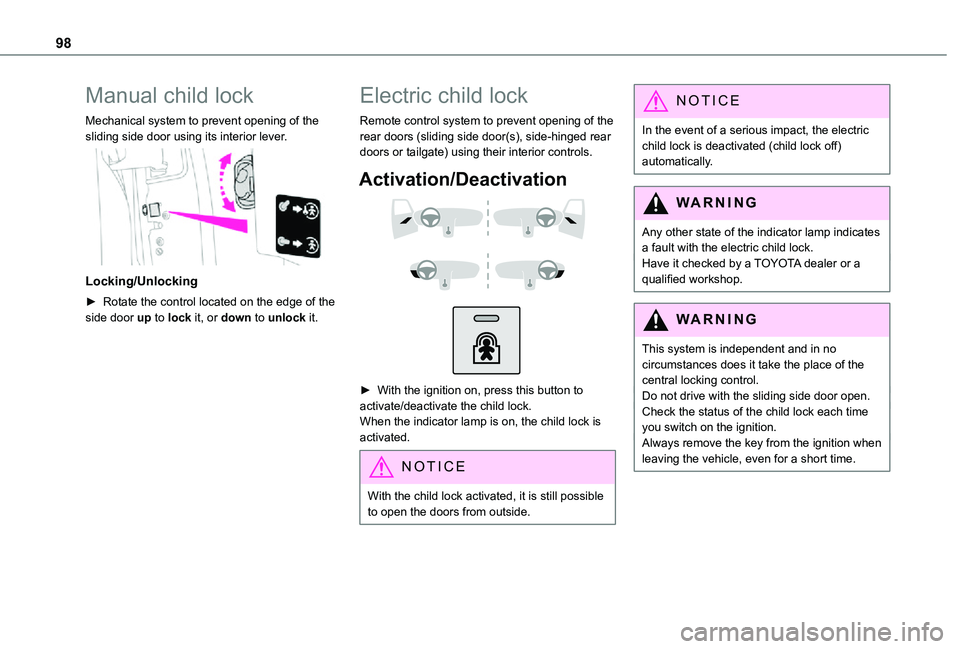
Mechanical system to prevent opening of the sliding side door using its interior lever.
Locking/Unlocking
► Rotate the control located on the edge of the side door up to lock it, or down to unlock it.
Electric child lock
Remote control system to prevent opening of the rear doors (sliding side door(s), side-hinged rear doors or tailgate) using their interior controls.
Activation/Deactivation
► With the ignition on, press this button to activate/deactivate the child lock.When the indicator lamp is on, the child lock is activated.
NOTIC E
With the child lock activated, it is still possible to open the doors from outside.
NOTIC E
In the event of a serious impact, the electric child lock is deactivated (child lock off) automatically.
WARNI NG
Any other state of the indicator lamp indicates a fault with the electric child lock.Have it checked by a TOYOTA dealer or a qualified workshop.
WARNI NG
This system is independent and in no circumstances does it take the place of the central locking control.Do not drive with the sliding side door open.Check the status of the child lock each time you switch on the ignition.Always remove the key from the ignition when leaving the vehicle, even for a short time.
Page 104 of 272
104
Key left in the ignition
NOTIC E
When opening the driver's door, an alert message is displayed, accompanied by an audible signal, to remind you that the key is still in the ignition switch at position 1 (Stop).If the key has been left in the ignition switch at position 2 (Ignition on), the ignition will be
switched off automatically after one hour.To switch the ignition back on, turn the key to position 1 (Stop), then back to position 2 (Ignition on).
With Keyless Entry and Starting
► With the remote control in the recognition zone, press the "START/STOP" button.With a manual gearbox, the engine switches off and the steering column locks.With the EAT8 automatic gearbox, the engine switches off.
NOTIC E
If the vehicle is not immobilised, the engine will not stop.
Switching on the ignition
with Keyless Entry and
Starting
With the Keyless Entry and Starting system’s electronic key inside the vehicle, pressing the "START/STOP" button, with no action on the pedals, allows the ignition to be switched on.► Pressing this button again switches off the ignition and allows the vehicle to be locked.
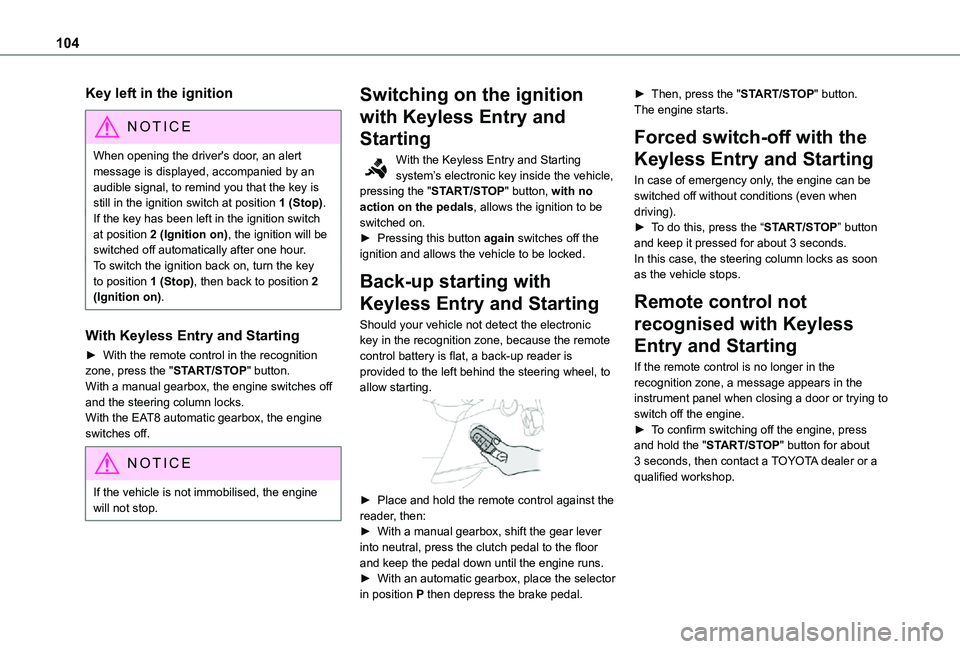
Back-up starting with
Keyless Entry and Starting
Should your vehicle not detect the electronic key in the recognition zone, because the remote control battery is flat, a back-up reader is provided to the left behind the steering wheel, to allow starting.
► Place and hold the remote control against the reader, then:► With a manual gearbox, shift the gear lever into neutral, press the clutch pedal to the floor and keep the pedal down until the engine runs.► With an automatic gearbox, place the selector in position P then depress the brake pedal.
► Then, press the "START/STOP" button.The engine starts.
Forced switch-off with the
Keyless Entry and Starting
In case of emergency only, the engine can be switched off without conditions (even when driving).► To do this, press the “START/STOP” button and keep it pressed for about 3 seconds.In this case, the steering column locks as soon as the vehicle stops.
Remote control not
recognised with Keyless
Entry and Starting
If the remote control is no longer in the recognition zone, a message appears in the instrument panel when closing a door or trying to switch off the engine.► To confirm switching off the engine, press
and hold the "START/STOP" button for about 3 seconds, then contact a TOYOTA dealer or a qualified workshop.
Page 107 of 272
107
Driving
6
NOTIC E
With an automatic gearbox, if the brake does not release automatically, check that the front doors are correctly closed.
WARNI NG
When stationary with the engine running, do
not press the accelerator pedal unnecessarily - risk of parking brake release.
Automatic application
With the vehicle stationary, the parking brake is applied automatically when the engine is switched off.When the parking brake is applied, the brake indicator lamp and the P indicator lamp in the control lever come on, accompanied by the onscreen message "Parking brake applied".
WARNI NG
It is not applied automatically if the engine stalls or enters STOP mode with Stop & Start.
NOTIC E
With automatic operation, it is also possible to manually apply or release the parking brake using the control lever.
Special cases
Immobilisation of the vehicle with the
engine running
To immobilise the vehicle with the engine running, briefly pull the control lever.Application of the parking brake is confirmed by illumination of the braking indicator lamp and the P indicator lamp in the control lever, accompanied by the display of the message "Parking brake applied".
Parking the vehicle with the brake
released
WARNI NG
In very cold conditions (ice), applying the parking brake is not recommended.To immobilise the vehicle, engage a gear or place the chocks against one of the wheels.
NOTIC E
With an automatic gearbox, mode P is automatically selected when the ignition is switched off. The wheels are blocked.For more information on Free-wheeling, refer
to the corresponding section.
NOTIC E
With an automatic gearbox, while mode N is selected, opening the driver’s door triggers an audible signal. It stops when the driver's door closes again.
Deactivating automatic
operation
In some situations, for example when it is extremely cold or when towing (e.g. caravan, breakdown), it may be necessary to deactivate automatic operation of the system.► Start the engine.► Apply the parking brake with the control lever, if it is released.► Take your foot fully off the brake pedal.► Push and hold the control lever in the release direction for at least 10 seconds and no more than 15 seconds.► Release the control lever.
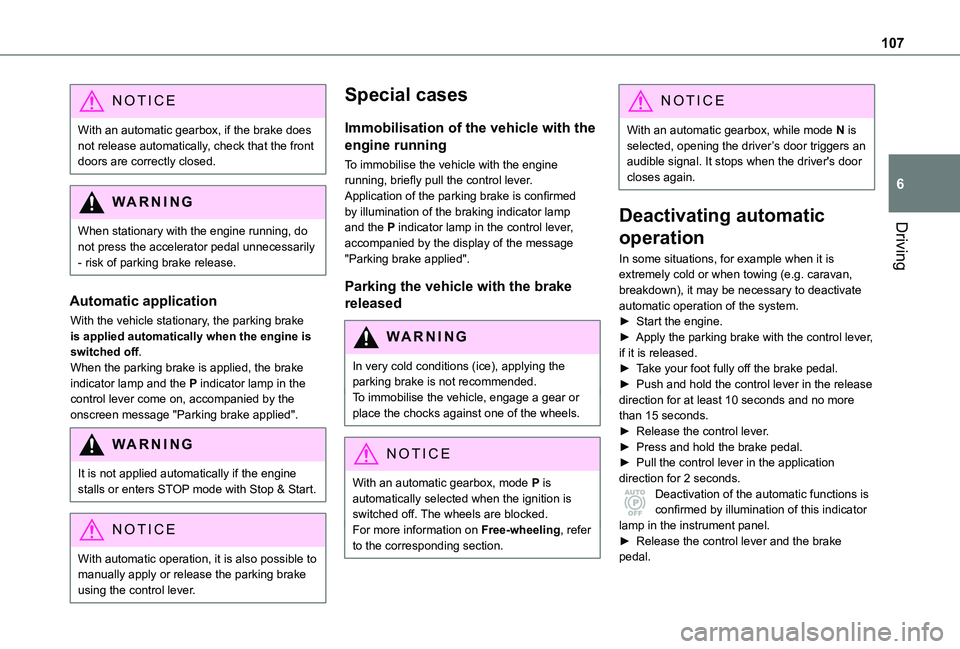
► Press and hold the brake pedal.► Pull the control lever in the application direction for 2 seconds.Deactivation of the automatic functions is confirmed by illumination of this indicator lamp in the instrument panel.► Release the control lever and the brake pedal.
Page 113 of 272
11 3
Driving
6
Invalid value during manual
operation
This symbol is displayed if a gear is not engaged correctly (gear selector between two positions).► Place the selector "correctly" at a position.
Stopping the vehicle
Before switching off the engine, select position P then apply the parking brake to immobilise the vehicle.
NOTIC E
A point of resistance may be noticed when moving to position P.If the selector is not in position P when the driver's door is opened or approximately 45 seconds after the ignition is switched off, an audible signal sounds and a message appears.► Return the gear selector to position P; the audible signal stops and the message disappears.
WARNI NG
On a steep slope with a loaded vehicle, press
the brake pedal, select position P, apply the parking brake then release the brake pedal.
WARNI NG
In all circumstances, ensure that the selector is in position P before leaving your vehicle.
Operating fault
When the ignition is on, a message appears in the instrument panel screen to indicate a gearbox fault.In this case, the gearbox switches to back-up mode and is locked in 3rd gear. You may feel a substantial knock when changing from P to R and from N to R. This will not cause any damage to the gearbox.Do not exceed 100 km/h (60 mph), local speed restrictions permitting.Have it checked by a TOYOTA dealer or a qualified workshop.
WARNI NG
There is a risk of damage to the gearbox:– if you press the accelerator and brake pedals at the same time (braking or acceleration must be done only with the right foot),– if you force the selector from position P to another position when the battery is flat.
EC O
To reduce fuel consumption when stationary for long periods with the engine running (traffic jam, etc.), position the selector on N and apply the parking brake.
WARNI NG
If your vehicle has an automatic gearbox, do not try to start the engine by pushing the vehicle.
Gear efficiency indicator
(Depending on engine.)This system helps reduce fuel consumption by recommending the most appropriate gear.
Operation
Depending on the driving situation and the
vehicle's equipment, the system may advise to skip one or more gears.Gear shift recommendations should not be considered compulsory. In fact, the road layout, the traffic density and safety remain the deciding factors when choosing the best gear. The driver therefore remains responsible for deciding whether or not to follow the indications issued by the system.This function cannot be deactivated.