2021 TOYOTA PROACE CITY tyre pressure
[x] Cancel search: tyre pressurePage 170 of 272
170
Repair procedure
WARNI NG
Do not remove any foreign bodies (e.g. nail, screw) which have penetrated into the tyre.
► Park the vehicle without obstructing traffic and apply the parking brake.► Follow the safety instructions (hazard
warning lamps, warning triangle, high visibility vest, etc.) according to the legislation in force in the country of driving.► Switch off the ignition.► Remove the valve cap from the tyre to be repaired, and place it in a clean area.
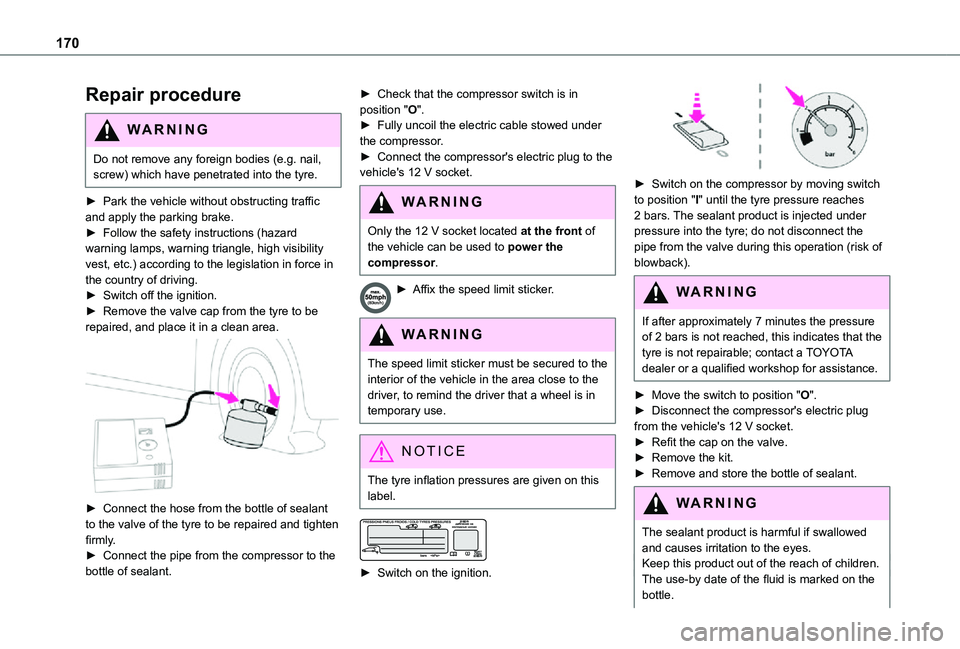
► Connect the hose from the bottle of sealant to the valve of the tyre to be repaired and tighten firmly.► Connect the pipe from the compressor to the bottle of sealant.
► Check that the compressor switch is in position "O".► Fully uncoil the electric cable stowed under the compressor.► Connect the compressor's electric plug to the vehicle's 12 V socket.
WARNI NG
Only the 12 V socket located at the front of
the vehicle can be used to power the compressor.
► Affix the speed limit sticker.
WARNI NG
The speed limit sticker must be secured to the interior of the vehicle in the area close to the driver, to remind the driver that a wheel is in temporary use.
NOTIC E
The tyre inflation pressures are given on this label.
► Switch on the ignition.
► Switch on the compressor by moving switch to position "I" until the tyre pressure reaches 2 bars. The sealant product is injected under pressure into the tyre; do not disconnect the
pipe from the valve during this operation (risk of blowback).
WARNI NG
If after approximately 7 minutes the pressure of 2 bars is not reached, this indicates that the tyre is not repairable; contact a TOYOTA dealer or a qualified workshop for assistance.
► Move the switch to position "O".► Disconnect the compressor's electric plug from the vehicle's 12 V socket.► Refit the cap on the valve.► Remove the kit.► Remove and store the bottle of sealant.
WARNI NG
The sealant product is harmful if swallowed and causes irritation to the eyes.Keep this product out of the reach of children.The use-by date of the fluid is marked on the bottle.
Page 171 of 272
171
In the event of a breakdown
8
After use, do not discard the bottle in standard waste, take it to a TOYOTA dealer or an authorised waste disposal site.Do not forget to obtain a new bottle of sealant, available from a TOYOTA dealer or a qualified workshop.
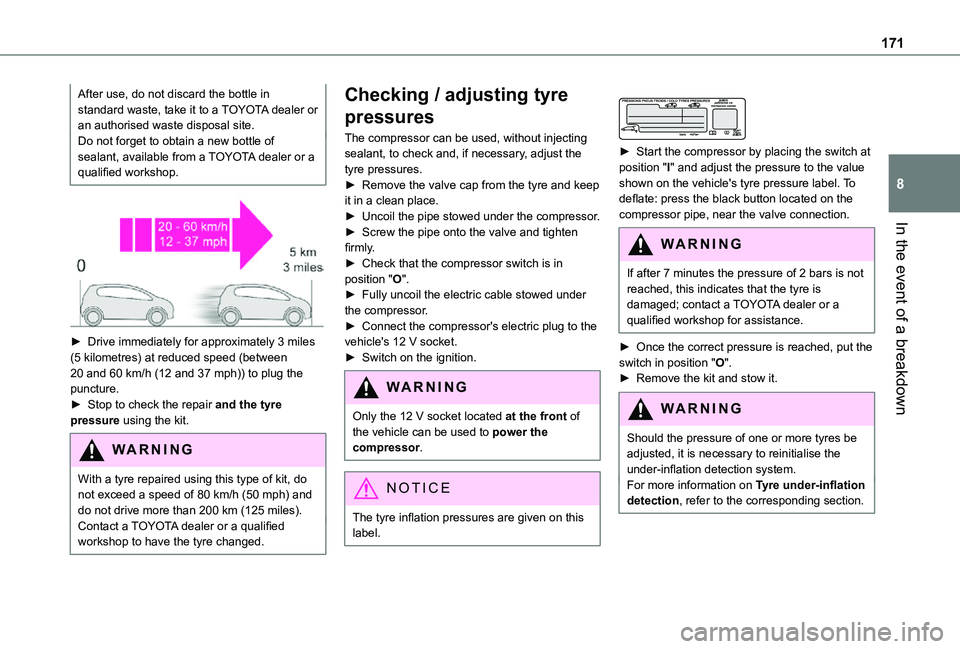
► Drive immediately for approximately 3 miles (5 kilometres) at reduced speed (between 20 and 60 km/h (12 and 37 mph)) to plug the puncture.► Stop to check the repair and the tyre pressure using the kit.
WARNI NG
With a tyre repaired using this type of kit, do not exceed a speed of 80 km/h (50 mph) and do not drive more than 200 km (125 miles).Contact a TOYOTA dealer or a qualified workshop to have the tyre changed.
Checking / adjusting tyre
pressures
The compressor can be used, without injecting sealant, to check and, if necessary, adjust the tyre pressures.► Remove the valve cap from the tyre and keep it in a clean place.► Uncoil the pipe stowed under the compressor.► Screw the pipe onto the valve and tighten firmly.► Check that the compressor switch is in position "O".► Fully uncoil the electric cable stowed under the compressor.► Connect the compressor's electric plug to the vehicle's 12 V socket.► Switch on the ignition.
WARNI NG
Only the 12 V socket located at the front of the vehicle can be used to power the compressor.
NOTIC E
The tyre inflation pressures are given on this label.
► Start the compressor by placing the switch at position "I" and adjust the pressure to the value shown on the vehicle's tyre pressure label. To deflate: press the black button located on the compressor pipe, near the valve connection.
WARNI NG
If after 7 minutes the pressure of 2 bars is not reached, this indicates that the tyre is damaged; contact a TOYOTA dealer or a qualified workshop for assistance.
► Once the correct pressure is reached, put the switch in position "O".► Remove the kit and stow it.
WARNI NG
Should the pressure of one or more tyres be adjusted, it is necessary to reinitialise the under-inflation detection system.For more information on Tyre under-inflation detection, refer to the corresponding section.
Page 175 of 272
175
In the event of a breakdown
8
wheel is secured by the conical contact of each bolt.
WARNI NG
After changing a wheelStow the punctured wheel in the carrier.Go to a TOYOTA dealer or a qualified workshop as soon as possible.Have the punctured tyre examined. After inspection, the technician will advise you on whether the tyre can be repaired or if it must be replaced.
NOTIC E
Some driving aid functions should be disabled, e.g. the Active Safety Brake.
NOTIC E
If your vehicle has tyre under-inflation detection, check the tyre pressures and reinitialise the system.For more information on Under-inflation detection, refer to the corresponding section.
NOTIC E
Wheel with wheel trimWhen refitting the wheel, refit the wheel trim, starting by aligning the cutout with the valve and then pushing the trim into place all round its edge with the palm of your hand.
NOTIC E
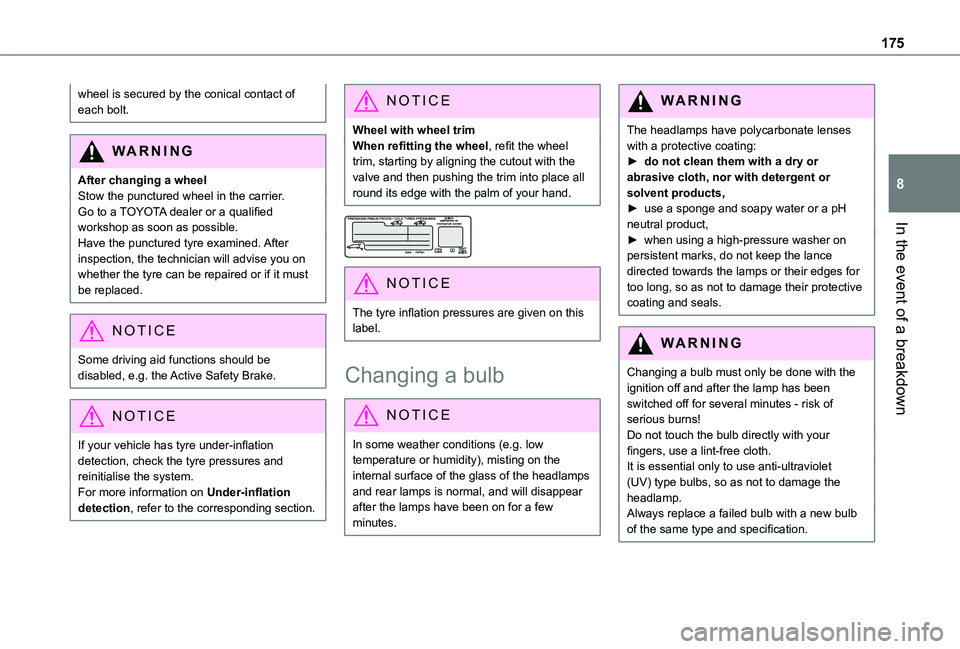
The tyre inflation pressures are given on this label.
Changing a bulb
NOTIC E
In some weather conditions (e.g. low temperature or humidity), misting on the internal surface of the glass of the headlamps and rear lamps is normal, and will disappear after the lamps have been on for a few minutes.
WARNI NG
The headlamps have polycarbonate lenses with a protective coating:► do not clean them with a dry or abrasive cloth, nor with detergent or solvent products,► use a sponge and soapy water or a pH neutral product,► when using a high-pressure washer on persistent marks, do not keep the lance directed towards the lamps or their edges for too long, so as not to damage their protective coating and seals.
WARNI NG
Changing a bulb must only be done with the ignition off and after the lamp has been switched off for several minutes - risk of serious burns!Do not touch the bulb directly with your fingers, use a lint-free cloth.It is essential only to use anti-ultraviolet (UV) type bulbs, so as not to damage the headlamp.Always replace a failed bulb with a new bulb of the same type and specification.
Page 196 of 272
196
Identification markings
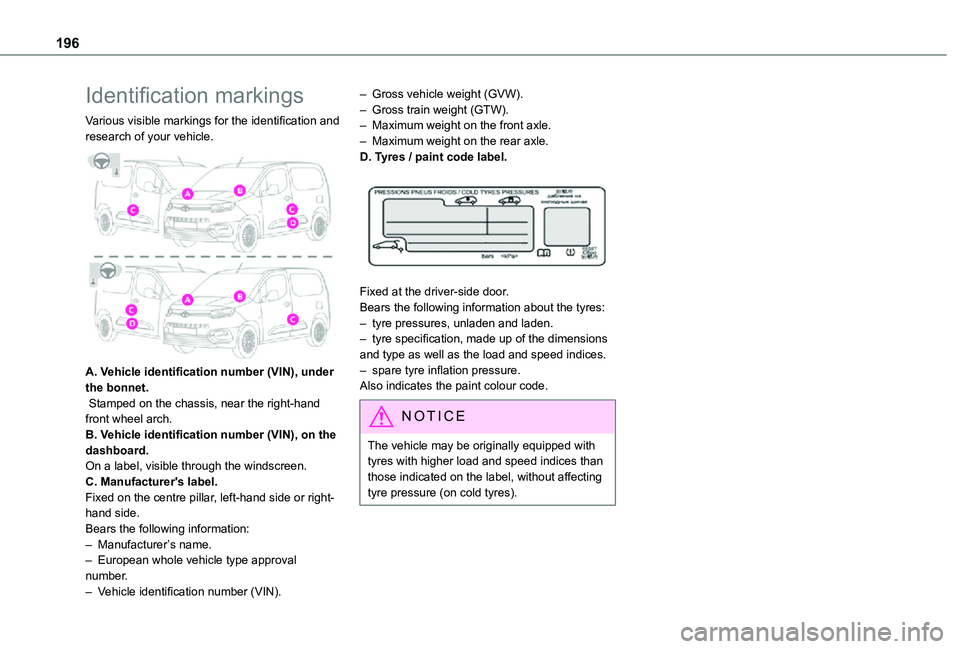
Various visible markings for the identification and research of your vehicle.
A. Vehicle identification number (VIN), under the bonnet. Stamped on the chassis, near the right-hand front wheel arch.B. Vehicle identification number (VIN), on the dashboard.On a label, visible through the windscreen.C. Manufacturer's label.Fixed on the centre pillar, left-hand side or right-hand side.Bears the following information:– Manufacturer’s name.
– European whole vehicle type approval number.– Vehicle identification number (VIN).
– Gross vehicle weight (GVW).– Gross train weight (GTW).– Maximum weight on the front axle.– Maximum weight on the rear axle.D. Tyres / paint code label.
Fixed at the driver-side door.Bears the following information about the tyres:– tyre pressures, unladen and laden.– tyre specification, made up of the dimensions and type as well as the load and speed indices.– spare tyre inflation pressure.Also indicates the paint colour code.
NOTIC E
The vehicle may be originally equipped with tyres with higher load and speed indices than those indicated on the label, without affecting tyre pressure (on cold tyres).
Page 252 of 272
252
A
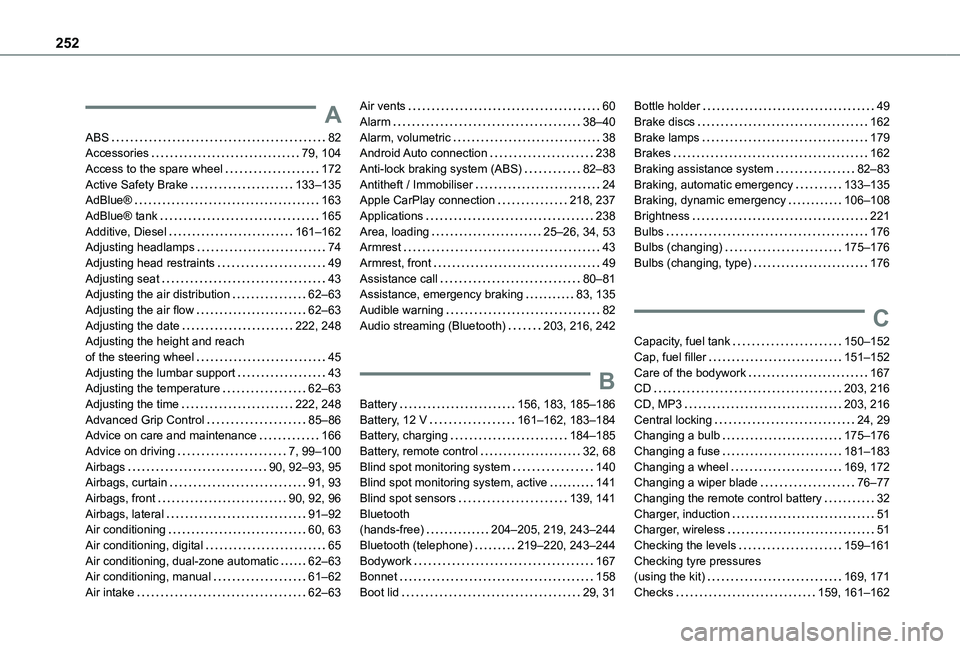
ABS 82Accessories 79, 104Access to the spare wheel 172Active Safety Brake 133–135AdBlue® 163AdBlue® tank 165Additive, Diesel 161–162Adjusting headlamps 74Adjusting head restraints 49Adjusting seat 43Adjusting the air distribution 62–63Adjusting the air flow 62–63Adjusting the date 222, 248Adjusting the height and reach of the steering wheel 45Adjusting the lumbar support 43Adjusting the temperature 62–63Adjusting the time 222, 248Advanced Grip Control 85–86Advice on care and maintenance 166
Advice on driving 7, 99–100Airbags 90, 92–93, 95Airbags, curtain 91, 93Airbags, front 90, 92, 96Airbags, lateral 91–92Air conditioning 60, 63Air conditioning, digital 65Air conditioning, dual-zone automatic 62–63Air conditioning, manual 61–62Air intake 62–63
Air vents 60Alarm 38–40Alarm, volumetric 38Android Auto connection 238Anti-lock braking system (ABS) 82–83Antitheft / Immobiliser 24Apple CarPlay connection 218, 237Applications 238Area, loading 25–26, 34, 53Armrest 43Armrest, front 49Assistance call 80–81Assistance, emergency braking 83, 135Audible warning 82Audio streaming (Bluetooth) 203, 216, 242
B
Battery 156, 183, 185–186Battery, 12 V 161–162, 183–184Battery, charging 184–185
Battery, remote control 32, 68Blind spot monitoring system 140Blind spot monitoring system, active 141Blind spot sensors 139, 141Bluetooth (hands-free) 204–205, 219, 243–244Bluetooth (telephone) 219–220, 243–244Bodywork 167Bonnet 158Boot lid 29, 31
Bottle holder 49Brake discs 162Brake lamps 179Brakes 162Braking assistance system 82–83Braking, automatic emergency 133–135Braking, dynamic emergency 106–108Brightness 221Bulbs 176Bulbs (changing) 175–176Bulbs (changing, type) 176
C
Capacity, fuel tank 150–152Cap, fuel filler 151–152Care of the bodywork 167CD 203, 216CD, MP3 203, 216Central locking 24, 29Changing a bulb 175–176
Changing a fuse 181–183Changing a wheel 169, 172Changing a wiper blade 76–77Changing the remote control battery 32Charger, induction 51Charger, wireless 51Checking the levels 159–161Checking tyre pressures (using the kit) 169, 171Checks 159, 161–162
Page 255 of 272
255
Alphabetical index
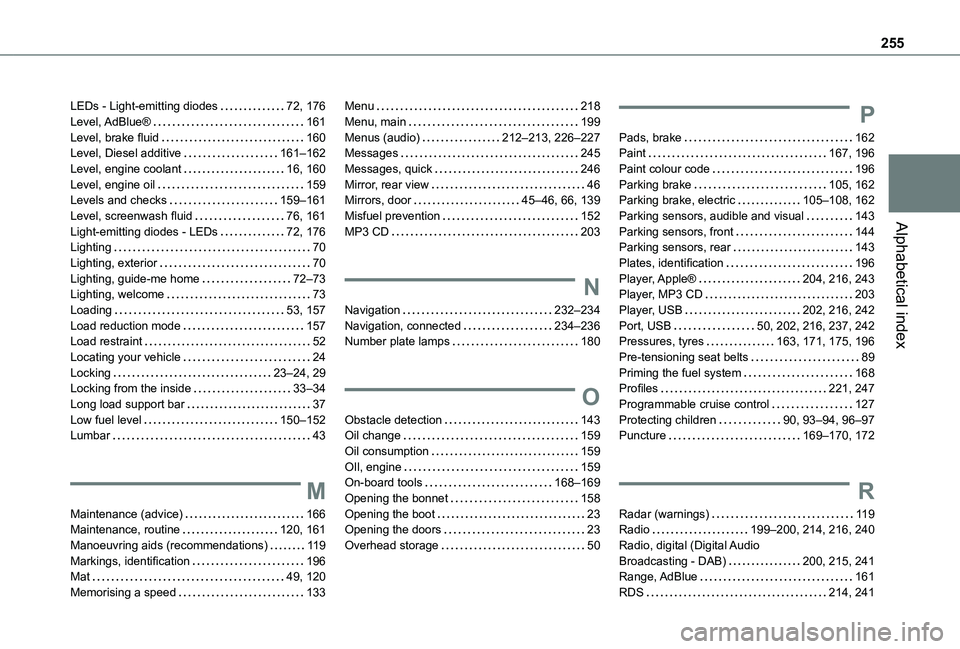
LEDs - Light-emitting diodes 72, 176Level, AdBlue® 161Level, brake fluid 160Level, Diesel additive 161–162Level, engine coolant 16, 160Level, engine oil 159Levels and checks 159–161Level, screenwash fluid 76, 161Light-emitting diodes - LEDs 72, 176Lighting 70Lighting, exterior 70Lighting, guide-me home 72–73Lighting, welcome 73Loading 53, 157Load reduction mode 157Load restraint 52Locating your vehicle 24Locking 23–24, 29Locking from the inside 33–34Long load support bar 37Low fuel level 150–152Lumbar 43
M
Maintenance (advice) 166Maintenance, routine 120, 161Manoeuvring aids (recommendations) 11 9Markings, identification 196Mat 49, 120Memorising a speed 133
Menu 218Menu, main 199Menus (audio) 212–213, 226–227Messages 245Messages, quick 246Mirror, rear view 46Mirrors, door 45–46, 66, 139Misfuel prevention 152MP3 CD 203
N
Navigation 232–234Navigation, connected 234–236Number plate lamps 180
O
Obstacle detection 143Oil change 159
Oil consumption 159OIl, engine 159On-board tools 168–169Opening the bonnet 158Opening the boot 23Opening the doors 23Overhead storage 50
P
Pads, brake 162Paint 167, 196Paint colour code 196Parking brake 105, 162Parking brake, electric 105–108, 162Parking sensors, audible and visual 143Parking sensors, front 144Parking sensors, rear 143Plates, identification 196Player, Apple® 204, 216, 243Player, MP3 CD 203Player, USB 202, 216, 242Port, USB 50, 202, 216, 237, 242Pressures, tyres 163, 171, 175, 196Pre-tensioning seat belts 89Priming the fuel system 168Profiles 221, 247Programmable cruise control 127Protecting children 90, 93–94, 96–97Puncture 169–170, 172
R
Radar (warnings) 11 9Radio 199–200, 214, 216, 240Radio, digital (Digital Audio Broadcasting - DAB) 200, 215, 241Range, AdBlue 161RDS 214, 241