2021 TOYOTA PROACE CITY fuel consumption
[x] Cancel search: fuel consumptionPage 7 of 272
7
Eco-driving
Eco-driving
Eco-driving refers to a range of everyday practices that allow the motorist to optimise their fuel consumption and CO2emissions.
Optimise your use of the gearbox
With a manual gearbox, move off gently and change up promptly. While accelerating, change up early.With an automatic gearbox, favour automatic mode and avoid pressing the accelerator pedal heavily or suddenly.The gear efficiency indicator prompts you to engage the most suitable gear: whenever this indication is displayed on the instrument panel, follow it straight away.With an automatic gearbox, this indicator appears only in manual mode.
Drive smoothly
Maintain a safe distance between vehicles, use engine braking rather than the brake pedal and press the accelerator gradually. These attitudes
help to save fuel, reduce CO2 emissions and decrease general traffic noise.If the vehicle has the steering-mounted "CRUISE" control, use cruise control at speeds above 40 km/h (25 mph) when the traffic is flowing well.
Use electrical equipment wisely
Before moving off, if the passenger compartment is too warm, ventilate it by opening the windows and air vents before using the air conditioning.At speeds above 50 km/h (31 mph), close the windows and leave the air vents open.Consider using equipment that can help keep the temperature in the passenger compartment down (sunroof blind and window blinds, etc.).Unless automatically regulated, switch off the air conditioning as soon as the desired temperature has been reached.Switch off the demisting and defrosting functions, if they are not managed automatically.Switch off the heated seat as soon as possible.Switch off the headlamps and foglamps when the visibility conditions do not require their use.Avoid running the engine before moving off, particularly in winter; your vehicle will warm up much faster while driving.As a passenger, avoid connecting your multimedia devices (film, music, video game, etc.) to help reduce consumption of electrical
energy, and hence fuel.Disconnect all portable devices before leaving the vehicle.
Limit the causes of excess consumption
Spread loads throughout the vehicle; place the heaviest items in the boot, as close as possible to the rear seats.Limit the loads carried in the vehicle and minimise wind resistance (roof bars, roof rack,
bicycle carrier, trailer, etc.). Preferably, use a roof box.Remove roof bars and roof racks after use.At the end of winter, remove snow tyres and refit summer tyres.
Comply with servicing instructions
Check tyre pressures regularly, with the tyres cold, referring to the label in the door aperture on the driver's side.Carry out this check in particular:– before a long journey.– at each change of season.– after a long period out of use.Do not overlook the spare wheel and, where applicable, the tyres on your trailer or caravan.Have your vehicle serviced regularly (engine oil, oil filter, air filter, passenger compartment filter, etc.) and observe the schedule of operations in the manufacturer's service schedule.With a Diesel engine, if the SCR system is faulty, your vehicle will emit pollution. Visit a TOYOTA dealer or a qualified workshop as soon as
possible to restore your vehicle’s nitrogen oxide emissions to regulatory compliance.When filling the fuel tank, do not continue after the third nozzle cut-out, to avoid overflow.You will only see the fuel consumption of your new vehicle settle down to a consistent average after the first 3,000 kilometres (1,900 miles).
Page 8 of 272
8
Eco mode
This mode optimises the heating and air conditioning functions to reduce fuel consumption.
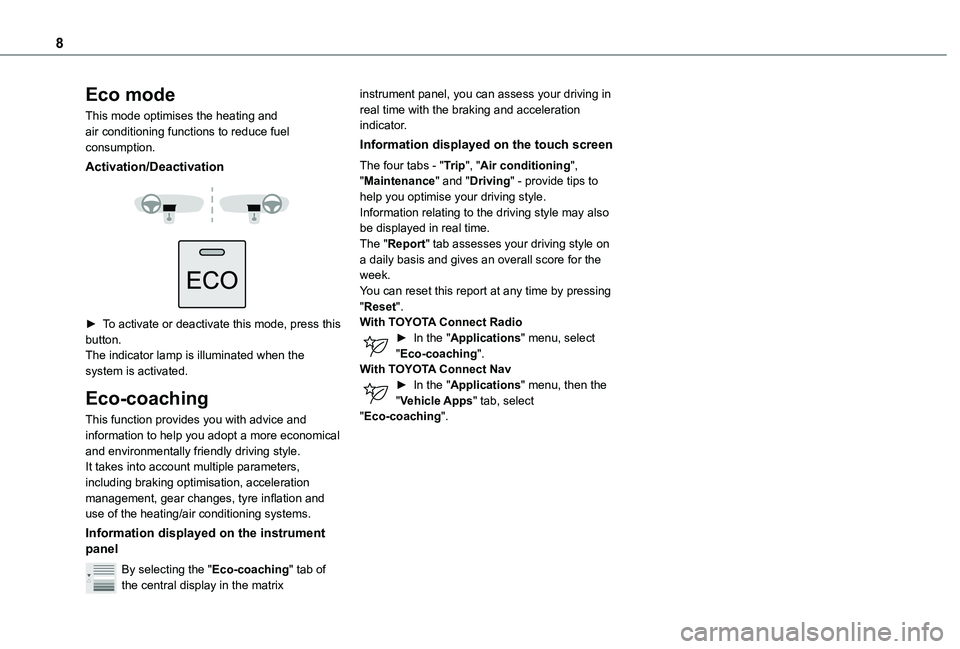
Activation/Deactivation
► To activate or deactivate this mode, press this button.The indicator lamp is illuminated when the system is activated.
Eco-coaching
This function provides you with advice and information to help you adopt a more economical and environmentally friendly driving style.It takes into account multiple parameters, including braking optimisation, acceleration management, gear changes, tyre inflation and use of the heating/air conditioning systems.
Information displayed on the instrument panel
By selecting the "Eco-coaching" tab of the central display in the matrix
instrument panel, you can assess your driving in real time with the braking and acceleration indicator.
Information displayed on the touch screen
The four tabs - "Trip", "Air conditioning", "Maintenance" and "Driving" - provide tips to help you optimise your driving style.Information relating to the driving style may also be displayed in real time.The "Report" tab assesses your driving style on a daily basis and gives an overall score for the week.You can reset this report at any time by pressing "Reset".With TOYOTA Connect Radio► In the "Applications" menu, select "Eco-coaching".With TOYOTA Connect Nav► In the "Applications" menu, then the "Vehicle Apps" tab, select "Eco-coaching".
Page 16 of 272
16
Hill Assist Descent ControlFixed.The system has been activated, but the conditions for regulation are not met (gradient, speed too high, gear engaged).Flashing indicator.The function is starting regulation.The vehicle is being braked; the brake lamps come on during the descent.
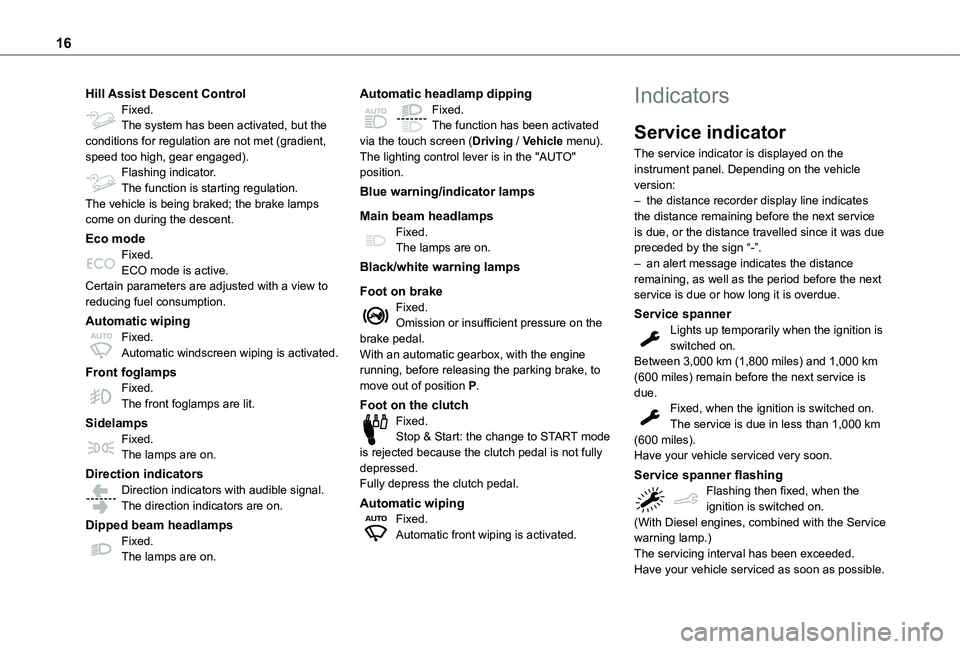
Eco modeFixed.ECO mode is active.Certain parameters are adjusted with a view to reducing fuel consumption.
Automatic wipingFixed.Automatic windscreen wiping is activated.
Front foglampsFixed.The front foglamps are lit.
SidelampsFixed.
The lamps are on.
Direction indicatorsDirection indicators with audible signal.The direction indicators are on.
Dipped beam headlampsFixed.The lamps are on.
Automatic headlamp dippingFixed.The function has been activated via the touch screen (Driving / Vehicle menu).The lighting control lever is in the "AUTO" position.
Blue warning/indicator lamps
Main beam headlampsFixed.The lamps are on.
Black/white warning lamps
Foot on brakeFixed.Omission or insufficient pressure on the brake pedal.With an automatic gearbox, with the engine running, before releasing the parking brake, to move out of position P.
Foot on the clutchFixed.Stop & Start: the change to START mode
is rejected because the clutch pedal is not fully depressed.Fully depress the clutch pedal.
Automatic wipingFixed.Automatic front wiping is activated.
Indicators
Service indicator
The service indicator is displayed on the instrument panel. Depending on the vehicle version:– the distance recorder display line indicates the distance remaining before the next service is due, or the distance travelled since it was due preceded by the sign “-”.– an alert message indicates the distance remaining, as well as the period before the next service is due or how long it is overdue.
Service spannerLights up temporarily when the ignition is switched on.Between 3,000 km (1,800 miles) and 1,000 km (600 miles) remain before the next service is due.Fixed, when the ignition is switched on.The service is due in less than 1,000 km (600 miles).
Have your vehicle serviced very soon.
Service spanner flashingFlashing then fixed, when the ignition is switched on.(With Diesel engines, combined with the Service warning lamp.)The servicing interval has been exceeded.Have your vehicle serviced as soon as possible.
Page 21 of 272
21
Instruments
1
Touch screen lighting
dimmer
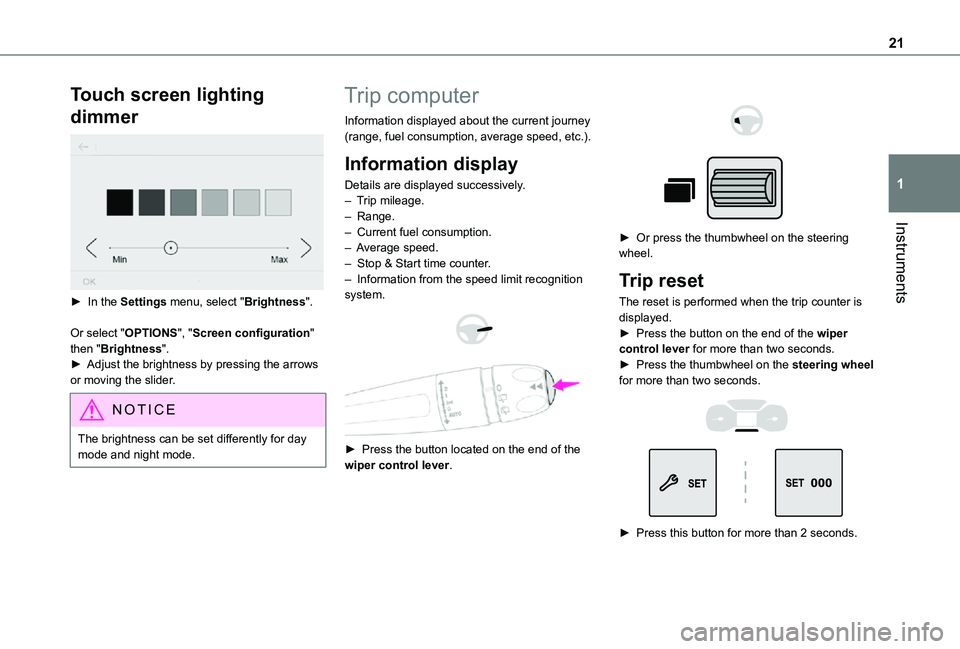
► In the Settings menu, select "Brightness".
Or select "OPTIONS", "Screen configuration" then "Brightness".► Adjust the brightness by pressing the arrows or moving the slider.
NOTIC E
The brightness can be set differently for day mode and night mode.
Trip computer
Information displayed about the current journey (range, fuel consumption, average speed, etc.).
Information display
Details are displayed successively.– Trip mileage.– Range.– Current fuel consumption.– Average speed.– Stop & Start time counter.– Information from the speed limit recognition system.
► Press the button located on the end of the wiper control lever.
► Or press the thumbwheel on the steering wheel.
Trip reset
The reset is performed when the trip counter is displayed.► Press the button on the end of the wiper control lever for more than two seconds.► Press the thumbwheel on the steering wheel for more than two seconds.
► Press this button for more than 2 seconds.
Page 22 of 272
22
A few definitions…
Range
(km or miles)Distance that can still be travelled with the fuel remaining in the tank (based on the average fuel consumption over the last few miles (kilometres) travelled).
NOTIC E
This value may vary following a change in the driving style or terrain, resulting in a significant change in the spot fuel consumption.
When the range falls below 30 km (19 miles), dashes are displayed.After filling with at least 5 litres of fuel, the range is recalculated and is displayed if it exceeds 100 km (62 miles).
WARNI NG
If dashes instead of figures continue to be displayed when driving, contact a TOYOTA dealer or a qualified workshop.
Spot fuel consumption
(mpg or l/100 km or km/l)Calculated during the last few seconds.
NOTIC E
This function is only displayed at speeds above 30 km/h (19 mph).
Average fuel consumption
(mpg or l/100 km or km/l)Calculated since the last trip computer reset.
Average speed
(km/h or mph)Calculated since the last trip computer reset.
Distance travelled
(km or miles)Calculated since the last trip computer reset.
Stop & Start time counter
(minutes/seconds or hours/minutes)
If your vehicle is fitted with Stop & Start, a time counter calculates the time spent in STOP mode during a journey.It resets to zero every time the ignition is switched on.
Setting the date and time
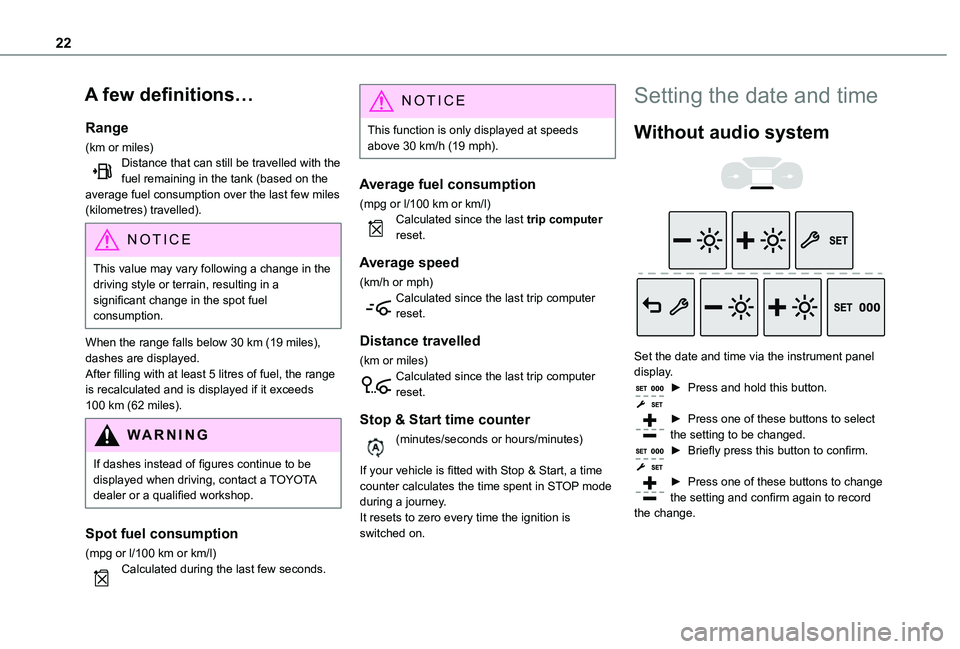
Without audio system
Set the date and time via the instrument panel display.► Press and hold this button.
► Press one of these buttons to select the setting to be changed.► Briefly press this button to confirm.
► Press one of these buttons to change the setting and confirm again to record the change.
Page 44 of 272
44
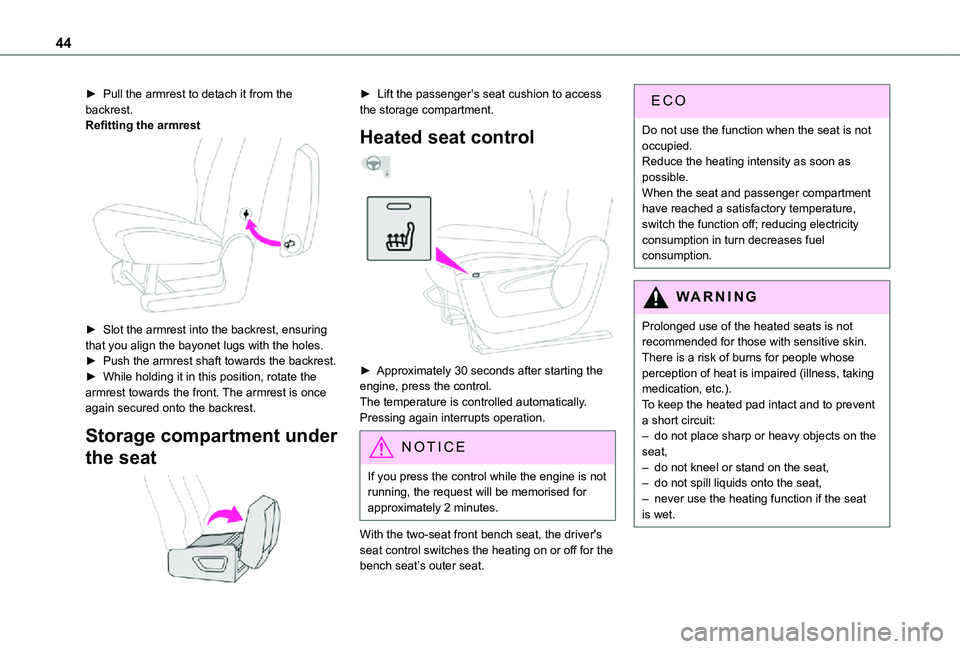
► Pull the armrest to detach it from the backrest.Refitting the armrest
► Slot the armrest into the backrest, ensuring that you align the bayonet lugs with the holes.► Push the armrest shaft towards the backrest.► While holding it in this position, rotate the armrest towards the front. The armrest is once again secured onto the backrest.
Storage compartment under
the seat
► Lift the passenger’s seat cushion to access the storage compartment.
Heated seat control
► Approximately 30 seconds after starting the engine, press the control.The temperature is controlled automatically.Pressing again interrupts operation.
NOTIC E
If you press the control while the engine is not running, the request will be memorised for approximately 2 minutes.
With the two-seat front bench seat, the driver's
seat control switches the heating on or off for the bench seat’s outer seat.
ECO
Do not use the function when the seat is not occupied.Reduce the heating intensity as soon as possible.When the seat and passenger compartment have reached a satisfactory temperature, switch the function off; reducing electricity consumption in turn decreases fuel consumption.
WARNI NG
Prolonged use of the heated seats is not recommended for those with sensitive skin.There is a risk of burns for people whose perception of heat is impaired (illness, taking medication, etc.).To keep the heated pad intact and to prevent a short circuit:– do not place sharp or heavy objects on the
seat,– do not kneel or stand on the seat,– do not spill liquids onto the seat,– never use the heating function if the seat is wet.
Page 66 of 272
66
Rear screen and/or
door mirrors demisting
- defrosting
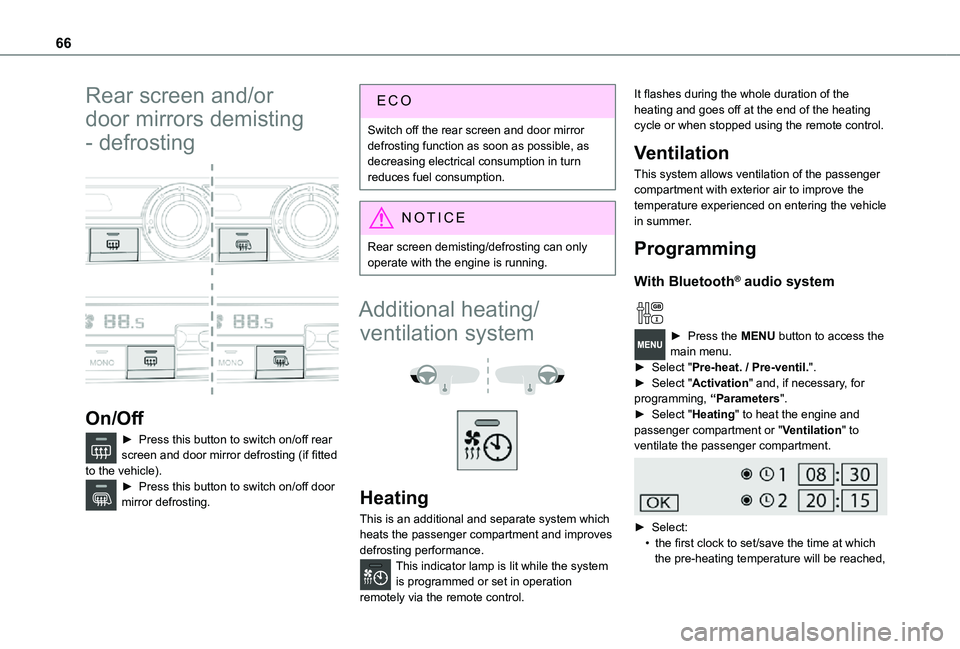
On/Off
► Press this button to switch on/off rear screen and door mirror defrosting (if fitted to the vehicle).► Press this button to switch on/off door mirror defrosting.
Switch off the rear screen and door mirror defrosting function as soon as possible, as decreasing electrical consumption in turn reduces fuel consumption.
NOTIC E
Rear screen demisting/defrosting can only operate with the engine is running.
Additional heating/
ventilation system
Heating
This is an additional and separate system which heats the passenger compartment and improves defrosting performance.This indicator lamp is lit while the system is programmed or set in operation
remotely via the remote control.
It flashes during the whole duration of the heating and goes off at the end of the heating cycle or when stopped using the remote control.
Ventilation
This system allows ventilation of the passenger compartment with exterior air to improve the temperature experienced on entering the vehicle in summer.
Programming
With Bluetooth® audio system
► Press the MENU button to access the main menu. ► Select "Pre-heat. / Pre-ventil.".► Select "Activation" and, if necessary, for programming, “Parameters".► Select "Heating" to heat the engine and passenger compartment or "Ventilation" to
ventilate the passenger compartment.
► Select:• the first clock to set/save the time at which the pre-heating temperature will be reached,
Page 113 of 272
11 3
Driving
6
Invalid value during manual
operation
This symbol is displayed if a gear is not engaged correctly (gear selector between two positions).► Place the selector "correctly" at a position.
Stopping the vehicle
Before switching off the engine, select position P then apply the parking brake to immobilise the vehicle.
NOTIC E
A point of resistance may be noticed when moving to position P.If the selector is not in position P when the driver's door is opened or approximately 45 seconds after the ignition is switched off, an audible signal sounds and a message appears.► Return the gear selector to position P; the audible signal stops and the message disappears.
WARNI NG
On a steep slope with a loaded vehicle, press the brake pedal, select position P, apply the parking brake then release the brake pedal.
WARNI NG
In all circumstances, ensure that the selector
is in position P before leaving your vehicle.
Operating fault
When the ignition is on, a message appears in the instrument panel screen to indicate a gearbox fault.In this case, the gearbox switches to back-up mode and is locked in 3rd gear. You may feel a substantial knock when changing from P to R and from N to R. This will not cause any damage to the gearbox.Do not exceed 100 km/h (60 mph), local speed restrictions permitting.Have it checked by a TOYOTA dealer or a qualified workshop.
WARNI NG
There is a risk of damage to the gearbox:– if you press the accelerator and brake pedals at the same time (braking or acceleration must be done only with the right foot),– if you force the selector from position P to another position when the battery is flat.
EC O
To reduce fuel consumption when stationary for long periods with the engine running (traffic jam, etc.), position the selector on N and apply the parking brake.
WARNI NG
If your vehicle has an automatic gearbox, do not try to start the engine by pushing the vehicle.