2021 PEUGEOT EXPERT Touch screen
[x] Cancel search: Touch screenPage 176 of 324

174
Driving
Malfunction
In the event of a malfunction when
changing into reverse gear, this warning
lamp lights up on the instrument panel,
accompanied by the display of a message and
an audible signal (short beep).
Have it checked by a PEUGEOT dealer or a
qualified workshop.
Visiopark 1
Refer to the General recommendations
on the use of driving and
manoeuvring aids.
As soon as reverse gear is engaged with the
engine running, this system displays views of
your vehicle’s close surroundings on the touch
screen using a camera located at the rear of the
vehicle.
The screen is divided into two parts with a
contextual view and a view from above the
vehicle in its close surroundings.
The parking sensors supplement the information
on the view from above the vehicle.
Various contextual views may be displayed:
–
Standard view
.
–
180° view
.
–
Zoom view
.
AUTO mode is activated by default.
In this mode, the system chooses the best view
to display
(standard or zoom).
You can change the type of view at any time
during a manoeuvre.
The system status is not saved when the ignition
is switched off.
Principle of operation
Using the rear camera, the vehicle's close
surroundings are recorded during manoeuvres
at low speed.
An image from above your vehicle in its close
surroundings is reconstructed (represented
between the brackets) in real time and as the
manoeuvre progresses.
It facilitates the alignment of your vehicle when
parking and allows obstacles close to the vehicle
to be seen. It is automatically deleted if the
vehicle remains stationary for too long.
The display disappears above approximately 6 mph (10 km/h).
The system is automatically deactivated
about 7 seconds after coming out of reverse
or on opening a door or the boot.
Activation
Activation is automatic on engaging reverse gear
at a speed lower than 6 mph (10 km/h).
Page 177 of 324

175
Driving
6
You can choose the display mode at any time by
pressing this area.
When the sub-menu is displayed, select one of
the four views:
"Standard view".
"180° view".
"Zoom view".
"AUTO mode".
The function will be deactivated:– If a trailer is attached or a bicycle
carrier is fitted on a towing device (vehicle
fitted with a towing device installed in line with
the manufacturer's recommendations).
–
Above about 6
mph (10 km/h).
–
When the boot is opened.
–
Upon changing out of reverse gear (the
image remains displayed for 7
seconds).
–
By pressing the white arrow in the upper-
left corner of the touch screen.
AUTO mode
This mode is activated by default.
Using sensors in the rear bumper, the automatic
view changes from the rear view (standard) to
the view from above (zoom) as an obstacle is
approached at the level of the red line (less than
30
cm) during a manoeuvre.
Standard view
The area behind the vehicle is displayed on the
screen. The blue lines
1 represent the width of your
vehicle, with the mirrors unfolded; their direction
changes according to the position of the steering
wheel.
The red line 2 represents a distance of 30 cm
from the rear bumper; the two blue lines 3 and 4
represent 1 m and 2 m, respectively.
This view is available with AUTO mode or in the
view selection menu.
Zoom view
The camera records the vehicle's surroundings
during the manoeuvre in order to create a
view from above the rear of the vehicle in its
near surroundings, allowing the vehicle to be
manoeuvred around nearby obstacles.
This view is available with AUTO mode or in the
view selection menu.
Page 188 of 324

186
Practical information
For domestic or accelerated charging
Before charging
Depending on the context:
► Have a professional check that the
electrical system to be used complies with
applicable standards and is compatible with
the vehicle.
► Have a professional electrician install
a dedicated domestic power socket or
accelerated charging unit (Wallbox)
compatible with the vehicle.
You should preferably use the charging cable
available as an accessory.
For more information, contact a PEUGEOT
dealer or a qualified workshop.
(During charging)
While charging is in progress, unlocking
the vehicle will cause the charging to stop.
If no action is taken on one of the openings
(door or boot) or on the charging nozzle, the
vehicle will lock again after 30 seconds and
charging will resume automatically.
Never work under the bonnet:
– Some areas remain very hot, even an hour
after charging ends - risk of burns!
– The fan may start at any time - risk of cuts
or strangulation!
After charging
Check that the charging flap is closed.
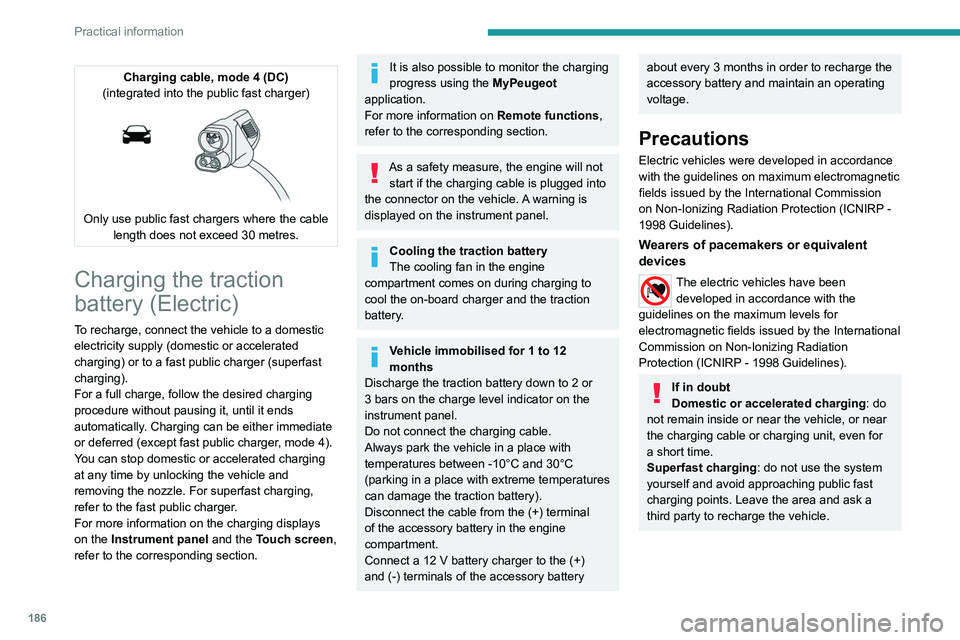
Charging cable, mode 4 (DC)
(integrated into the public fast charger)
Only use public fast chargers where the cable length does not exceed 30 metres.
Charging the traction
battery (Electric)
To recharge, connect the vehicle to a domestic
electricity supply (domestic or accelerated
charging) or to a fast public charger (superfast
charging).
For a full charge, follow the desired charging
procedure without pausing it, until it ends
automatically. Charging can be either immediate
or deferred (except fast public charger, mode 4).
You can stop domestic or accelerated charging
at any time by unlocking the vehicle and
removing the nozzle. For superfast charging,
refer to the fast public charger.
For more information on the charging displays
on the Instrument panel and the Touch screen,
refer to the corresponding section.
It is also possible to monitor the charging
progress using the MyPeugeot
application.
For more information on Remote functions,
refer to the corresponding section.
As a safety measure, the engine will not start if the charging cable is plugged into
the connector on the vehicle. A warning is
displayed on the instrument panel.
Cooling the traction battery
The cooling fan in the engine
compartment comes on during charging to
cool the on-board charger and the traction
battery.
Vehicle immobilised for 1 to 12
months
Discharge the traction battery down to 2 or
3 bars on the charge level indicator on the
instrument panel.
Do not connect the charging cable.
Always park the vehicle in a place with
temperatures between -10°C and 30°C
(parking in a place with extreme temperatures
can damage the traction battery).
Disconnect the cable from the (+) terminal
of the accessory battery in the engine
compartment.
Connect a 12 V battery charger to the (+)
and (-) terminals of the accessory battery
about every 3 months in order to recharge the
accessory battery and maintain an operating
voltage.
Precautions
Electric vehicles were developed in accordance
with the guidelines on maximum electromagnetic
fields issued by the International Commission
on Non-Ionizing Radiation Protection
(ICNIRP -
1998 Guidelines).
Wearers of pacemakers or equivalent
devices
The electric vehicles have been developed in accordance with the
guidelines on the maximum levels for
electromagnetic fields issued by the International
Commission on Non-Ionizing Radiation
Protection (ICNIRP - 1998 Guidelines).
If in doubt
Domestic or accelerated charging: do
not remain inside or near the vehicle, or near
the charging cable or charging unit, even for
a short time.
Superfast charging: do not use the system
yourself and avoid approaching public fast
charging points. Leave the area and ask a
third party to recharge the vehicle.
Page 190 of 324

188
Practical information
the driver's door will display the charge level
on the instrument panel for about 20 seconds.
Accelerated charging, mode 3
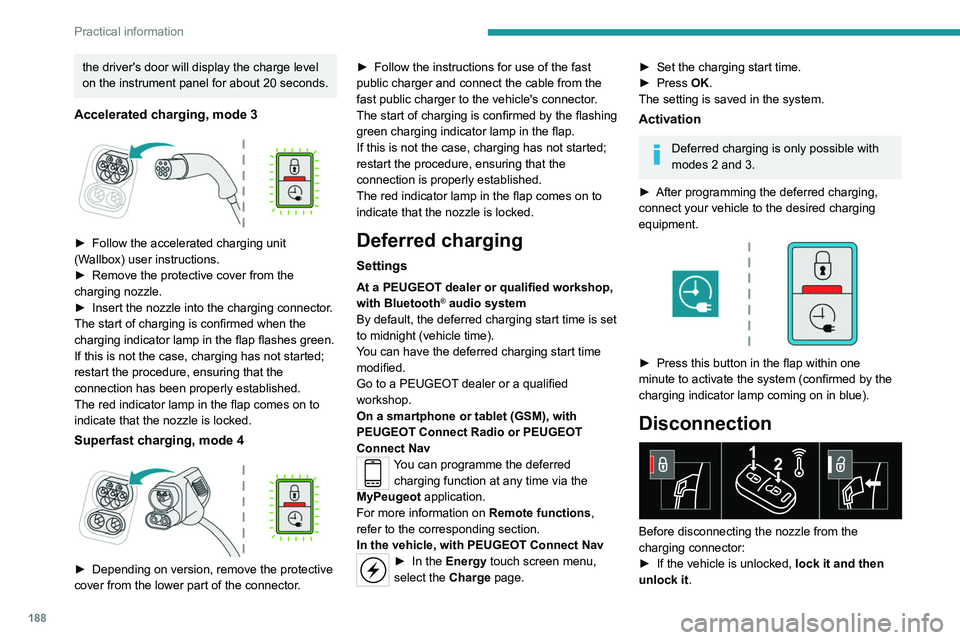
► Follow the accelerated charging unit
(W allbox) user instructions.
►
Remove the protective cover from the
charging nozzle.
►
Insert the nozzle into the charging connector
.
The start of charging is confirmed when the
charging indicator lamp in the flap flashes green.
If this is not the case, charging has not started;
restart the procedure, ensuring that the
connection has been properly established.
The red indicator lamp in the flap comes on to
indicate that the nozzle is locked.
Superfast charging, mode 4
► Depending on version, remove the protective
cover from the lower part of the connector .►
Follow the instructions for use of the fast
public charger and connect the cable from the
fast public charger
to the vehicle's connector.
The start of charging is confirmed by the flashing
green charging indicator lamp in the flap.
If this is not the case, charging has not started;
restart the procedure, ensuring that the
connection is properly established.
The red indicator lamp in the flap comes on to
indicate that the nozzle is locked.
Deferred charging
Settings
At a PEUGEOT dealer or qualified workshop,
with Bluetooth® audio system
By default, the deferred charging start time is set
to midnight (vehicle time).
You can have the deferred charging start time
modified.
Go to a PEUGEOT dealer or a qualified
workshop.
On a smartphone or tablet (GSM), with
PEUGEOT Connect Radio or PEUGEOT
Connect Nav
You can programme the deferred charging function at any time via the
MyPeugeot application.
For more information on Remote functions,
refer to the corresponding section.
In the vehicle, with PEUGEOT Connect Nav
► In the Energy touch screen menu,
select the Charge page.
► Set the charging start time.
► Press OK.
The setting is saved in the system.
Activation
Deferred charging is only possible with
modes 2 and 3.
►
After programming the deferred charging,
connect your vehicle to the desired charging
equipment.
► Press this button in the flap within one
minute to activate the system (confirmed by the
charging indicator lamp coming on in blue).
Disconnection
Before disconnecting the nozzle from the
charging connector:
►
If the vehicle is unlocked, lock it and then
unlock it .
Page 220 of 324

218
In the event of a breakdown
Fuse N° Rating(Amps) Functions
F5 5 Touch screen, reversing
camera and parking
sensors.
F8 20 Single or double rear
wipers.
F10/ F 11 30
Internal/external locks,
front and rear.
F12 3 Alarm.
F17 10 Rear 12 V accessory
socket.
F33 15 Front 12 V accessory
socket.
F36 20 Audio system, touch
screen, CD player,
navigation.
Engine compartment fuses
The fusebox is placed in the engine
compartment near the battery.
Good
Faulty
Tweezers
Installing electrical accessories
The vehicle's electrical system is
designed to operate with standard or optional
equipment.
Before fitting other electrical equipment
or accessories to your vehicle, contact a
PEUGEOT dealer or a qualified workshop.
PEUGEOT accepts no responsibility for
the cost incurred in repairing the vehicle
or for rectifying malfunctions resulting from
the installation of accessories not supplied or
not recommended by PEUGEOT and not
installed in accordance with its
recommendations, in particular when the
combined power consumption of all of the
additional equipment connected exceeds 10
milliamperes.
For more information on installing a
towbar or TAXI type equipment, contact a
PEUGEOT dealer.
Version 1 (Eco)
The fuses described below vary according to the
equipment in your vehicle.
Fuse N° Rating (Amps) Functions
F4 15 Horn.
F5 20 Front/rear screenwash
pump.
F6 20 Front/rear screenwash
pump.
F7 10 Rear 12
V accessory
socket.
F8 20 Single or double rear
wipers.
Fuse N° Rating
(Amps) Functions
F10/ F 11 30
Internal/external locks,
front and rear.
F14 5 Alarm, emergency and
assistance calls.
F24 5 Touch screen, reversing
camera and parking
sensors.
F29 20 Audio system, touch
screen, CD player,
navigation.
F32 15 Front 12
V accessory
socket.
Version 2 (Full)
The fuses described below vary according to the
equipment in your vehicle.
Page 221 of 324

219
In the event of a breakdown
8Fuse N° Rating(Amps) Functions
F5 5 Touch screen, reversing
camera and parking
sensors.
F8 20 Single or double rear
wipers.
F10/ F 11 30
Internal/external locks,
front and rear.
F12 3 Alarm.
F17 10 Rear 12
V accessory
socket.
F33 15 Front 12
V accessory
socket.
F36 20 Audio system, touch
screen, CD player,
navigation.
Engine compartment fuses
The fusebox is placed in the engine
compartment near the battery.
Accessing the fuses
► Release the two latches A.
► Remove the cover .
►
Replace the fuse.
►
When you have finished, close the cover
carefully
, then engage the two latches A
to
ensure that the fusebox is properly sealed.
The fuses described below vary according to the equipment in your vehicle.
Fuse N° Rating (Amps) Functions
F14 25 Front and rear
screenwash pump.
F19 30 Windscreen wiper motor.
F20 15 Front and rear
screenwash pump.
F22 15 Horn.
Fuse N° Rating
(Amps) Functions
F23 15 Right-hand main beam
headlamp.
F24 15 Left-hand main beam
headlamp.
12 V battery / Accessory
battery
Procedure for starting the engine using another
battery or for charging a discharged battery.
Lead-acid starter batteries
Batteries contain harmful substances
such as sulphuric acid and lead.
They must be disposed of in accordance
with regulations and must not, in any
circumstances, be discarded with household
waste.
Take used remote control batteries and
vehicle batteries to a special collection point.
Protect your eyes and face before
handling the battery.
All operations on the battery must be carried
out in a well ventilated area and away from
naked flames and sources of sparks, so as to
avoid the risk of explosion or fire.
Wash your hands afterwards.
Page 251 of 324

249
PEUGEOT Connect Radio
11PEUGEOT Connect
Radio
Multimedia audio system -
Applications - Bluetooth
®
telephone
The functions and settings described
vary according to the vehicle version and
configuration, as well as the country of sale.
For safety reasons and because they
require sustained attention by the driver,
the following operations must be carried out
with the vehicle stationary and the ignition
on:
–
Pairing the smartphone with the system via
Bluetooth.
–
Using the smartphone.
– Connecting to the CarPlay® or Android
Auto applications (certain applications stop
displaying when the vehicle is moving).
–
Changing the system settings and
configuration.
The system is protected so that it only operates in the vehicle.
The message Energy economy mode is
displayed when the system is about to go into
standby.
The system’s Open Source Software (OSS) source codes are available at the
following addresses:
https://www.groupe-psa.com/fr/oss/
https://www.groupe-psa.com/en/oss/
First steps
With the engine running, a press mutes
the sound.
With the ignition off, a press turns the system on.
Increase or decrease the volume using
the wheel or the "plus" or "minus" buttons
(depending on the equipment).
Use the buttons on either side of or below the
touch screen to access the menus, then press
the virtual buttons on the touch screen.
Depending on the model, use the "Source" and
"Menu" buttons on the left of the touch screen to
access the menus, then press the virtual buttons
on the touch screen.
At all times it is possible to display the rolling
menus by pressing the screen briefly with three
fingers.
All touch-sensitive areas on the screen are
white.
On pages with multiple tabs at the bottom of the
screen, you can switch between pages either
by tapping the tab for the desired page or by
swiping the pages to the left or right with your
finger.
Press in the shaded area to go back up a level
or confirm.
Press the back arrow to go back a level or
confirm.
The touch screen is of the "capacitive" type.
To clean the screen, use a soft, non-abrasive
cloth (e.g. spectacles cloth) with no additional
product.
Do not use sharp objects on the screen.
Do not touch the screen with wet hands.
Certain information is displayed permanently in
the upper bar of the touch screen:
–
Air conditioning status information (depending
on version), and direct access to the
corresponding menu.
–
Radio Media and
Telephone menu status
information.
–
Privacy status information.
Page 252 of 324

250
PEUGEOT Connect Radio
Telephone (long press): reject an incoming call,
end call; when no call is in progress, access
telephone menu.
Radio (rotate): automatic search for the
previous/next station.
Media (rotate): previous/next track, move in a
list.
Short press: confirm a selection; if nothing
selected, access to presets.
Radio: display the list of stations.
Media: display the list of tracks.
Radio (press and hold): update the list of
stations received.
Menus
Applications
Access configurable equipment.
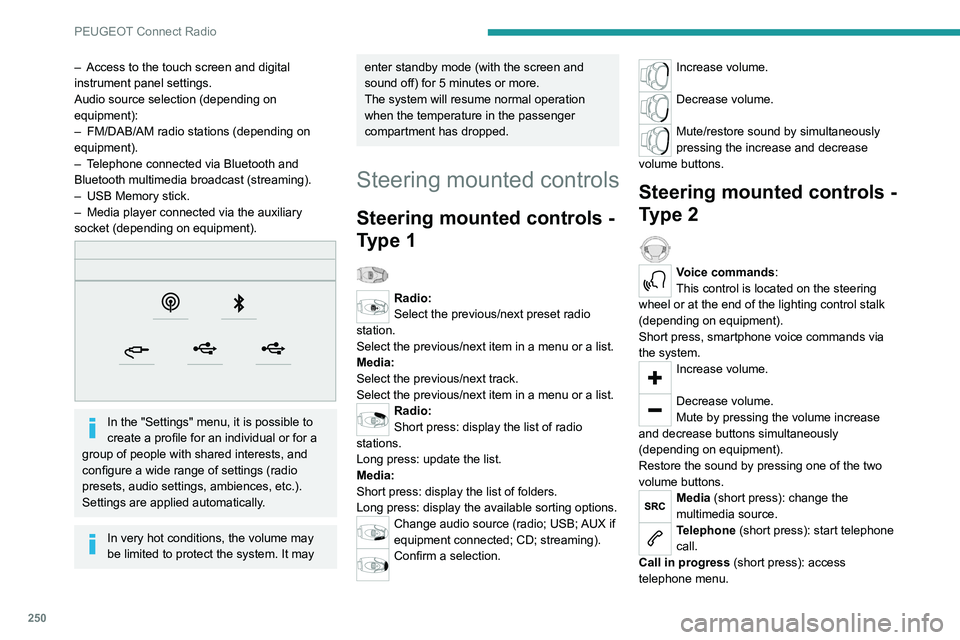
– Access to the touch screen and digital
instrument panel settings.
Audio source selection (depending on
equipment):
–
FM/DAB/AM radio stations (depending on
equipment).
–
T
elephone connected via Bluetooth and
Bluetooth multimedia broadcast (streaming).
–
USB Memory stick.
–
Media player connected via the auxiliary
socket (depending on equipment).
In the "Settings" menu, it is possible to
create a profile for an individual or for a
group of people with shared interests, and
configure a wide range of settings (radio
presets, audio settings, ambiences, etc.).
Settings are applied automatically.
In very hot conditions, the volume may
be limited to protect the system. It may
enter standby mode (with the screen and
sound off) for 5 minutes or more.
The system will resume normal operation
when the temperature in the passenger
compartment has dropped.
Steering mounted controls
Steering mounted controls -
Type 1
Radio:
Select the previous/next preset radio
station.
Select the previous/next item in a menu or a list.
Media:
Select the previous/next track.
Select the previous/next item in a menu or a list.
Radio:
Short press: display the list of radio
stations.
Long press: update the list.
Media:
Short press: display the list of folders.
Long press: display the available sorting options.
Change audio source (radio; USB; AUX if
equipment connected; CD; streaming).
Confirm a selection.
Increase volume.
Decrease volume.
Mute/restore sound by simultaneously
pressing the increase and decrease
volume buttons.
Steering mounted controls -
Type 2
Voice commands:
This control is located on the steering
wheel or at the end of the lighting control stalk
(depending on equipment).
Short press, smartphone voice commands via
the system.
Increase volume.
Decrease volume.
Mute by pressing the volume increase
and decrease buttons simultaneously
(depending on equipment).
Restore the sound by pressing one of the two
volume buttons.
Media (short press): change the
multimedia source.
Telephone (short press): start telephone
call.
Call in progress (short press): access
telephone menu.