2021 PEUGEOT BOXER stop start
[x] Cancel search: stop startPage 80 of 212

78
Driving
Operation
With the brake pedal and clutch pedal pressed,
from the time you release the brake pedal,
without using the parking brake, you have
approximately 2 seconds to move off before the
vehicle starts to roll back.
During the moving off phase, the function is
deactivated automatically, gradually releasing
the braking pressure. During this phase, you
may hear the typical mechanical brake release
noise, signalling the imminent movement of the
vehicle.
Do not leave the vehicle while it is being
held temporarily by hill start assist.
If you need to get out of the vehicle with
the engine running, apply the parking brake
manually then ensure that the parking brake
indicator lamp is on. Hill start assist is deactivated in the following
situations:
–
when the clutch pedal is released,
–
when the parking brake is applied,
–
when the engine is switched off,
–
if the engine stalls.
Malfunction
In the event of a malfunction, this warning
lamp lights up on the instrument panel,
accompanied by the display of a message and
an audible signal.
Have it checked by a PEUGEOT dealer or a
qualified workshop.
Tyre under-inflation detection
System which automatically checks the
pressures of the tyres while driving.
The system continuously monitors the pressures
of the four tyres, as soon as the vehicle is
moving.
A pressure sensor is located in the valve of each
tyre (except the spare wheel).
The system triggers an alert as soon as it
detects a drop in the inflation pressure of one or
more tyres.
The under-inflation detection system
does not replace the need for vigilance
on the part of the driver.
This system does not avoid the need to
regularly check the tyre pressures (including
the spare wheel) as well as before a long
journey.
Driving with under-inflated tyres, particularly
in adverse conditions (heavy load, high
speed, long journey):
–
worsens road-holding,
–
lengthens braking distances,
–
causes premature wear of the tyres,
–
increases energy consumption.
The inflation pressures defined for the vehicle can be found on the tyre pressure
label.
Tyre pressures should be checked when the
tyres are "cold" (vehicle stopped for 1 hour or
after a journey of less than 6 miles (10 km) at
moderate speeds). Otherwise, add 0.3 bar to
the pressures shown on the label.
For more information on Identification
markings, including the tyre pressure label,
refer to the corresponding section.
The tyre pressure measurement unit can be configured via the MODE button: in the
"Tyre pressure" menu, select "psi/bar/kPa".
For more information on Vehicle configuration
(MODE), refer to the corresponding section.
Page 89 of 212
87
Driving
6a qualified workshop for any replacement and
calibration of the camera.
Operation
The system starts automatically when moving
off.
A check of the operating conditions takes place: these two indicator
lamps come on in the instrument panel.
When these conditions are met, these two
indicator lamps go off. The system is activated.
If the operating conditions are not met, the
system is activated but is no longer effective.
This is signalled by the fixed illumination of these
two warning lamps in the instrument panel.
Operating conditions
Once engaged, the system is active only when
these operating conditions are met:
–
The vehicle is moving forwards.
–
No malfunction of the vehicle is detected.
–
The speed of the vehicle is equal to or greater
than approximately 37 mph (60 km/h).
–
The longitudinal marking of the traffic lanes is
clearly visible.
–
The visibility conditions are clear
.
–
The trajectory is in a straight line (or in the
case of bends, they are wide).
–
The field of vision is sufficiently clear (the
safety distance with the vehicle ahead is
respected). –
In the event of a lane departure, the direction
indicator corresponding to the direction (right or
left) of the departure has not been operated.
–
The trajectory of the vehicle is consistent with
the road layout.
Deactivation / Reactivation
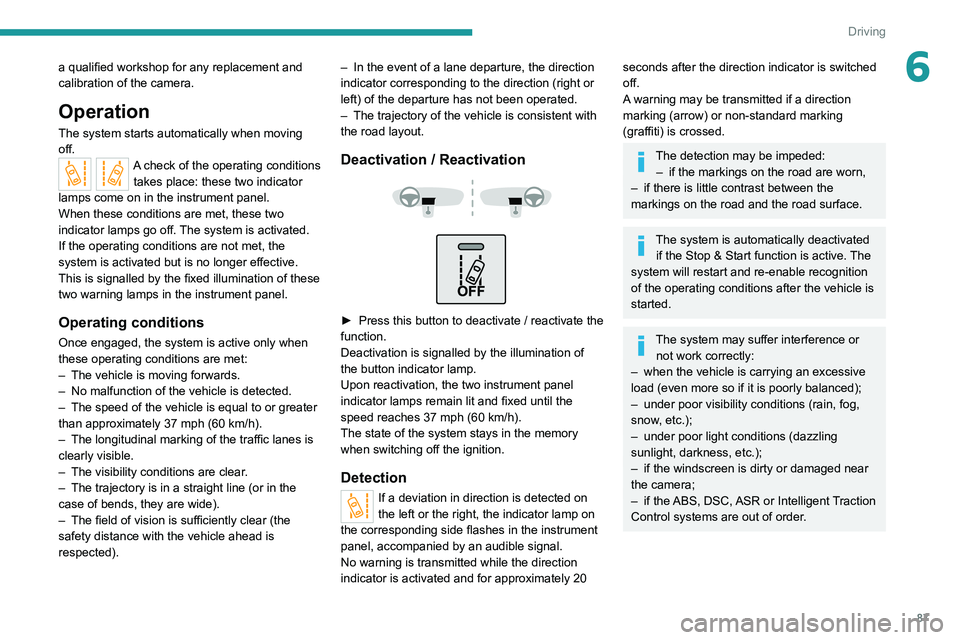
► Press this button to deactivate / reactivate the
function.
Deactivation is signalled by the illumination of
the button indicator lamp.
Upon reactivation, the two instrument panel
indicator lamps remain lit and fixed until the
speed reaches 37 mph (60 km/h).
The state of the system stays in the memory
when switching off the ignition.
Detection
If a deviation in direction is detected on
the left or the right, the indicator lamp on
the corresponding side flashes in the instrument
panel, accompanied by an audible signal.
No warning is transmitted while the direction
indicator is activated and for approximately 20
seconds after the direction indicator is switched
off.
A warning may be transmitted if a direction
marking (arrow) or non-standard marking
(graffiti) is crossed.
The detection may be impeded: – if the markings on the road are worn,
–
if there is little contrast between the
markings on the road and the road surface.
The system is automatically deactivated if the Stop & Start function is active. The
system will restart and re-enable recognition
of the operating conditions after the vehicle is
started.
The system may suffer interference or not work correctly:
–
when the vehicle is carrying an excessive
load (even more so if it is poorly balanced);
–
under poor visibility conditions (rain, fog,
snow
, etc.);
–
under poor light conditions (dazzling
sunlight, darkness, etc.);
–
if the windscreen is dirty or damaged near
the camera;
–
if the
ABS, DSC, ASR or Intelligent Traction
Control systems are out of order.
Page 95 of 212

93
Driving
6This warning lamp flashes (for approximately 10 seconds) as soon as
the function applies the vehicle’s brakes.
With a manual gearbox, in the event of automatic
emergency braking bringing the vehicle to a
complete stop, the engine may stall.
The driver can maintain control of the vehicle at any time by firmly turning the
steering wheel and/or firmly depressing the
accelerator pedal.
The brake pedal may vibrate slightly while the function is operating.
If the vehicle comes to a complete stop,
automatic braking is maintained for 1 to 2
seconds.
Malfunction
In the event of a system malfunction, this
warning lamp comes on on the instrument
panel, accompanied by an onscreen message
and an audible signal.
Contact a PEUGEOT dealer or a qualified
workshop to have the system checked.
If these warning lamps come on
after the engine has been switched
off and then restarted, contact a PEUGEOT
dealer or a qualified workshop to have the
system checked.
Audible rear parking sensors
For more information, refer to the
General recommendations on the use
of driving and manoeuvring aids .
If fitted to your vehicle, the system consists of 4
proximity sensors installed in the rear bumper.
They detect any obstacle, e.g. person, vehicle,
tree, barrier, which is behind the vehicle while
manoeuvring.
Certain types of obstacle detected at the
beginning of the manoeuvre will no longer be
detected at the end of manoeuvre if they are
located in the blind spots between and under the
sensors. Examples: stake, roadworks cone or
pavement post.
The rear parking sensors may be associated
with the reversing camera.
Switching on
► Engage reverse gear with the gear lever .
The proximity information is indicated by an
audible signal which becomes more rapid as the
vehicle approaches the obstacle.
When the distance between the rear of
the vehicle and the obstacle is less than
approximately 30 centimetres, the audible signal
becomes continuous.
Switching off
► Disengage reverse gear and shift to neutral.
Malfunction
In the event of a malfunction, this warning
lamp lights up on the instrument panel.
Consult a PEUGEOT dealer or a qualified
workshop.
Page 98 of 212
96
Practical information
Fuel
The capacity of the tank is about 90 litres.
Fuel tanks of different capacities may be fitted,
60 and 120 litres, depending on the engine.
Low fuel level
When the low fuel tank level E (Empty) is
reached, this warning lamp comes on.
At this moment, you have approximately 10 or
12 litres left in the reserve, depending on the
capacity of your tank and the engine.
You must refuel as soon as possible to avoid
running out of fuel.
Refuelling
The fuel tank must be filled with the engine off.
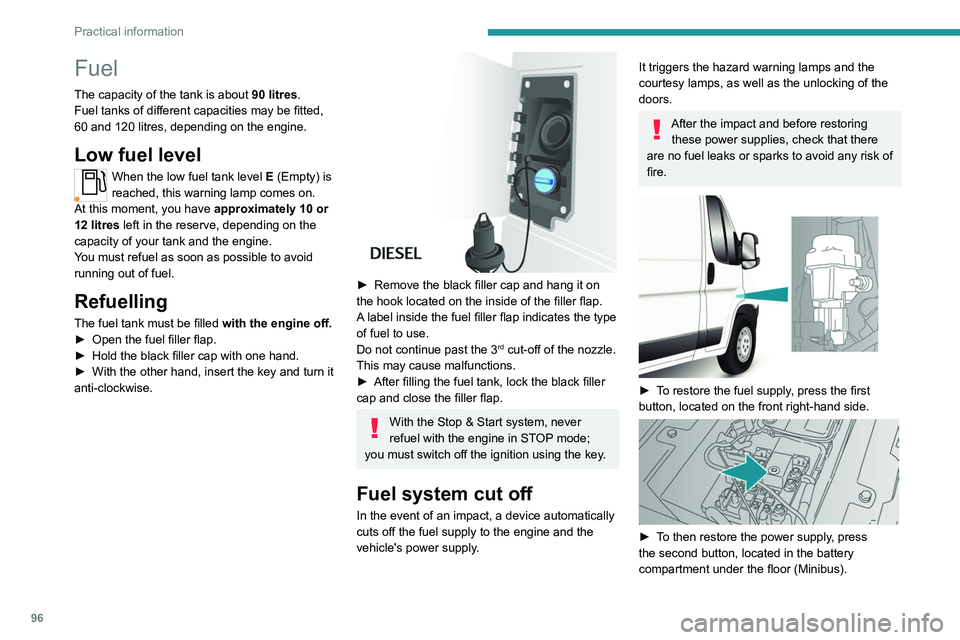
► Open the fuel filler flap.
►
Hold the black filler cap with one hand.
►
With the other hand, insert the key and turn it
anti-clockwise.
► Remove the black filler cap and hang it on
the hook located on the inside of the filler flap.
A
label inside the fuel filler flap indicates the type
of fuel to use.
Do not continue past the 3
rd cut-off of the nozzle.
This may cause malfunctions.
►
After filling the fuel tank, lock the black filler
cap and close the filler flap.
With the Stop & Start system, never
refuel with the engine in STOP mode;
you must switch off the ignition using the key.
Fuel system cut off
In the event of an impact, a device automatically
cuts off the fuel supply to the engine and the
vehicle's power supply.
It triggers the hazard warning lamps and the
courtesy lamps, as well as the unlocking of the
doors.
After the impact and before restoring these power supplies, check that there
are no fuel leaks or sparks to avoid any risk of
fire.
► To restore the fuel supply, press the first
button, located on the front right-hand side.
► To then restore the power supply, press
the second button, located in the battery
compartment under the floor (Minibus).
Page 99 of 212
97
Practical information
7For other versions, the second button is
replaced by a fuse; contact a PEUGEOT
dealer or a qualified workshop.
Compatibility of fuels
Diesel fuels conforming to the EN590, EN16734
and EN16709 standards and containing up to
7%, 10%, 20% and 30% fatty acid methyl ester
respectively. The use of B20 or B30 fuels, even
occasionally, imposes special maintenance
conditions referred to as "Arduous conditions".
Paraffinic Diesel fuel conforming to the EN15940
standard.
The use of any other type of (bio) fuel (vegetable or animal oils, pure or diluted,
domestic fuel, etc.) is strictly prohibited (risk
of damage to the engine and fuel system).
The only Diesel fuel additives authorised for use are those that meet the B715000
standard.
Diesel at low temperature
At temperatures below 0 °C (+32 °F), the
formation of paraffins in summer-type Diesel fuels could prevent the engine from operating
correctly
. In these temperature conditions, use
winter-type Diesel fuel and keep the fuel tank
more than 50 % full.
At temperatures below -15 °C (+5 °F) to avoid
problems starting, it is best to park the vehicle
under shelter (heated garage).
Travelling abroad
Certain fuels could damage your vehicle’s
engine.
In certain countries, the use of a particular
fuel may be required (specific octane rating,
specific trade name, etc.) to ensure correct
operation of the engine.
For all additional information, consult a dealer.
Charging system
(Electric)
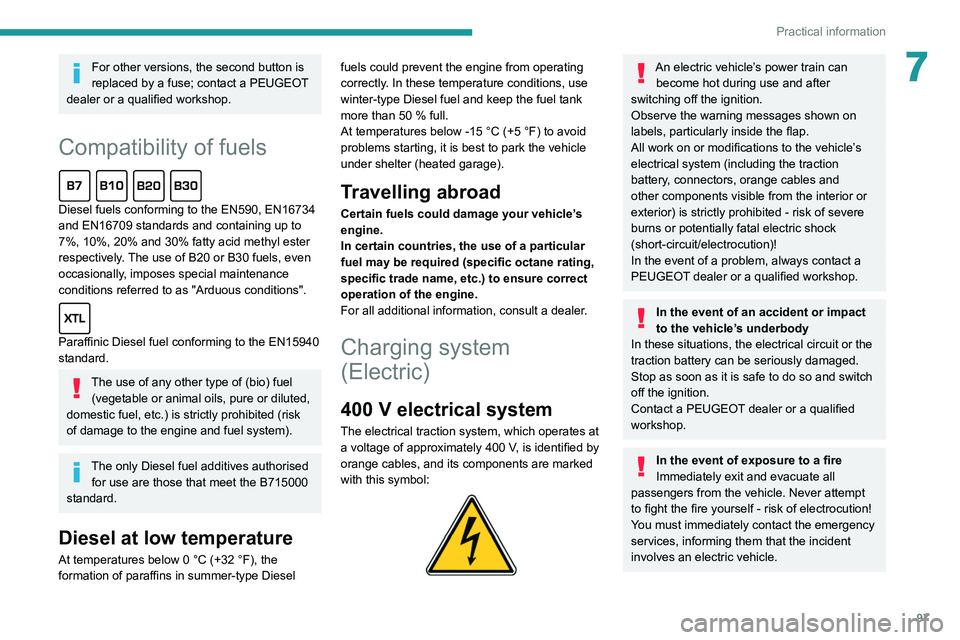
400 V electrical system
The electrical traction system, which operates at
a voltage of approximately 400 V, is identified by
orange cables, and its components are marked
with this symbol:
An electric vehicle’s power train can become hot during use and after
switching off the ignition.
Observe the warning messages shown on
labels, particularly inside the flap.
All work on or modifications to the vehicle’s
electrical system (including the traction
battery, connectors, orange cables and
other components visible from the interior or
exterior) is strictly prohibited - risk of severe
burns or potentially fatal electric shock
(short-circuit/electrocution)!
In the event of a problem, always contact a
PEUGEOT dealer or a qualified workshop.
In the event of an accident or impact
to the vehicle’s underbody
In these situations, the electrical
circuit or the
traction battery can be seriously damaged.
Stop as soon as it is safe to do so and switch
off the ignition.
Contact a PEUGEOT dealer or a qualified
workshop.
In the event of exposure to a fire
Immediately exit and evacuate all
passengers from the vehicle. Never attempt
to fight the fire yourself - risk of electrocution!
You must immediately contact the emergency
services, informing them that the incident
involves an electric vehicle.
Page 103 of 212
101
Practical information
7Charging the traction
battery (Electric)
To charge, connect the vehicle to a domestic
charging unit or a fast public charger (superfast
charging).
For a full charge, follow the desired charging
procedure without interrupting it, until it ends
automatically.
To stop charging at any time, press the locking
button on the remote control for 5 seconds
and remove the charging nozzle. For superfast
charging, also refer to the fast public charger.
The display of information linked to the charging
is integrated into the rear view mirror. For more
information on the Display integrated into the
rear view mirror , refer to the corresponding
section.
As a safety measure, the engine will not start if the charging cable is plugged into
the vehicle's charging connector.
Cooling the traction battery
The cooling fan in the engine
compartment comes on during charging to
cool the on-board charger and the traction
battery.
Balancing the traction battery voltage
After carrying out a full charge (100%)
at least once per week, we recommend not
using the vehicle for about 4 hours.
This time allows the voltage to balance across
all of the traction battery's cells (ensuring a
level voltage across all of its cells).
This process helps keep the traction battery in
good condition and aids in the calculation of
its charging level.
Completely discharged traction
battery
T
o preserve the lifespan of the traction battery
and avoid damaging it, make sure that it is
never completely discharged (0%).
When the charge level drops to 15%, the
message "LOW POWER MODE" appears
on the display integrated into the rear view
mirror. If this message appears while driving,
avoid heavy acceleration and charge the
vehicle as soon as possible.
Long-term parking
Before parking the vehicle for an
extended period, carry out a full charge of the
traction battery.
Park the vehicle in a place where the
temperature will be between 0°C and 45°C
(parking in a place which will experience
extreme temperatures can damage the
traction battery).
Disconnect the cable from the (-) terminal of
the 12
V accessory battery.
Check the level of charge in the traction
battery periodically and charge it if necessary.
When parking the vehicle for more than one
month, keep the level of charge above 50%.
When parking the vehicle for a very long
period, charge the vehicle every 2 months.
Do not leave the charging cable connected.
Lack of use of the traction battery temporarily
affects its performance. At the end of the
parking period, carry out several charge/
discharge cycles to restore the normal
operation of the traction battery.
Precautions
Our electric vehicles have been developed in
accordance with the recommendations on the
maximum limits for electromagnetic fields, as
issued by the International Commission on Non-
Ionizing Radiation Protection
(ICNIRP - 1998
Guidelines).
Wearers of pacemakers or equivalent
devices
Ask your doctor about what precautions you should take, or ask the manufacturer
of your implanted electro-medical device about
whether its operation is guaranteed in an
environment which complies with the ICNIRP
recommendations.
If in doubt
Accelerated charging: do not remain
inside or near the vehicle, or near the
charging cable or charging unit, even for a
short time.
Page 104 of 212
102
Practical information
Superfast charging: do not use the system
yourself and avoid approaching public fast
charging points. Leave the area and ask a
third party to recharge the vehicle.
Before charging
Accelerated charging
Depending on the context:
►
Have a professional check that the
electrical system to be used complies with
applicable standards and is compatible with
the vehicle.
►
Have an accelerated charging unit which
is compatible with the vehicle installed by a
professional.
Favour the use of the cable supplied with the
vehicle or as an accessory
.
For more information, contact a PEUGEOT
dealer or a qualified workshop.
Superfast charging
Check that the fast public charging
station and its charging cable are compatible
with the vehicle.
During charging
Never work under the bonnet:
– Some areas remain very hot, even an
hour after charging ends - risk of burns!
–
The fan may start at any time - risk of cuts
or strangulation!
The performance of the traction battery varies depending on the outside
temperature and the temperature inside the
traction battery itself.
During charging, the outside temperature
must ideally be between 0°C and 45°C.
Charging is not possible when the
temperature inside the traction battery is
below -5°C or above 55°C. Charging time
may be longer if the temperature is below
0°C.
In cold weather, immediately connect the
vehicle after switching off the ignition.
Significant variations in the level of
incoming electric current may stop the
charging process.
►
Disconnect the charging cable and wait for
the level of electric current to return to normal.
After charging
Check that the charging flap is closed.
Connection
► Switch the ignition off.
► Open the charging flap, remove the
protective covers and check that there are no
foreign bodies on the charging connector
.
Accelerated charging, mode 3
► Connect the charging cable to the charging
unit (if applicable).
►
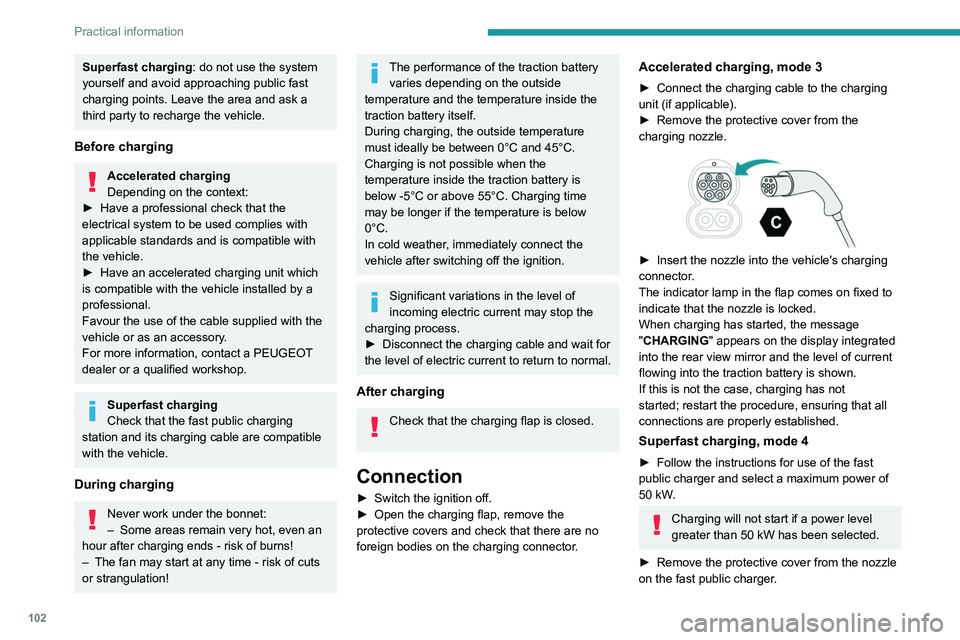
Remove the protective cover from the
charging nozzle.
► Insert the nozzle into the vehicle's charging
connector .
The indicator lamp in the flap comes on fixed to
indicate that the nozzle is locked.
When charging has started, the message
"CHARGING" appears on the display integrated
into the rear view mirror and the level of current
flowing into the traction battery is shown.
If this is not the case, charging has not
started; restart the procedure, ensuring that all
connections are properly established.
Superfast charging, mode 4
► Follow the instructions for use of the fast
public charger and select a maximum power of
50 kW
.
Charging will not start if a power level
greater than 50 kW has been selected.
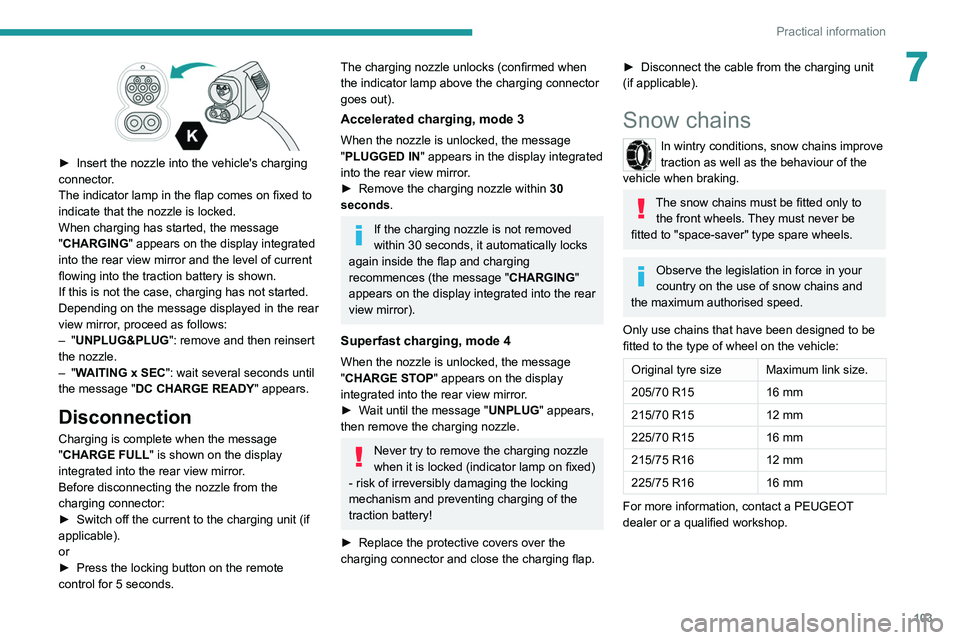
►
Remove the protective cover from the nozzle
on the fast public charger
.
Page 105 of 212
103
Practical information
7
► Insert the nozzle into the vehicle's charging
connector .
The indicator lamp in the flap comes on fixed to
indicate that the nozzle is locked.
When charging has started, the message
"CHARGING" appears on the display integrated
into the rear view mirror and the level of current
flowing into the traction battery is shown.
If this is not the case, charging has not started.
Depending on the message displayed in the rear
view mirror, proceed as follows:
–
"UNPLUG&PLUG": remove and then reinsert
the nozzle.
–
"WAITING x SEC": wait several seconds until
the message "DC CHARGE READY " appears.
Disconnection
Charging is complete when the message
"CHARGE FULL" is shown on the display
integrated into the rear view mirror.
Before disconnecting the nozzle from the
charging connector:
►
Switch off the current to the charging unit (if
applicable).
or
►
Press the locking button on the remote
control for 5 seconds.
The charging nozzle unlocks (confirmed when
the indicator lamp above the charging connector
goes out).
Accelerated charging, mode 3
When the nozzle is unlocked, the message
"PLUGGED IN" appears in the display integrated
into the rear view mirror.
►
Remove the charging nozzle within 30
seconds
.
If the charging nozzle is not removed
within 30 seconds, it automatically locks
again inside the flap and charging
recommences (the message " CHARGING"
appears on the display integrated into the rear
view mirror).
Superfast charging, mode 4
When the nozzle is unlocked, the message
"CHARGE STOP" appears on the display
integrated into the rear view mirror.
►
W
ait until the message "UNPLUG" appears,
then remove the charging nozzle.
Never try to remove the charging nozzle
when it is locked (indicator lamp on fixed)
- risk of irreversibly damaging the locking
mechanism and preventing charging of the
traction battery!
►
Replace the protective covers over the
charging connector and close the charging flap.
► Disconnect the cable from the charging unit
(if applicable).
Snow chains
In wintry conditions, snow chains improve
traction as well as the behaviour of the
vehicle when braking.
The snow chains must be fitted only to the front wheels. They must never be
fitted to "space-saver" type spare wheels.
Observe the legislation in force in your
country on the use of snow chains and
the maximum authorised speed.
Only use chains that have been designed to be
fitted to the type of wheel on the vehicle:
Original tyre size Maximum link size.
205/70 R15 16 mm
215/70 R15 12 mm
225/70 R15 16 mm
215/75 R16 12 mm
225/75 R16 16 mm
For more information, contact a PEUGEOT
dealer or a qualified workshop.