2021 NISSAN TITAN mirror
[x] Cancel search: mirrorPage 285 of 638

Rear window and/or outside
mirror (if so equipped) defroster
switch
For additional information, see “Rear win-
dow and/or outside mirror (if so equipped)
defroster switch” (P. 2-42).
OPERATING TIPS
The sunload sensor (if so equipped)O1, lo-
cated on the top center of the instrument
panel, helps the system maintain a con-
stant temperature. Do not put anything on
or around this sensor.
•
When the climate system is in automatic
operation and the engine coolant tem-
perature and outside air temperature are
low, the air flow outlet may default to de-
froster mode for a maximum of 2 minutes
30 seconds. This is not a malfunction. Af ter
the engine coolant temperature warms up,
the air flow outlet will return to foot mode
and operation will continue normally.
• When the outside and interior cabin tem- peratures are moderate to high, the in-
take setting may default to turn off air
recirculation to allow fresh air into the
passenger compartment. You may no-
tice air flow from the foot mode, bi-level
mode, or side demist vent outlets for a
maximum of 15 seconds. This may occur
when previous climate setting was sys-
tem off. This is not a malfunction. Af ter
the initial warm air is expelled, the intake
will return to automatic control, air flow
outlet will return to previous settings, and
operation will continue normally. To exit,
press any climate control button.
• Keep the windows closed while the air conditioner is in operation.
LHA4126
Monitor, climate, audio, phone and voice recognition systems4-41
Page 298 of 638

CAUTION
•
Always ensure that the batteries are
inserted with the positive and nega-
tive terminals in the correct direction
as shown in the battery compartment.
• Different types of batteries have dif-
ferent characteristics. Do not mix dif-
ferent types.
• Do not mix old and new batteries.
Mixing old and new batteries will
shorten battery life and/or cause
chemical leaks from the old
batteries.
• When batteries fail to function, re-
place them immediately.
• Keep the batteries out of the reach of
children. In case the batteries are ac-
cidentally swallowed, immediately
consult a doctor. Also, when dispos-
ing of used batteries, please comply
with governmental regulations or
environmental public institution
rules that apply in your country/area.
• Remove the batteries if the head-
phones are not used for a month or
longer.
GENERAL OPERATION
Navigating menus
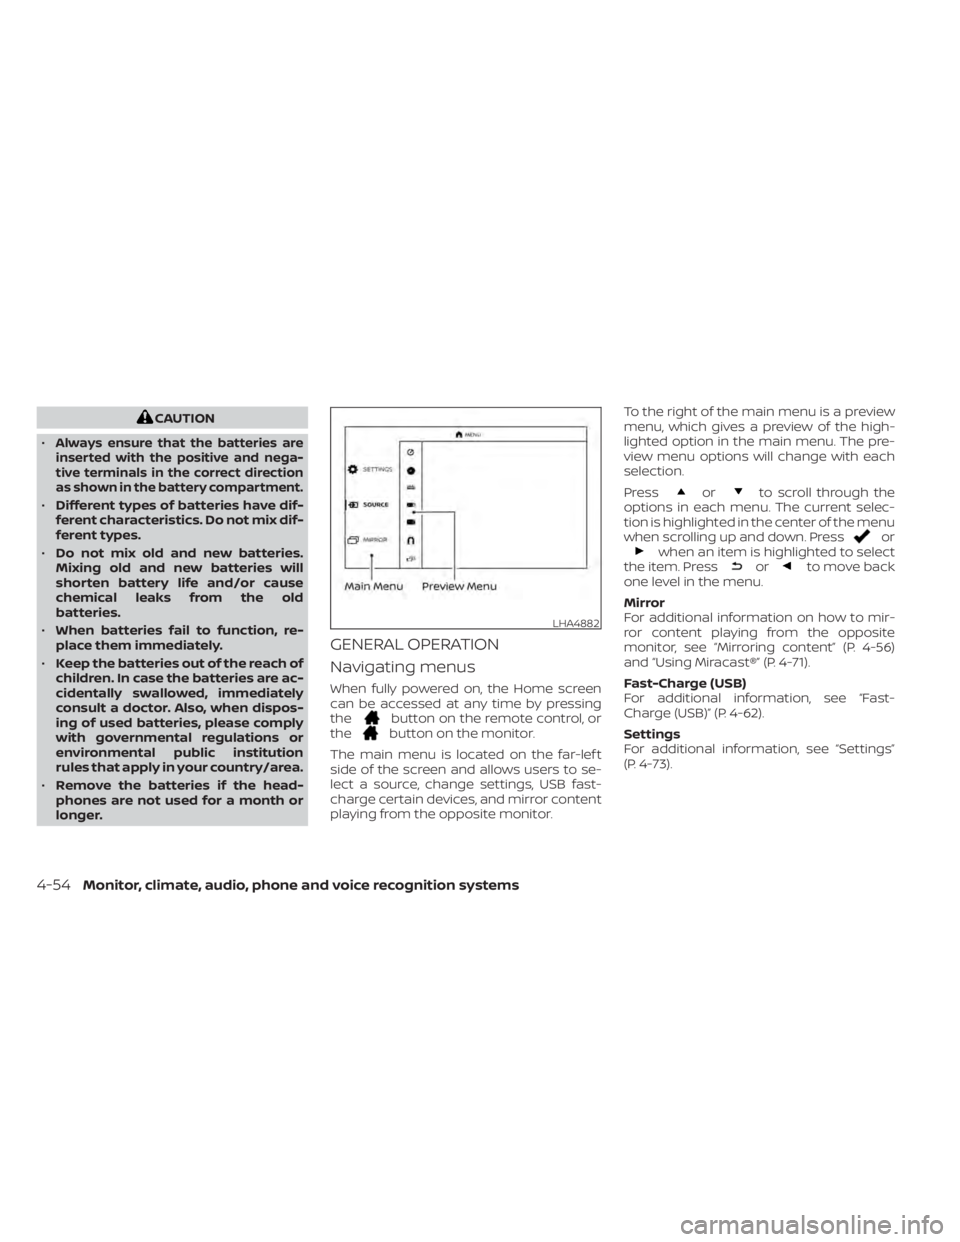
When fully powered on, the Home screen
can be accessed at any time by pressing
the
button on the remote control, or
thebutton on the monitor.
The main menu is located on the far-lef t
side of the screen and allows users to se-
lect a source, change settings, USB fast-
charge certain devices, and mirror content
playing from the opposite monitor. To the right of the main menu is a preview
menu, which gives a preview of the high-
lighted option in the main menu. The pre-
view menu options will change with each
selection.
Press
orto scroll through the
options in each menu. The current selec-
tion is highlighted in the center of the menu
when scrolling up and down. Press
orwhen an item is highlighted to select
the item. Pressorto move back
one level in the menu.
Mirror
For additional information on how to mir-
ror content playing from the opposite
monitor, see “Mirroring content” (P. 4-56)
and “Using Miracast®” (P. 4-71).
Fast-Charge (USB)
For additional information, see “Fast-
Charge (USB)” (P. 4-62).
Settings
For additional information, see “Settings”
(P. 4-73).
LHA4882
4-54Monitor, climate, audio, phone and voice recognition systems
Page 300 of 638

NOTE:
For hearing protection, there is a
maximum volume setting to limit the
audio output of the front panel 3.5mm
headphone output. Using the direc-
tional pad on the remote navigate to
“SETTINGS” then “AUDIO” then “HEAD-
PHONES” to adjust the maximum vol-
ume. Once set, the maximum volume
is limited to this setting.
Playing a disc
Insert a disc into the top slot of monitor A
with the label facing the rear of the vehicle.
If the disc is supported and there is no
content already playing, the disc will auto-
matically begin playing.
When a disc is inserted, playback will auto-
matically begin on both monitors A and B
(if there is no content already playing). If a
disc was previously inserted, using the
directional pad on the remote select
“SOURCE”, then “DVD” from the Home
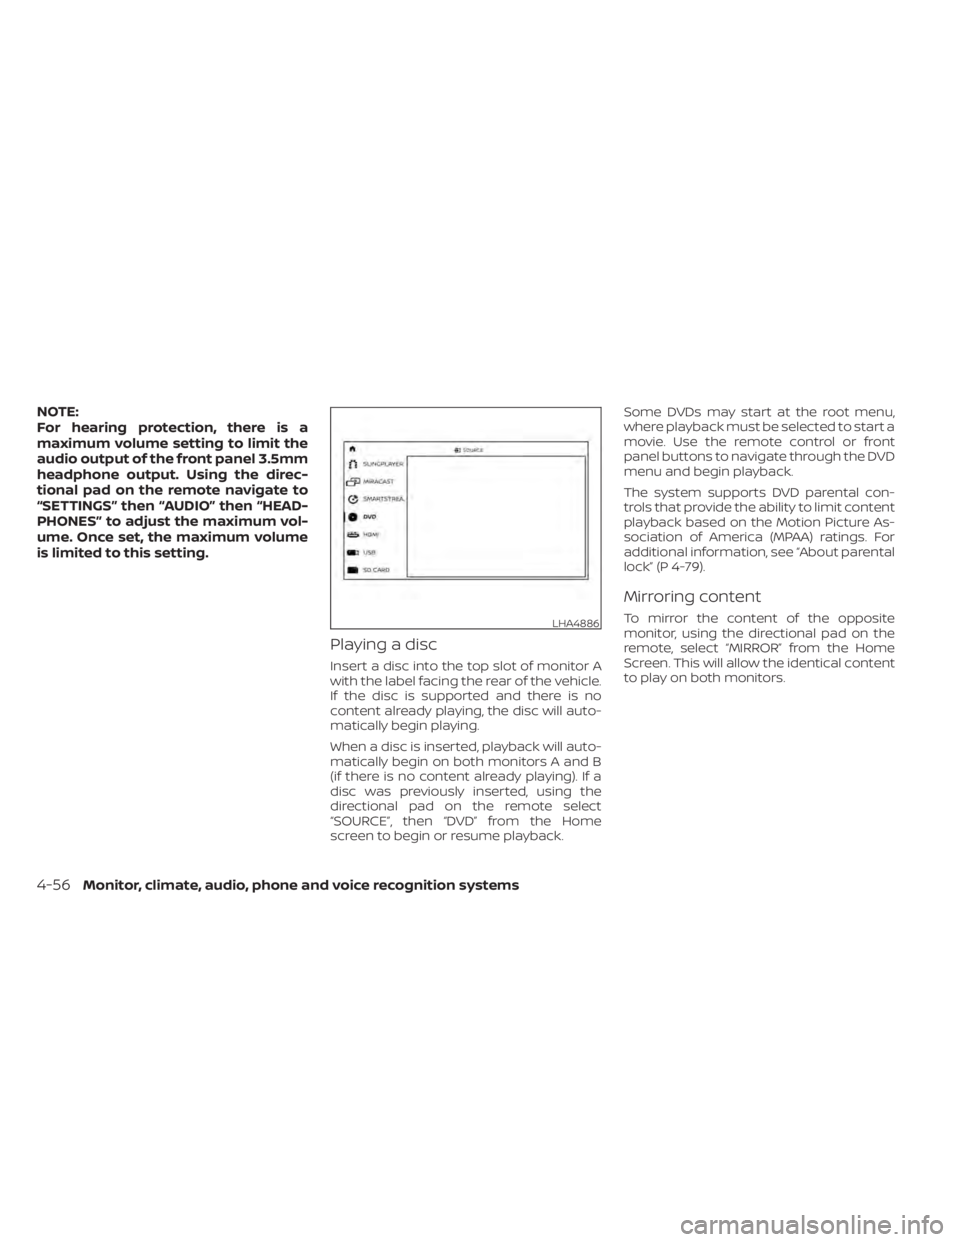
screen to begin or resume playback.Some DVDs may start at the root menu,
where playback must be selected to start a
movie. Use the remote control or front
panel buttons to navigate through the DVD
menu and begin playback.
The system supports DVD parental con-
trols that provide the ability to limit content
playback based on the Motion Picture As-
sociation of America (MPAA) ratings. For
additional information, see “About parental
lock” (P 4-79).
Mirroring content
To mirror the content of the opposite
monitor, using the directional pad on the
remote, select “MIRROR” from the Home
Screen. This will allow the identical content
to play on both monitors.LHA4886
4-56Monitor, climate, audio, phone and voice recognition systems
Page 315 of 638

About Miracast®
Miracast® is a dedicated wireless connec-
tion technology that allows content
streaming between a mobile device and
the RSI system. The connection is made
without cables or a network connection. It
provides the ability to “cast” (display) con-
tent, such as images or videos from the
mobile device to the RSI system. There is no
need for an external internet connection
and the ability to connect is inside
Miracast-certified devices.
Using Miracast®
Using the directional pad on the remote
select “SOURCE” from the Home Screen
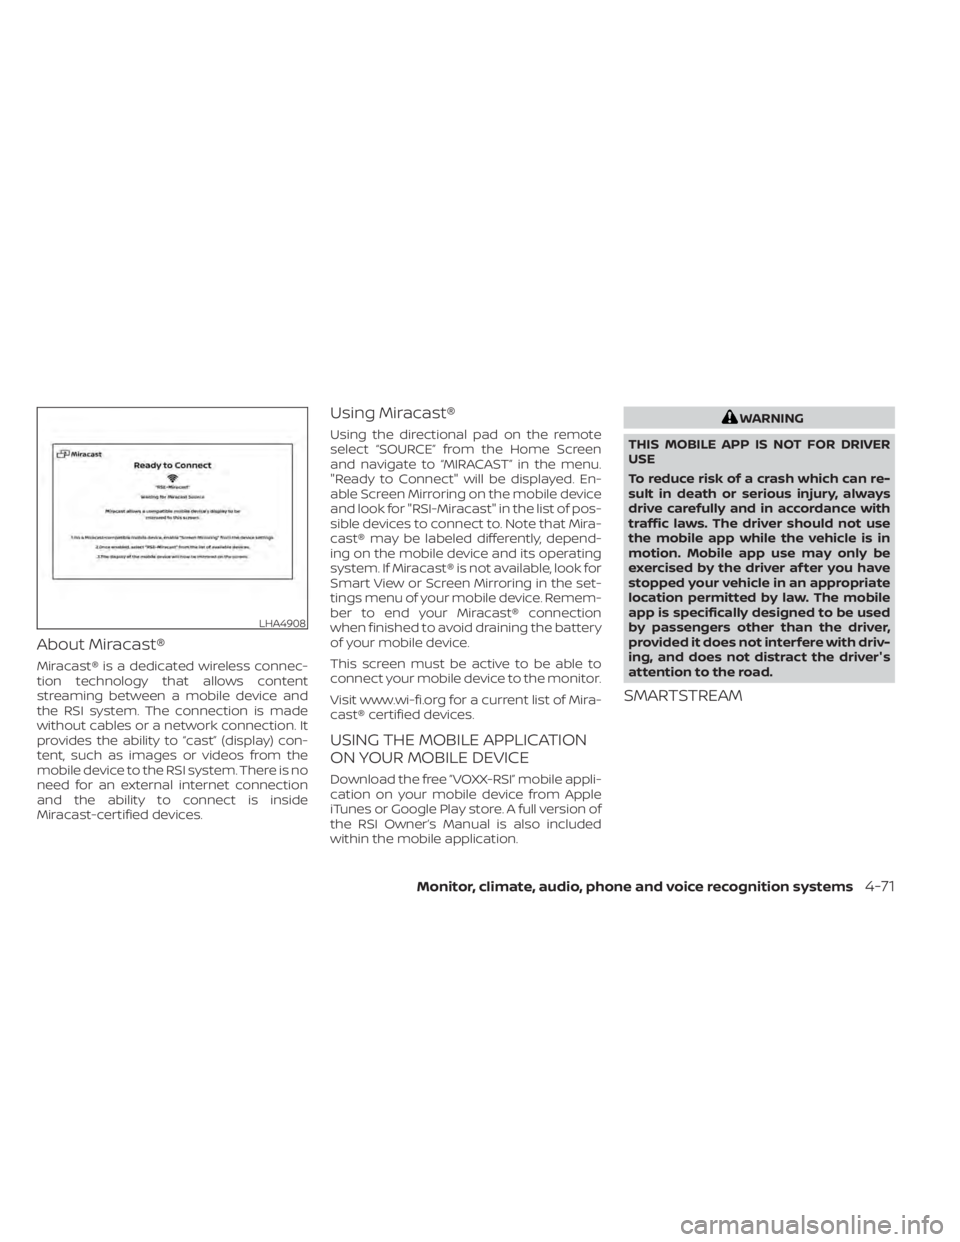
and navigate to “MIRACAST” in the menu.
"Ready to Connect" will be displayed. En-
able Screen Mirroring on the mobile device
and look for "RSI-Miracast" in the list of pos-
sible devices to connect to. Note that Mira-
cast® may be labeled differently, depend-
ing on the mobile device and its operating
system. If Miracast® is not available, look for
Smart View or Screen Mirroring in the set-
tings menu of your mobile device. Remem-
ber to end your Miracast® connection
when finished to avoid draining the battery
of your mobile device.
This screen must be active to be able to
connect your mobile device to the monitor.
Visit www.wi-fi.org for a current list of Mira-
cast® certified devices.
USING THE MOBILE APPLICATION
ON YOUR MOBILE DEVICE
Download the free ”VOXX-RSI” mobile appli-
cation on your mobile device from Apple
iTunes or Google Play store. A full version of
the RSI Owner’s Manual is also included
within the mobile application.
WARNING
THIS MOBILE APP IS NOT FOR DRIVER
USE
To reduce risk of a crash which can re-
sult in death or serious injury, always
drive carefully and in accordance with
traffic laws. The driver should not use
the mobile app while the vehicle is in
motion. Mobile app use may only be
exercised by the driver af ter you have
stopped your vehicle in an appropriate
location permitted by law. The mobile
app is specifically designed to be used
by passengers other than the driver,
provided it does not interfere with driv-
ing, and does not distract the driver's
attention to the road.
SMARTSTREAM
LHA4908
Monitor, climate, audio, phone and voice recognition systems4-71
Page 348 of 638

NISSAN VEHICLE IMMOBILIZER
SYSTEM
The NISSAN Vehicle Immobilizer System
will not allow the engine to start without
the use of the registered key.
If the engine fails to start using a registered
key (for example, when interference is
caused by another registered key, an auto-
mated toll road device or automatic pay-
ment device on the key ring), restart the
engine using the following procedures:
1. Leave the ignition switch in the ON posi-tion for approximately 5 seconds.
2. Place the ignition switch in the OFF or LOCK position, and wait approximately
10 seconds.
3. Repeat steps 1 and 2.
4. Restart the engine while holding the de- vice (which may have caused the inter-
ference) separate from the registered
key.
If the no start condition re-occurs, NISSAN
recommends placing the registered key on
a separate key ring to avoid interference
from other devices. • Make sure the area around the vehicle is
clear.
• Check fluid levels such as engine oil, cool- ant, brake fluid and windshield-washer
fluid as frequently as possible, or at least
whenever you refuel.
• Check that all windows and lights are clean.
• Visually inspect tires for their appearance and condition. Also check tires for proper
inflation.
• Check that all doors are closed.
• Position seat and adjust head restraints/ headrests.
• Adjust inside and outside mirrors.
• Fasten seat belts and ask all passengers to do likewise.
• Check the operation of warning lights when the ignition switch is placed in the
ON position. For additional information,
see “Warning lights, indicator lights and
audible reminders” (P. 2-12). 1. Apply the parking brake.
2. Move the shif t lever to P (Park) or N (Neu-
tral). P (Park) is recommended.
The starter is designed not to operate
unless the shif t lever is in either P
(Park) or N (Neutral).
3. Push the ignition switch to the ON posi- tion. Depress the brake pedal and push
the ignition switch to start the engine.
To start the engine immediately, push
and release the ignition switch while de-
pressing the brake pedal with the igni-
tion switch in any position.
• If the engine is very hard to start in extremely cold weather or when re-
starting, depress the accelerator
pedal a little (approximately 1/3 to the
floor) and while holding, crank the en-
gine. Release the accelerator pedal
when the engine starts.
• If the engine is very hard to start be- cause it is flooded, depress the accel-
erator pedal all the way to the floor
and hold it. Push the ignition switch to
the ON position to start cranking the
engine. Af ter 5 or 6 seconds, stop
cranking by pushing the ignition
switch to the LOCK position. Af ter
BEFORE STARTING THE ENGINE STARTING THE ENGINE
5-16Starting and driving
Page 356 of 638

To engage:Firmly depress the parking
brake.
To release:
1. Firmly apply the foot brake.
2. Move the shif t lever to the P (Park) position.
3. Firmly depress the parking brake pedal and it will release.
4. Before driving, be sure the brake warn- ing light goes out. The TSR system provides the driver with
information about the most recently de-
tected speed limit. The system captures
the road sign information with the multi-
sensing front camera unit
OAlocated on
the windshield in front of the inside rear-
view mirror and displays the detected
signs in the vehicle information display. For
vehicles equipped with a navigation sys-
tem, the speed limit displayed is based on a
combination of navigation system data
and live camera recognition. TSR informa-
tion is always displayed at the top of the vehicle information display, and optionally
in the main central area of the display
screen.
WARNING
The TSR system is only intended to be a
support device to provide the driver
with information. It is not a replace-
ment for the driver’s attention to traffic
conditions or responsibility to drive
safely. It cannot prevent accidents due
to carelessness. It is the driver’s re-
sponsibility to stay alert and drive
safely at all times.
LSD2176LSD3704
TRAFFIC SIGN RECOGNITION (TSR) (if
so equipped)
5-24Starting and driving
Page 359 of 638

WARNING
Failure to follow the warnings and in-
structions for proper use of the LDW
system could result in serious injury or
death.
• This system is only a warning device
to inform the driver of a potential un-
intended lane departure. It will not
steer the vehicle or prevent loss of
control. It is the driver’s responsibility
to stay alert, drive safely, keep the
vehicle in the traveling lane, and be in
control of the vehicle at all times. The LDW system will operate when the ve-
hicle is driven at speeds of approximately
37 mph (60 km/h) and above, and only
when the lane markings are clearly visible
on the road.
The LDW system monitors the lane mark-
ers on the traveling lane using the camera
unit
OAlocated above the inside mirror.
The LDW system warns the driver that the
vehicle is beginning to leave the driving
lane with an indicator and a steering wheel
vibration. For additional information, see
“LDW system operation” (P. 5-28).
LSD3704
LANE DEPARTURE WARNING (LDW)
Starting and driving5-27
Page 363 of 638

The LDW system is not designed to warn
under the following conditions:
• When you operate the lane change signaland change traveling lanes in the direc-
tion of the signal. (The LDW system will
become operable again approximately 2
seconds af ter the lane change signal is
turned off.)
• When the vehicle speed lowers to less than approximately 37 mph (60 km/h).
Af ter the above conditions have finished
and the necessary operating conditions
are satisfied, the LDW functions will resume.
SYSTEM MALFUNCTION
If the LDW system malfunctions, it will can-
cel automatically and “Malfunction” will ap-
pear in the vehicle information display. If “
Malfunction” appears in the vehicle infor-
mation display, pull off the road to a safe
location and stop the vehicle. Place the
shif t lever in the P (Park) position and the
ignition switch in the OFF position and re-
start the engine/motor. If “Malfunction”
continues to appear in the vehicle informa-
tion display, have the system checked. It is
recommended that you visit a NISSAN
dealer for this service.SYSTEM MAINTENANCE
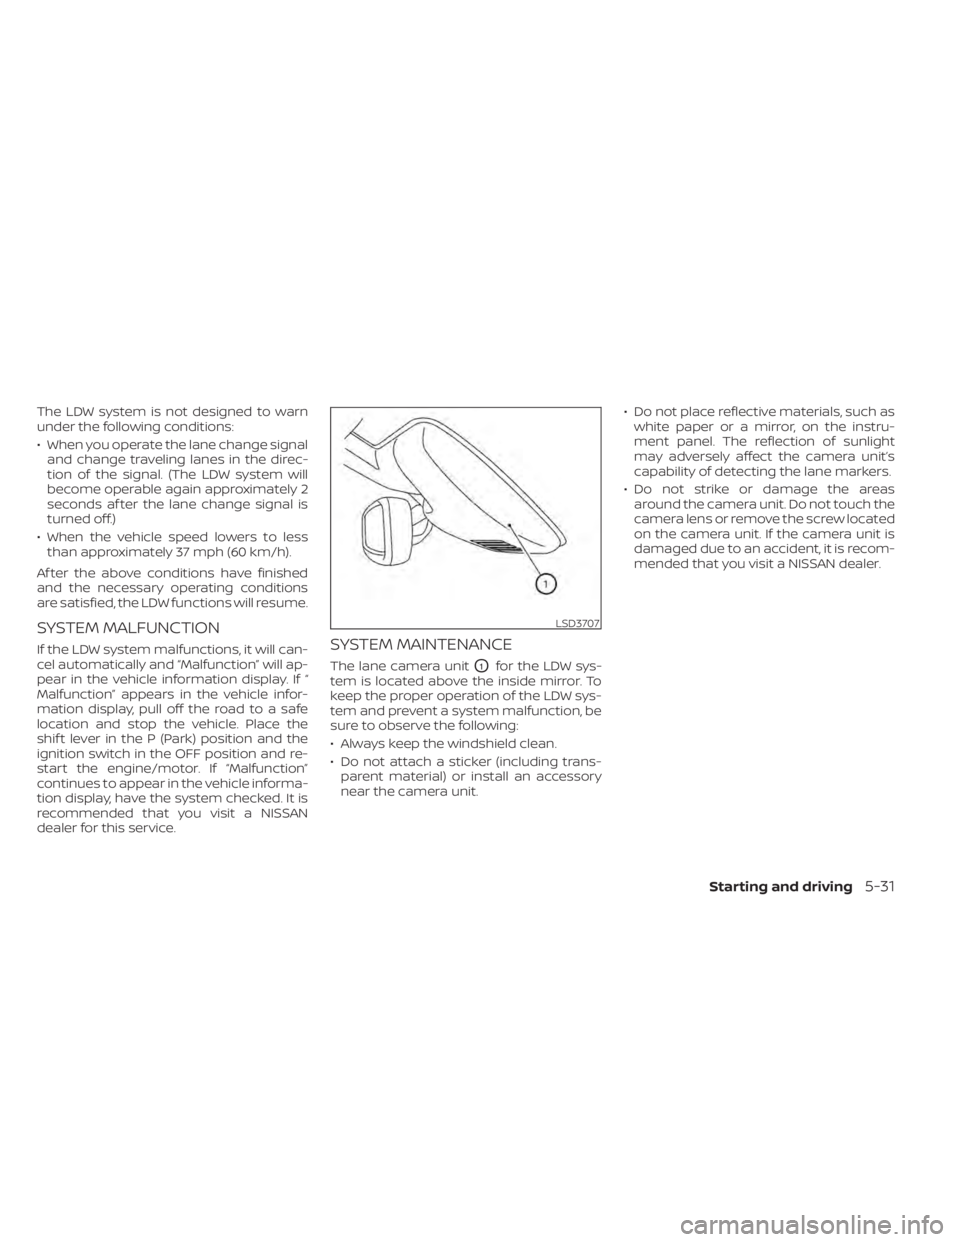
The lane camera unitO1for the LDW sys-
tem is located above the inside mirror. To
keep the proper operation of the LDW sys-
tem and prevent a system malfunction, be
sure to observe the following:
• Always keep the windshield clean.
• Do not attach a sticker (including trans- parent material) or install an accessory
near the camera unit. • Do not place reflective materials, such as
white paper or a mirror, on the instru-
ment panel. The reflection of sunlight
may adversely affect the camera unit’s
capability of detecting the lane markers.
• Do not strike or damage the areas around the camera unit. Do not touch the
camera lens or remove the screw located
on the camera unit. If the camera unit is
damaged due to an accident, it is recom-
mended that you visit a NISSAN dealer.
LSD3707
Starting and driving5-31