2021 NISSAN FRONTIER wheel
[x] Cancel search: wheelPage 147 of 492
•The hill descent control may not con-
trol the vehicle speed on a hill under
all load or road conditions. Always be
prepared to depress the brake pedal
to control vehicle speed. Failure to do
so may result in a collision or serious
personal injury.
CAUTION
When the hill descent control system op-
erates continuously for a long time, the
temperature of the brake pads may in-
crease and the hill descent control sys-
tem may be temporarily disabled (the in-
dicator light will blink). If the indicator
light does not come on continuously af-
ter blinking, stop using the system.
The hill descent control system is designed
to reduce driver workload when going down
steep hills. The hill descent control system
helps to control vehicle speed so the driver
can concentrate on steering the vehicle.
To activate the hill descent control system:
• The shif t lever must be in forward or re- verse gear,
• The 4WD switch must be in the 4L posi- tion and the vehicle speed must be under
15 mph (25 km/h) or • The 4WD switch must be in the 4H posi-
tion and the vehicle speed must be under
21 mph (35 km/h), and
• The hill descent control system switch must be ON.
The hill descent control system ON indica-
tor light will come on when the system is
activated. Also, the stop/tail lights illumi-
nate while the hill descent control system
applies the brakes to control vehicle speed.
If the accelerator or brake pedal is depressed
while the hill descent control system is on,
the system will stop operating temporarily.
As soon as the accelerator or brake pedal is
released, the hill descent control system be-
gins to function again if the hill descent con-
trol operating conditions are fulfilled.
The hill descent control system ON indica-
tor light blinks if the switch is on and all
conditions for system activation are not
met or if the system becomes disengaged
for any reason.
To turn off the hill descent control system,
push the switch to the OFF position.
For additional information, refer to “Hill de-
scent control system ON indicator light” in
this section and “Hill descent control sys-
tem” in the “Starting and driving” section of
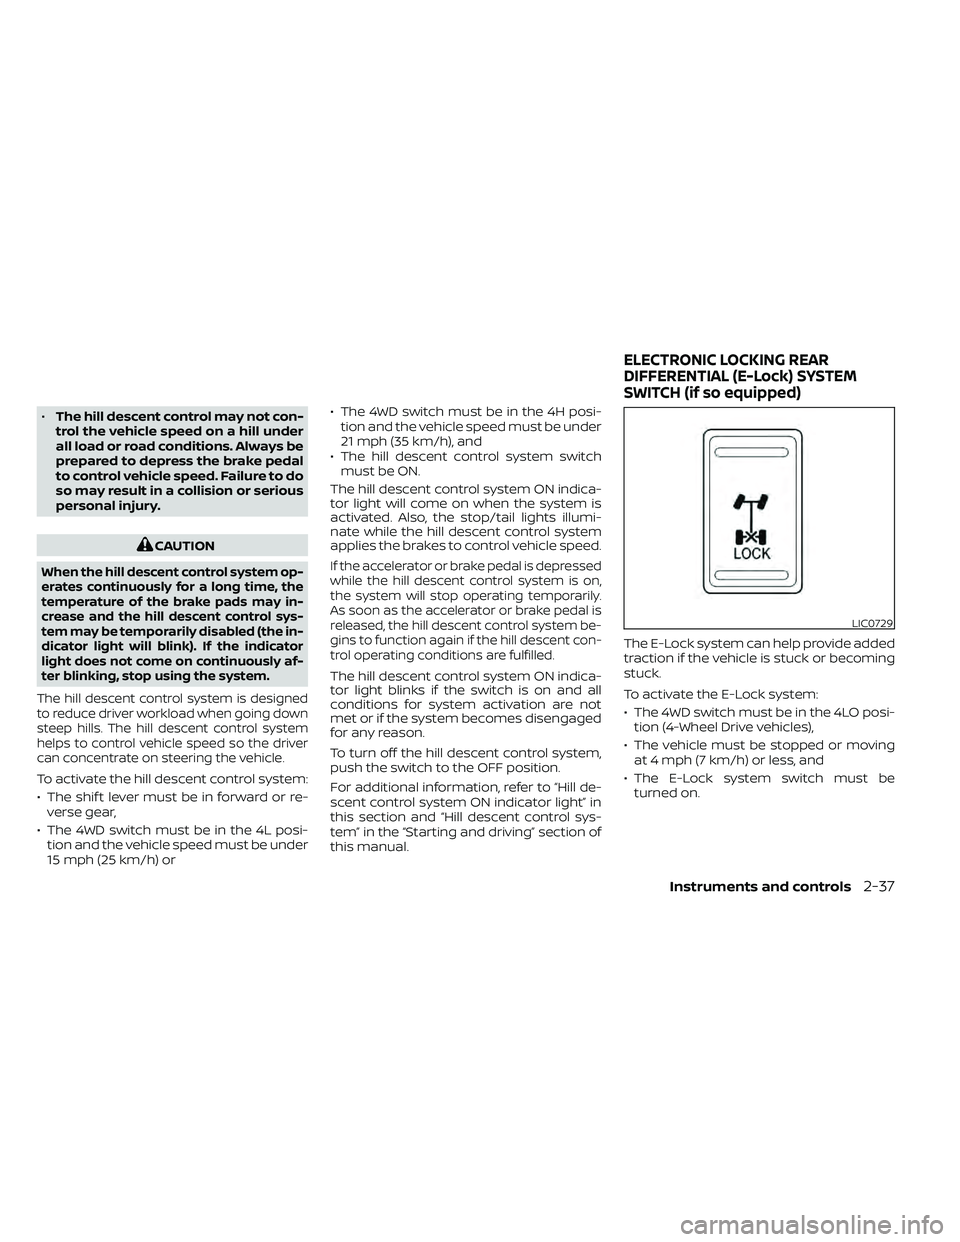
this manual. The E-Lock system can help provide added
traction if the vehicle is stuck or becoming
stuck.
To activate the E-Lock system:
• The 4WD switch must be in the 4LO posi-
tion (4-Wheel Drive vehicles),
• The vehicle must be stopped or moving at 4 mph (7 km/h) or less, and
• The E-Lock system switch must be turned on.
LIC0729
ELECTRONIC LOCKING REAR
DIFFERENTIAL (E-Lock) SYSTEM
SWITCH (if so equipped)
Instruments and controls2-37
Page 186 of 492
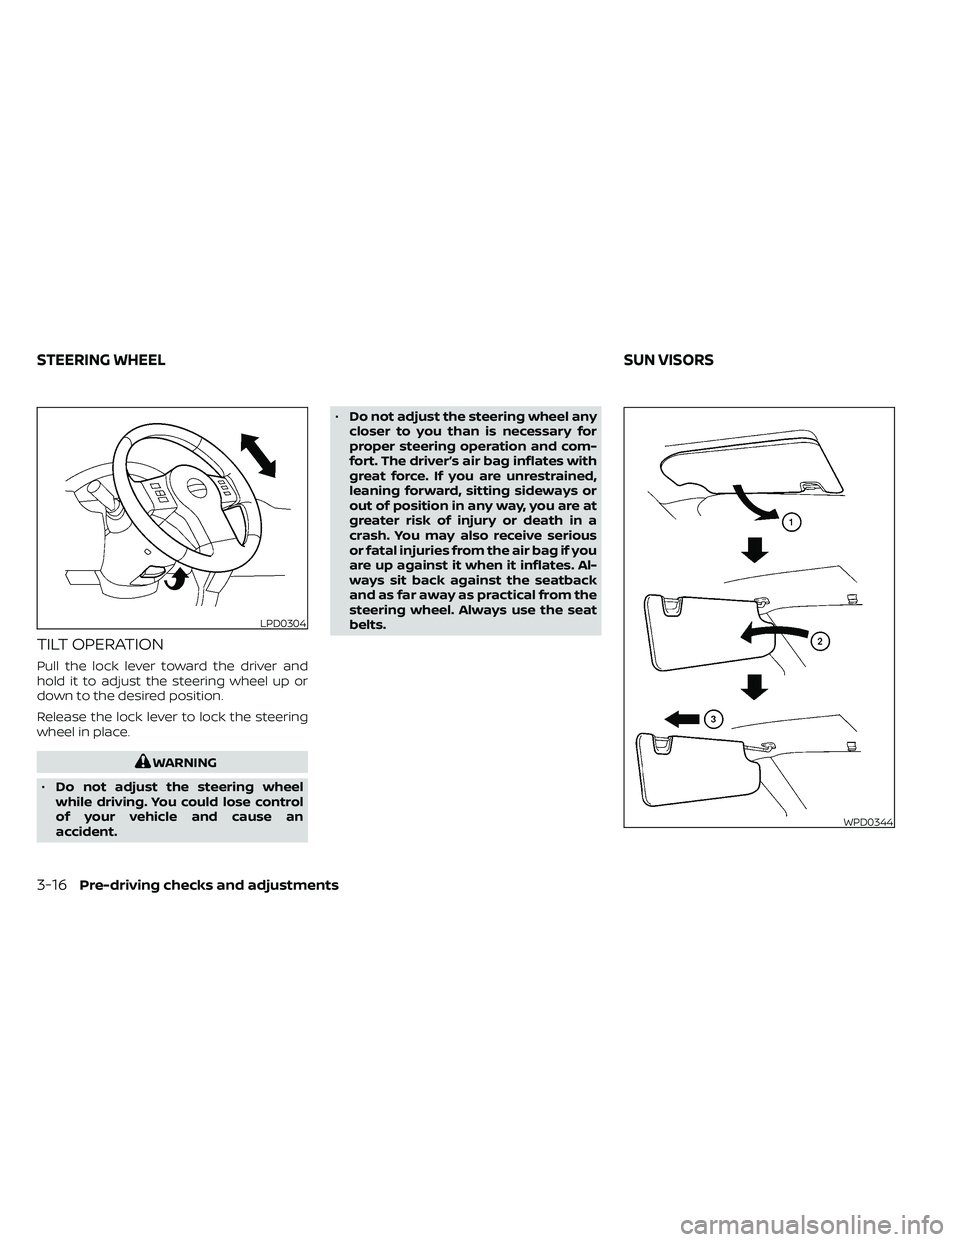
TILT OPERATION
Pull the lock lever toward the driver and
hold it to adjust the steering wheel up or
down to the desired position.
Release the lock lever to lock the steering
wheel in place.
WPD0344
STEERING WHEELSUN VISORS
Page 195 of 492
NOTE:
Use care when rotating extender, buck-
les may come in contact with the truck
bed railing.
Removing and installing the bed
extender
To remove or install the bed extender per-
form the following:
1. Open the tailgate.
2. Rotate the bed extender into a verticalposition and lif t straight up (to remove)
or lower straight down (to install).
To store the bed extender in the front of the
truck when not in use perform the follow-
ing:
1. Position the sliding brackets past the center of the wheel well.
2. Re-install the extender into the brackets (see above).
3. Rotate the extender to the inward position.
4. Push the brackets forward until the ex- tender comes in contact with the front
wall of the truck box.
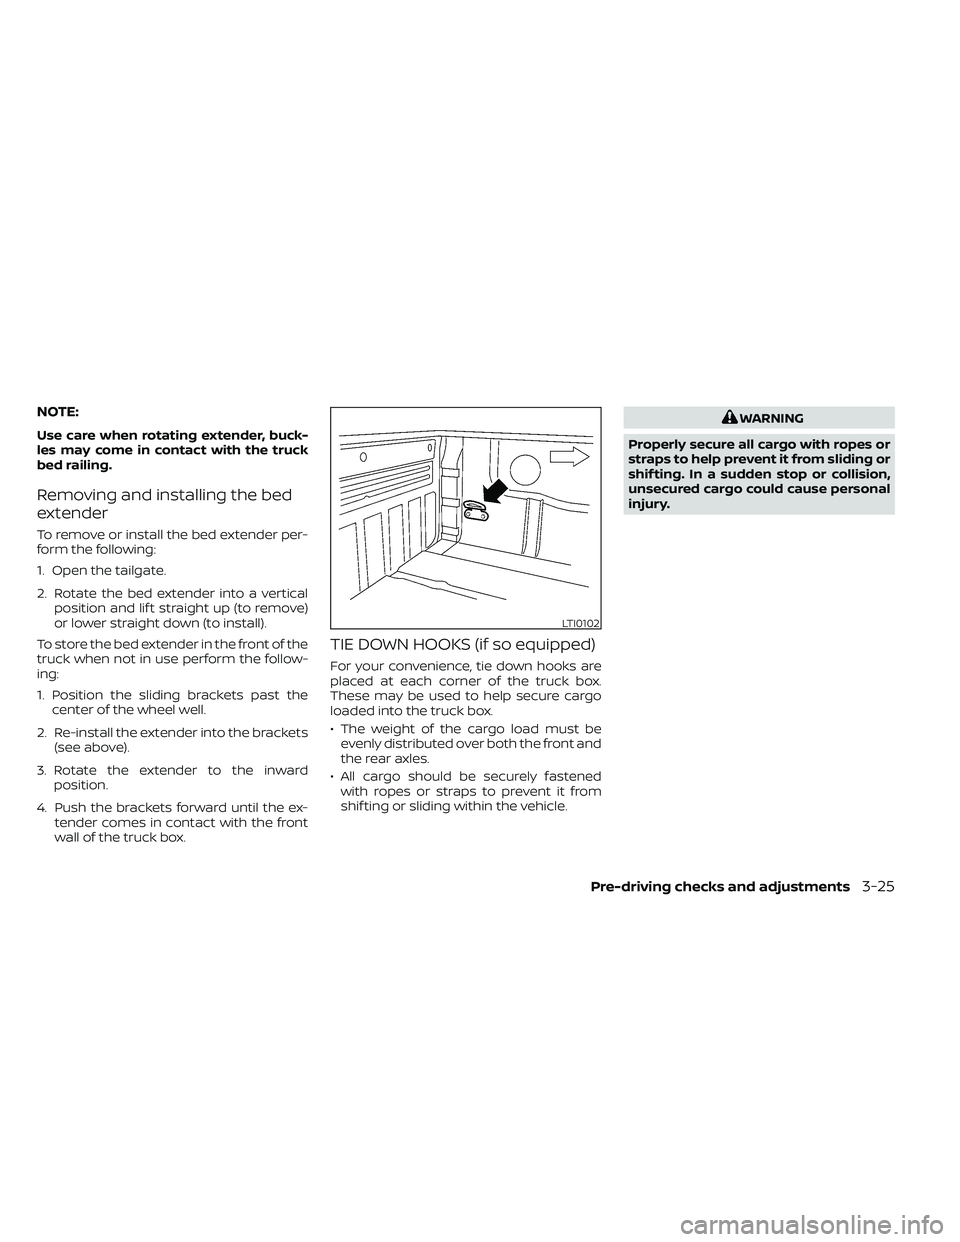
TIE DOWN HOOKS (if so equipped)
For your convenience, tie down hooks are
placed at each corner of the truck box.
These may be used to help secure cargo
loaded into the truck box.
• The weight of the cargo load must beevenly distributed over both the front and
the rear axles.
• All cargo should be securely fastened with ropes or straps to prevent it from
shif ting or sliding within the vehicle.
Page 198 of 492
FM/AM radio (if so equipped)................4-44
FM/AM/SAT radio with Compact Disc
(CD) player (if so equipped) ..................4-49
USB (Universal Serial Bus) connection
port (models without Navigation
System) (if so equipped) .....................4-55
USB (Universal Serial Bus) connection
port (models with Navigation System)
(if so equipped) .............................. 4-58
iPod®* player operation without
Navigation System (if so equipped) ..........4-60
iPod®* player operation with Navigation
System (if so equipped) .....................4-63
Bluetooth® streaming audio without
Navigation System (if so equipped) ..........4-66
Bluetooth® streaming audio with
Navigation System (if so equipped) ..........4-69
CD care and cleaning .......................4-70
Steering wheel switch for audio control .....4-71
Antenna ..................................... 4-72
NissanConnect® Mobile Apps (if so equipped) . . 4-72 Registering with NissanConnect®
Mobile Apps ................................. 4-72
Connect Phone ............................. 4-72
Application download .......................4-73Siri® Eyes Free (models without Navigation
System) (if so equipped)
........................4-73
Requirements ............................... 4-73
Operating Siri® Eyes Free ....................4-74
Troubleshooting guide ......................4-75
Siri® Eyes Free (models with Navigation
System) (if so equipped) ........................4-76
Requirements ............................... 4-76
Siri® Activation .............................. 4-76
Operating Siri® Eyes Free ....................4-77
Changing Siri® Eyes Free settings ...........4-77
Troubleshooting guide ......................4-78
Car phone or CB radio .......................... 4-79
Bluetooth® Hands-Free Phone System
without Navigation System (if so equipped) ....4-79
Regulatory information ......................4-81
Using the system ........................... 4-81
Indicators ................................... 4-83
Control buttons ............................. 4-83
Connecting procedure ......................4-84
Voice commands ........................... 4-85
Phone display screen .......................
4-87
Making
a call ................................ 4-88
Receiving a call .............................. 4-88
Page 242 of 492
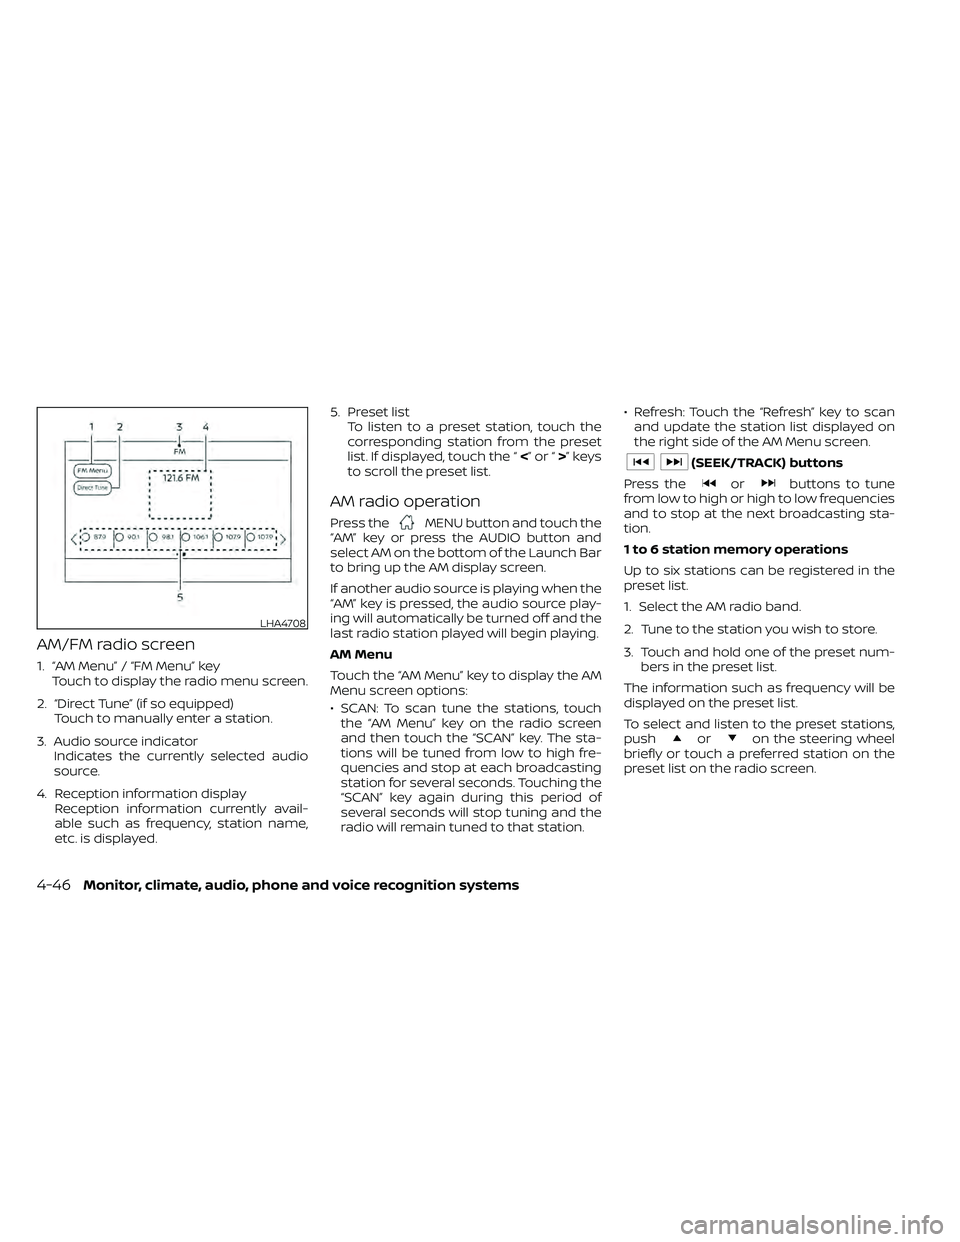
AM/FM radio screen
1. “AM Menu” / “FM Menu” keyTouch to display the radio menu screen.
2. “Direct Tune” (if so equipped) Touch to manually enter a station.
3. Audio source indicator Indicates the currently selected audio
source.
4. Reception information display Reception information currently avail-
able such as frequency, station name,
etc. is displayed. 5. Preset list
To listen to a preset station, touch the
corresponding station from the preset
list. If displayed, touch the “ <”or“>”keys
to scroll the preset list.
AM radio operation
Press theMENU button and touch the
“AM” key or press the AUDIO button and
select AM on the bottom of the Launch Bar
to bring up the AM display screen.
If another audio source is playing when the
“AM” key is pressed, the audio source play-
ing will automatically be turned off and the
last radio station played will begin playing.
AM Menu
Touch the “AM Menu” key to display the AM
Menu screen options:
• SCAN: To scan tune the stations, touch the “AM Menu” key on the radio screen
and then touch the “SCAN” key. The sta-
tions will be tuned from low to high fre-
quencies and stop at each broadcasting
station for several seconds. Touching the
“SCAN” key again during this period of
several seconds will stop tuning and the
radio will remain tuned to that station. • Refresh: Touch the “Refresh” key to scan
and update the station list displayed on
the right side of the AM Menu screen.
orbuttons to tune
from low to high or high to low frequencies
and to stop at the next broadcasting sta-
tion.
1 to 6 station memory operations
Up to six stations can be registered in the
preset list.
1. Select the AM radio band.
2. Tune to the station you wish to store.
3. Touch and hold one of the preset num- bers in the preset list.
The information such as frequency will be
displayed on the preset list.
To select and listen to the preset stations,
push
oron the steering wheel
briefly or touch a preferred station on the
preset list on the radio screen.
LHA4708
4-46Monitor, climate, audio, phone and voice recognition systems
Page 243 of 492
FM radio operation
Press theMENU button and touch the
“FM” key or press the AUDIO button and
select FM on the bottom of the Launch Bar
to bring up the FM display screen.
If another audio source is playing when the
“FM” key is pressed, the audio source play-
ing will automatically be turned off and the
last radio station played will begin playing.
The FM stereo indicator (STEREO) is shown
on the screen during FM stereo reception.
When the stereo broadcast signal is weak,
the radio automatically changes from ste-
reo to monaural reception.
FM Menu
Touch the “FM Menu” key to display the FM
Menu screen options:
• SCAN: To scan tune the stations, touch the “FM Menu” key on the radio screen
and then touch the “SCAN” key. The sta-
tions will be tuned from low to high fre-
quencies and stop at each broadcasting
stations for several seconds. Touching
the “SCAN” key again during this period of
several seconds will stop tuning and the
radio will remain tuned to that station. • Refresh: Touch the “Refresh” key to up-
date the station list displayed on the right
side of the FM Menu screen.
• RDS Info: Radio station and song informa- tion can be displayed on the FM display
screen.
orbuttons to tune
from low to high or high to low frequencies
and to stop at the next broadcasting sta-
tion.
1 to 12 Station memory operations
Up to 12 stations can be registered in the
preset list.
1. Select the FM radio band.
2. Tune to the station you wish to store.
3. Touch and hold one of the preset num- bers in the preset list.
The information such as frequency will be
displayed on the preset list.
To select and listen to the preset stations,
push
oron the steering wheel
briefly or touch a preferred station on the
preset list on the radio screen.
Auxiliary (AUX) devices operation
Connecting auxiliary devices
Connect an AUX device into the AUX input
jack located on the center console below
the heater and air conditioner controls.
The AUX input jack accepts any standard
analog audio input such as from a portable
cassette player, CD player, MP3 player or
phone.
Insert a 1/8 in (3.5 mm) stereo mini plug in
the audio input jack. If a cable with a mono
plug is used, the audio output may not
function normally.
Activation and playing
Turn on the AUX device. Connect an AUX
cable to the AUX device and the AUX input
jack. Select AUX mode from the audio
source menu screen or by pressing the
Source button on the steering wheel.
Monitor, climate, audio, phone and voice recognition systems4-47
Page 263 of 492
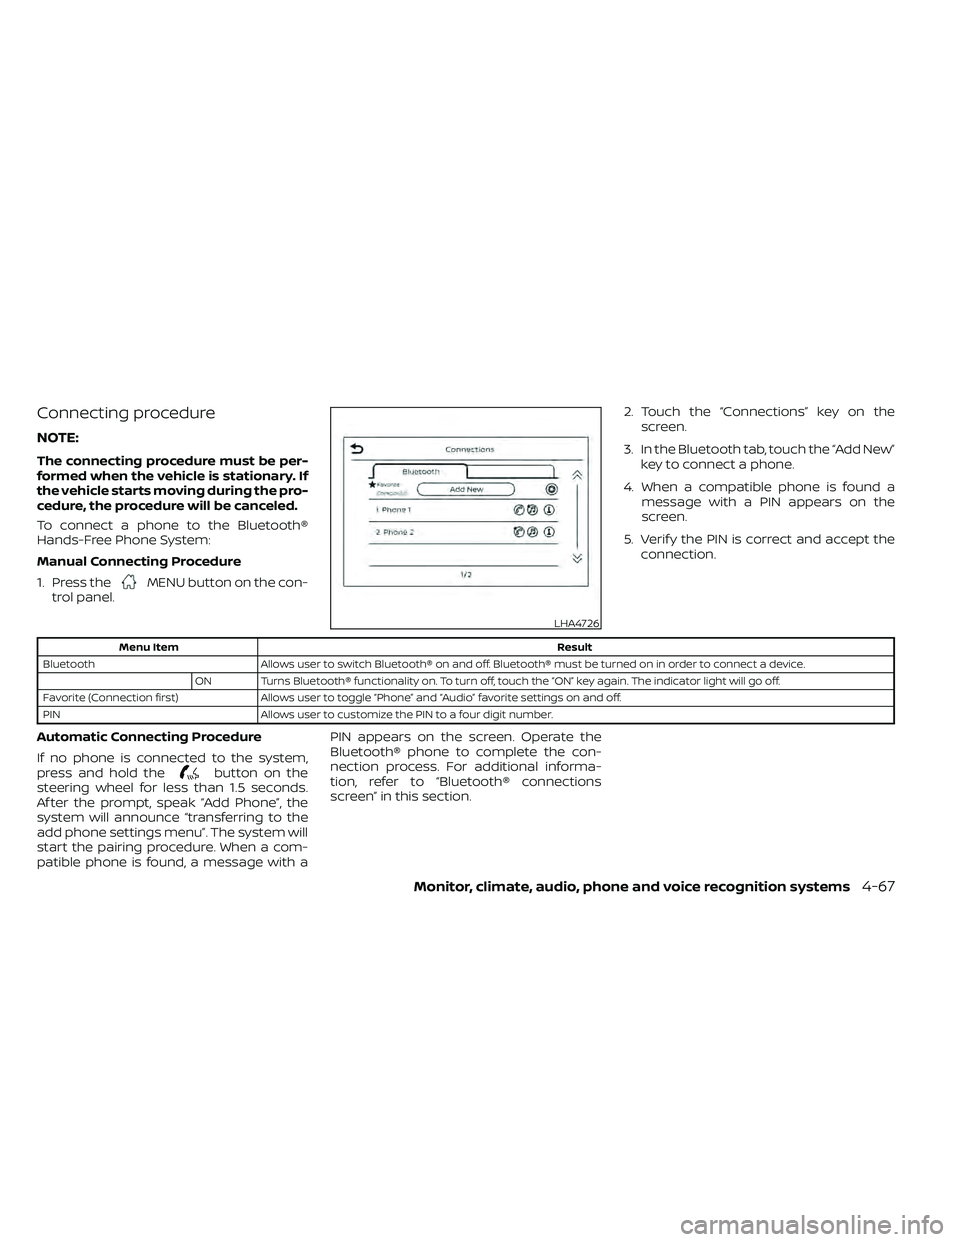
Connecting procedure
NOTE:
The connecting procedure must be per-
formed when the vehicle is stationary. If
the vehicle starts moving during the pro-
cedure, the procedure will be canceled.
To connect a phone to the Bluetooth®
Hands-Free Phone System:
Manual Connecting Procedure
1. Press the
MENU button on the con-
trol panel. 2. Touch the “Connections” key on the
screen.
3. In the Bluetooth tab, touch the “Add New” key to connect a phone.
4. When a compatible phone is found a message with a PIN appears on the
screen.
5. Verif y the PIN is correct and accept the connection.
button on the
steering wheel for less than 1.5 seconds.
Af ter the prompt, speak “Add Phone”, the
system will announce “transferring to the
add phone settings menu”. The system will
start the pairing procedure. When a com-
patible phone is found, a message with a PIN appears on the screen. Operate the
Bluetooth® phone to complete the con-
nection process. For additional informa-
tion, refer to “Bluetooth® connections
screen” in this section.
LHA4726
Page 267 of 492
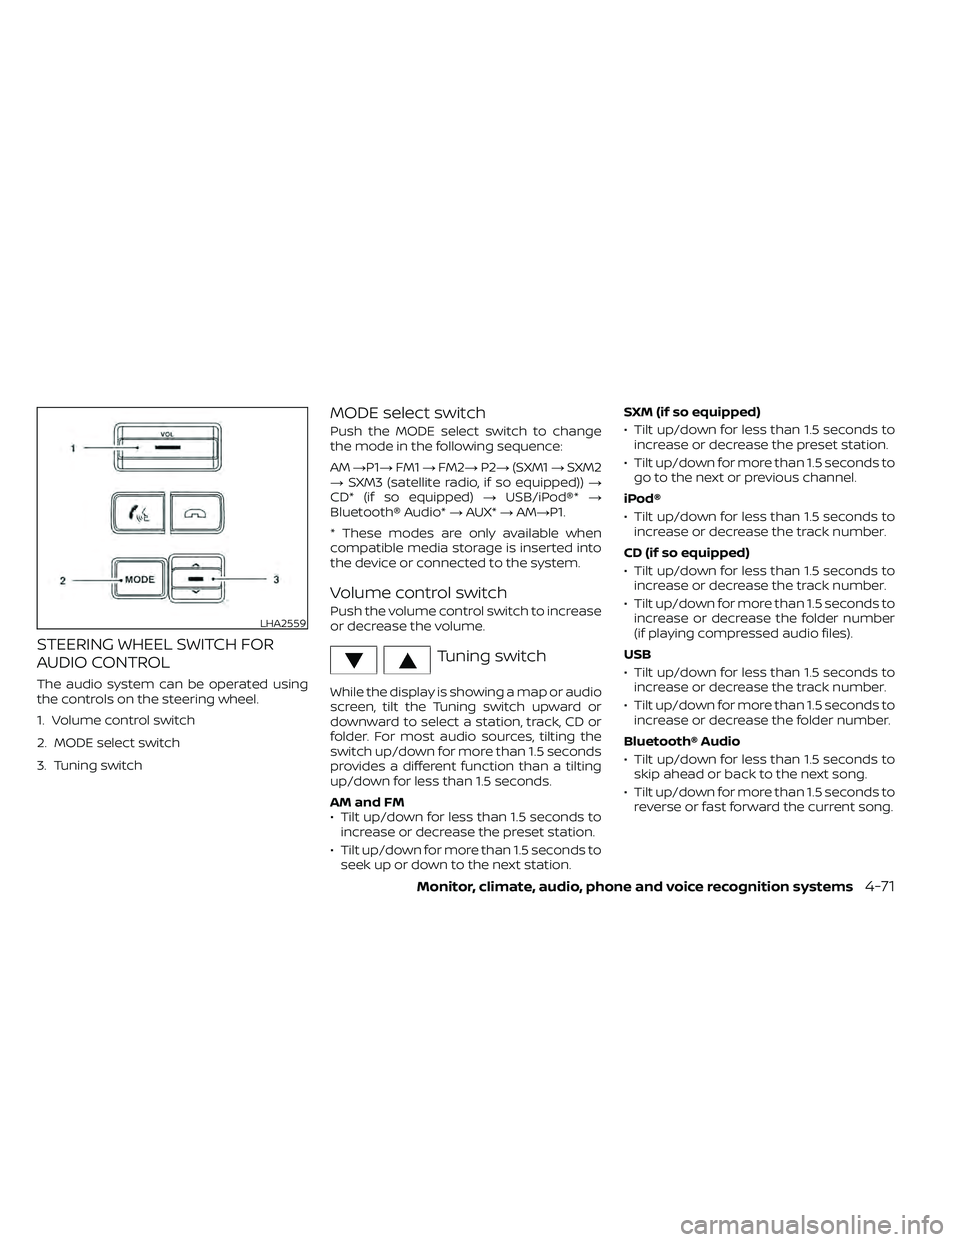
STEERING WHEEL SWITCH FOR
AUDIO CONTROL
The audio system can be operated using
the controls on the steering wheel.
1. Volume control switch
2. MODE select switch
3. Tuning switch
MODE select switch
Push the MODE select switch to change
the mode in the following sequence:
AM→P1→ FM1→FM2→ P2→(SXM1 →SXM2
→ SXM3 (satellite radio, if so equipped)) →
CD* (if so equipped) →USB/iPod®* →
Bluetooth® Audio* →AUX* →AM→P1.
* These modes are only available when
compatible media storage is inserted into
the device or connected to the system.
Volume control switch
Push the volume control switch to increase
or decrease the volume.
Tuning switch
While the display is showing a map or audio
screen, tilt the Tuning switch upward or
downward to select a station, track, CD or
folder. For most audio sources, tilting the
switch up/down for more than 1.5 seconds
provides a different function than a tilting
up/down for less than 1.5 seconds.
AM and FM
• Tilt up/down for less than 1.5 seconds to increase or decrease the preset station.
• Tilt up/down for more than 1.5 seconds to seek up or down to the next station. SXM (if so equipped)
• Tilt up/down for less than 1.5 seconds to
increase or decrease the preset station.
• Tilt up/down for more than 1.5 seconds to go to the next or previous channel.
iPod®
• Tilt up/down for less than 1.5 seconds to increase or decrease the track number.
CD (if so equipped)
• Tilt up/down for less than 1.5 seconds to increase or decrease the track number.
• Tilt up/down for more than 1.5 seconds to increase or decrease the folder number
(if playing compressed audio files).
USB
• Tilt up/down for less than 1.5 seconds to increase or decrease the track number.
• Tilt up/down for more than 1.5 seconds to increase or decrease the folder number.
Bluetooth® Audio
• Tilt up/down for less than 1.5 seconds to skip ahead or back to the next song.
• Tilt up/down for more than 1.5 seconds to reverse or fast forward the current song.
LHA2559