2021 NISSAN ARMADA headlights
[x] Cancel search: headlightsPage 11 of 603

WAA0285X
1. Hood (P.3-21)
2. Windshield wiper and washer— Switch operation (P.2-41)
— Window washer fluid (P.8-10)
— Windshield wiper deicer (if so equipped)
(P.2-45)
3. Moonroof (if so equipped) (P.2-76) 4. Power windows (P.2-73)
5. Roof rack (P.2-72)
6. Sensors
— Camera aiding sonar function (models
with Intelligent Around View® Monitor)
(P.4-24)
— Sonar system (if so equipped) (P.5-135) 7. Towing hook (P.6-19)
8. Front view camera (if so equipped) (P.4-10)
9. Fog light (if so equipped) (P.2-52)
10. Headlights and turn signal lights (P.2-45)
11. Tires
— Wheel and tires (P.8-28, P.10-9)
— Flat tire (P.6-3)
— Tire Pressure Monitoring System
(TPMS) (P.2-15, P.5-5)
12. Outside mirrors (P.3-38) — Side view camera (P.4-10)
— Welcome light (if so equipped) (P.2-77)
13. Side turn signal lights (P.8-24)
14. Doors — Keys (P.3-2)
— Door locks (P.3-4)
— Intelligent Key system (P.3-7)
— Remote keyless entry system (P.3-15)
— Remote engine start (if so equipped)
(P.3-19)
15. Child safety rear door locks (P.3-6)
Illustrated table of contents0-3
EXTERIOR FRONT
Page 110 of 603

2-18Instruments and controls
If the light illuminates when the RAB
system is on, it may indicate that the
system is unavailable. (See “Rear Auto-
matic Braking (RAB)” (P.5-116).)
Vehicle Dynamic Control (VDC)
off indicator light
When the ignition switch is in the ON
position, the Vehicle Dynamic Control
(VDC) off indicator light illuminates and
then turns off.
The light comes on when the VDC off
switch is pushed to OFF. This indicates
that the VDC system is not operating.
When the 4L position is selected with the
Four-Wheel Drive (4WD) shift switch, the
VDC system is disabled and the VDC off
indicator light illuminates. (4WD models)
For additional information, see “Vehicle
Dynamic Control (VDC) system” (P.5-144).
Vehicle Dynamic Control (VDC)
warning light
When the ignition switch is in the ON
position, the Vehicle Dynamic Control
(VDC) warning light illuminates and then
turns off.
The light will blink when the VDC system
or the traction control system is operat-
ing, thus alerting the driver that the vehicle is nearing its traction limits. The
road surface may be slippery.
When the VDC warning light illuminates
when the VDC system is turned on, this
light alerts the driver to the fact that the
VDC system’s fail-safe mode is operating,
for example the VDC or hill start assist
system may not be functioning properly.
Have the system checked. It is recom-
mended you visit a NISSAN dealer for this
service. If a malfunction occurs in the
system, the VDC system function will be
canceled but the vehicle is still driveable.
For additional information, see “Vehicle
Dynamic Control (VDC) system” (P.5-144).
WARNING/INDICATOR LIGHTS
(other)
Exterior light indicator
This indicator illuminates when the head-
light switch is turned to the AUTO,orposition and the front parking lights,
instrument panel lights, rear combination
lights, license plate lights or headlights
are on. The indicator turns off when these
lights are turned off.
Front fog light indicator light
(if so equipped)
The front fog light indicator light illumi-
nates when the front fog lights are on.
(See “Fog light switch” (P.2-52).)
High beam assist indicator
light
The high beam assist indicator light
illuminates when the high beam assist
system is turned on and it is operational.
(See “High beam assist” (P.2-47).)
High beam indicator light
This light comes on when the headlight
high beam is on and goes out when the
low beam is selected.
TOW mode indicator light
This light will illuminate when the TOW
MODE is selected while the engine is
running. (See “TOW mode” (P.5-134).)
Turn signal/hazard indicator
lights
The light flashes when the turn signal
switch lever or hazard switch is turned on.
Page 131 of 603

cannot prevent it, nor can it prevent the
theft of interior or exterior vehicle com-
ponents in all situations. Always secure
your vehicle even if parking for a brief
period. Never leave your Intelligent Key(s)
in the vehicle, and always lock it when
unattended. Be aware of your surround-
ings, and park in secure, well-lit areas
whenever possible.
Many devices offering additional protec-
tion, such as component locks, identifica-
tion markers, and tracking systems, are
available at auto supply stores and speci-
alty shops. Your NISSAN dealer may also
offer such equipment. Check with your
insurance company to see if you may be
eligible for discounts for various theft
protection features.
SIC2045
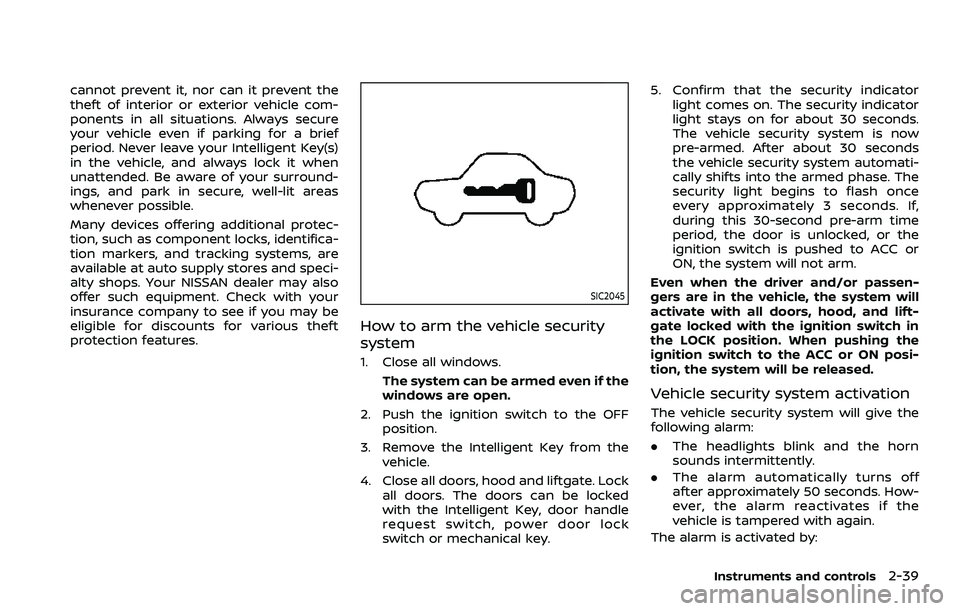
How to arm the vehicle security
system
1. Close all windows.The system can be armed even if the
windows are open.
2. Push the ignition switch to the OFF position.
3. Remove the Intelligent Key from the vehicle.
4. Close all doors, hood and liftgate. Lock all doors. The doors can be locked
with the Intelligent Key, door handle
request switch, power door lock
switch or mechanical key. 5. Confirm that the security indicator
light comes on. The security indicator
light stays on for about 30 seconds.
The vehicle security system is now
pre-armed. After about 30 seconds
the vehicle security system automati-
cally shifts into the armed phase. The
security light begins to flash once
every approximately 3 seconds. If,
during this 30-second pre-arm time
period, the door is unlocked, or the
ignition switch is pushed to ACC or
ON, the system will not arm.
Even when the driver and/or passen-
gers are in the vehicle, the system will
activate with all doors, hood, and lift-
gate locked with the ignition switch in
the LOCK position. When pushing the
ignition switch to the ACC or ON posi-
tion, the system will be released.
Vehicle security system activation
The vehicle security system will give the
following alarm:
. The headlights blink and the horn
sounds intermittently.
. The alarm automatically turns off
after approximately 50 seconds. How-
ever, the alarm reactivates if the
vehicle is tampered with again.
The alarm is activated by:
Instruments and controls2-39
Page 138 of 603

2-46Instruments and controls
HEADLIGHT SWITCH
Lighting
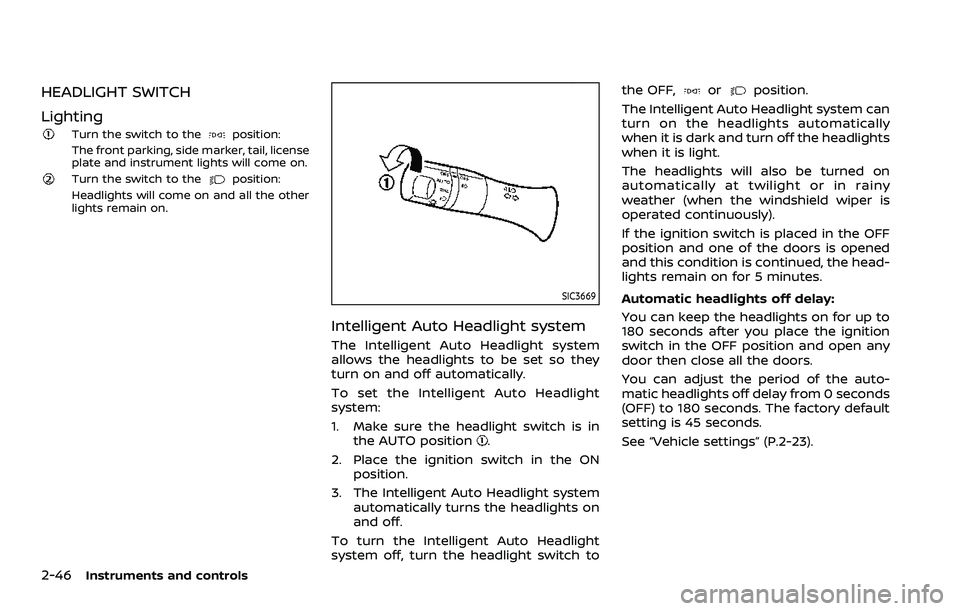
Turn the switch to theposition:
The front parking, side marker, tail, license
plate and instrument lights will come on.
Turn the switch to theposition:
Headlights will come on and all the other
lights remain on.
SIC3669
Intelligent Auto Headlight system
The Intelligent Auto Headlight system
allows the headlights to be set so they
turn on and off automatically.
To set the Intelligent Auto Headlight
system:
1. Make sure the headlight switch is in the AUTO position
.
2. Place the ignition switch in the ON position.
3. The Intelligent Auto Headlight system automatically turns the headlights on
and off.
To turn the Intelligent Auto Headlight
system off, turn the headlight switch to the OFF,
orposition.
The Intelligent Auto Headlight system can
turn on the headlights automatically
when it is dark and turn off the headlights
when it is light.
The headlights will also be turned on
automatically at twilight or in rainy
weather (when the windshield wiper is
operated continuously).
If the ignition switch is placed in the OFF
position and one of the doors is opened
and this condition is continued, the head-
lights remain on for 5 minutes.
Automatic headlights off delay:
You can keep the headlights on for up to
180 seconds after you place the ignition
switch in the OFF position and open any
door then close all the doors.
You can adjust the period of the auto-
matic headlights off delay from 0 seconds
(OFF) to 180 seconds. The factory default
setting is 45 seconds.
See “Vehicle settings” (P.2-23).
Page 139 of 603

SIC3784A
Be sure not to put anything on top of
the photo sensorlocated on the top
of the instrument panel. The photo
sensor controls the Intelligent Auto
Headlight system; if it is covered, the
photo sensor reacts as if it is dark and
the headlights will illuminate.
SIC3670
Headlight beam select
To select the low beam, put the lever in
the neutral position as shown.
To select the high beam, push the lever
forward while the switch is in the
position. Pull it back to select the low
beam.
Pulling the lever toward you will flash the
headlight high beam even when the
headlight switch is in the OFF position.
High beam assist
The high beam assist system will operate
when the vehicle is driven at approxi-
mately 25 MPH (40 km/h) and above.
If an oncoming vehicle or leading vehicle
appears in front of your vehicle when the
headlight high beam is on, the headlight
will be switched to the low beam auto-
matically.
Precautions on high beam assist:
WARNING
. The high beam assist system is a
convenience but it is not a sub-
stitute for safe driving operation.
The driver should remain alert at
all times, ensure safe driving
practices and switch the high
beam and low beam manually
when necessary.
. The high beam or low beam may
not switch automatically under
the following conditions. Switch
the high beam and low beam
manually.
— During bad weather (rain, fog,
snow, wind, etc.).
Instruments and controls2-47
Page 140 of 603

2-48Instruments and controls
— When a light source similar toa headlight or tail light is in
the vicinity of the vehicle.
— When the headlights of the oncoming vehicle or the lead-
ing vehicle are turned off,
when the color of the light is
affected due to foreign mate-
rials on the lights, or when the
light beam is out of position.
— When there is a sudden, con- tinuous change in brightness.
— When driving on a road that passes over rolling hills, or a
road that has level differ-
ences.
— When driving on a road with many curves.
— When a sign or mirror-like surface is reflecting intense
light towards the front of the
vehicle.
— When the container, etc. being towed by a leading vehicle is
reflecting intense light.
— When a headlight on your vehicle is damaged or dirty.
— When the vehicle is leaning at an angle due to a punctured tire, being towed, etc.
. The timing of switching the low
beam and high beam may
change under the following situa-
tions.
— The brightness of the head-
lights of the oncoming vehicle
or leading vehicle.
— The movement and direction of the oncoming vehicle and
the leading vehicle.
— When only one light on the oncoming vehicle or the lead-
ing vehicle is illuminated.
— When the oncoming vehicle or the leading vehicle is a two-
wheeled vehicle.
— Road conditions (incline, curve, the road surface, etc.).
— The number of passengers and the amount of luggage.
WAC0149X
High beam assist operations:
To activate the high beam assist system,
turn the headlight switch to the AUTO
position
and push the lever forward(high beam position). The high beam
assist indicator light in the meter will
illuminate while the headlights are turned
on.
If the high beam assist indicator light
does not illuminate in the above condi-
tion, it may indicate that the system is not
functioning properly. Have the system
checked by a NISSAN dealer.
When the vehicle speed lowers to less
than approximately 16 MPH (25 km/h), the
headlight remains the low beam.
Page 142 of 603

2-50Instruments and controls
be discharged.
. Never leave the light switch on
when the engine is not running
for extended periods of time even
if the headlights turn off auto-
matically.
Daytime running light system
The daytime running lights automatically
illuminate when the engine is started with
the parking brake released. The daytime
running lights operate with the headlight
switch in the OFF position or in the
position. Turn the headlight switch to theposition for full illumination when
driving at night.
If the parking brake is applied before the
engine is started, the daytime running
lights do not illuminate. The daytime
running lights illuminate once the parking
brake is released. The daytime running
lights will remain on until the ignition
switch is pushed to the OFF position.
WARNING
When the daytime running light sys-
tem is active, tail lights on your
vehicle are not on. It is necessary at
dusk to turn on your headlights. Failure to do so could cause an
accident injuring yourself and
others.
SIC4378
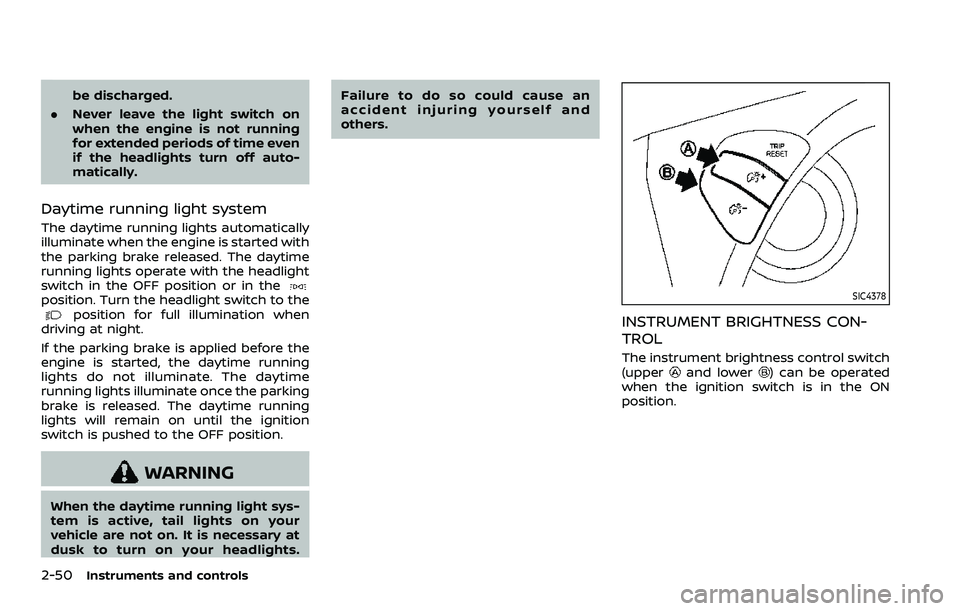
INSTRUMENT BRIGHTNESS CON-
TROL
The instrument brightness control switch
(upperand lower) can be operated
when the ignition switch is in the ON
position.
Page 144 of 603

2-52Instruments and controls
SIC3672
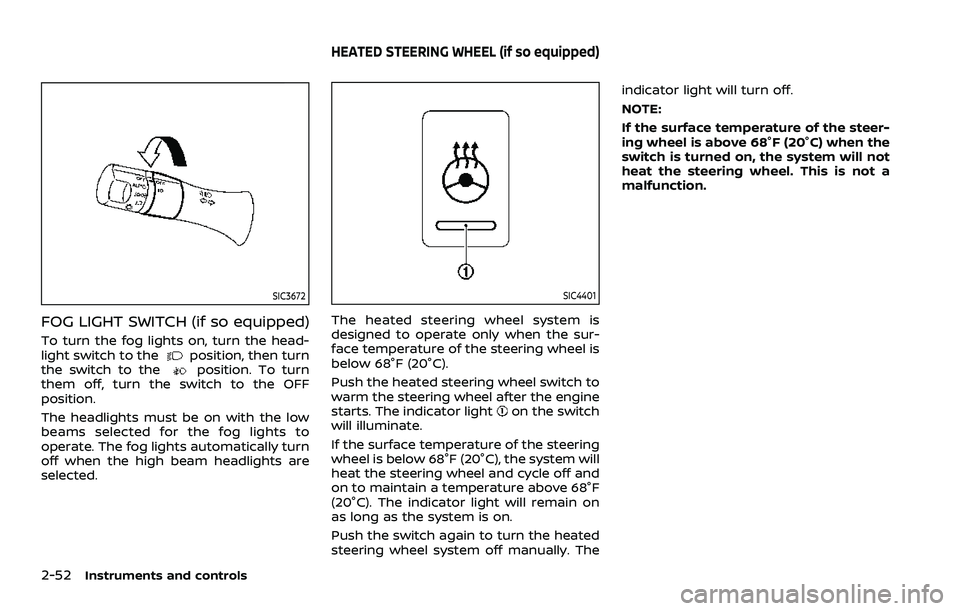
FOG LIGHT SWITCH (if so equipped)
To turn the fog lights on, turn the head-
light switch to theposition, then turn
the switch to theposition. To turn
them off, turn the switch to the OFF
position.
The headlights must be on with the low
beams selected for the fog lights to
operate. The fog lights automatically turn
off when the high beam headlights are
selected.
SIC4401
The heated steering wheel system is
designed to operate only when the sur-
face temperature of the steering wheel is
below 68°F (20°C).
Push the heated steering wheel switch to
warm the steering wheel after the engine
starts. The indicator light
on the switch
will illuminate.
If the surface temperature of the steering
wheel is below 68°F (20°C), the system will
heat the steering wheel and cycle off and
on to maintain a temperature above 68°F
(20°C). The indicator light will remain on
as long as the system is on.
Push the switch again to turn the heated
steering wheel system off manually. The indicator light will turn off.
NOTE:
If the surface temperature of the steer-
ing wheel is above 68°F (20°C) when the
switch is turned on, the system will not
heat the steering wheel. This is not a
malfunction.
HEATED STEERING WHEEL (if so equipped)