2021 NISSAN ARMADA ECU
[x] Cancel search: ECUPage 131 of 603
cannot prevent it, nor can it prevent the
theft of interior or exterior vehicle com-
ponents in all situations. Always secure
your vehicle even if parking for a brief
period. Never leave your Intelligent Key(s)
in the vehicle, and always lock it when
unattended. Be aware of your surround-
ings, and park in secure, well-lit areas
whenever possible.
Many devices offering additional protec-
tion, such as component locks, identifica-
tion markers, and tracking systems, are
available at auto supply stores and speci-
alty shops. Your NISSAN dealer may also
offer such equipment. Check with your
insurance company to see if you may be
eligible for discounts for various theft
protection features.
SIC2045
How to arm the vehicle security
system
1. Close all windows.The system can be armed even if the
windows are open.
2. Push the ignition switch to the OFF position.
3. Remove the Intelligent Key from the vehicle.
4. Close all doors, hood and liftgate. Lock all doors. The doors can be locked
with the Intelligent Key, door handle
request switch, power door lock
switch or mechanical key. 5. Confirm that the security indicator
light comes on. The security indicator
light stays on for about 30 seconds.
The vehicle security system is now
pre-armed. After about 30 seconds
the vehicle security system automati-
cally shifts into the armed phase. The
security light begins to flash once
every approximately 3 seconds. If,
during this 30-second pre-arm time
period, the door is unlocked, or the
ignition switch is pushed to ACC or
ON, the system will not arm.
Even when the driver and/or passen-
gers are in the vehicle, the system will
activate with all doors, hood, and lift-
gate locked with the ignition switch in
the LOCK position. When pushing the
ignition switch to the ACC or ON posi-
tion, the system will be released.
Vehicle security system activation
The vehicle security system will give the
following alarm:
. The headlights blink and the horn
sounds intermittently.
. The alarm automatically turns off
after approximately 50 seconds. How-
ever, the alarm reactivates if the
vehicle is tampered with again.
The alarm is activated by:
Instruments and controls2-39
Page 132 of 603

2-40Instruments and controls
.Unlocking the door or opening the
liftgate without using the button on
the Intelligent Key, the door handle
request switch or the mechanical key.
(Even if the door is opened by releas-
ing the door inside lock knob, the
alarm will activate.)
. Opening the hood.
How to stop an activated alarm
The alarm will stop when a door is
unlocked by pushing the unlock button
on the Intelligent Key, the door handle
request switch or using the mechanical
key, or when the ignition switch is pushed
to the ACC or ON position.
If the system does not operate as
described above, it is recommended
you have it checked by a NISSAN dealer.
NISSAN VEHICLE IMMOBILIZER SYS-
TEM
The NISSAN Vehicle Immobilizer System
will not allow the engine to start without
the use of the registered Intelligent Key.
Never leave these keys in the vehicle.
FCC Notice:
For USA:
This device complies with Part 15 of the
FCC Rules. Operation is subject to the
following two conditions: (1) This device
may not cause harmful interference, and (2) this device must accept any
interference received, including inter-
ference that may cause undesired op-
eration.
NOTE:
Changes or modifications not expressly
approved by the party responsible for
compliance could void the user’s
authority to operate the equipment.
For Canada:
This device complies with Industry Ca-
nada licence-exempt RSS standard(s).
Operation is subject to the following
two conditions: (1) this device may not
cause interference, and (2) this device
must accept any interference, including
interference that may cause undesired
operation of the device.
SIC2045
Security indicator light
The security indicator light is located on
the meter panel. It indicates the status of
the NISSAN Vehicle Immobilizer System.
The light blinks after the ignition switch
was in the ACC, OFF and LOCK position.
This function indicates the security sys-
tems equipped on the vehicle are opera-
tional.
If the NISSAN Vehicle Immobilizer System
is malfunctioning, this light will remain on
while the ignition switch is in the ON
position.
If the light still remains on and/or the
engine will not start, seek service for
Page 163 of 603
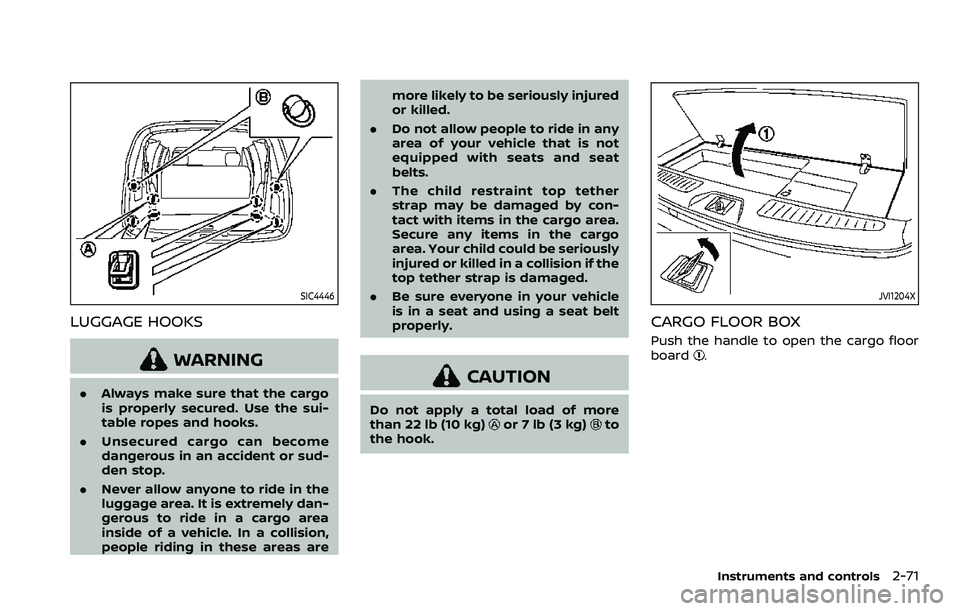
SIC4446
LUGGAGE HOOKS
WARNING
.Always make sure that the cargo
is properly secured. Use the sui-
table ropes and hooks.
. Unsecured cargo can become
dangerous in an accident or sud-
den stop.
. Never allow anyone to ride in the
luggage area. It is extremely dan-
gerous to ride in a cargo area
inside of a vehicle. In a collision,
people riding in these areas are more likely to be seriously injured
or killed.
. Do not allow people to ride in any
area of your vehicle that is not
equipped with seats and seat
belts.
. The child restraint top tether
strap may be damaged by con-
tact with items in the cargo area.
Secure any items in the cargo
area. Your child could be seriously
injured or killed in a collision if the
top tether strap is damaged.
. Be sure everyone in your vehicle
is in a seat and using a seat belt
properly.CAUTION
Do not apply a total load of more
than 22 lb (10 kg)or 7 lb (3 kg)to
the hook.
JVI1204X
CARGO FLOOR BOX
Push the handle to open the cargo floor
board.
Instruments and controls2-71
Page 164 of 603
2-72Instruments and controls
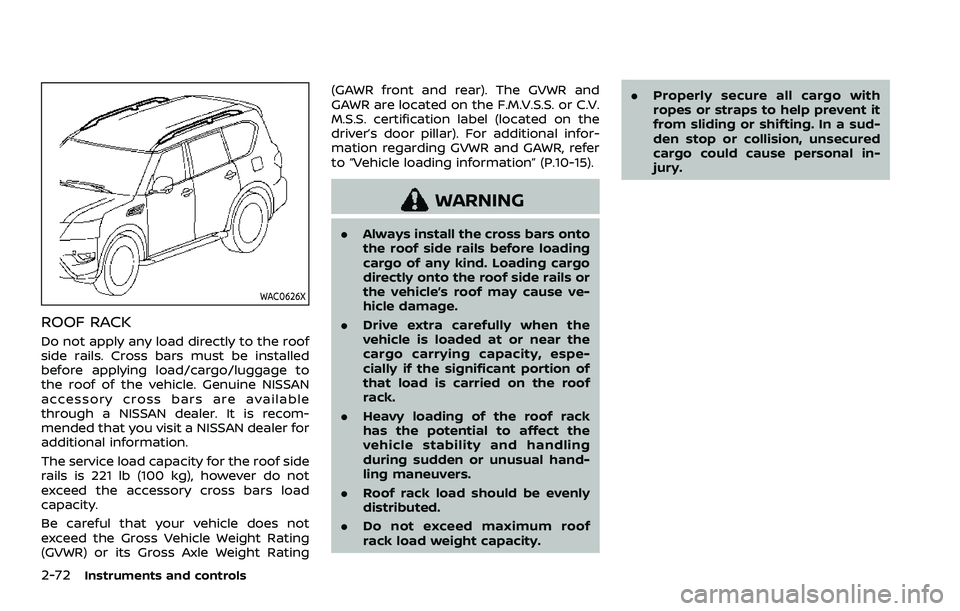
WAC0626X
ROOF RACK
Do not apply any load directly to the roof
side rails. Cross bars must be installed
before applying load/cargo/luggage to
the roof of the vehicle. Genuine NISSAN
accessory cross bars are available
through a NISSAN dealer. It is recom-
mended that you visit a NISSAN dealer for
additional information.
The service load capacity for the roof side
rails is 221 lb (100 kg), however do not
exceed the accessory cross bars load
capacity.
Be careful that your vehicle does not
exceed the Gross Vehicle Weight Rating
(GVWR) or its Gross Axle Weight Rating(GAWR front and rear). The GVWR and
GAWR are located on the F.M.V.S.S. or C.V.
M.S.S. certification label (located on the
driver’s door pillar). For additional infor-
mation regarding GVWR and GAWR, refer
to “Vehicle loading information” (P.10-15).
WARNING
.
Always install the cross bars onto
the roof side rails before loading
cargo of any kind. Loading cargo
directly onto the roof side rails or
the vehicle’s roof may cause ve-
hicle damage.
. Drive extra carefully when the
vehicle is loaded at or near the
cargo carrying capacity, espe-
cially if the significant portion of
that load is carried on the roof
rack.
. Heavy loading of the roof rack
has the potential to affect the
vehicle stability and handling
during sudden or unusual hand-
ling maneuvers.
. Roof rack load should be evenly
distributed.
. Do not exceed maximum roof
rack load weight capacity. .
Properly secure all cargo with
ropes or straps to help prevent it
from sliding or shifting. In a sud-
den stop or collision, unsecured
cargo could cause personal in-
jury.
Page 170 of 603
2-78Instruments and controls
cabin illumination will illuminate when
you approach the vehicle with the Intel-
ligent Key (within approximately 3.3 ft (1
m) of the antenna built inside the door
handles) and the following conditions are
met.
.All doors are closed and locked.
. The ignition switch is in the LOCK or
OFF position.
. The Intelligent Key is outside the
vehicle.
. The puddle light operates within a set
duration.
BATTERY SAVER SYSTEM
The welcome light function will be deac-
tivated automatically to prevent battery
discharge under the following conditions.
To activate the welcome light function
again, unlock any door.
.If the welcome light function does not
operate within a set duration. Note
that the duration is set to 9 days as
the factory default setting.
. If the welcome light function is acti-
vated 15 consecutive times when you
approach and leave the vehicle with
the Intelligent Key without the doors
being unlocked.
CAUTION
.Turn off the lights when you leave
the vehicle.
. Do not use the lights for extended
periods of time with the engine
stopped. This could result in a
discharged battery.
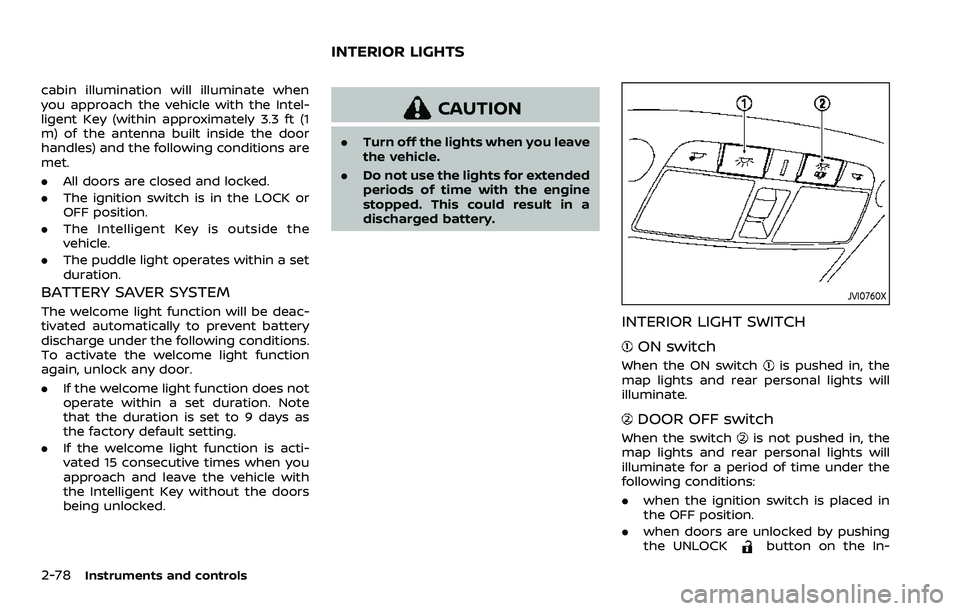
JVI0760X
INTERIOR LIGHT SWITCH
ON switch
When the ON switchis pushed in, the
map lights and rear personal lights will
illuminate.
DOOR OFF switch
When the switchis not pushed in, the
map lights and rear personal lights will
illuminate for a period of time under the
following conditions:
. when the ignition switch is placed in
the OFF position.
. when doors are unlocked by pushing
the UNLOCK
button on the In-
INTERIOR LIGHTS
Page 173 of 603
The HomeLink® Universal Transceiver
provides a convenient way to consolidate
the functions of up to three individual
hand-held transmitters into one built-in
device.
HomeLink® Universal Transceiver:
.Will operate most Radio Frequency
(RF) devices such as garage doors,
gates, home and office lighting, entry
door locks and security systems.
. Is powered by your vehicle’s battery.
No separate batteries are required. If
the vehicle’s battery is discharged or is
disconnected, HomeLink® will retain
all programming.
When the HomeLink® Universal Trans-
ceiver is programmed, retain the origi-
nal transmitter for future programming
procedures (Example: new vehicle pur-
chases). Upon sale of the vehicle, the
programmed HomeLink® Universal
Transceiver buttons should be erased
for security purposes. For additional
information, refer to “Programming
HomeLink®” (P.2-81).
WARNING
. Do not use the HomeLink® Uni-
versal Transceiver with any gar-
age door opener that lacks safety stop and reverse features as re-
quired by federal safety stan-
dards. (These standards became
effective for opener models man-
ufactured after April 1, 1982). A
garage door opener which cannot
detect an object in the path of a
closing garage door and then
automatically stop and reverse,
does not meet current federal
safety standards. Using a garage
door opener without these fea-
tures increases the risk of serious
injury or death.
. During the programming proce-
dure your garage door or security
gate will open and close (if the
transmitter is within range). Make
sure that people or objects are
clear of the garage door, gate,
etc. that you are programming.
. Your vehicle’s engine should be
turned off while programming
the HomeLink® Universal Trans-
ceiver. Do not breathe exhaust
gases; they contain colorless
and odorless carbon monoxide.
Carbon monoxide is dangerous. It
can cause unconsciousness or
death.
PROGRAMMING HomeLink®
The following steps show generic instruc-
tions how to program a HomeLink®
button. If you have any questions or are
having difficulty programming your
HomeLink® buttons, refer to the
HomeLink® web site at: www.homelink.
com/nissan or call 1-800-355-3515.
NOTE:
It is also recommended that a new
battery be placed in the hand-held
transmitter of the device being pro-
grammed to HomeLink® for quicker
programming and accurate transmis-
sion of the radio-frequency.
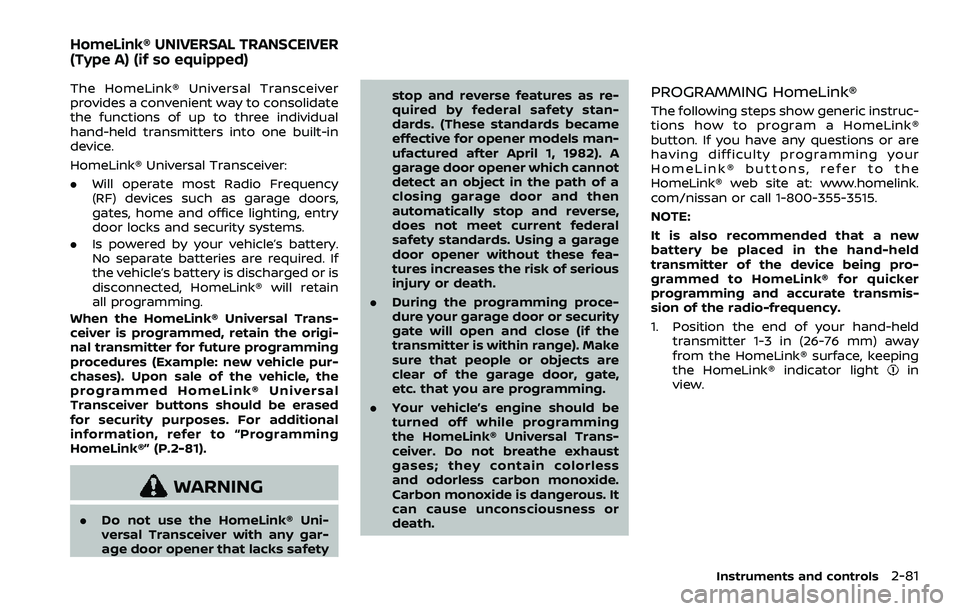
1. Position the end of your hand-held
transmitter 1-3 in (26-76 mm) away
from the HomeLink® surface, keeping
the HomeLink® indicator light
in
view.
Instruments and controls2-81
HomeLink® UNIVERSAL TRANSCEIVER
(Type A) (if so equipped)
Page 177 of 603

The HomeLink® Universal Transceiver
provides a convenient way to consolidate
the functions of up to three individual
hand-held transmitters into one built-in
device.
HomeLink® Universal Transceiver:
.Will operate most Radio Frequency
(RF) devices such as garage doors,
gates, home and office lighting, entry
door locks and security systems.
. Is powered by your vehicle’s battery.
No separate batteries are required. If
the vehicle’s battery is discharged or is
disconnected, HomeLink® will retain
all programming.
When the HomeLink® Universal Trans-
ceiver is programmed, retain the origi-
nal transmitter for future programming
procedures (Example: new vehicle pur-
chases). Upon sale of the vehicle, the
programmed HomeLink® Universal
Transceiver buttons should be erased
for security purposes. For additional
information, refer to “Programming
HomeLink®” (P.2-85).
WARNING
. Do not use the HomeLink® Uni-
versal Transceiver with any gar-
age door opener that lacks safety stop and reverse features as re-
quired by federal safety stan-
dards. (These standards became
effective for opener models man-
ufactured after April 1, 1982). A
garage door opener which cannot
detect an object in the path of a
closing garage door and then
automatically stop and reverse,
does not meet current federal
safety standards. Using a garage
door opener without these fea-
tures increases the risk of serious
injury or death.
. During the programming proce-
dure your garage door or security
gate will open and close (if the
transmitter is within range). Make
sure that people or objects are
clear of the garage door, gate,
etc. that you are programming.
. Your vehicle’s engine should be
turned off while programming
the HomeLink® Universal Trans-
ceiver. Do not breathe exhaust
gases; they contain colorless
and odorless carbon monoxide.
Carbon monoxide is dangerous. It
can cause unconsciousness or
death. NOTE:
If your vehicle is equipped with Intelli-
gent Rear View Mirror, you may have to
complete additional programming to
enable Two-Way Communication. The
mirror can provide the status of your
garage door (open/close).
PROGRAMMING HomeLink®
The following steps show generic instruc-
tions how to program a HomeLink®
button. If you have any questions or are
having difficulty programming your
HomeLink® buttons, refer to the
HomeLink® web site at: www.homelink.
com/nissan or call 1-800-355-3515.
NOTE:
It is also recommended that a new
battery be placed in the hand-held
transmitter of the device being pro-
grammed to HomeLink® for quicker
programming and accurate transmis-
sion of the radio-frequency.
Instruments and controls2-85
HomeLink® UNIVERSAL TRANSCEIVER
(Type B) (if so equipped)
Page 179 of 603
.If the indicator light rapidly flashesin green, firmly press, hold for two
seconds and release the
HomeLink® button up to three
times to complete the program-
ming process. Do not press the
HomeLink® button rapidly. At this
point if your device operates, pro-
gramming is complete. If the device
does not operate or operates but
no door status indicator with Two-
Way Communication
*1, continue
with the next step of the program-
ming instructions.
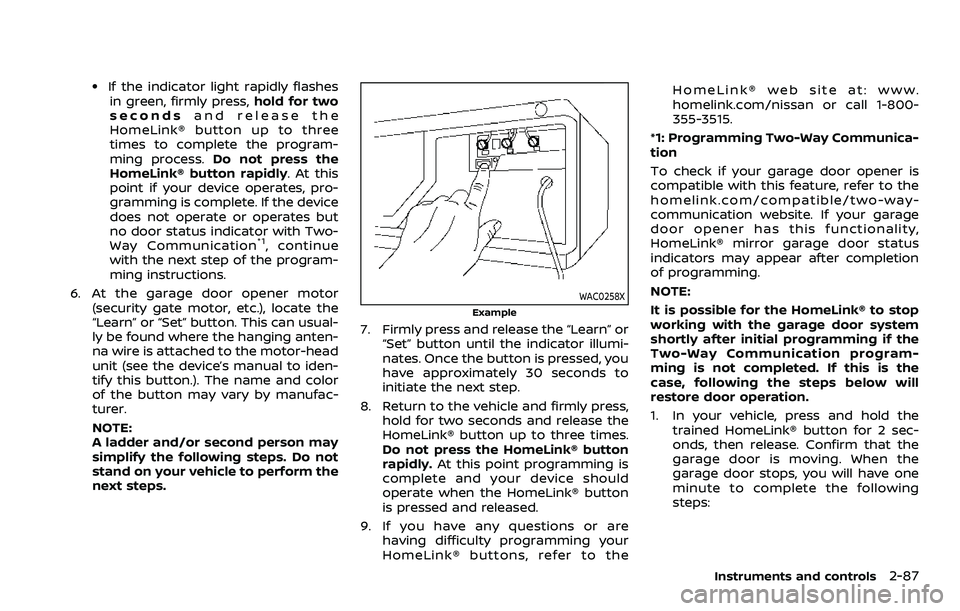
6. At the garage door opener motor (security gate motor, etc.), locate the
“Learn” or “Set” button. This can usual-
ly be found where the hanging anten-
na wire is attached to the motor-head
unit (see the device’s manual to iden-
tify this button.). The name and color
of the button may vary by manufac-
turer.
NOTE:
A ladder and/or second person may
simplify the following steps. Do not
stand on your vehicle to perform the
next steps.
WAC0258X
Example
7. Firmly press and release the “Learn” or“Set” button until the indicator illumi-
nates. Once the button is pressed, you
have approximately 30 seconds to
initiate the next step.
8. Return to the vehicle and firmly press, hold for two seconds and release the
HomeLink® button up to three times.
Do not press the HomeLink® button
rapidly. At this point programming is
complete and your device should
operate when the HomeLink® button
is pressed and released.
9. If you have any questions or are having difficulty programming your
HomeLink® buttons, refer to the HomeLink® web site at: www.
homelink.com/nissan or call 1-800-
355-3515.
*1: Programming Two-Way Communica-
tion
To check if your garage door opener is
compatible with this feature, refer to the
homelink.com/compatible/two-way-
communication website. If your garage
door opener has this functionality,
HomeLink® mirror garage door status
indicators may appear after completion
of programming.
NOTE:
It is possible for the HomeLink® to stop
working with the garage door system
shortly after initial programming if the
Two-Way Communication program-
ming is not completed. If this is the
case, following the steps below will
restore door operation.
1. In your vehicle, press and hold the trained HomeLink® button for 2 sec-
onds, then release. Confirm that the
garage door is moving. When the
garage door stops, you will have one
minute to complete the following
steps:
Instruments and controls2-87