2021 LINCOLN CORSAIR radio
[x] Cancel search: radioPage 76 of 638

Audio System Volume Limit
The audio system maximum volume is
reduced. A message appears in the
information display if you attempt to exceed
the volume limit. Automatic volume control
turns off.
Emergency Assistance
If you set emergency assistance to always
on, you cannot switch it off with a MyKey.
Do Not Disturb
If you set do not disturb to always on, you
cannot switch it off with a MyKey.
Note:
If a phone is connected using Apple
CarPlay or Android Auto while driving with
a MyKey, the driver can receive phone calls
and text messages even if the do not disturb
restriction is on. If the vehicle comes with
satellite radio, the adult content is not
restricted.
Traction Control
If you set traction control to always on, you
cannot switch it off with a MyKey. CREATING A MYKEY
1. Open the center console lid.
2. Place the passive key in the position
shown.
3. Switch the ignition on.
4. Press Settings on the touchscreen.
5. Press
Vehicle Settings.
6. Press
MyKey.
7. Press
Create MyKey.
8. Press
Yes.
9. Switch the ignition off. Note:
We recommend that you label this key.
PROGRAMMING A MYKEY
You can only program each MyKey to the
same settings.
1. Switch the ignition on using an admin key.
2. Using the touchscreen, press
Menu.
3. Press
Settings.
4. Press
Vehicle.
5. Press
MyKey.
6. Press a setting.
7. Configure the setting.
8. Switch the ignition off.
CLEARING ALL MYKEYS
When you clear all MyKeys, you remove all
restrictions and return all MyKeys to their
original admin key status.
1. Switch the ignition on using an admin key.
73
Corsair (CTF) Canada/United States of America, enUSA, Edition date: 202007, First-Printing MyKey™E306288
Page 182 of 638
Linking a Personal Profile to Your Remote
Control or Mobile Device
You can save preset memory positions for
up to three remote controls by assigning a
remote control to a personal profile using
the touchscreen. You can assign three
additional remote controls set up as Phone
as a Key.
Use the touchscreen to link a remote control,
mobile device or both to a personal profile.
1. Switch the ignition on and leave the
vehicle in park (P).
2. Select the Personal Profiles button under
Settings.
3. Touch the arrow for the profile you wish to link to a remote control or mobile
device.
4. Select remote control, mobile device, or
both.
5. Follow the instructions on the display.
Note: To successfully link a mobile device,
the mobile device must be in your vehicle,
and must have previously been setup as a
remote control for your vehicle. Note:
If more than one linked remote control
is in range, the memory function moves to
the settings of the first key to initiate a
memory recall.
Note: The guest profile consists of existing
settings when there is no driver profile
created. After you create a driver profile, the
guest profile serves as an additional driver
profile.
Note: You cannot link a personalized name,
a memory seat button or a remote control
to a guest profile.
Personal Settings
Personal Profiles allow you to personalize
positional settings such as seats and mirrors,
as well as non-positional settings such as
radio, navigation, driver assist and system
settings. See SYNC™ 3 (page 478). You
cannot change the menu locations and
settings of those personalized features with
Personal Profiles.
Note: Non-positional settings save to the
active driver profile whenever you change
a setting. Note:
You can save positional settings if you
press and hold a memory seat button.
Recalling and Changing a Profile
You can recall a profile by:
• Using a remote control or mobile device
linked to a driver profile to access the
remote start feature, press an unlock
button or open the door with the exterior
door handle.
• Pressing a memory seat button linked to
a driver profile.
• Using the Personal Profiles menu on the
touchscreen.
Note: The recalled profile replaces the
previously active profile. If the active profile
is not your preferred profile, you can change
it using any of the three methods listed.
179
Corsair (CTF) Canada/United States of America, enUSA, Edition date: 202007, First-Printing Seats
Page 191 of 638
Note:
We recommend that upon the sale or
lease termination of your vehicle, you erase
the programmed function buttons for security
reasons. See Clearing the Garage Door
Opener (page 190).
GARAGE DOOR OPENER
LIMITATIONS
Canadian radio-frequency laws require
transmitter signals to time-out (or quit) after
several seconds – which may not be long
enough for HomeLink to pick up the signal.
U.S. gate operators time-out in the same
manner.
Note: If programming a garage door opener
or gate operator, it is advised to unplug the
device during the “cycling” process to
prevent possible overheating. PROGRAMMING THE GARAGE
DOOR OPENER TO YOUR HAND-
HELD TRANSMITTER
This process is to program your in-vehicle
HomeLink function button with your
hand-held transmitter.
Note:
The programming steps below assume
you will be programming HomeLink that was
not previously programmed. If your
HomeLink was previously programmed, you
may need to erase your HomeLink buttons.
See
Clearing the Garage Door Opener
(page 190). 1. With your vehicle parked outside of the
garage, switch your ignition to the on
position, but do not start your vehicle.
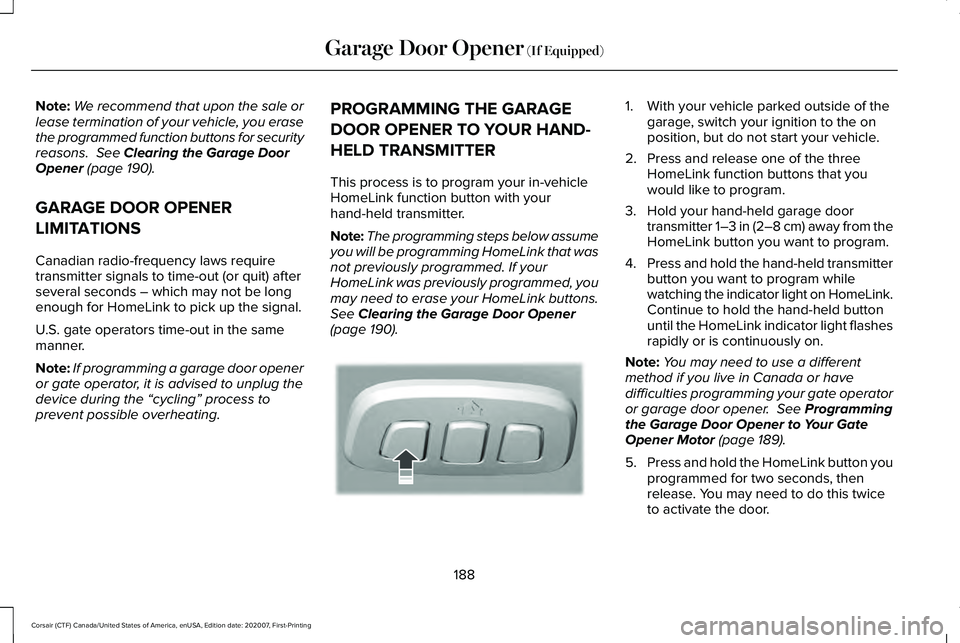
2. Press and release one of the three HomeLink function buttons that you
would like to program.
3. Hold your hand-held garage door transmitter 1–3 in (2–8 cm) away from the
HomeLink button you want to program.
4. Press and hold the hand-held transmitter
button you want to program while
watching the indicator light on HomeLink.
Continue to hold the hand-held button
until the HomeLink indicator light flashes
rapidly or is continuously on.
Note: You may need to use a different
method if you live in Canada or have
difficulties programming your gate operator
or garage door opener.
See Programming
the Garage Door Opener to Your Gate
Opener Motor
(page 189).
5. Press and hold the HomeLink button you
programmed for two seconds, then
release. You may need to do this twice
to activate the door.
188
Corsair (CTF) Canada/United States of America, enUSA, Edition date: 202007, First-Printing Garage Door Opener
(If Equipped)E188212
Page 192 of 638
Note:
If the indicator light stays on, the
programming is complete.
Note: If the HomeLite indicator flashes
rapidly, repeat step 5.
Note: If your device still does not operate,
you must program your garage door. See
Programming the Garage Door Opener to
Your Garage Door Opener Motor (page 189).
6. To program additional buttons, repeat Steps 1 – 4.
PROGRAMMING THE GARAGE
DOOR OPENER TO YOUR GARAGE
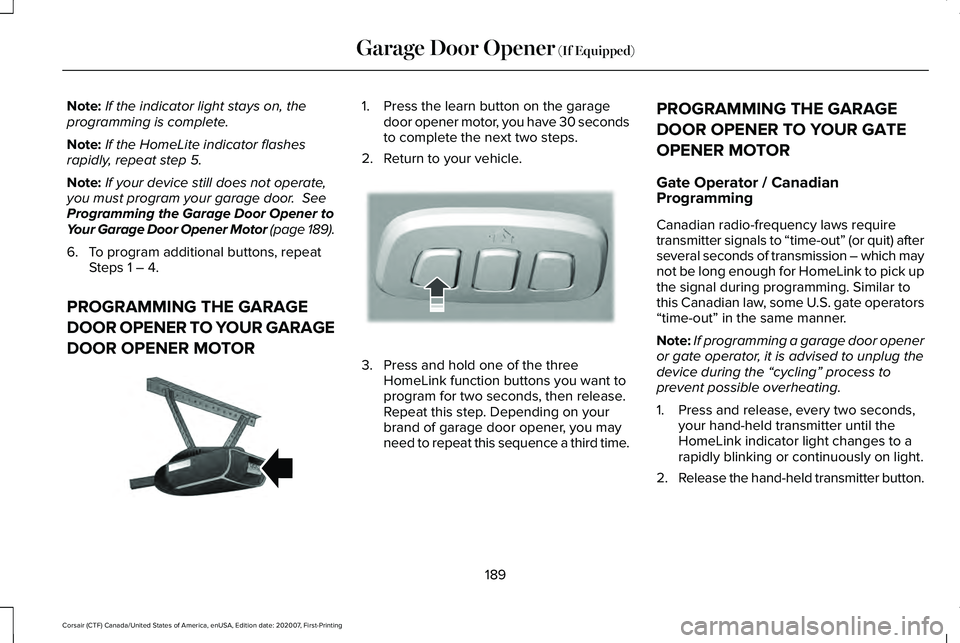
DOOR OPENER MOTOR 1. Press the learn button on the garage
door opener motor, you have 30 seconds
to complete the next two steps.
2. Return to your vehicle. 3. Press and hold one of the three
HomeLink function buttons you want to
program for two seconds, then release.
Repeat this step. Depending on your
brand of garage door opener, you may
need to repeat this sequence a third time. PROGRAMMING THE GARAGE
DOOR OPENER TO YOUR GATE
OPENER MOTOR
Gate Operator / Canadian
Programming
Canadian radio-frequency laws require
transmitter signals to “time-out” (or quit) after
several seconds of transmission – which may
not be long enough for HomeLink to pick up
the signal during programming. Similar to
this Canadian law, some U.S. gate operators
“time-out” in the same manner.
Note:
If programming a garage door opener
or gate operator, it is advised to unplug the
device during the “cycling” process to
prevent possible overheating.
1. Press and release, every two seconds, your hand-held transmitter until the
HomeLink indicator light changes to a
rapidly blinking or continuously on light.
2. Release the hand-held transmitter button.
189
Corsair (CTF) Canada/United States of America, enUSA, Edition date: 202007, First-Printing Garage Door Opener
(If Equipped)E142659 E188212
Page 193 of 638

3. Press and hold the HomeLink function
button you want to program for two
seconds, then release. You may need to
do this twice to activate the door.
Note: If the indicator light stays on, the
programming is complete.
Note: If the HomeLink indicator flashes
rapidly, repeat Step 3.
Note: If your device still does not operate,
you must program your garage door. See
Programming the Garage Door Opener to
Your Garage Door Opener Motor (page 189).
4. To program additional buttons, repeat Steps 1 – 4. CLEARING THE GARAGE DOOR
OPENER 1. Press and hold the outer two function
buttons simultaneously for approximately
10 seconds until the indicator light above
the buttons flashes rapidly.
2. When the indicator light flashes, release
the buttons.
Note: You cannot erase individual buttons. REPROGRAMMING THE GARAGE
DOOR OPENER
To program a device to a previously trained
button, follow these steps:
1. Press and hold the desired button. Do
NOT release the button.
2. The indicator light begins to flash after 20 seconds. Without releasing the
button, follow programming steps.
GARAGE DOOR OPENER RADIO
FREQUENCIES
FCC and RSS-210 Industry Canada
Compliance WARNING: Changes or modifications
not expressively approved by the party
responsible for compliance could void the
user's authority to operate the equipment.
The term "IC:" before the radio certification
number only signifies that Industry Canada
technical specifications were met.
190
Corsair (CTF) Canada/United States of America, enUSA, Edition date: 202007, First-Printing Garage Door Opener
(If Equipped)E188213
Page 197 of 638
FCC ID: L2C0074TR
Canada: 3432A-0074TR
This equipment has been tested and found
to comply with part 18 of the FCC Rules.
•
This equipment generates, uses, and can
radiate radio frequency energy and may
cause harmful interference to radio
communications. There is no guarantee
that interference will not occur in a
particular installation. If this equipment
does cause harmful interference to radio
or television reception, please consult
the dealer.
• This product is not end-user serviceable.
This device contains licence-exempt
transmitter(s)/receiver(s) that comply with
Innovation, Science and Economic
Development Canada's licence-exempt
RSS(s). Operation is subject to the following
two conditions:
• This device may not cause interference.
• This device must accept any interference,
including interference that may cause
undesired operation of the device.
194
Corsair (CTF) Canada/United States of America, enUSA, Edition date: 202007, First-Printing Auxiliary Power Points
Page 199 of 638
GENERAL INFORMATION
WARNING: Extended idling at high
engine speeds can produce very high
temperatures in the engine and exhaust
system, creating the risk of fire or other
damage. WARNING:
Do not park, idle or drive
your vehicle on dry grass or other dry
ground cover. The emission system heats
up the engine compartment and exhaust
system, creating the risk of fire. WARNING:
Do not start the engine
in a closed garage or in other enclosed
areas. Exhaust fumes can be toxic. Always
open the garage door before you start the
engine. WARNING: Exhaust leaks may result
in entry of harmful and potentially lethal
fumes into the passenger compartment. If
you smell exhaust fumes inside your
vehicle, have your vehicle inspected
immediately. Do not drive if you smell
exhaust fumes.
If you disconnect the battery, your vehicle
may exhibit some unusual driving
characteristics for approximately 5 mi (8 km)
after you reconnect it. This is because the
engine management system must realign
itself with the engine. You can disregard any
unusual driving characteristics during this
period.
The powertrain control system meets all
Canadian interference-causing equipment
standard requirements regulating the
impulse electrical field or radio noise.
When you start the engine, avoid pressing
the accelerator pedal before and during
operation. Only use the accelerator pedal
when you have difficulty starting the engine. KEYLESS STARTING
Note:
The keyless starting system may not
function if the key is close to metal objects
or electronic devices such as cellular
phones.
Note: A valid key must be located inside
your vehicle to switch the ignition on and
start the engine.
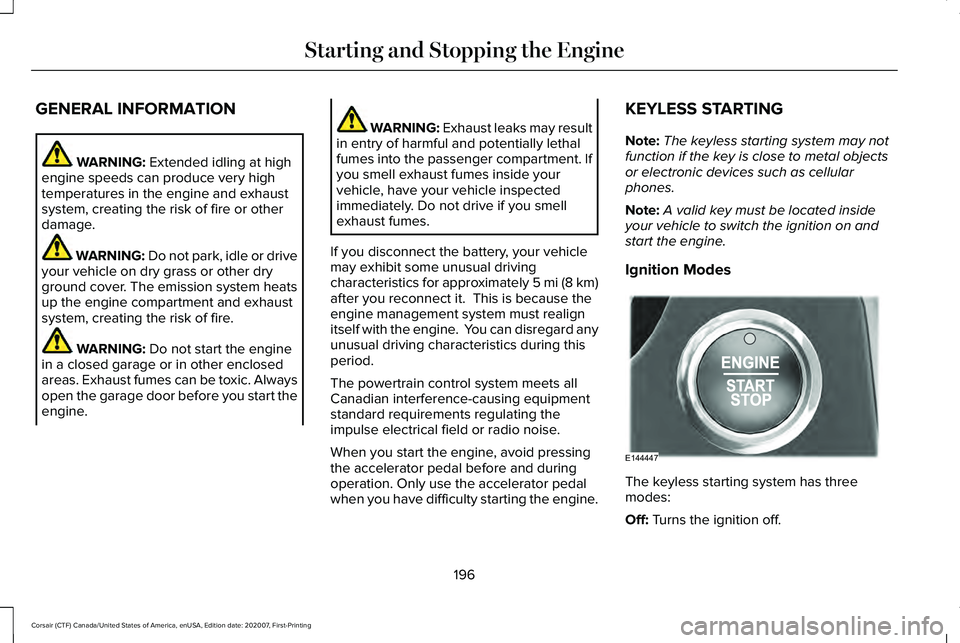
Ignition Modes The keyless starting system has three
modes:
Off:
Turns the ignition off.
196
Corsair (CTF) Canada/United States of America, enUSA, Edition date: 202007, First-Printing Starting and Stopping the EngineE144447
Page 385 of 638

Remove and Reinstall the Battery
To disconnect or remove the battery, do the
following:
1. Apply the parking brake and switch the
ignition off.
2. Switch all electrical equipment off, for example lights and radio.
3. Wait a minimum of two minutes before disconnecting the battery.
Note: The engine management system has
a power hold function and remains powered
for a period of time after you switch the
ignition off. This is to allow diagnostic and
adaptive tables to be stored. Disconnecting
the battery without waiting can cause
damage not covered by the vehicle
Warranty.
4. Disconnect the negative battery cable terminal.
5. Disconnect the positive battery cable terminal.
6. Remove the battery securing clamp.
7. Remove the battery.
8. To install, reverse the removal procedure. Note:
Before reconnecting the battery, make
sure the ignition remains switched off.
Note: Make sure the battery cable terminals
are fully tightened.
If you disconnect or replace the vehicle
battery, you must reset the following
features:
• Window bounce-back. See Windows
and Mirrors (page 112).
• Clock Settings.
• Pre-set radio stations.
• Steering Angle Sensor.
Note: To calibrate the steering angle sensor,
drive the vehicle above
30 mph (50 km/h)
for a minimum of 1.2 mi (2 km). Make sure to
drive straight ahead for a minimum of 30
seconds. Several vehicle functions are
disabled and a warning light could appear
until the sensor is calibrated. Note:
For flexible fuel vehicles, if you are
operating on E85, you could experience poor
starts or an inability to start the engine, and
driveability problems until the fuel trim and
ethanol content have been relearned. Drive
the vehicle at least
10 mi (16 km) to
completely relearn the idle trim and fuel trim
strategy.
Battery Disposal Make sure that you dispose of old
batteries in an environmentally
friendly way. Seek advice from
your local authority about recycling old
batteries.
ADJUSTING THE HEADLAMPS
Vertical Aim Adjustment
The assembly plant properly aims the
headlamps on your vehicle. If your vehicle
has been in an accident, have the alignment
of your headlamps checked by your
authorized dealer.
382
Corsair (CTF) Canada/United States of America, enUSA, Edition date: 202007, First-Printing MaintenanceE107998