2021 HYUNDAI SANTA FE user settings
[x] Cancel search: user settingsPage 101 of 636

4. Instrument cluster
LCD display ........................................................................\
..............................4-29LCD display control ........................................................................\
............................4-29
Vie w modes ........................................................................\
....................................... 4-
30
Trip computer mode
........................................................................\
........................ 4-
31
Turn By Turn (TBT) mode
........................................................................\
................. 4-
31
Driving Assist mode
........................................................................\
......................... 4-
31
Master warning group
........................................................................\
..................... 4-
32
User settings mode
........................................................................\
............................ 4-
33
Trip computer (Type A)........................................................................\
...................... 4-40 Trip modes
........................................................................\
....................................... 4-40
T
rip computer (Type B)........................................................................\
...................... 4-43Trip modes
........................................................................\
....................................... 4-43
4
Page 103 of 636
04
4-5
Instrument cluster control
Instrument panel illumination
When the vehicle’s parking lights or
headlamps are on, press the illumination
control switch to adjust the brightness of
the instrument panel illumination.
When pressing the illumination control
switch, the interior switch illumination
intensity also adjusted.
You can adjust the brightness of the
instrument panel illumination form the
User Settings Mode on the LCD display
when
the ignition s
witch
is on (‘Ligh
ts
→ Illumination
’). When the vehicle’s parking
lights or headlamps are on, interior
switch illumination intensity and mood
lamps are also adjusted.
If your vehicle is equipped with
additional navigation, please refer
to the infotainment system manual
separately supplied.
WARNING
Never adjust the instrument cluster
while driving. This could result in loss
of control and lead to an accident that
may cause death, serious injury, or
vehicle damage.
• The brightness of the instrument
panel illumination is displayed.
• If the brightness reaches to the
maximum or minimum level, a chime
will sound.
Gauges and meters
Speedometer
„„4.2-inch „„12.3-inch
OTM040059LOTM040006L
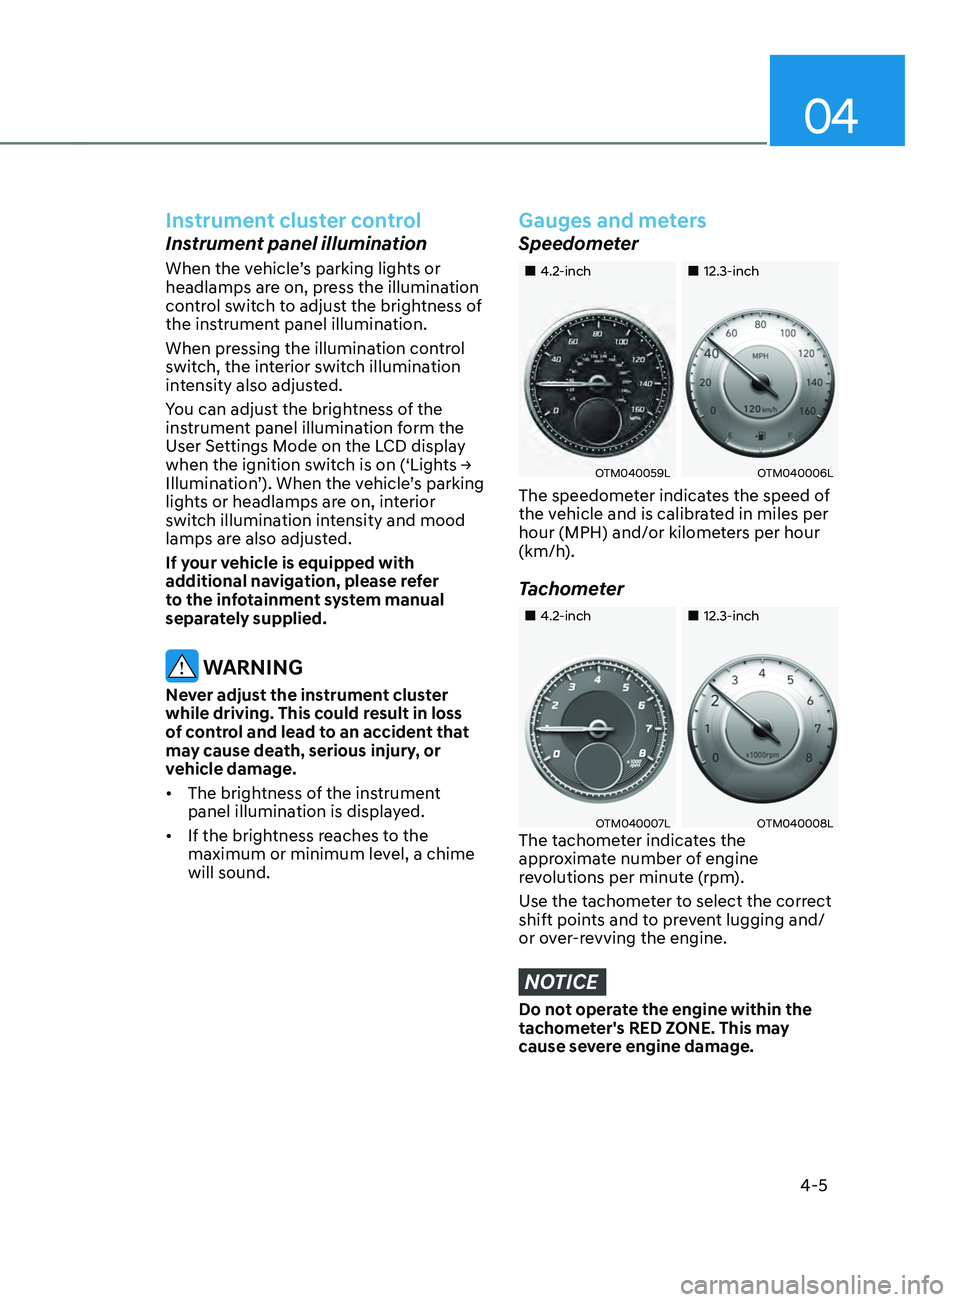
The speedometer indicates the speed of
the vehicle and is calibrated in miles per
hour (MPH) and/or kilometers per hour
(km/h).
Tachometer
„„4.2-inch„„12.3-inch
OTM040007LOTM040008LThe tachometer indicates the
approximate number of engine
revolutions per minute (rpm).
Use the tachometer to select the correct
shift points and to prevent lugging and/
or over-revving the engine.
NOTICE
Do not operate the engine within the
tachometer's RED ZONE. This may
cause severe engine damage.
Page 116 of 636
Instrument cluster
4-18
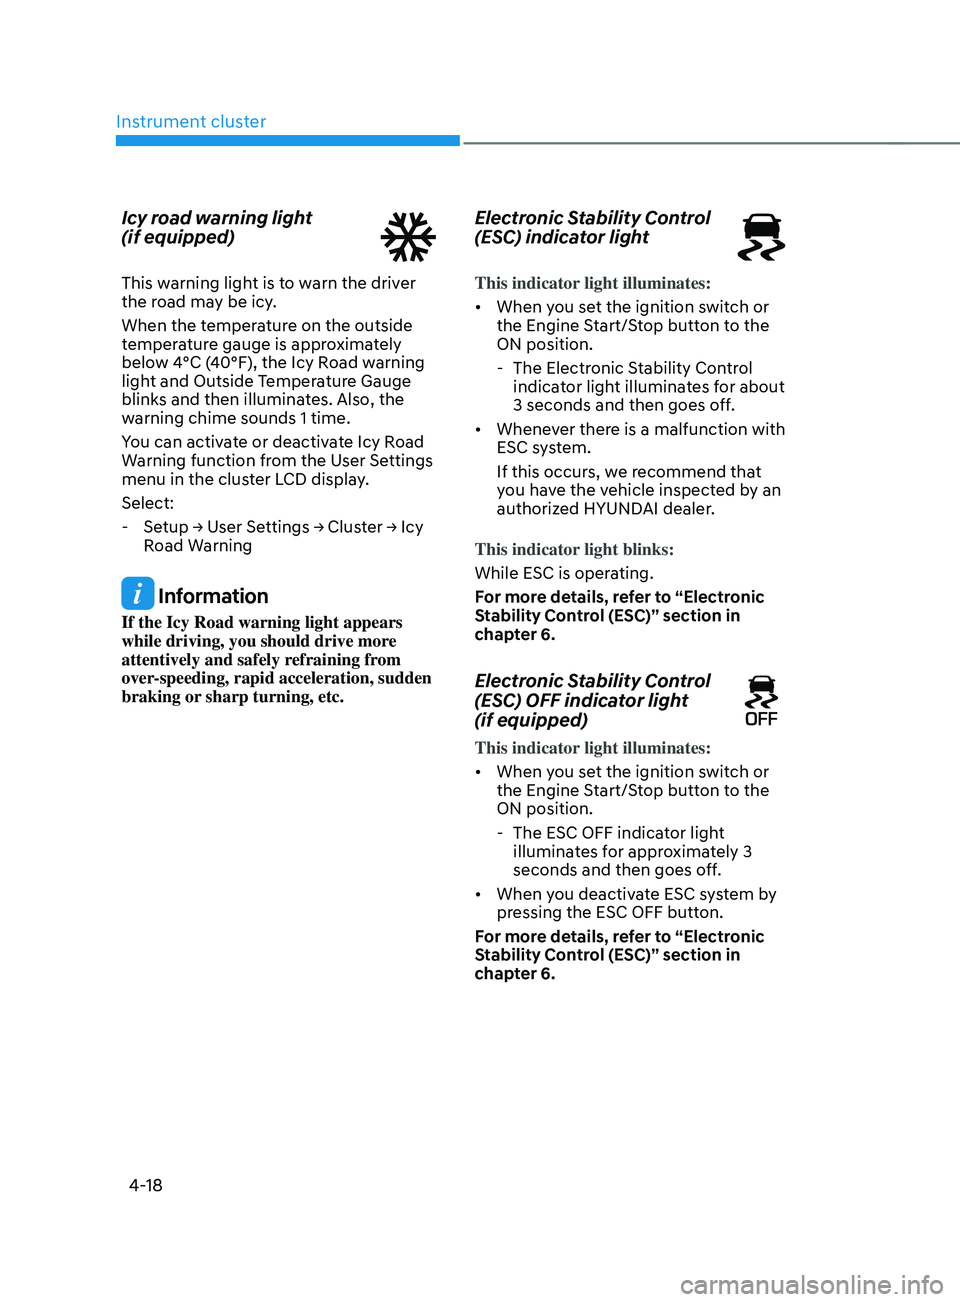
Icy road warning light
(if equipped)
This warning light is to warn the driver
the road may be icy.
When the temperature on the outside
temperature gauge is approximately
below 4°C (40°F), the Icy Road warning
light and Outside Temperature Gauge
blinks and then illuminates. Also, the
warning chime sounds 1 time.
You can activate or deactivate Icy Road
Warning function from the User Settings
menu in the cluster LCD display.
Select:
-Setup → U
ser
Se
ttings
→ Clus
ter
→ I
cy
Road W
arning
Information
If the Icy Road warning light appears
while driving, you should drive more
attentively and safely refraining from
over-speeding, rapid acceleration, sudden
braking or sharp turning, etc.
Electronic Stability Control
(ESC) indicator light
This indicator light illuminates:
• When you set the ignition switch or
the Engine Start/Stop button to the
ON position.
- The Electronic S
tability Control
indicator light illuminates for about
3 seconds and then goes off.
• Whenever there is a malfunction with
ESC system.
If this occurs, we recommend that
you have the vehicle inspected by an
authorized HYUNDAI dealer.
This indicator light blinks:
While ESC is operating.
For more details, refer to “Electronic
Stability Control (ESC)” section in
chapter 6.
Electronic Stability Control
(ESC) OFF indicator light
(if equipped)
This indicator light illuminates:
• When you set the ignition switch or
the Engine Start/Stop button to the
ON position.
- The ESC OFF indicat
or light
illuminates for approximately 3
seconds and then goes off.
• When you deactivate ESC system by
pressing the ESC OFF button.
For more details, refer to “Electronic
Stability Control (ESC)” section in
chapter 6.
Page 124 of 636
Instrument cluster
4-26
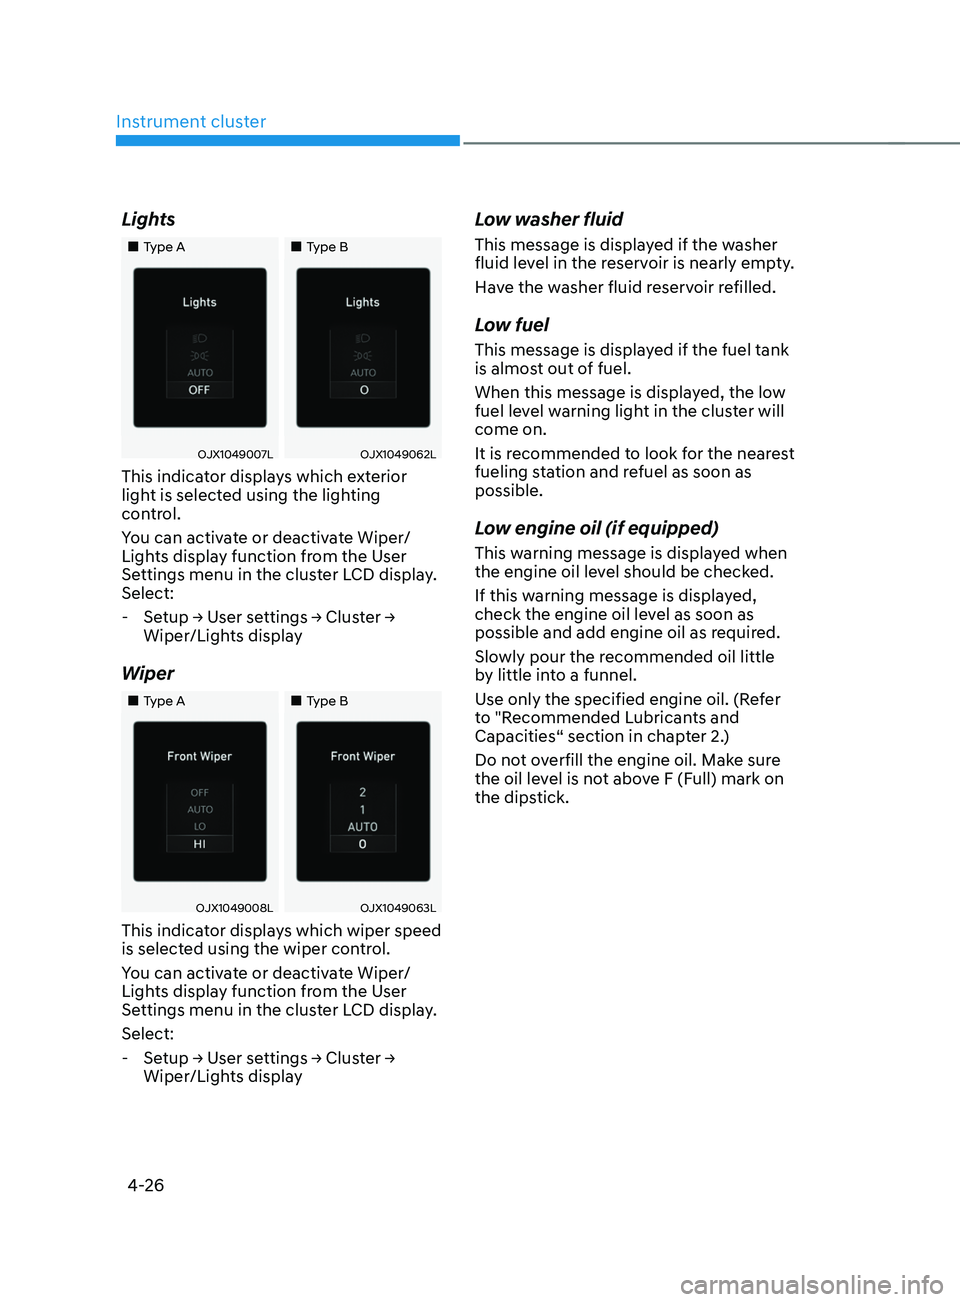
Lights
„„Type A„„Type B
OJX1049007LOJX1049062L
This indicator displays which exterior
light is selected using the lighting
control.
You can activate or deactivate Wiper/
Lights display function from the User
Settings menu in the cluster LCD display.
Select:
-Setup → U
ser
se
ttings
→ Clus
ter
→ Wiper/Lights displa
y
Wiper
„„Type A „„Type B
OJX1049008LOJX1049063L
This indicator displays which wiper speed
is selected using the wiper control.
You can activate or deactivate Wiper/
Lights display function from the User
Settings menu in the cluster LCD display.
Select:
-Setup → U
ser
se
ttings
→ Clus
ter
→ Wiper/Lights displa
y
Low washer fluid
This message is displayed if the washer
fluid level in the reservoir is nearly empty.
Have the washer fluid reservoir refilled.
Low fuel
This message is displayed if the fuel tank
is almost out of fuel.
When this message is displayed, the low
fuel level warning light in the cluster will
come on.
It is recommended to look for the nearest
fueling station and refuel as soon as
possible.
Low engine oil (if equipped)
This warning message is displayed when
the engine oil level should be checked.
If this warning message is displayed,
check the engine oil level as soon as
possible and add engine oil as required.
Slowly pour the recommended oil little
by little into a funnel.
Use only the specified engine oil. (Refer
to "Recommended Lubricants and
Capacities“ section in chapter 2.)
Do not overfill the engine oil. Make sure
the oil level is not above F (Full) mark on
the dipstick.
Page 128 of 636
Instrument cluster4-30
View modes
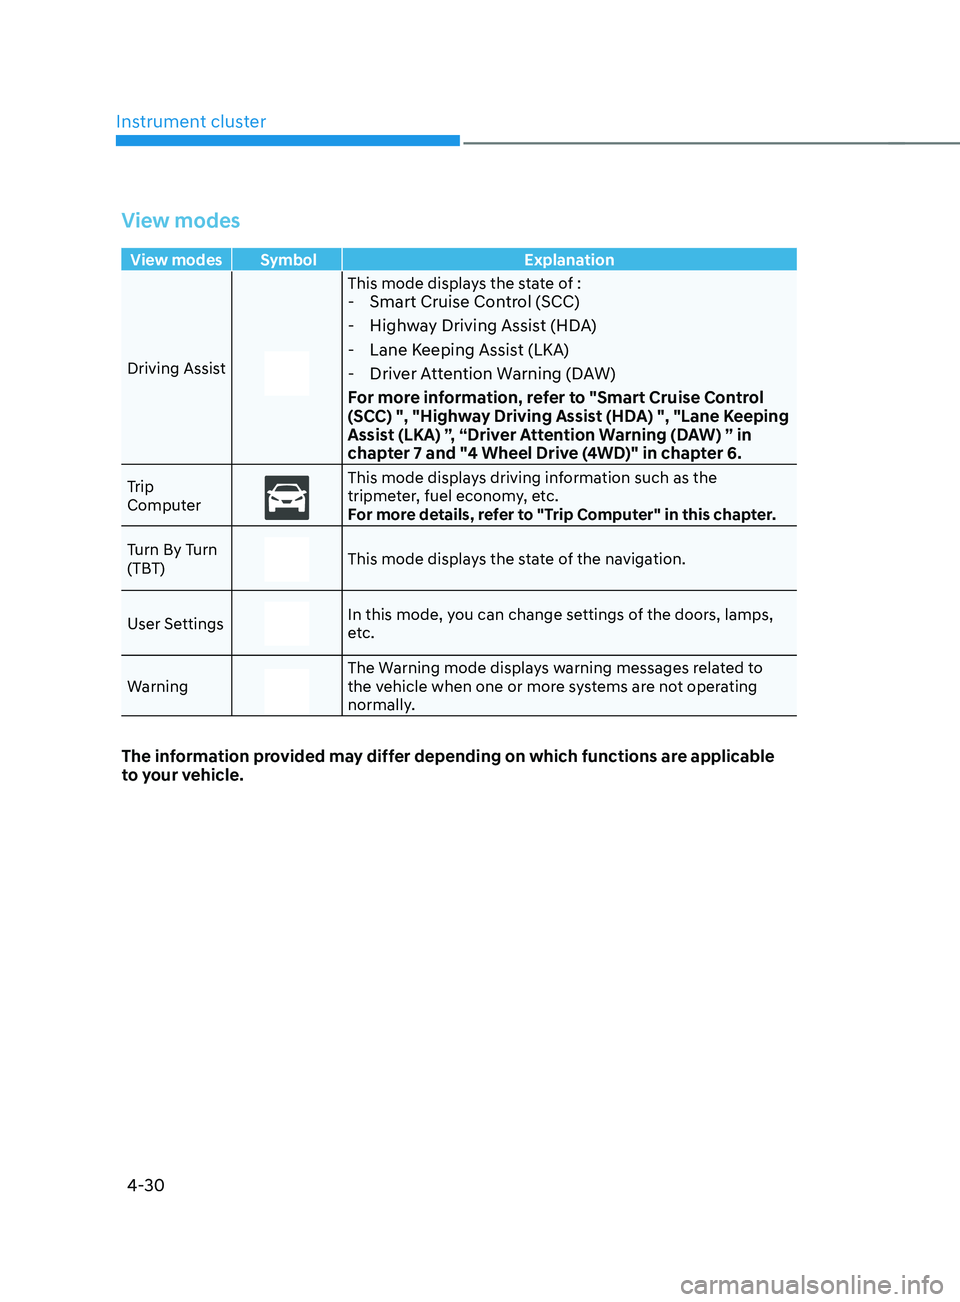
View modes Symbol Explanation
Driving Assist
This mode displays the state of : - Smart Cruise Control (SCC)
- Highway Driving Assist (HDA)
- Lane Keeping Assist (LKA)
- Driver Attention Warning (DAW)
For more information, refer to "Smart Cruise Control
(SCC) ", "Highway Driving Assist (HDA) ", "Lane Keeping
Assist (LKA) ”, “Driver Attention Warning (DAW) ” in
chapter 7 and "4 Wheel Drive (4WD)" in chapter 6.
Trip
ComputerThis mode displays driving information such as the
tripmeter, fuel economy, etc.
For more details, refer to "Trip Computer" in this chapter.
Turn By Turn
(TBT)
This mode displays the state of the navigation.
User Settings
In this mode, you can change settings of the doors, lamps,
etc.
Warning
The Warning mode displays warning messages related to
the vehicle when one or more systems are not operating
normally.
The information provided may differ depending on which functions are applicable
to your vehicle.
Page 130 of 636
Instrument cluster4-32
OTM040024
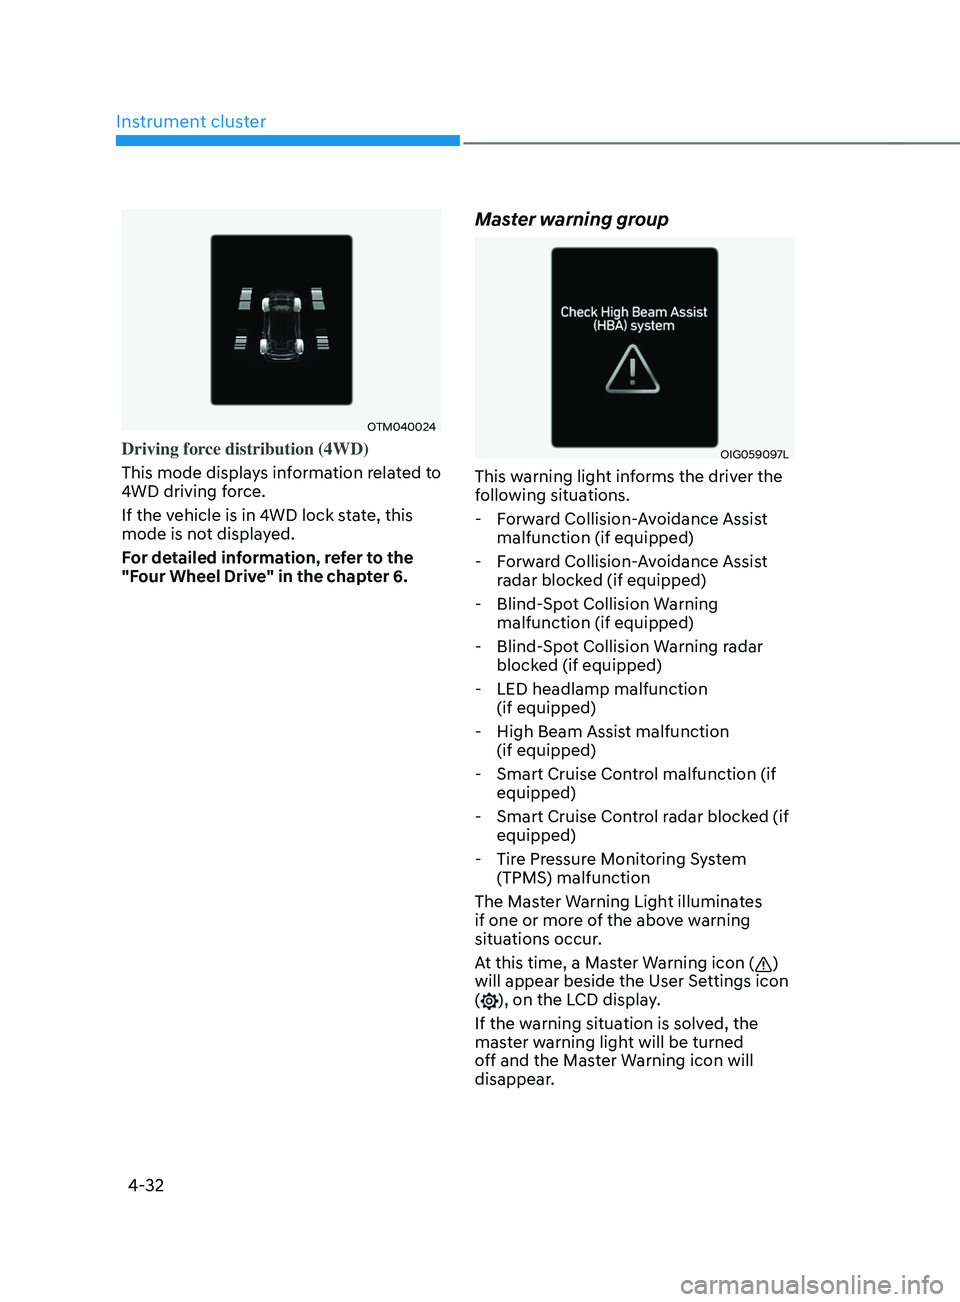
Driving force distribution (4WD)
This mode displays information related to
4WD driving force.
If the vehicle is in 4WD lock state, this
mode is not displayed.
For detailed information, refer to the
"Four Wheel Drive" in the chapter 6.
Master warning group
OIG059097L
This warning light informs the driver the
following situations. - Forward Collision-Avoidance Assist malfunction (if equipped)
- Forward Collision-Avoidance Assist radar blocked (if equipped)
- Blind-Spot Collision Warning malfunction (if equipped)
- Blind-Spot Collision Warning radar blocked (if equipped)
- LED headlamp malfunction (if equipped)
- High Beam Assist malfunction (if equipped)
- Smart Cruise Control malfunction (if equipped)
- Smart Cruise Control radar blocked (if equipped)
- Tire Pressure Monitoring System (TPMS) malfunction
The Master Warning Light illuminates
if one or more of the above warning
situations occur.
At this time, a Master Warning icon (
)
will appear beside the User Settings icon
(
), on the LCD display.
If the warning situation is solved, the
master warning light will be turned
off and the Master Warning icon will
disappear.
Page 131 of 636
04
4-33
OTM080005L
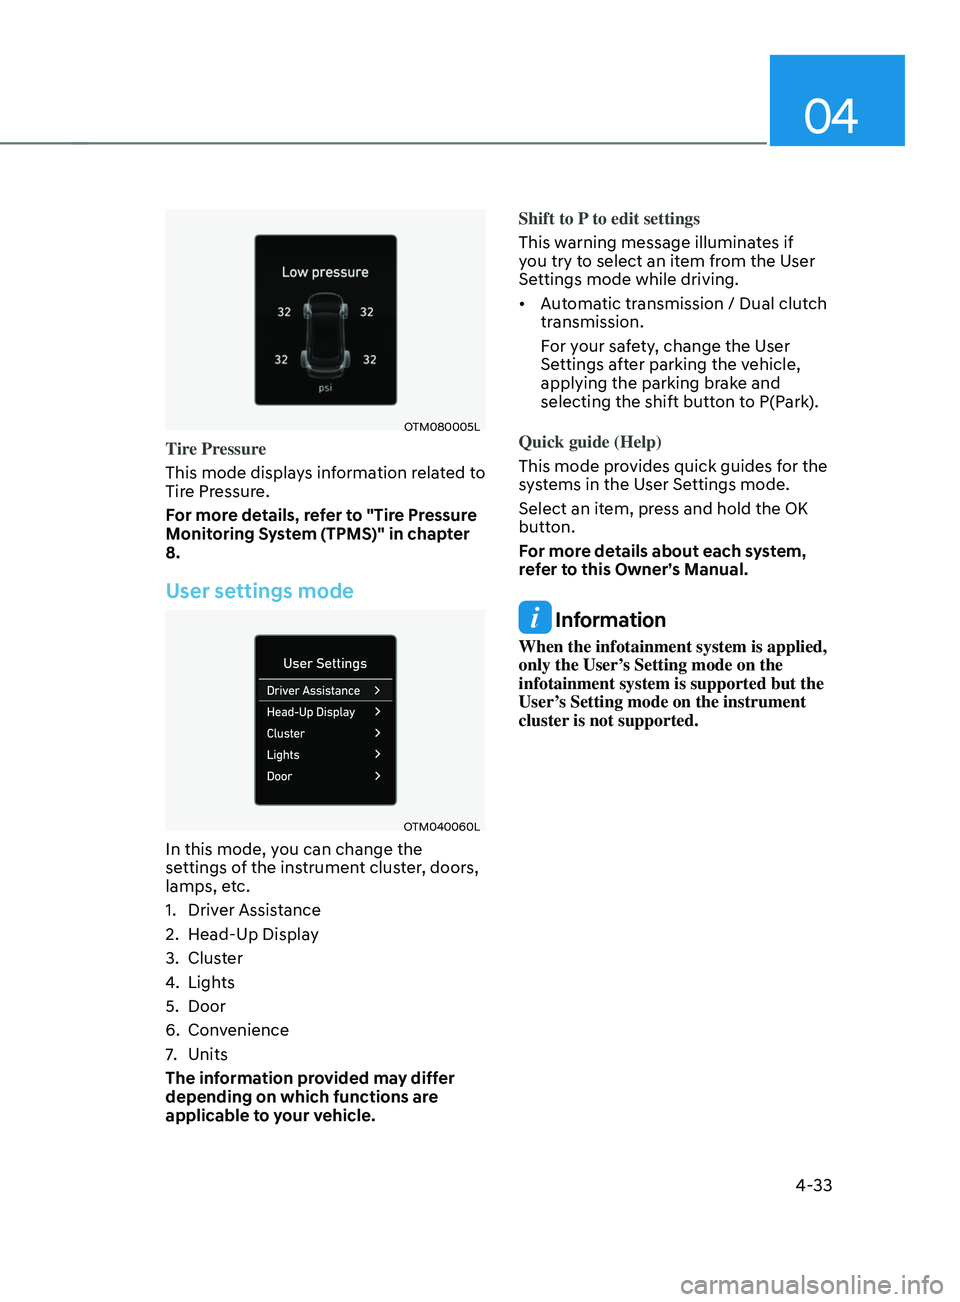
Tire Pressure
This mode displays information related to
Tire Pressure.
For more details, refer to "Tire Pressure
Monitoring System (TPMS)" in chapter
8.
User settings mode
OTM040060L
In this mode, you can change the
settings of the instrument cluster, doors,
lamps, etc.
1.
Driver Assis
tance
2.
Head-Up Displa
y
3.
Clust
er
4.
Lights
5.
Door
6.
Conv
enience
7.
Units
The inf
ormation provided may differ
depending on which functions are
applicable to your vehicle. Shift to P to edit settings
This warning message illuminates if
you try to select an item from the User
Settings mode while driving.
•
Automatic transmission / Dual clutch
transmission.
For your safety, change the User
Settings after parking the vehicle,
applying the parking brake and
selecting the shift button to P(Park).
Quick guide (Help)
This mode provides quick guides for the
systems in the User Settings mode.
Select an item, press and hold the OK
button.
For more details about each system,
refer to this Owner’s Manual.
Information
When the infotainment system is applied,
only the User’s Setting mode on the
infotainment system is supported but the
User’s Setting mode on the instrument
cluster is not supported.
Page 149 of 636
05
5-5
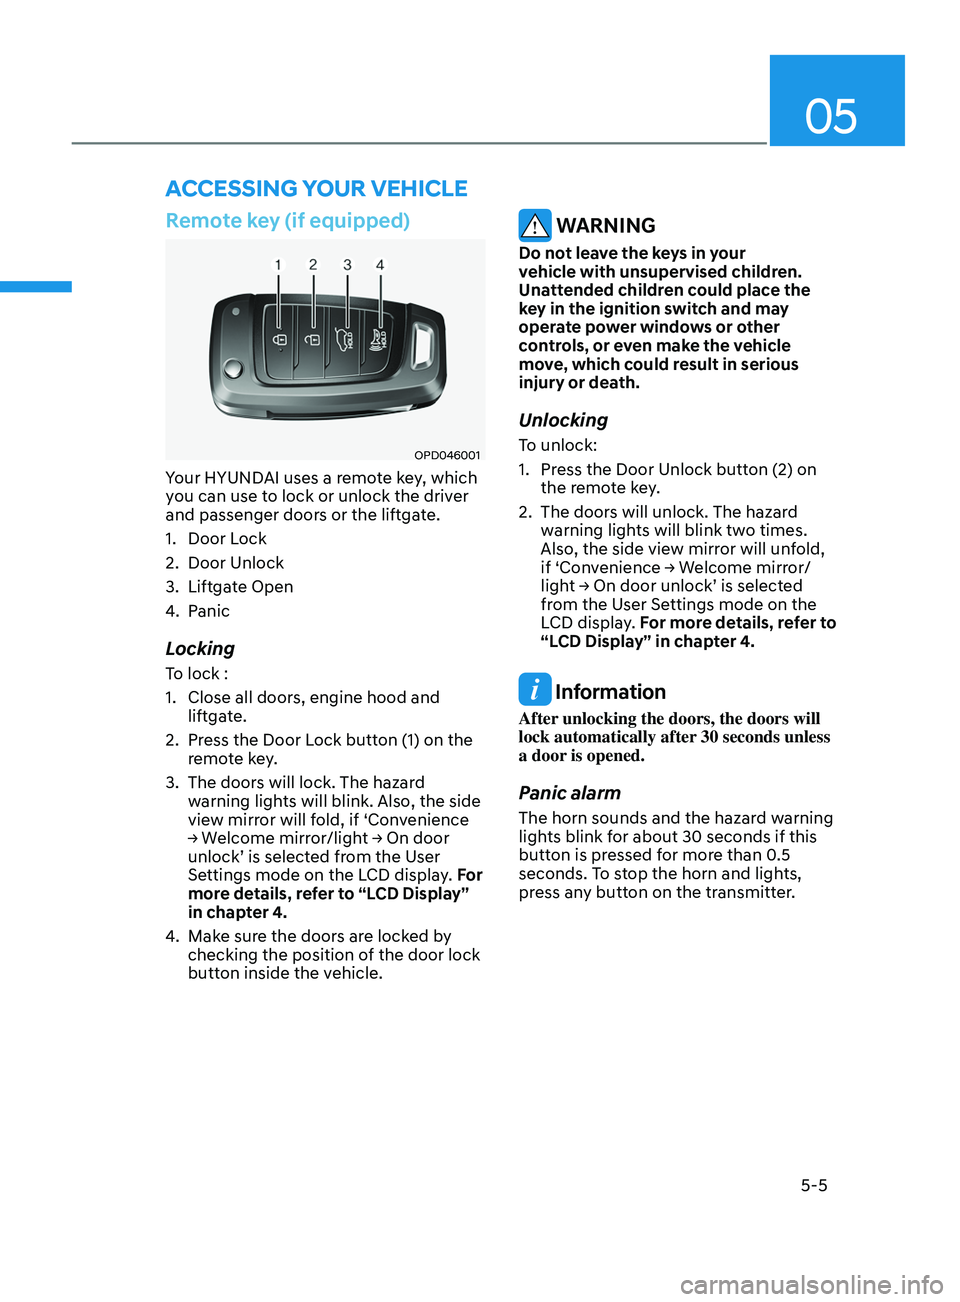
Remote key (if equipped)
OPD046001
Your HYUNDAI uses a remote key, which
you can use to lock or unlock the driver
and passenger doors or the liftgate.
1.
Door Lock
2.
Door Unlock
3.
Liftga
te Open
4.
Panic
Locking
To lock :
1.
Close all doors, engine hood and
lift
gate.
2.
Press the Door L
ock button (1) on the
remote key.
3.
The doors will lock. The hazar
d
warning lights will blink. Also, the side
view mirror will fold, if ‘Convenience
→
W
elcome
mirr
or/light
→ On door unlock’ is selected fr
om the User
Settings mode on the LCD display. For
more details, refer to “LCD Display”
in chapter 4.
4.
Make sur
e the doors are locked by
checking the position of the door lock
button inside the vehicle.
WARNING
Do not leave the keys in your
vehicle with unsupervised children.
Unattended children could place the
key in the ignition switch and may
operate power windows or other
controls, or even make the vehicle
move, which could result in serious
injury or death.
Unlocking
To unlock:
1.
Press the Door Unlock butt
on (2) on
the remote key.
2.
The doors will unlock. The hazar
d
warning lights will blink two times.
Also, the side view mirror will unfold,
if
‘Con
venience
→ W
elcome
mirr
or/
light
→ On door unlock’ is select
ed
from the U
ser Settings mode on the
LCD display. For more details, refer to
“LCD Display” in chapter 4.
Information
After unlocking the doors, the doors will
lock automatically after 30 seconds unless
a door is opened.
Panic alarm
The horn sounds and the hazard warning
lights blink for about 30 seconds if this
button is pressed for more than 0.5
seconds. To stop the horn and lights,
press any button on the transmitter.
ACCESSING Y OUR VEHICLE