2021 HYUNDAI SANTA FE CALLIGRAPHY door lock
[x] Cancel search: door lockPage 425 of 636
07
7-43
• The driver and passengers are
responsible for accidents that occurs
while exiting the vehicle. Always
check the surroundings before you
exit the vehicle.
• Never deliberately operate Safe Exit
Assist. Doing so may lead to serious
injury or death.
• Safe Exit Assist does not operate
if there is a problem with Blind-
Spot Safety system. There may be
a problem with Blind Spot Safety
system when:
-Blind Spot Sa
fety system warning
light appears
- Blind-Spo
t Safety system sensor or
the sensor surrounding is polluted
or covered
- Blind-Spo
t Safety system fails to
warn passengers or falsely warn
passengers
Information
After the engine is turned off, Safe Exit
Assist operates approximately for 3
minutes, but turns off immediately if the
doors are locked.
System malfunction and
limitations
System malfunction
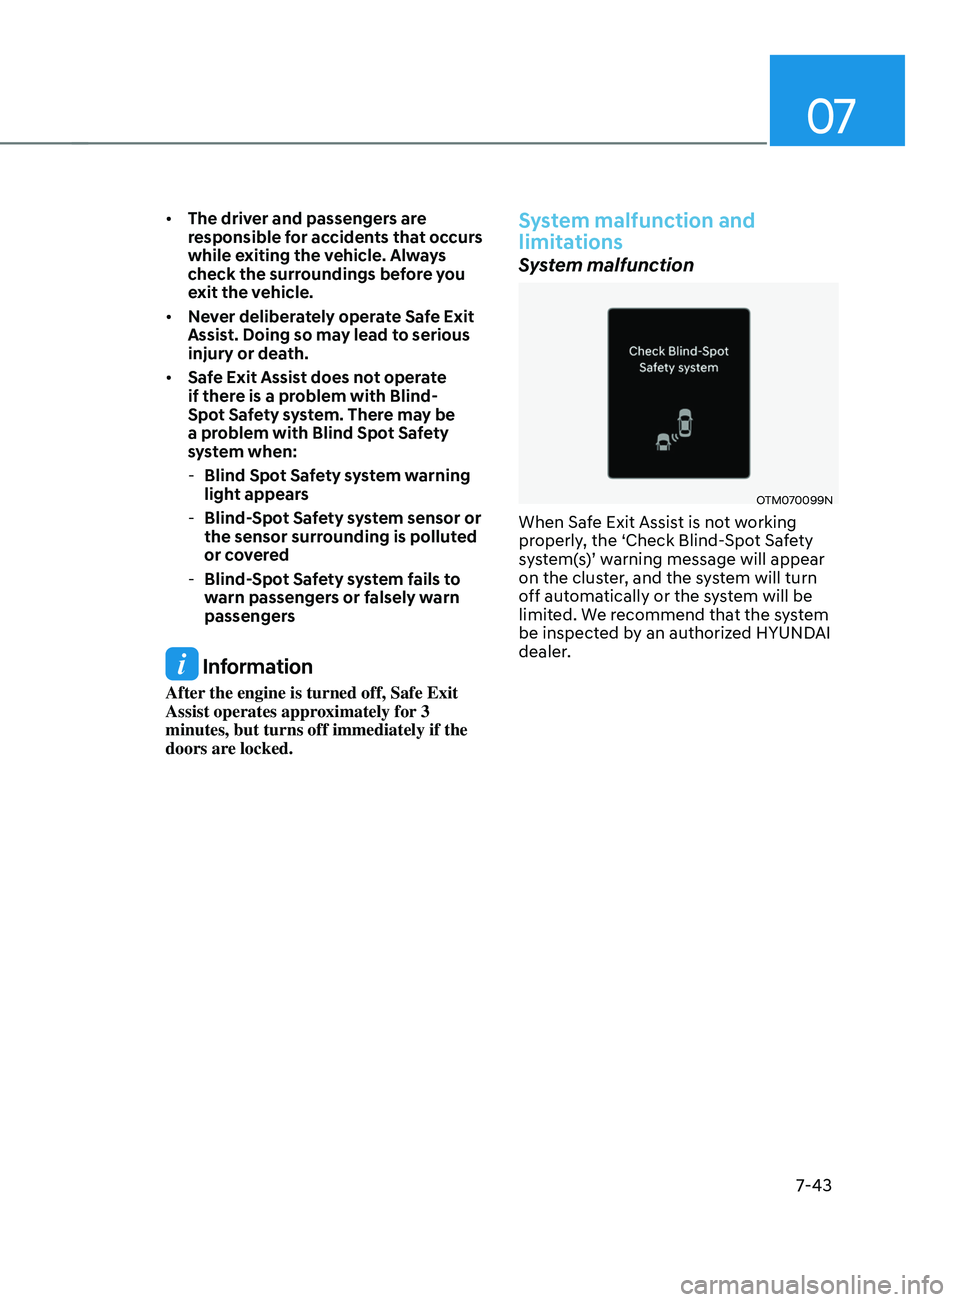
OTM070099N
When Safe Exit Assist is not working
properly, the ‘Check Blind-Spot Safety
system(s)’ warning message will appear
on the cluster, and the system will turn
off automatically or the system will be
limited. We recommend that the system
be inspected by an authorized HYUNDAI
dealer.
Page 507 of 636
07
7-125
System operation
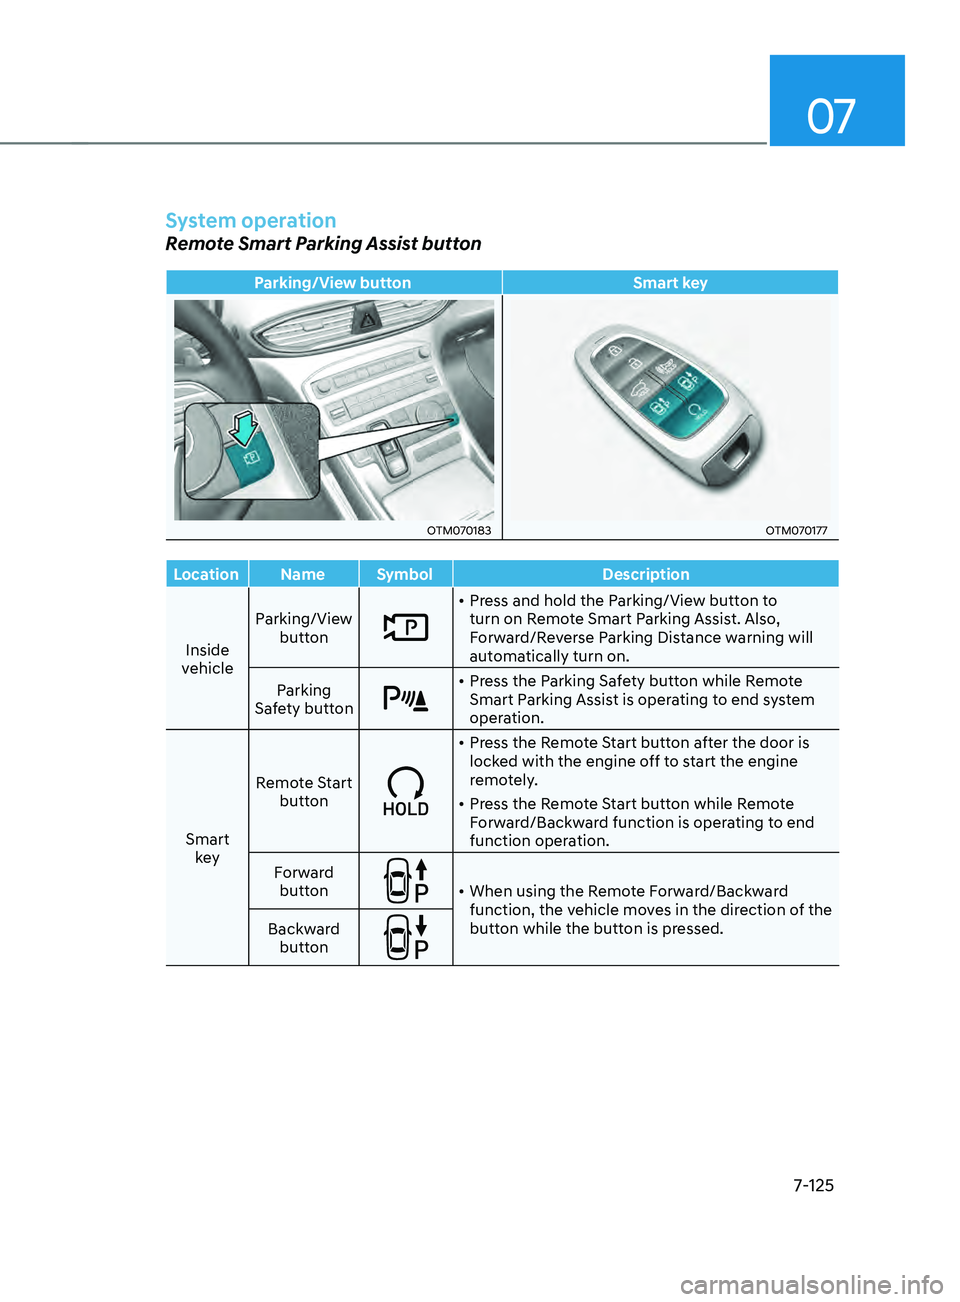
Remote Smart Parking Assist button
Parking/View buttonSmart key
OTM070183OTM070177
Location Name Symbol Description
Inside
vehicle Parking/View
button
• Press and hold the Parking/View button to
turn on Remote Smart Parking Assist. Also,
Forward/Reverse Parking Distance warning will
automatically turn on.
Parking
Safety button
• Press the Parking Safety button while Remote
Smart Parking Assist is operating to end system
operation.
Smart key Remote Start
button
• Press the Remote Start button after the door is
locked with the engine off to start the engine
remotely.
• Press the Remote Start button while Remote
Forward/Backward function is operating to end
function operation.
Forward button
• When using the Remote Forward/Backward
function, the vehicle moves in the direction of the
button while the button is pressed.
Backward
button
Page 508 of 636
Driver assistance system
7-126
Remote Forward/Backward
Operating order
Remote Forward/Backward operates in
the following order:
1.
Getting r
eady to remotely move
forward and in reverse
2.
Remo
tely moving forward and in
reverse
1. Getting ready to remotely move forward
and in r
everse
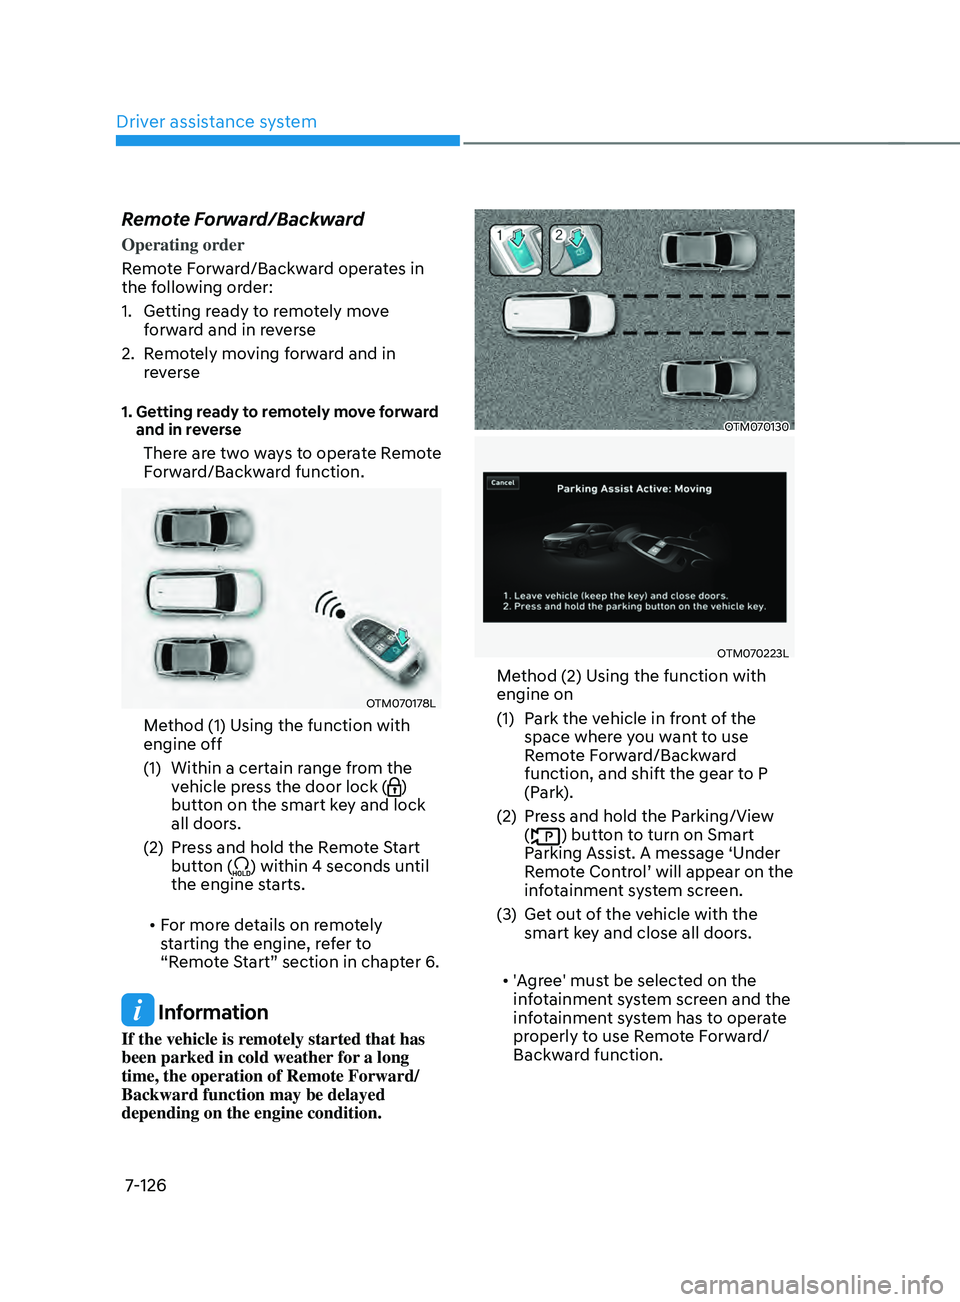
There are two ways to operate Remote
Forward/Backward function.
OTM070178L
Method (1) Using the function with
engine off
(1)
Within a certain range fr
om the
vehicle press the door lock (
)
button on the smart key and lock
all doors.
(2)
Press and hold the R
emote Start
button (
) within 4 seconds until
the engine starts.
• For more details on remotely
starting the engine, refer to
“Remote Start” section in chapter 6.
Information
If the vehicle is remotely started that has
been parked in cold weather for a long
time, the operation of Remote Forward/
Backward function may be delayed
depending on the engine condition.
OTM070130
OTM070223L
Method (2) Using the function with
engine on
(1)
Park the v
ehicle in front of the
space where you want to use
Remote Forward/Backward
function, and shift the gear to P
(Park).
(2)
Press and hold the P
arking/View
(
) button to turn on Smart
Parking Assist. A message ‘Under
Remote Control’ will appear on the
infotainment system screen.
(3)
Get out o
f the vehicle with the
smart key and close all doors.
• 'Agree' must be selected on the
infotainment system screen and the
infotainment system has to operate
properly to use Remote Forward/
Backward function.
Page 510 of 636
Driver assistance system
7-128
• When remotely moving forward
using method (2), it is recognized
as a parking situation, and will
immediately control the steering
wheel according to the condition
ahead to assist with entering the
parking space and aligning the
vehicle. However, performance
may reduce depending on the
pedestrians, animals, shape of
objects, location, etc. around the
vehicle.
• For moving remotely in reverse,
both method (1) and (2) aligns the
steering wheel first, and then will
only move the vehicle straight.
• When remotely moving forward or
in reverse is completed, the vehicle
will automatically shift to P (Park)
and engage EPB (Electronic Parking
Brake). CAUTION
• When using Remote Remote
Forward/Backward function, make
sure that all passengers have gotten
out of the vehicle.
• If the vehicle’s battery is discharged
or Remote Smart Parking Assist
malfunctions when parked in a
narrow parking space, Remote
Forward/Backward function will not
operate. Always park your vehicle in
a space wide enough for you to get in
or out of your vehicle.
• Please note that depending on the
parking space, you may not be able
to exit from the space you have
entered by using Remote Forward/
Backward function.
• After parking, the surrounding may
change due to the movement of
surrounding vehicles. If this occurs,
Remote Forward/Backward function
may not operate.
• Before leaving the vehicle, close
windows and sunroofs, and make
sure the engine is off before locking
the doors.
Page 555 of 636
09
9-5
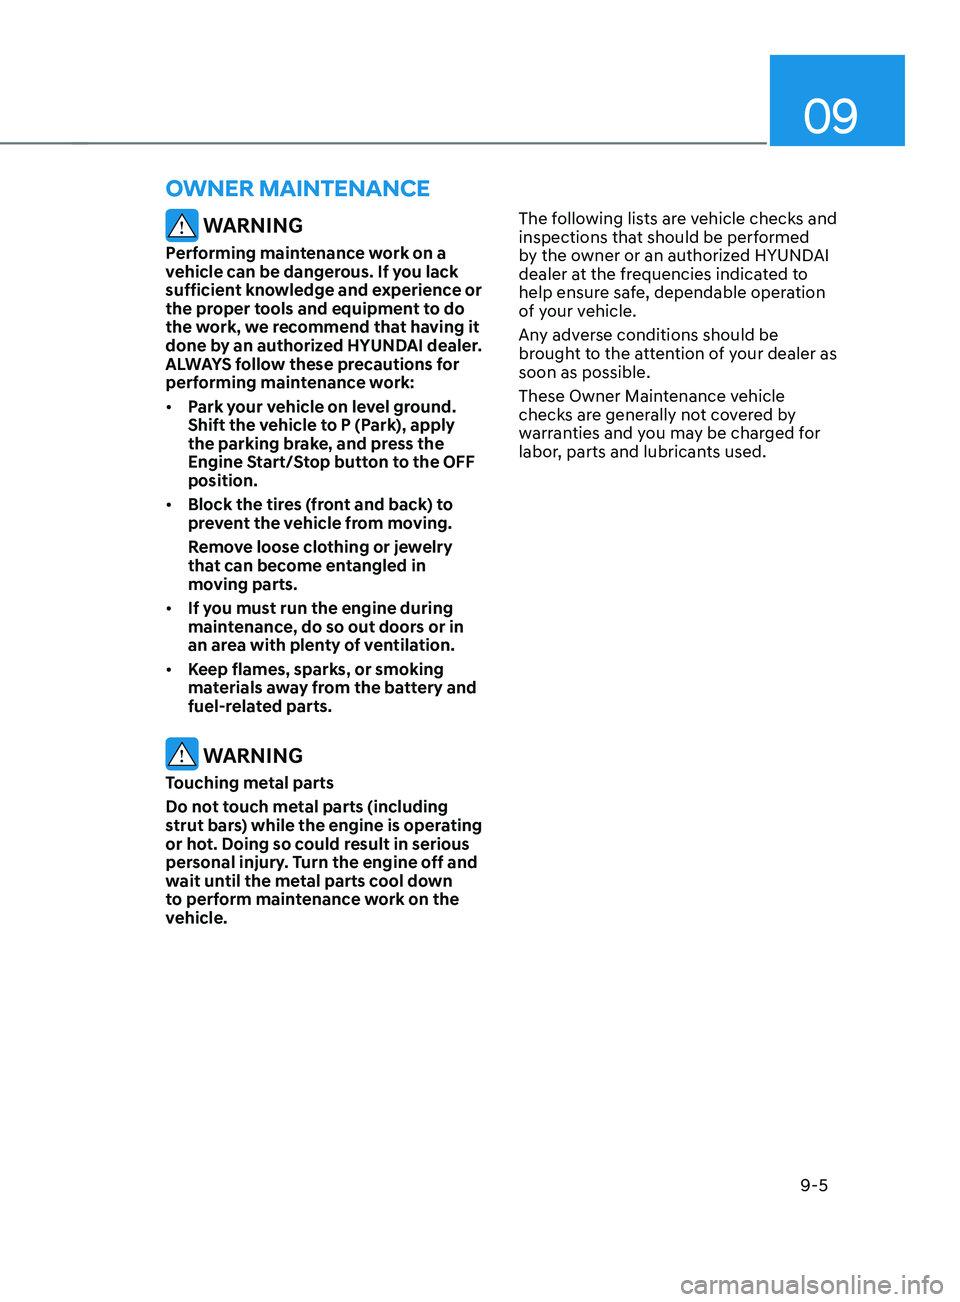
WARNING
Performing maintenance work on a
vehicle can be dangerous. If you lack
sufficient knowledge and experience or
the proper tools and equipment to do
the work, we recommend that having it
done by an authorized HYUNDAI dealer.
ALWAYS follow these precautions for
performing maintenance work:
• Park your vehicle on level ground.
Shift the vehicle to P (Park), apply
the parking brake, and press the
Engine Start/Stop button to the OFF
position.
• Block the tires (front and back) to
prevent the vehicle from moving.
Remove loose clothing or jewelry
that can become entangled in
moving parts.
• If you must run the engine during
maintenance, do so out doors or in
an area with plenty of ventilation.
• Keep flames, sparks, or smoking
materials away from the battery and
fuel-related parts.
WARNING
Touching metal parts
Do not touch metal parts (including
strut bars) while the engine is operating
or hot. Doing so could result in serious
personal injury. Turn the engine off and
wait until the metal parts cool down
to perform maintenance work on the
vehicle. The following lists are vehicle checks and
inspections that should be performed
by the owner or an authorized HYUNDAI
dealer at the frequencies indicated to
help ensure safe, dependable operation
of your vehicle.
Any adverse conditions should be
brought to the attention of your dealer as
soon as possible.
These Owner Maintenance vehicle
checks are generally not covered by
warranties and you may be charged for
labor, parts and lubricants used.
OWNER MAINTENANCE
Page 556 of 636
Maintenance
9-6
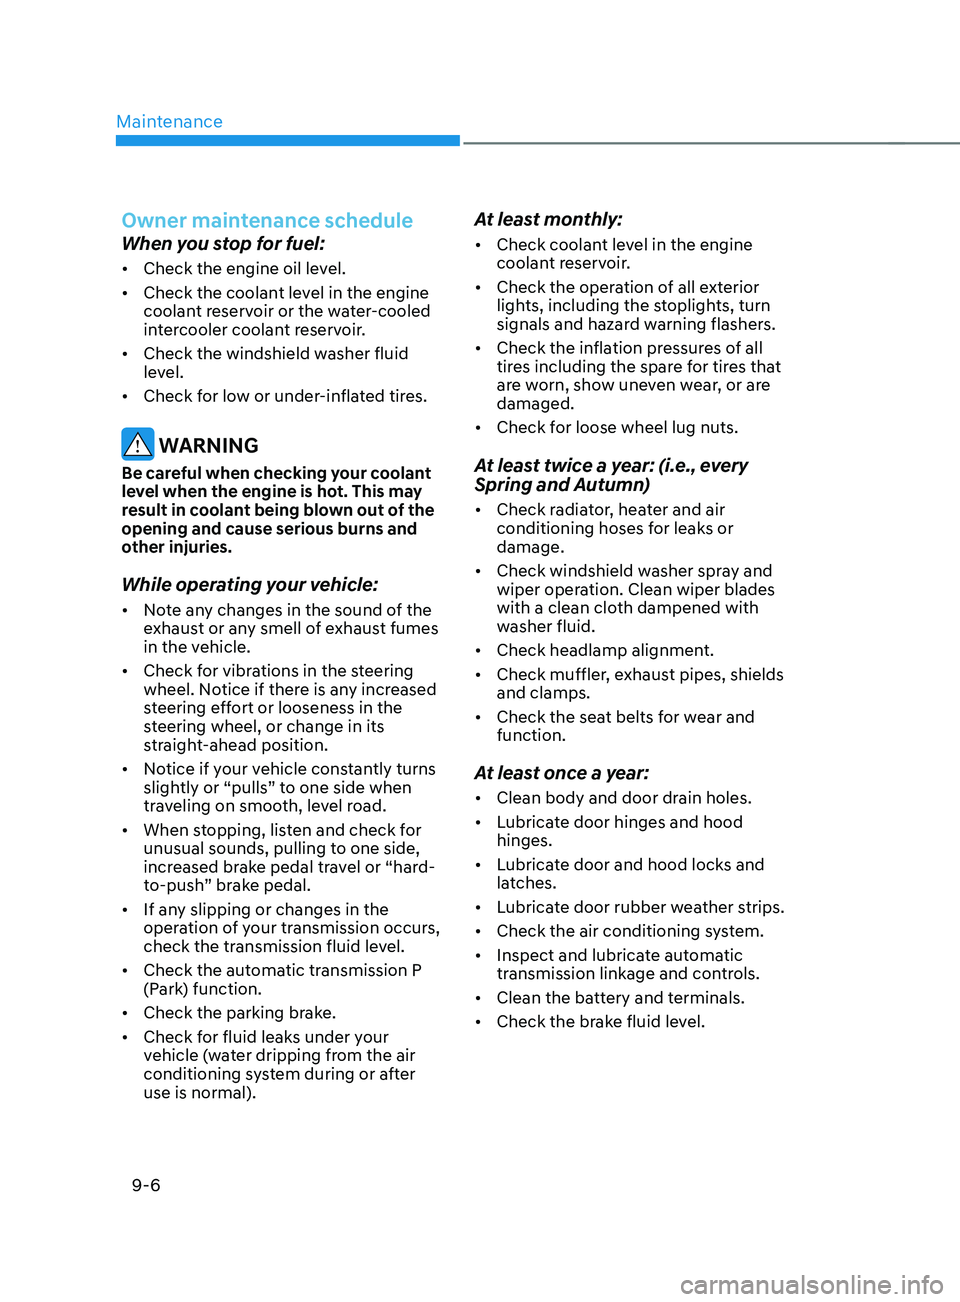
Owner maintenance schedule
When you stop for fuel:
• Check the engine oil level.
• Check the coolant level in the engine
coolant reservoir or the water-cooled
intercooler coolant reservoir.
• Check the windshield washer fluid
level.
• Check for low or under-inflated tires.
WARNING
Be careful when checking your coolant
level when the engine is hot. This may
result in coolant being blown out of the
opening and cause serious burns and
other injuries.
While operating your vehicle:
• Note any changes in the sound of the
exhaust or any smell of exhaust fumes
in the vehicle.
• Check for vibrations in the steering
wheel. Notice if there is any increased
steering effort or looseness in the
steering wheel, or change in its
straight-ahead position.
• Notice if your vehicle constantly turns
slightly or “pulls” to one side when
traveling on smooth, level road.
• When stopping, listen and check for
unusual sounds, pulling to one side,
increased brake pedal travel or “hard-
to-push” brake pedal.
• If any slipping or changes in the
operation of your transmission occurs,
check the transmission fluid level.
• Check the automatic transmission P
(Park) function.
• Check the parking brake.
• Check for fluid leaks under your
vehicle (water dripping from the air
conditioning system during or after
use is normal).
At least monthly:
• Check coolant level in the engine
coolant reservoir.
• Check the operation of all exterior
lights, including the stoplights, turn
signals and hazard warning flashers.
• Check the inflation pressures of all
tires including the spare for tires that
are worn, show uneven wear, or are
damaged.
• Check for loose wheel lug nuts.
At least twice a year: (i.e., every
Spring and Autumn)
• Check radiator, heater and air
conditioning hoses for leaks or
damage.
• Check windshield washer spray and
wiper operation. Clean wiper blades
with a clean cloth dampened with
washer fluid.
• Check headlamp alignment.
• Check muffler, exhaust pipes, shields
and clamps.
• Check the seat belts for wear and
function.
At least once a year:
• Clean body and door drain holes.
• Lubricate door hinges and hood
hinges.
• Lubricate door and hood locks and
latches.
• Lubricate door rubber weather strips.
• Check the air conditioning system.
• Inspect and lubricate automatic
transmission linkage and controls.
• Clean the battery and terminals.
• Check the brake fluid level.
Page 596 of 636
Maintenance
9-46
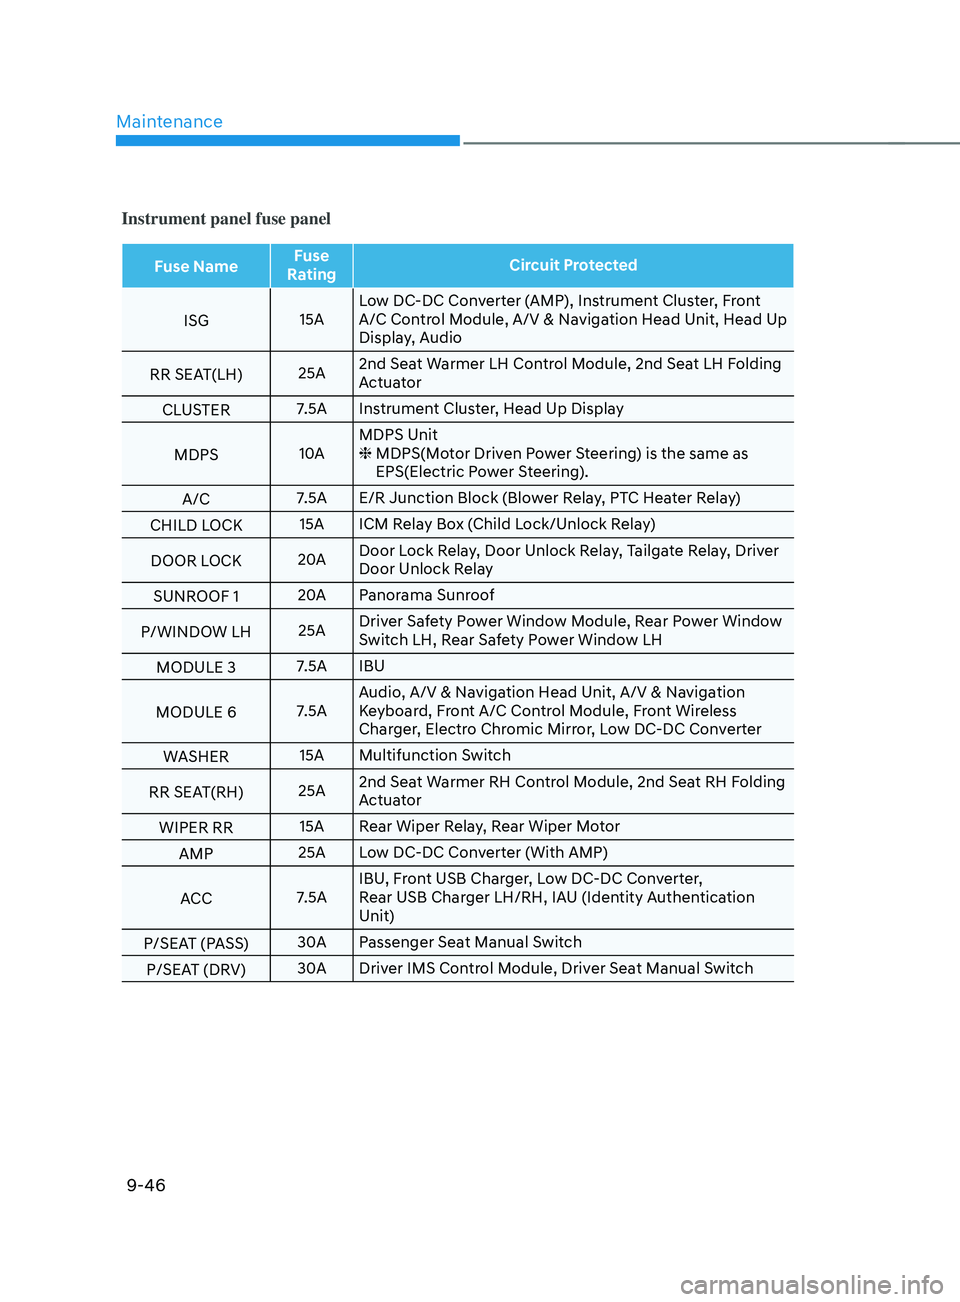
Instrument panel fuse panel
Fuse NameFuse
Rating Circuit Protected
ISG 15ALow DC-DC Converter (AMP), Instrument Cluster, Front
A/C Control Module, A/V & Navigation Head Unit, Head Up
Display, Audio
RR SEAT(LH) 25A2nd Seat Warmer LH Control Module, 2nd Seat LH Folding
Actuator
CLUSTER 7.5A Instrument Cluster, Head Up Display
MDPS 10AMDPS Unit
❈
MDPS(Mo
tor Driven Power Steering) is the same as
EPS(Electric Power Steering).
A/C 7.5A E/R Junction Block (Blower Relay, PTC Heater Relay)
CHILD LOCK 15A ICM Relay Box (Child Lock/Unlock Relay)
DOOR LOCK 20ADoor Lock Relay, Door Unlock Relay, Tailgate Relay, Driver
Door Unlock Relay
SUNROOF 1 20A
Panorama Sunroof
P/WINDOW LH 25ADriver Safety Power Window Module, Rear Power Window
Switch LH, Rear Safety Power Window LH
MODULE 3 7.5A IBU
MODULE 6 7.5AAudio, A/V & Navigation Head Unit, A/V & Navigation
Keyboard, Front A/C Control Module, Front Wireless
Charger, Electro Chromic Mirror, Low DC-DC Converter
WASHER 15A Multifunction Switch
RR SEAT(RH) 25A2nd Seat Warmer RH Control Module, 2nd Seat RH Folding
Actuator
WIPER RR 15A Rear Wiper Relay, Rear Wiper Motor
AMP 25A Low DC-DC Converter (With AMP)
ACC 7.5AIBU, Front USB Charger, Low DC-DC Converter,
Rear USB Charger LH/RH, IAU (Identity Authentication
Unit)
P/SEAT (PASS) 30A
Passenger Seat Manual Switch
P/SEAT (DRV) 30A
Driver IMS Control Module, Driver Seat Manual Switch
Page 598 of 636
![HYUNDAI SANTA FE CALLIGRAPHY 2021 Owners Manual Maintenance
9-48
Engine compartment fuse panel (Engine room junction block)
Type Fuse NameFuse
Rating Circuit Protected
MULTI
FUSE 1 (10P) COOLING FAN1
80A
[BLDC 600W] Cooling Fan Controller
COOLIN HYUNDAI SANTA FE CALLIGRAPHY 2021 Owners Manual Maintenance
9-48
Engine compartment fuse panel (Engine room junction block)
Type Fuse NameFuse
Rating Circuit Protected
MULTI
FUSE 1 (10P) COOLING FAN1
80A
[BLDC 600W] Cooling Fan Controller
COOLIN](/manual-img/35/56181/w960_56181-597.png)
Maintenance
9-48
Engine compartment fuse panel (Engine room junction block)
Type Fuse NameFuse
Rating Circuit Protected
MULTI
FUSE 1 (10P) COOLING FAN1
80A
[BLDC 600W] Cooling Fan Controller
COOLING FAN2 60A
[BLDC 400W] Cooling Fan Controller
B+4 50AICU Junction Block (Fuse - MODULE8,
SUNROOF1, AMP, P/WINDOW RH, S/HEATER
DRV/PASS)
B+2 50AICU Junction Block (IPS 8 SPOC+/IPS 10/IPS 11/
IPS 13/IPS 14/IPS 15)
B+3 50AICU Junction Block (Fuse - E-SHIFTER1, P/
SEAT (DRV, P/SEAT (PASS), P/WINDOW LH, RR
SEAT(LH))
BLOWER 40A
Blower Relay
IG2 40A
Start Relay, PCB Block (PDM (IG2) Relay)
ABS 2 30A
ESC Module
MULTI
FUSE 2 (10P) MDPS
100A MDPS Unit
ABS 3 60A
ESC Module
B+6 60A
PCB Block (B+)
DCT 60A
TCM
E-CVVT1 50A
PCB Block (E-CVVT Relay)
REAR HEATED 40A
Rear Heated Relay
INVERTER 40A
AC Inverter Module
E-SHIFTER 1 40A
SCU
FUSE HEATED
MIRROR 10A
Rear Heated Relay, Driver/Passenger Outside
Mirror, Front A/C Control Module
E-CVVT3 20A
PCM, PCB Block (E-CVVT Relay)
E-CVVT2 20A
PCM, PCB Block (E-CVVT Relay)
A/C2 10A
Blower Relay, Front A/C Control Module
VACUUM PUMP2 10A
ESC Module, Vacuum Pump Relay, Vacuum Pump
B+5 50AICU Junction Block (Fuse - DOOR LOCK,
IBU1, IBU2, BRAKE SWITCH, CHILD LOCK, RR
SEAT(RH), SUNROOF2)
EOP2 60A
[G4KP] Electronic Oil Pump