Page 29 of 546

H20
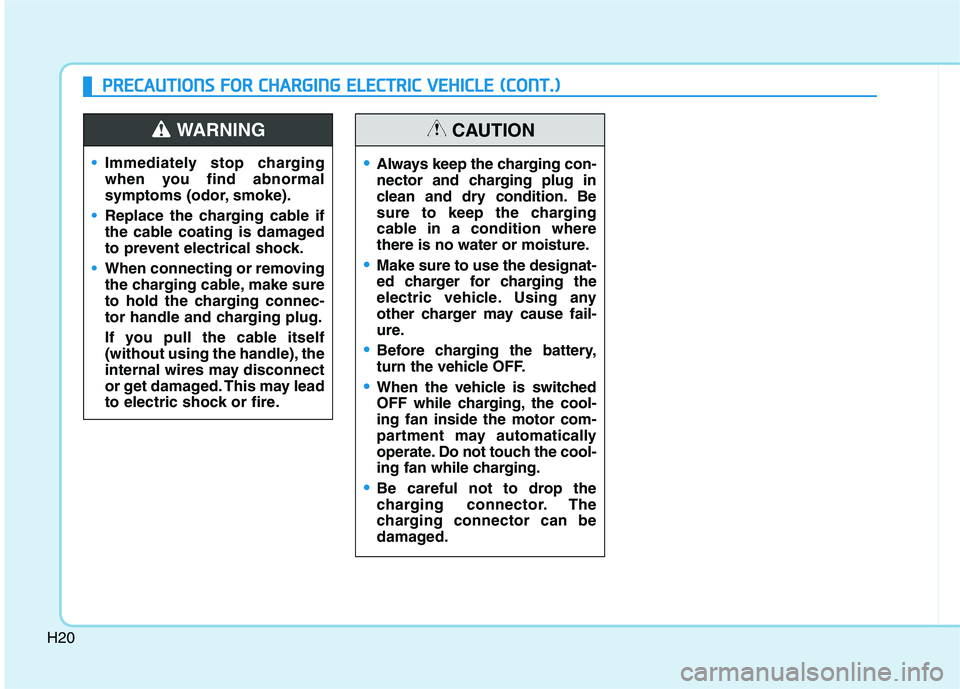
Immediately stop charging
when you find abnormal
symptoms (odor, smoke).
Replace the charging cable if
the cable coating is damaged
to prevent electrical shock.
When connecting or removing
the charging cable, make sure
to hold the charging connec-
tor handle and charging plug.
If you pull the cable itself
(without using the handle), the
internal wires may disconnect
or get damaged. This may lead
to electric shock or fire.
WARNING
Always keep the charging con-
nector and charging plug in
clean and dry condition. Be
sure to keep the charging
cable in a condition where
there is no water or moisture.
Make sure to use the designat-
ed charger for charging the
electric vehicle. Using any
other charger may cause fail-
ure.
Before charging the battery,
turn the vehicle OFF.
When the vehicle is switched
OFF while charging, the cool-ing fan inside the motor com-
partment may automatically
operate. Do not touch the cool-
ing fan while charging.
Be careful not to drop the
charging connector. The
charging connector can be
damaged.
CAUTION
PPRR EECCAA UU TTIIOO NNSS FF OO RR CC HH AARRGG IINN GG EE LLEE CCTT RR IICC VV EEHH IICC LLEE (( CC OO NNTT..))
Page 49 of 546
H40
CCHH AARRGG IINN GG EE LLEE CCTT RR IICC VV EEHH IICC LLEE (( TT RR IICC KK LLEE CC HH AARRGG EE)) (( CC OO NNTT..))
Charging Status Indicator Lamp for Portable Charger
Control BoxIndicatorDetails
PLUG
On : Power on
Blink : Plug temperature sensor failure
On : Plug high temperature protection
Blink : Plug high temperature warning
POWEROn : Power on
CHARGEBlink : Charging In power saving mode, only the CHARGE
indicator is illuminated.
FAU LTBlink : Charging interrupted
CHARGE LEVEL
Charging current 12 AThe charging current
changes (3 level)
whenever the button
(1) is pressed for 1sec with the chargerplugged into an elec-
trical outlet but not
the vehicle.
Charging current 10 A
Charging current 8 A
VEHICLE
Charging connector plugged
Charging
Blink : Charging impossible
(Green)
(Green) (Blue)(Red)(Red)
❈Back of the control box
Page 50 of 546
H41
Charging Status Indicator Lamp for Portable Charger
NOControl BoxStatus / Diagnosis / CountermeasureNOControl BoxStatus / Diagnosis / Countermeasure
1
Charging connector plugged into vehicle(Green ON)
Plug temperature sensor failure (Green blink)
Plug high temperature protection (Red blink)
Plug high temperature warning (Red ON)
Contact an authorized HYUNDAI dealer.
2
- Charging connector plugged into vehicle (Green ON)
3
- While charging
4
- Before plugging charging connectorinto vehicle (Red blink)
Contact an authorized HYUNDAI dealer.
Page 51 of 546
H42
CCHH AARRGG IINN GG EE LLEE CCTT RR IICC VV EEHH IICC LLEE (( TT RR IICC KK LLEE CC HH AARRGG EE)) (( CC OO NNTT..))
NOControl BoxStatus / Diagnosis / CountermeasureNOControl BoxStatus / Diagnosis / Countermeasure
5
- Plugged into vehicle (Red blink)
Contact an authorized HYUNDAI dealer.
6
- After plugging charging connector into vehicle (Red blink)
Contact an authorized HYUNDAI dealer.
7
Plug temperature sensor failure (Green blink)
Plug high temperature protection (Red blink)
Plug high temperature warning (Red ON)
Contact an authorized HYUNDAI dealer.
8
- Power saving mode (Green blink)
Page 54 of 546
H45
EV Charging Troubleshooting - Steps to Consider
If the vehicle fails to charge after being plugged in to a charging station or if plugged in when using the portable charger,
check the following:
1. Verify the charge mode is set to immediate. (i.e. confirm that scheduled charging is turned OFF)
2. Check the operation status of the charging station or the portable charger.
3. Check to see if there are any warning messages in the LCD cluster. Refer to "LCD Display Messages" in this sec-tion.
4. If there is an error message on the charging station display screen, there may be a problem with the charging sta- tion. Try to charge the vehicle with a different charging station.
5. If the vehicle fails to charge with different charging station equipment, there may be a problem with the vehicle. Contact an authorized HYUNDAI dealer for inspection.
EEVV CC HH AARRGG IINN GG -- TT RR OO UUBBLLEE SSHH OO OO TTIINN GG
Page 56 of 546

H47
How to Stop the Vehicle
1. Hold down the brake pedal whilethe vehicle is parked.
2. While depressing the brake pedal, shift to P (Park).
3. While depressing the brake pedal, engage the parking brake.
4. While depressing the brake pedal, press the POWER button and turn
off the vehicle.
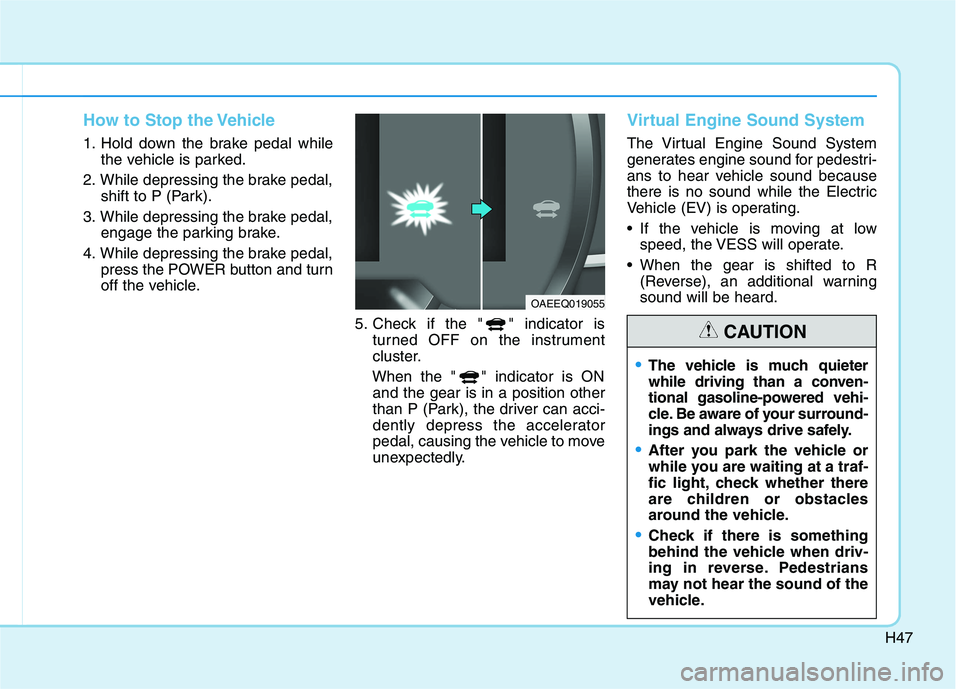
5. Check if the " " indicator isturned OFF on the instrument
cluster.
When the " " indicator is ON and the gear is in a position other
than P (Park), the driver can acci-
dently depress the accelerator
pedal, causing the vehicle to move
unexpectedly.
Virtual Engine Sound System
The Virtual Engine Sound System
generates engine sound for pedestri-
ans to hear vehicle sound because
there is no sound while the Electric
Vehicle (EV) is operating.
If the vehicle is moving at low speed, the VESS will operate.
When the gear is shifted to R (Reverse), an additional warning sound will be heard.
OAEEQ019055
The vehicle is much quieter
while driving than a conven-
tional gasoline-powered vehi-
cle. Be aware of your surround-
ings and always drive safely.
After you park the vehicle or
while you are waiting at a traf-
fic light, check whether there
are children or obstacles
around the vehicle.
Check if there is something
behind the vehicle when driv-
ing in reverse. Pedestrians
may not hear the sound of the
vehicle.
CAUTION
Page 59 of 546

H50
DDRRIIVV IINN GG EE LLEE CCTT RR IICC VV EEHH IICC LLEE (( CC OO NNTT..))
It shows the charging status of the
battery when it is being charged by
the regenerative brakes (decelerat-
ing or driving on a downhill road).
The more electric energy is charged,
the lower the gauge level.State of Charge (SOC) Gauge
for High Voltage Battery
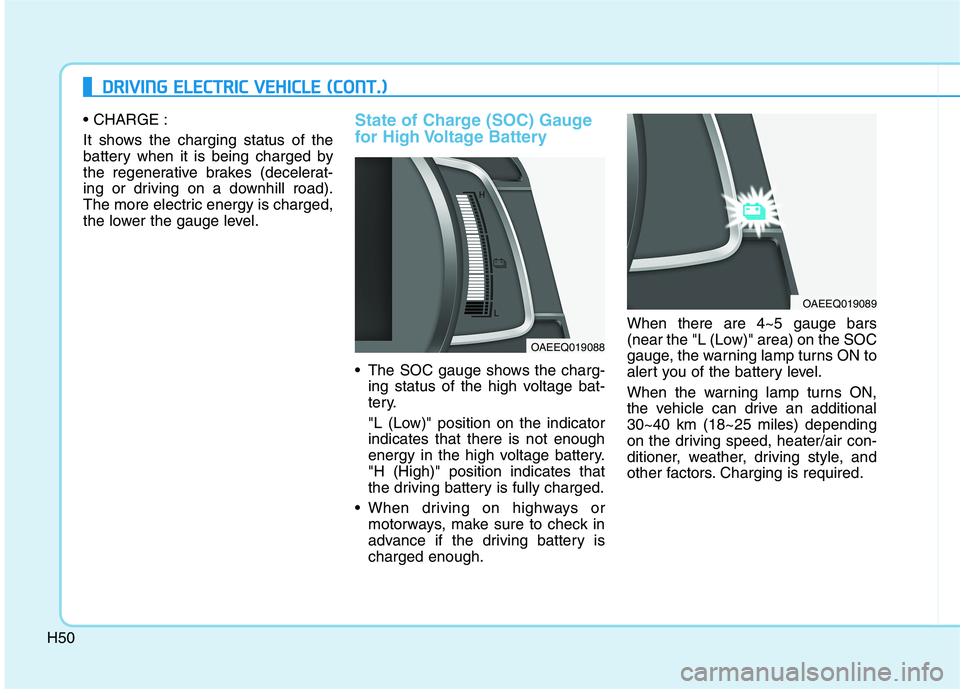
The SOC gauge shows the charg-
ing status of the high voltage bat-
tery.
"L (Low)" position on the indicator indicates that there is not enough
energy in the high voltage battery."H (High)" position indicates that
the driving battery is fully charged.
When driving on highways or motorways, make sure to check in
advance if the driving battery ischarged enough. When there are 4~5 gauge bars
(near the "L (Low)" area) on the SOC
gauge, the warning lamp turns ON to
alert you of the battery level.
When the warning lamp turns ON,
the vehicle can drive an additional30~40 km (18~25 miles) depending
on the driving speed, heater/air con-
ditioner, weather, driving style, and
other factors. Charging is required.
OAEEQ019088
OAEEQ019089
Page 60 of 546

H51
When the high voltage battery
level is low, the power down warn-
ing illuminates and the power out-
put from the vehicle is limited.
Charge the battery immediately
since your vehicle may not driveuphill or skid on a slope with thewarning light ON.
Warning and Indicator Lights
(related to electric vehicle)
Ready Indicator
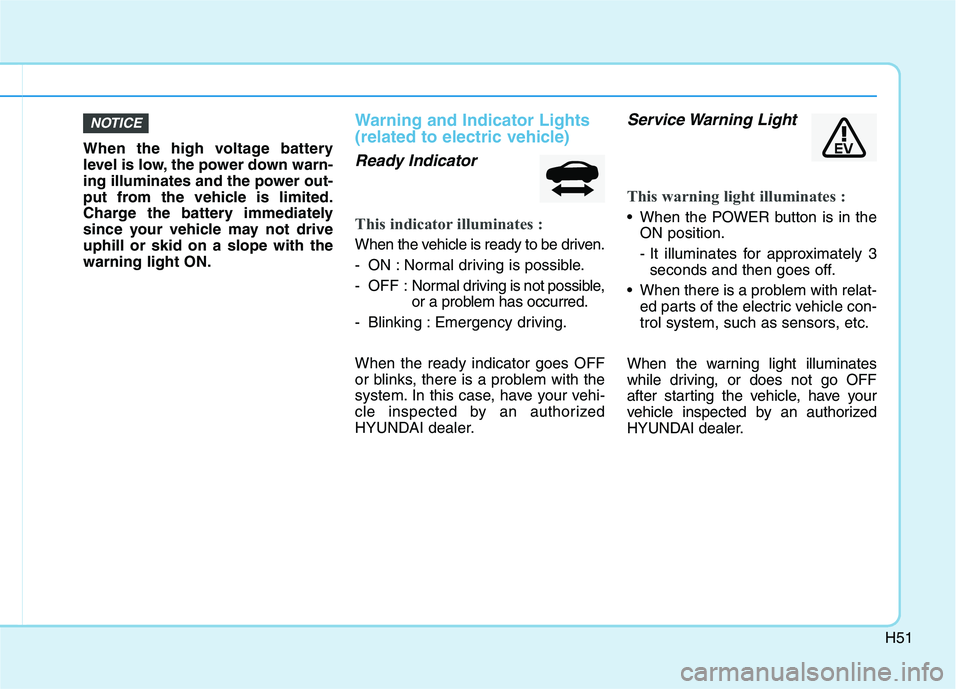
This indicator illuminates :
When the vehicle is ready to be driven.
- ON : Normal driving is possible.
- OFF : Normal driving is not possible,
or a problem has occurred.
- Blinking : Emergency driving. When the ready indicator goes OFF
or blinks, there is a problem with the
system. In this case, have your vehi-
cle inspected by an authorized
HYUNDAI dealer.
Service Warning Light
This warning light illuminates :
When the POWER button is in the ON position.
- It illuminates for approximately 3seconds and then goes off.
When there is a problem with relat- ed parts of the electric vehicle con-
trol system, such as sensors, etc.
When the warning light illuminates
while driving, or does not go OFF
after starting the vehicle, have your
vehicle inspected by an authorized
HYUNDAI dealer.
NOTICE