2021 FORD EXPLORER ECO mode
[x] Cancel search: ECO modePage 143 of 577

Setting the Temperature
Press the toggle button on the left-hand
side of the climate control upward or
downward to set the left-hand
temperature.
Note:
This control also adjusts the
right-hand side temperature when you
switch off dual zone mode.
Press the toggle button on the right-hand
side of the climate control upward or
downward to set the right-hand
temperature. Switching Auto Mode On and Off Press and release the button to
switch on automatic operation.
Repeatedly press the button to
adjust auto mode.
The system adjusts the blower motor
speed, air distribution, air conditioning
operation, and outside or recirculated air
to reach and maintain the temperature you
have set.
Under high humidity conditions, the system
adjusts the blower motor speed, air
distribution and air conditioning operation
to reduce window fogging.
Note: The system starts at the previous
setting when you switch on AUTO mode.
Note: You can also switch off dual zone
mode by pressing and holding the button
for more than two seconds.
Auto Mode Indicator Status Description
Auto Mode Indicator
Status
One indicator illumin-
ated. •
The blower motor speed is reduced.
•Use this setting to minimize the amount of noise from
the blower motor.
• This setting increases the time taken to cool the
interior.
Two indicators illumin-
ated. •
The blower motor speed is moderate.
Three indicators illumin-
ated. •
The blower motor speed is increased.
•Use this setting to reduce the time taken to cool the
interior.
• This setting increases the amount of noise from the
blower motor.
140
Explorer (CTW), enUSA, Edition date: 202007, Second-Printing Climate ControlE266187 E266186
Page 144 of 577
Switching the Air Conditioning On
and Off
Press and release the button.
Use air conditioning with recirculated air
to improve cooling performance and
efficiency.
Note: In certain conditions, for example,
maximum defrost, the air conditioning
compressor may continue to operate even
though you switch off the air conditioning.
Note: The A/C LED light may turn on and
off based on the temperature setting or the
current conditions.
Switching the Climate Control On
and Off Press and release the button.
Switching Maximum Air
Conditioning On and Off Press and release the button for
maximum cooling.
The driver and passenger temperatures
are set to LO, recirculated air flows through
the instrument panel air vents, air
conditioning turns on and the blower motor
adjusts to the highest speed.
Switching Maximum Defrost On
and Off Press and release the button for
maximum defrosting.
The driver and passenger temperatures
are set to HI, air flows through the
windshield air vents, and the blower motor
adjusts to the highest speed. Note:
Depending on your region, air
conditioning turns on.
You can also use this setting to defog and
clear the windshield of a thin covering of
ice.
Note: To prevent window fogging, you
cannot select recirculated air when
maximum defrost is on.
Note: The heated rear window also turns
on when you select maximum defrost.
Switching Recirculated Air On and
Off Press and release the button to
switch between outside air and
recirculated air.
The air currently in the passenger
compartment recirculates. This may
reduce the time needed to cool the interior,
when used with A/C, and reduce unwanted
odors from entering your vehicle.
Note: Recirculated air may turn off, or
prevent you from switching on, in all air flow
modes except
MAX A/C to reduce the risk
of fogging. Recirculation may also turn on
and off in various air distribution control
combinations during hot weather to improve
cooling efficiency.
HINTS ON CONTROLLING THE
INTERIOR CLIMATE
General Hints
Note: Prolonged use of recirculated air may
cause the windows to fog up.
Note: You may feel a small amount of air
from the footwell air vents regardless of the
air distribution setting.
Note: To reduce humidity build-up inside
your vehicle, do not drive with the system
switched off or with recirculated air always
switched on.
141
Explorer (CTW), enUSA, Edition date: 202007, Second-Printing Climate Control
Page 145 of 577
Note:
Do not place objects under the front
seats as this may interfere with the airflow
to the rear seats.
Note: Remove any snow, ice or leaves from
the air intake area at the base of the
windshield.
Note: To improve the time to reach a
comfortable temperature in hot weather,
drive with the windows open until you feel
cold air through the air vents.
Automatic Climate Control
Note: Adjusting the settings when your
vehicle interior is extremely hot or cold is
not necessary. Automatic mode is best
recommended to maintain set temperature.
Note: The system adjusts to heat or cool
the interior to the temperature you select
as quickly as possible.
Note: For the system to function efficiently,
the instrument panel and side air vents
should be fully open.
Note: If you select AUTO during cold
outside temperatures, the system directs
air flow to the windshield and side window
air vents. In addition, the blower motor may
run at a slower speed until the engine warms
up.
Note: If you select
AUTO during hot
temperatures and the inside of the vehicle
is hot, the system uses recirculated air to
maximize interior cooling. Blower motor
speed may also reduce until the air cools.
Quickly Heating the Interior
1. Press and release
AUTO.
2. Adjust the temperature function to the
setting you prefer.
Recommended Settings for
Heating
1. Press and release
AUTO. 2.
Adjust the temperature function to the
setting you prefer. Use
72°F (22°C) as
a starting point, then adjust the setting
as necessary.
Quickly Cooling the Interior
1. Press and release
MAX A/C.
Recommended Settings for
Cooling
1. Press and release
AUTO.
2. Adjust the temperature function to the
setting you prefer. Use
72°F (22°C) as
a starting point, then adjust the setting
as necessary.
Defogging the Side Windows in
Cold Weather
1. Press and release defrost or maximum
defrost.
2. Adjust the temperature control to the setting you prefer. Use
72°F (22°C) as
a starting point, then adjust the setting
as necessary.
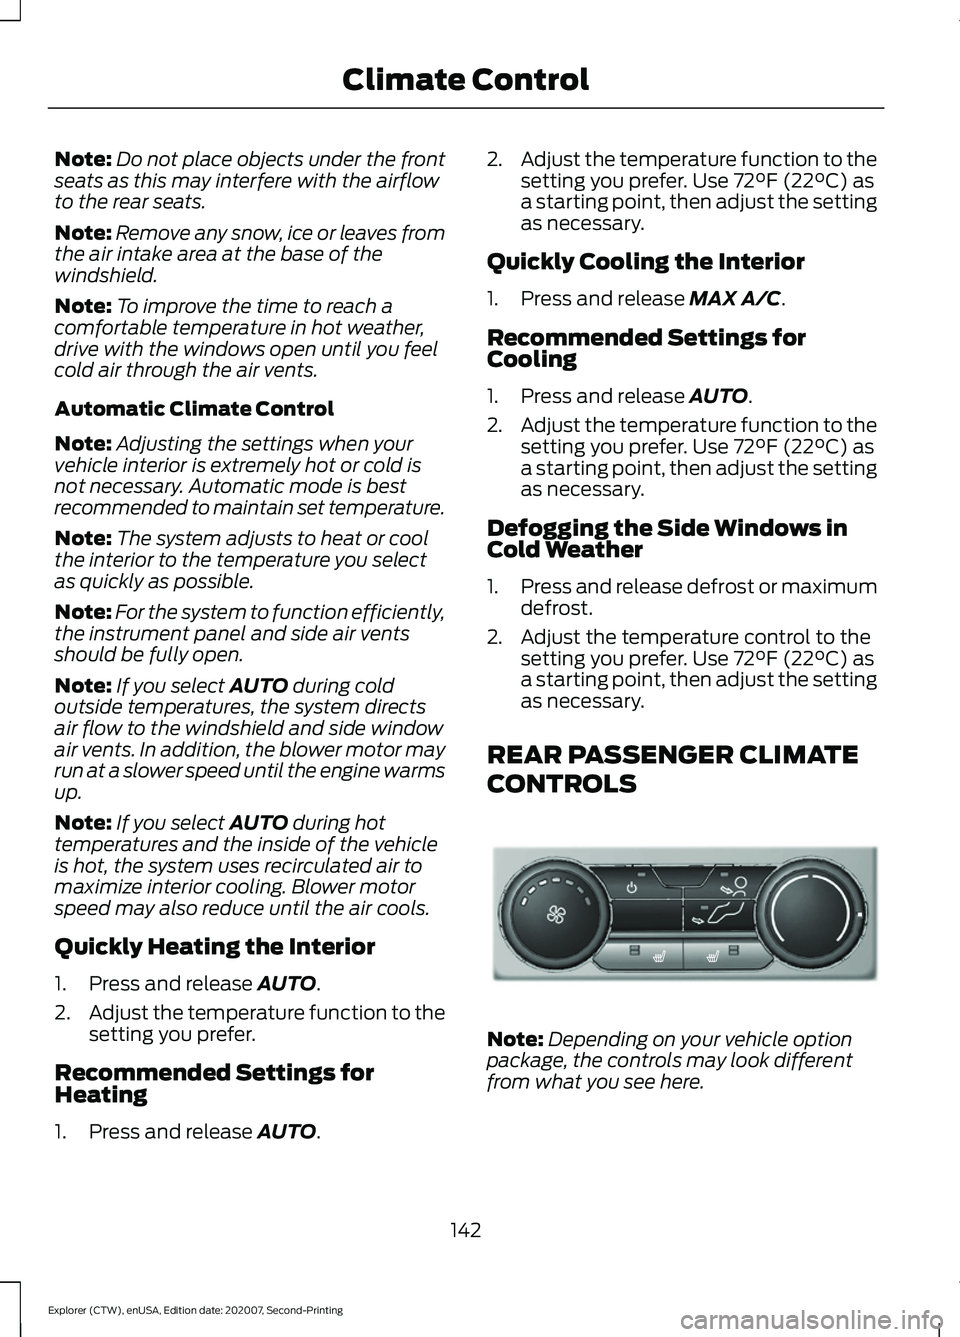
REAR PASSENGER CLIMATE
CONTROLS Note:
Depending on your vehicle option
package, the controls may look different
from what you see here.
142
Explorer (CTW), enUSA, Edition date: 202007, Second-Printing Climate ControlE289989
Page 147 of 577

HEATED REAR WINDOW
Press the button to clear the rear
window of thin ice and fog. The
heated rear window turns off
after a short period of time.
Note: Do not use harsh chemicals, razor
blades or other sharp objects to clean or
remove decals from the inside of the heated
rear window. The vehicle warranty may not
cover damage to the heated rear window
grid lines.
HEATED EXTERIOR MIRRORS
(IF EQUIPPED)
When you switch the heated rear window
on, the heated exterior mirrors turn on.
Note: Do not remove ice from the mirrors
with a scraper or adjust the mirror glass
when it is frozen in place.
Note: Do not clean the mirror housing or
glass with harsh abrasives, fuel or other
petroleum-based cleaning products. The
vehicle warranty may not cover damage
caused to the mirror housing or glass.
REMOTE START (IF EQUIPPED)
The climate control system adjusts the
interior temperature during remote start.
You can switch this feature on or off and
adjust the settings using the touchscreen.
See
Settings (page 464).
You cannot adjust the climate control
setting during remote start operation.
Switch the ignition on to make
adjustments. Based on your remote start settings, the
following vehicle-dependent features may
or may not remain on after remote starting
your vehicle:
•
Climate controlled seats.
• Heated steering wheel.
• Heated mirrors.
• Heated rear window.
• Windshield wiper de-icer.
Note: For dual zone climate controlled
seats, the passenger seat setting defaults
to match the driver seat during remote start.
Automatic Settings
If
Auto is on, the system sets the interior
temperature to 72°F (22°C) and heats or
cools the vehicle interior as required to
achieve comfort.
Note: In cold weather, the heated rear
window and heated mirrors turn on.
Last Settings
If
Last Settings is on, the system uses the
settings last selected before you turned
off the vehicle.
Heated and Cooled Features
In Auto mode, certain heated features may
switch on during cold weather, and cooled
features during hot weather.
144
Explorer (CTW), enUSA, Edition date: 202007, Second-Printing Climate ControlE184884
Page 154 of 577
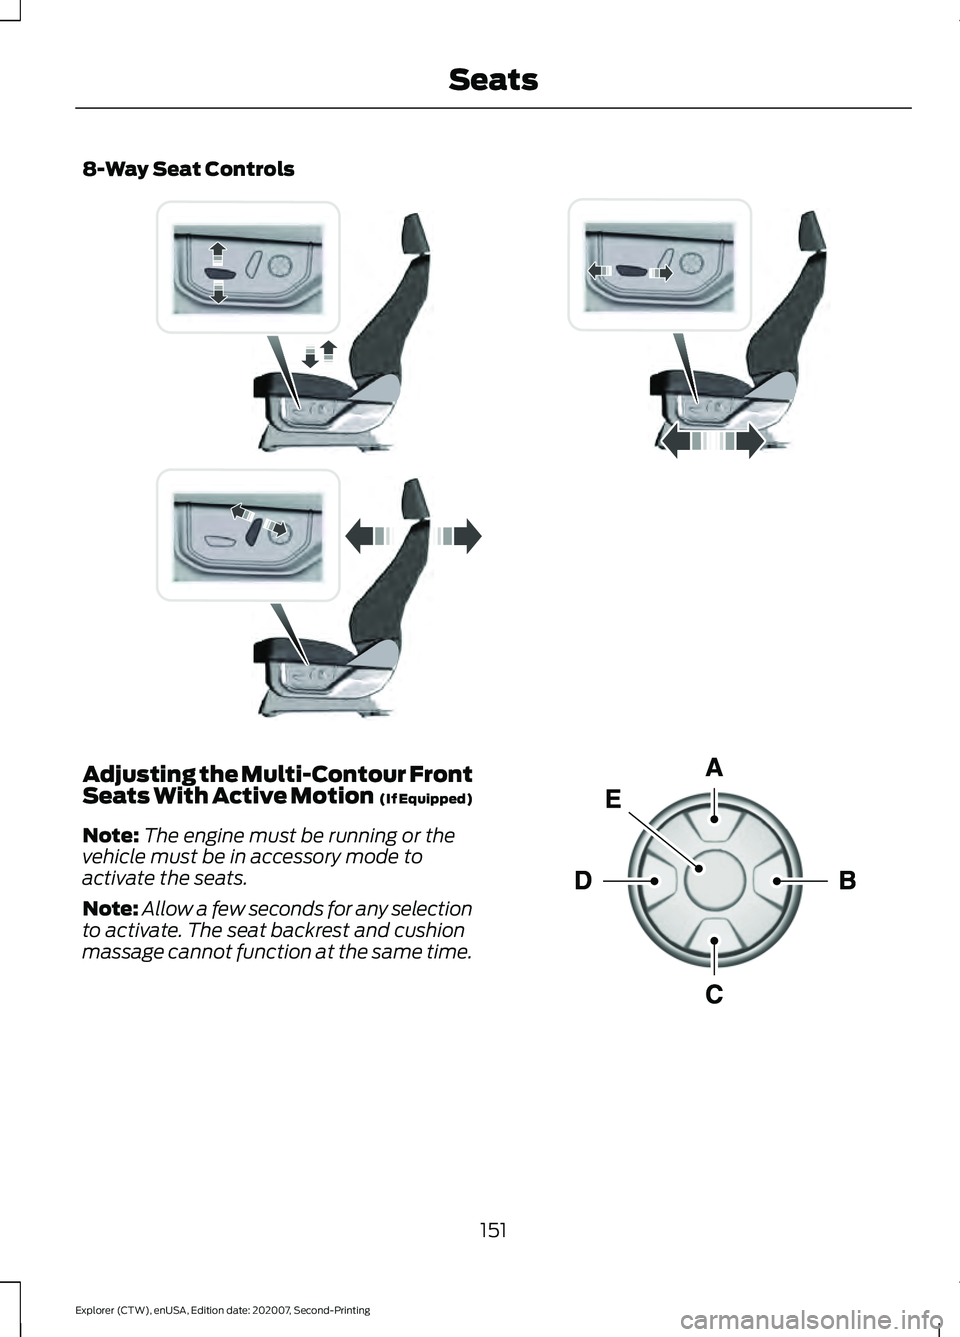
8-Way Seat Controls
Adjusting the Multi-Contour Front
Seats With Active Motion (If Equipped)
Note: The engine must be running or the
vehicle must be in accessory mode to
activate the seats.
Note: Allow a few seconds for any selection
to activate. The seat backrest and cushion
massage cannot function at the same time. 151
Explorer (CTW), enUSA, Edition date: 202007, Second-Printing SeatsE338902 E156301
Page 155 of 577
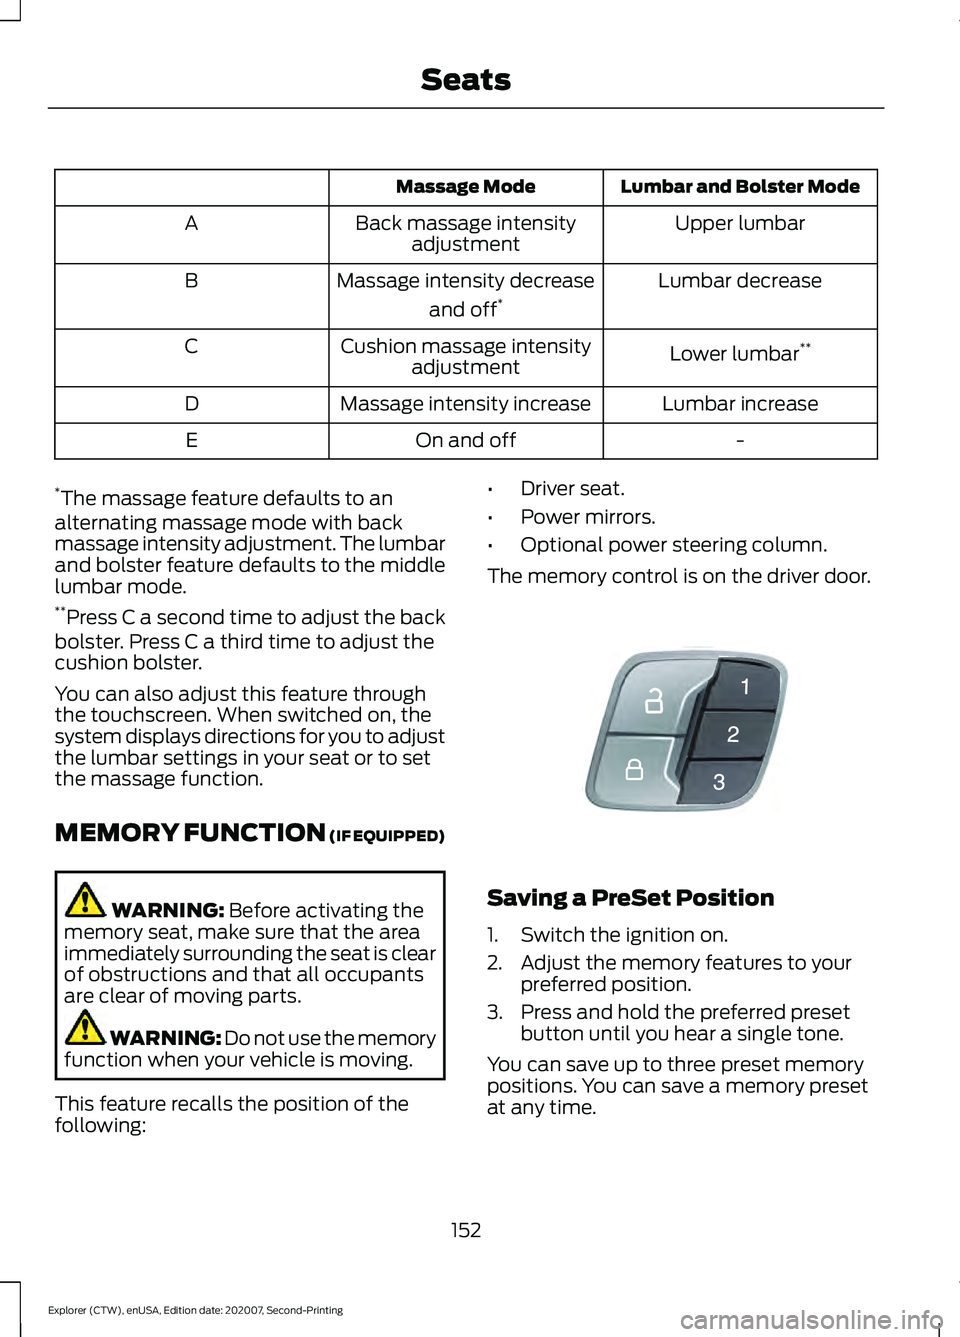
Lumbar and Bolster Mode
Massage Mode
Upper lumbar
Back massage intensity
adjustment
A
Lumbar decrease
Massage intensity decrease
and off*
B
Lower lumbar**
Cushion massage intensity
adjustment
C
Lumbar increase
Massage intensity increase
D
-
On and off
E
* The massage feature defaults to an
alternating massage mode with back
massage intensity adjustment. The lumbar
and bolster feature defaults to the middle
lumbar mode.
** Press C a second time to adjust the back
bolster. Press C a third time to adjust the
cushion bolster.
You can also adjust this feature through
the touchscreen. When switched on, the
system displays directions for you to adjust
the lumbar settings in your seat or to set
the massage function.
MEMORY FUNCTION (IF EQUIPPED) WARNING:
Before activating the
memory seat, make sure that the area
immediately surrounding the seat is clear
of obstructions and that all occupants
are clear of moving parts. WARNING:
Do not use the memory
function when your vehicle is moving.
This feature recalls the position of the
following: •
Driver seat.
• Power mirrors.
• Optional power steering column.
The memory control is on the driver door. Saving a PreSet Position
1. Switch the ignition on.
2. Adjust the memory features to your
preferred position.
3. Press and hold the preferred preset button until you hear a single tone.
You can save up to three preset memory
positions. You can save a memory preset
at any time.
152
Explorer (CTW), enUSA, Edition date: 202007, Second-Printing SeatsE142554
Page 167 of 577
Gate Operator / Canadian
Programming
Canadian radio-frequency laws require
transmitter signals to
“time-out” (or quit)
after several seconds of transmission –
which may not be long enough for
HomeLink to pick up the signal during
programming. Similar to this Canadian law,
some U.S. gate operators are designed to
“time-out” in the same manner.
Note: If programming a garage door opener
or gate operator, it is advised to unplug the
device during the “cycling” process to
prevent possible overheating.
1. Press and hold the HomeLink button while you press and release, every two
seconds, your hand-held transmitter
until the HomeLink indicator light
changes from a slow to a rapidly
blinking light.
2. Release both the HomeLink and hand-held transmitter buttons.
3. Continue programing HomeLink. See In-Vehicle Programming
.
Erasing the Function Button Codes
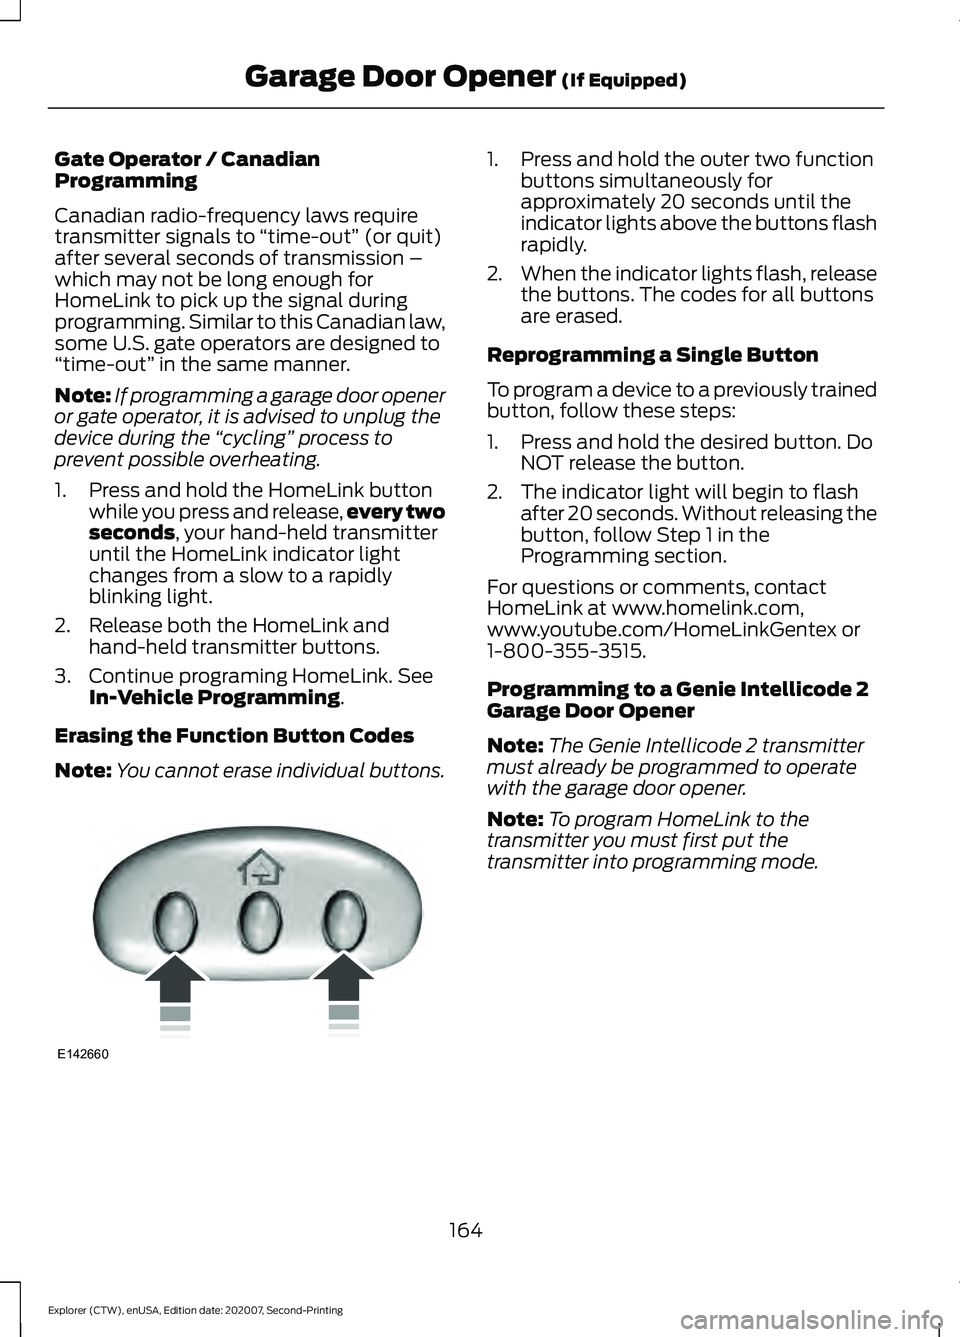
Note: You cannot erase individual buttons. 1. Press and hold the outer two function
buttons simultaneously for
approximately 20 seconds until the
indicator lights above the buttons flash
rapidly.
2. When the indicator lights flash, release
the buttons. The codes for all buttons
are erased.
Reprogramming a Single Button
To program a device to a previously trained
button, follow these steps:
1. Press and hold the desired button. Do NOT release the button.
2. The indicator light will begin to flash after 20 seconds. Without releasing the
button, follow Step 1 in the
Programming section.
For questions or comments, contact
HomeLink at www.homelink.com,
www.youtube.com/HomeLinkGentex or
1-800-355-3515.
Programming to a Genie Intellicode 2
Garage Door Opener
Note: The Genie Intellicode 2 transmitter
must already be programmed to operate
with the garage door opener.
Note: To program HomeLink to the
transmitter you must first put the
transmitter into programming mode.
164
Explorer (CTW), enUSA, Edition date: 202007, Second-Printing Garage Door Opener
(If Equipped)E142660
Page 168 of 577
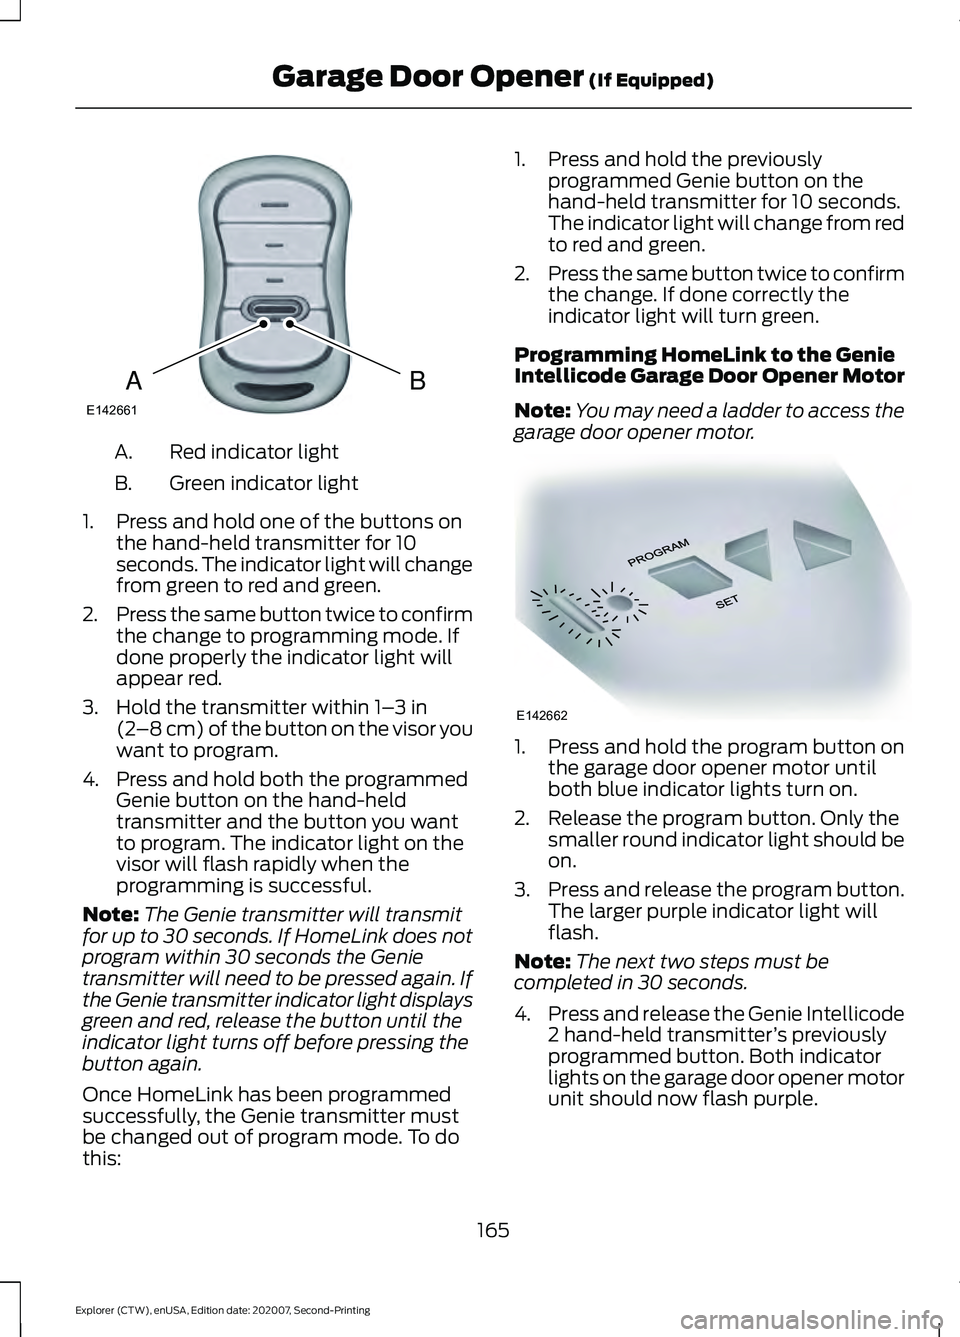
Red indicator light
A.
Green indicator light
B.
1. Press and hold one of the buttons on the hand-held transmitter for 10
seconds. The indicator light will change
from green to red and green.
2. Press the same button twice to confirm
the change to programming mode. If
done properly the indicator light will
appear red.
3. Hold the transmitter within 1– 3 in
(2 –8 cm) of the button on the visor you
want to program.
4. Press and hold both the programmed Genie button on the hand-held
transmitter and the button you want
to program. The indicator light on the
visor will flash rapidly when the
programming is successful.
Note: The Genie transmitter will transmit
for up to 30 seconds. If HomeLink does not
program within 30 seconds the Genie
transmitter will need to be pressed again. If
the Genie transmitter indicator light displays
green and red, release the button until the
indicator light turns off before pressing the
button again.
Once HomeLink has been programmed
successfully, the Genie transmitter must
be changed out of program mode. To do
this: 1. Press and hold the previously
programmed Genie button on the
hand-held transmitter for 10 seconds.
The indicator light will change from red
to red and green.
2. Press the same button twice to confirm
the change. If done correctly the
indicator light will turn green.
Programming HomeLink to the Genie
Intellicode Garage Door Opener Motor
Note: You may need a ladder to access the
garage door opener motor. 1. Press and hold the program button on
the garage door opener motor until
both blue indicator lights turn on.
2. Release the program button. Only the smaller round indicator light should be
on.
3. Press and release the program button.
The larger purple indicator light will
flash.
Note: The next two steps must be
completed in 30 seconds.
4. Press and release the Genie Intellicode
2 hand-held transmitter ’s previously
programmed button. Both indicator
lights on the garage door opener motor
unit should now flash purple.
165
Explorer (CTW), enUSA, Edition date: 202007, Second-Printing Garage Door Opener
(If Equipped)BAE142661 E142662