2021 FORD EXPLORER brake light
[x] Cancel search: brake lightPage 227 of 577
PRINCIPLE OF OPERATION
The traction control system helps avoid
drive wheel spin and loss of traction.
If your vehicle begins to slide, the system
applies the brakes to individual wheels
and, when needed, reduces engine power
at the same time. If the wheels spin when
accelerating on slippery or loose surfaces,
the system reduces engine power in order
to increase traction.
USING TRACTION CONTROL
WARNING: The stability and
traction control light illuminates steadily
if the system detects a failure. Make sure
you did not manually disable the traction
control system using the information
display controls or the switch. If the
stability control and traction control light
is still illuminating steadily, have the
system serviced by an authorized dealer
immediately. Operating your vehicle with
the traction control disabled could lead
to an increased risk of loss of vehicle
control, vehicle rollover, personal injury
and death.
The system automatically turns on each
time you switch the ignition on.
If your vehicle is stuck in mud or snow,
switching traction control off may be
beneficial as this allows the wheels to spin.
Note: When you switch traction control off,
stability control remains fully active.
Switching the System Off
When you switch the system off or on, a
message appears in the information
display showing system status.
You can switch the system off by using the
switch. Using a Switch
(If Equipped)
Use the traction control switch on the
center console near the shifter to switch
the system off or on. The traction control switch.
System Indicator Lights and
Messages The stability and traction control
light:
• Temporarily illuminates on engine
start-up.
• Flashes when a driving condition
activates either of the systems.
• Illuminates if a problem occurs in either
of the systems. The stability and traction control
off light temporarily illuminates
on engine start-up and stays on
when you switch the traction control
system off.
224
Explorer (CTW), enUSA, Edition date: 202007, Second-Printing Traction ControlE297971 E138639 E130458
Page 228 of 577

PRINCIPLE OF OPERATION
WARNING: Vehicle modifications
involving braking system, aftermarket
roof racks, suspension, steering system,
tire construction and wheel and tire size
may change the handling characteristics
of your vehicle and may adversely affect
the performance of the electronic
stability control system. In addition,
installing any stereo loudspeakers may
interfere with and adversely affect the
electronic stability control system. Install
any aftermarket stereo loudspeaker as
far as possible from the front center
console, the tunnel, and the front seats
in order to minimize the risk of interfering
with the electronic stability control
sensors. Reducing the effectiveness of
the electronic stability control system
could lead to an increased risk of loss of
vehicle control, vehicle rollover, personal
injury and death. WARNING:
Remember that even
advanced technology cannot defy the
laws of physics. It’ s always possible to
lose control of a vehicle due to
inappropriate driver input for the
conditions. Aggressive driving on any
road condition can cause you to lose
control of your vehicle increasing the risk
of personal injury or property damage.
Activation of the electronic stability
control system is an indication that at
least some of the tires have exceeded
their ability to grip the road; this could
reduce the operator ’s ability to control
the vehicle potentially resulting in a loss
of vehicle control, vehicle rollover,
personal injury and death. If your
electronic stability control system
activates, SLOW DOWN.
The system automatically turns on each
time you switch the ignition on. If a driving condition activates either the
stability control or the traction control
system you may experience the following
conditions:
•
The stability and traction control light
flashes.
• Your vehicle slows down.
• Reduced engine power.
• A vibration in the brake pedal.
• The brake pedal is stiffer than usual.
• If the driving condition is severe and
your foot is not on the brake, the brake
pedal may move as the systems
applies higher brake forces.
The stability control system has several
features built into it to help you maintain
control of your vehicle:
Electronic Stability Control
The system enhances your vehicle ’s ability
to prevent skids or lateral slides by
applying brakes to one or more of the
wheels individually and, if necessary,
reducing engine power.
Roll Stability Control
The system enhances your vehicle ’s ability
to prevent rollovers by detecting your
vehicle ’s roll motion and the rate at which
it changes by applying the brakes to one
or more wheels individually.
Curve Control
The system enhances your vehicle ’s ability
to follow the road when cornering severely
or avoiding objects in the roadway. Curve
Control operates by reducing engine power
and, if necessary, applying brakes to one
or more of the wheels individually.
225
Explorer (CTW), enUSA, Edition date: 202007, Second-Printing Stability Control
Page 231 of 577
WHAT IS HILL DESCENT
CONTROL
WARNING: Hill descent control
cannot control descent in all surface
conditions and circumstances, such as
ice or extremely steep grades. Hill
descent control is a driver assist system
and cannot substitute for good judgment
by the driver. Failure to do so may result
in loss of vehicle control, crash or serious
injury. WARNING:
The system does not
replace the parking brake. When you
leave your vehicle, always apply the
parking brake and shift the transmission
into park (P) for automatic transmission
or first gear for manual transmission.
Note: The system does not function below
3 mph (5 km/h)
.
Hill descent control allows the driver to set
and maintain vehicle speed while
descending steep slopes in various surface
conditions.
The system can maintain vehicle speeds
on downhill slopes between
3– 20 mph
(5– 32 km/h). Above 20 mph (32 km/h),
the system remains on but the descent
speed cannot be set or maintained.
The system requires a cool down interval
after a period of sustained use. The
amount of time that the system can
remain active before cooling varies with
conditions. The system provides a warning
in the message center and a tone sounds
when the system is about to disengage for
cooling. At this time, manually apply the
brakes as needed to maintain descent
speed. SWITCHING HILL DESCENT
CONTROL ON AND OFF Press the button on the center
console. A light illuminates in the
control and a tone sounds when
the system is active.
SETTING THE HILL DESCENT
SPEED WARNING:
The system does not
replace the parking brake. When you
leave your vehicle, always apply the
parking brake and shift the transmission
into park (P) for automatic transmission
or first gear for manual transmission. WARNING:
The system does not
control speed in low traction conditions
or extremely steep slopes. The system
is designed to be an aid and does not
relieve you of your responsibility to drive
with due care and attention. Failure to
follow this instruction could result in
personal injury.
To increase the descent speed, press the
accelerator pedal until you reach the speed
you prefer.
To decrease the descent speed, press the
brake pedal until you reach the speed you
prefer.
When you reach the speed you prefer,
either by accelerating or decelerating,
remove your feet from the pedals. The
system maintains the chosen vehicle
speed.
228
Explorer (CTW), enUSA, Edition date: 202007, Second-Printing Hill Descent Control
(If Equipped)
Page 251 of 577
•
The system does not detect at least
one lane marking or when lanes merge
or split.
• You switch the direction indicator on.
• Limited steering torque input is applied.
• Areas under construction or new
infrastructure.
• When modifications to the steering
system have been made.
• When using a spare tire.
Note: The driving assistance torque is
limited and may not be sufficient for all
driving situations such as driving through
tight curves or driving through curves at high
speeds.
Note: In exceptional conditions, the system
may deviate from the center line.
ADAPTIVE CRUISE CONTROL
LIMITATIONS - VEHICLES
WITH: ADAPTIVE CRUISE
CONTROL WITH STOP AND GO
Sensor Limitations WARNING: On rare occasions,
detection issues can occur due to the
road infrastructures, for example bridges,
tunnels and safety barriers. In these
cases, the system may brake late or
unexpectedly. At all times, you are
responsible for controlling your vehicle,
supervising the system and intervening,
if required. WARNING:
If the system
malfunctions, have your vehicle checked
as soon as possible. WARNING:
Large contrasts in
outside lighting can limit sensor
performance. WARNING:
The system only warns
of vehicles detected by the radar sensor.
In some cases there may be no warning
or a delayed warning. Apply the brakes
when necessary. Failure to follow this
instruction could result in personal injury
or death. WARNING:
The system may not
detect stationary or slow moving
vehicles below
6 mph (10 km/h). WARNING:
The system does not
detect pedestrians or objects in the road. WARNING:
The system does not
detect oncoming vehicles in the same
lane. WARNING:
The system may not
operate properly if the sensor is blocked.
Keep the windshield free from
obstruction. WARNING:
The sensor may
incorrectly track lane markings as other
structures or objects. This can result in
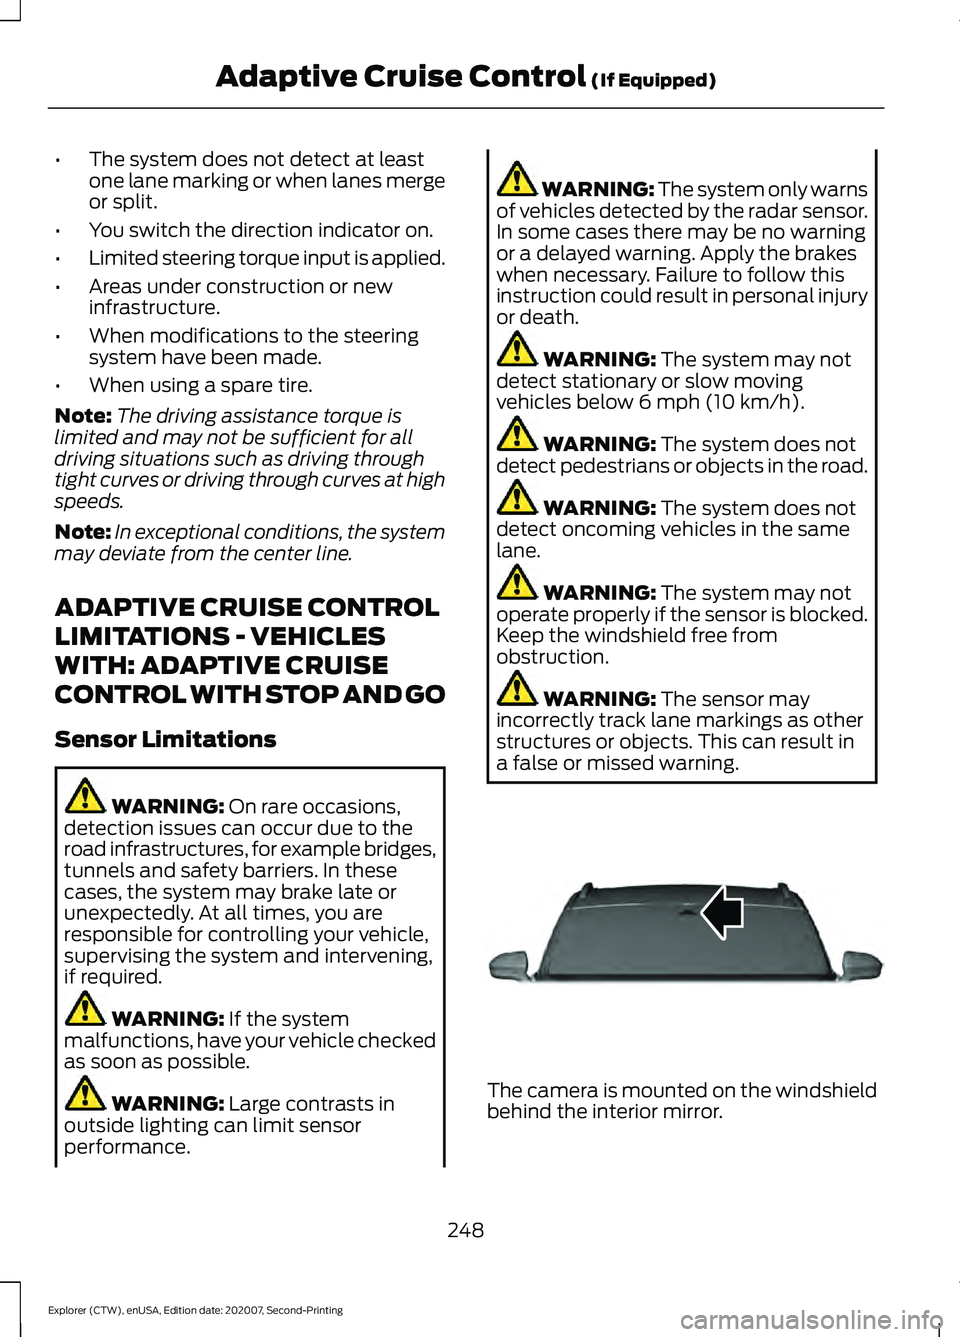
a false or missed warning. The camera is mounted on the windshield
behind the interior mirror.
248
Explorer (CTW), enUSA, Edition date: 202007, Second-Printing Adaptive Cruise Control
(If Equipped)E307893
Page 252 of 577
The radar sensor is in the lower grille.
Note:
You cannot see the sensor. It is
behind a fascia panel.
Note: Keep the front of your vehicle free of
dirt, metal badges or objects. Vehicle front
protectors, aftermarket lights, additional
paint or plastic coatings could also degrade
sensor performance.
A message displays if something obstructs
the camera or the sensor. When something
blocks the sensor, the system cannot
detect a vehicle ahead and does not
function. See Adaptive Cruise Control
– Information Messages (page 256).
The radar sensor has a limited field of view.
It may not detect vehicles at all or detect
a vehicle later than expected in some
situations. The lead vehicle image does
not illuminate if the system does not
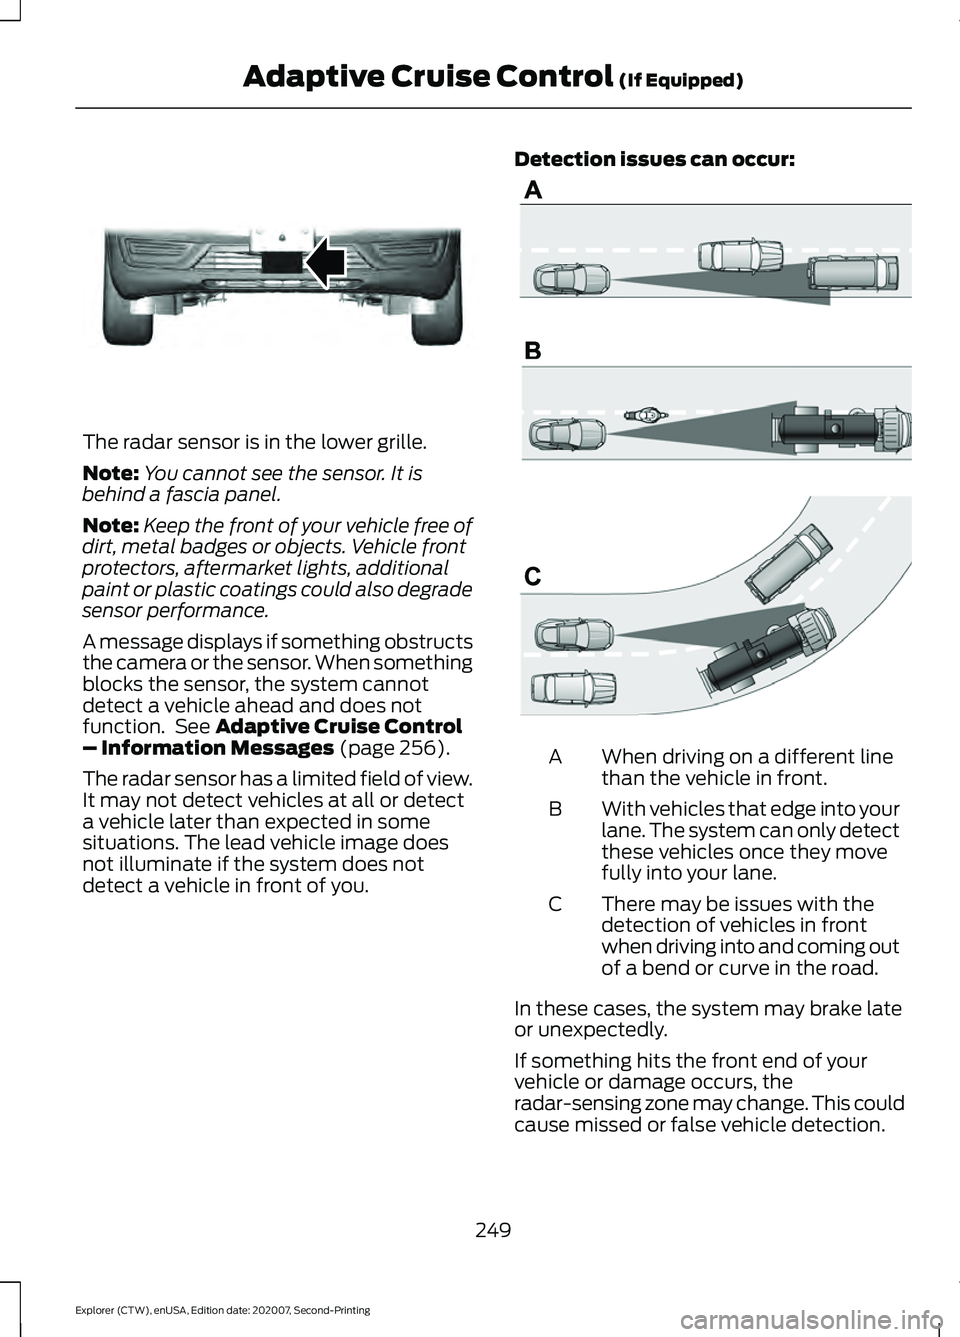
detect a vehicle in front of you. Detection issues can occur:
When driving on a different line
than the vehicle in front.
A
With vehicles that edge into your
lane. The system can only detect
these vehicles once they move
fully into your lane.
B
There may be issues with the
detection of vehicles in front
when driving into and coming out
of a bend or curve in the road.
C
In these cases, the system may brake late
or unexpectedly.
If something hits the front end of your
vehicle or damage occurs, the
radar-sensing zone may change. This could
cause missed or false vehicle detection.
249
Explorer (CTW), enUSA, Edition date: 202007, Second-Printing Adaptive Cruise Control
(If Equipped)E307892 E71621
Page 253 of 577
Optimal system performance requires a
clear view of the road by the
windshield-mounted camera.
Optimal performance may not occur if:
•
The camera is blocked.
• There is poor visibility or lighting
conditions.
• There are bad weather conditions.
SWITCHING ADAPTIVE
CRUISE CONTROL ON AND OFF
The cruise controls are on the steering
wheel. See Cruise Control (page 82).
Switching Adaptive Cruise Control
On Press the button to set the
system in standby mode.
The indicator, current gap setting and set
speed appear in the information display.
Switching Adaptive Cruise Control
Off Press the button when the
system is in standby mode, or
switch the ignition off.
Note: You erase the set speed when you
switch the system off.
Automatic Cancellation or
Deactivation
The system may cancel if:
• The tires lose traction.
• You apply the parking brake. The system may cancel and set the parking
brake if:
•
You unbuckle the seatbelt and open
the driver door after you stop your
vehicle.
• Your vehicle is at a stop continuously
for more than three minutes.
The system may deactivate or prevent
activating when requested if:
• The vehicle has a blocked sensor.
• The brake temperature is too high.
• There is a failure in the system or a
related system.
SETTING THE ADAPTIVE
CRUISE CONTROL SPEED
Drive to the speed you prefer. Press the toggle button upward
or downward to set the current
speed.
Take your foot off the accelerator pedal.
The indicator, current gap setting and set
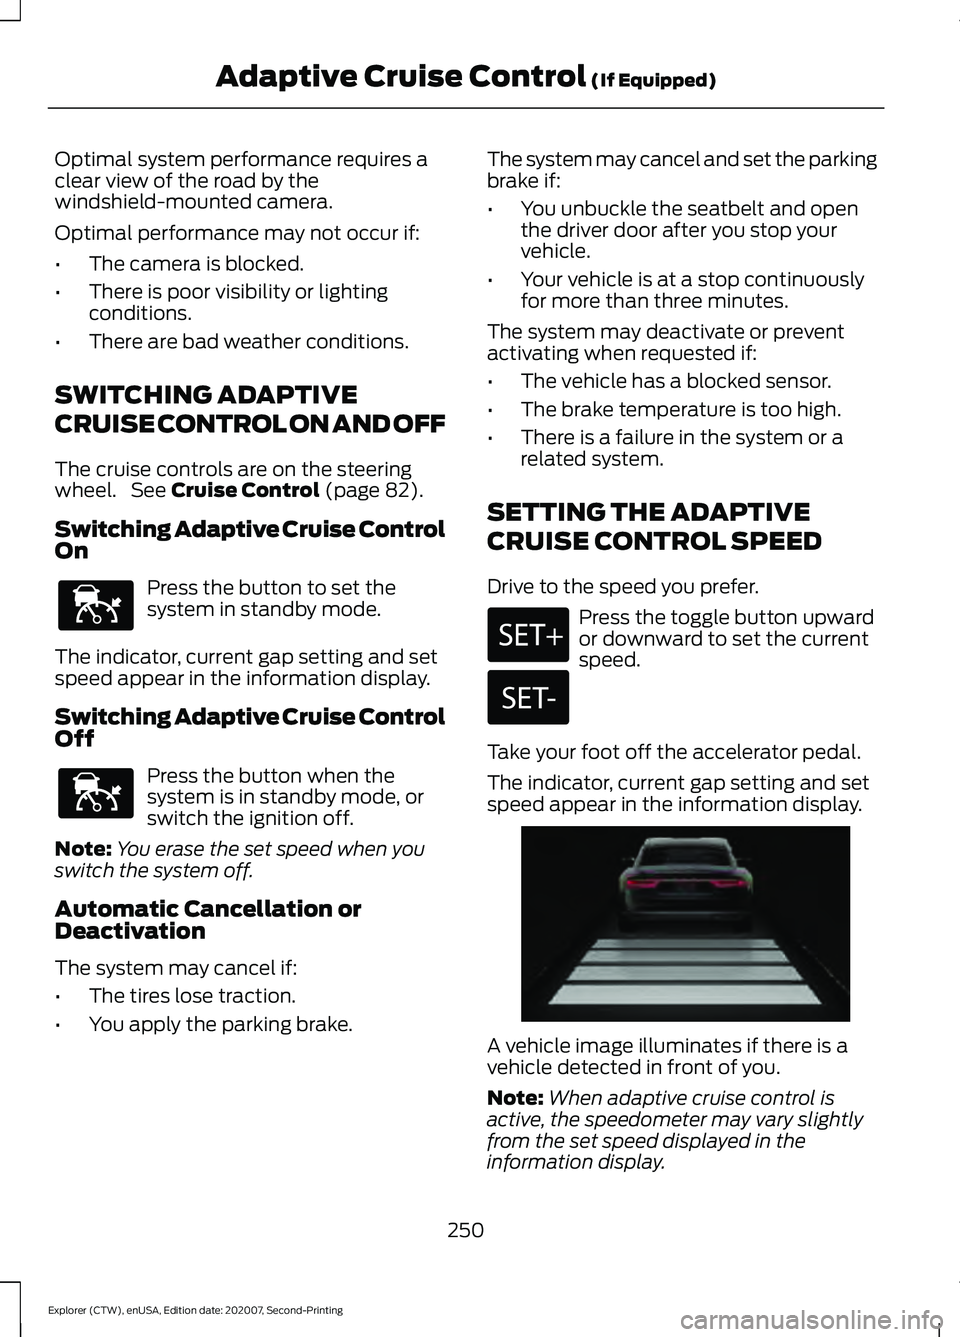
speed appear in the information display. A vehicle image illuminates if there is a
vehicle detected in front of you.
Note:
When adaptive cruise control is
active, the speedometer may vary slightly
from the set speed displayed in the
information display.
250
Explorer (CTW), enUSA, Edition date: 202007, Second-Printing Adaptive Cruise Control
(If Equipped)E144529 E144529 E255686
Page 277 of 577
WARNING: The system does not
detect vehicles that are driving in a
different direction, cyclists or animals.
Apply the brakes when necessary. Failure
to follow this instruction could result in
the loss of control of your vehicle,
personal injury or death. WARNING:
The system does not
operate during hard acceleration or
steering. Failure to take care may lead
to a crash or personal injury. WARNING: The system may fail or
operate with reduced function during
cold and severe weather conditions.
Snow, ice, rain, spray and fog can
adversely affect the system. Keep the
front camera and radar free of snow and
ice. Failure to take care may result in the
loss of control of your vehicle, serious
personal injury or death. WARNING:
Some situations and
objects prevent hazard detection. For
example low or direct sunlight, inclement
weather, unconventional vehicle types,
and pedestrians. Apply the brakes when
necessary. Failure to follow this
instruction could result in the loss of
control of your vehicle, personal injury or
death. WARNING:
The system cannot
help prevent all crashes. Do not rely on
this system to replace driver judgment
and the need to maintain a safe distance
and speed.
Using the Pre-Collision Assist
System
The system is active at speeds above
approximately
3 mph (5 km/h) and
pedestrian detection is active at speeds
up to
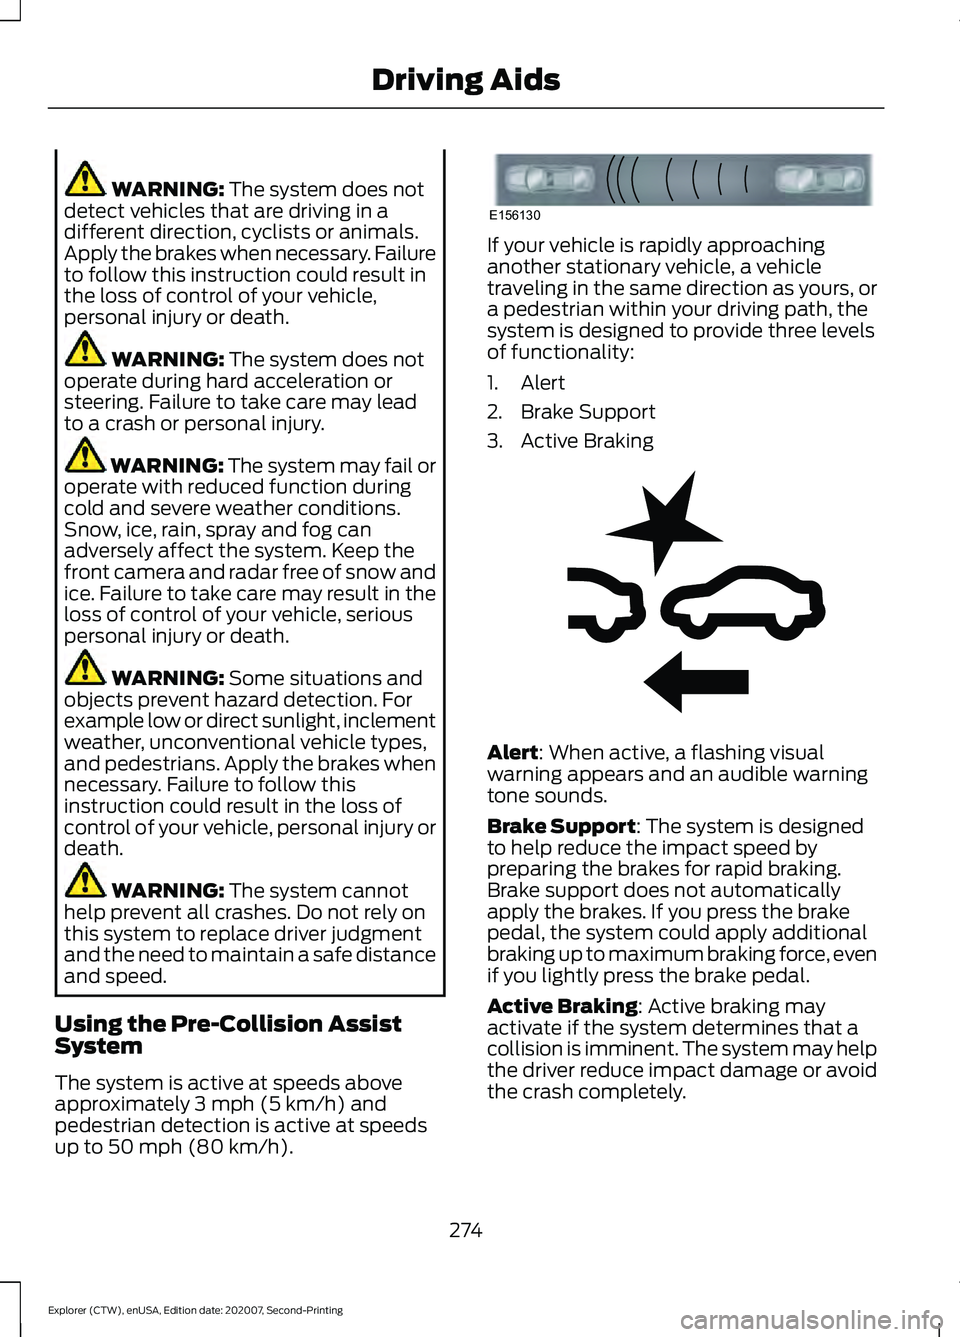
50 mph (80 km/h). If your vehicle is rapidly approaching
another stationary vehicle, a vehicle
traveling in the same direction as yours, or
a pedestrian within your driving path, the
system is designed to provide three levels
of functionality:
1. Alert
2. Brake Support
3. Active Braking
Alert
: When active, a flashing visual
warning appears and an audible warning
tone sounds.
Brake Support
: The system is designed
to help reduce the impact speed by
preparing the brakes for rapid braking.
Brake support does not automatically
apply the brakes. If you press the brake
pedal, the system could apply additional
braking up to maximum braking force, even
if you lightly press the brake pedal.
Active Braking
: Active braking may
activate if the system determines that a
collision is imminent. The system may help
the driver reduce impact damage or avoid
the crash completely.
274
Explorer (CTW), enUSA, Edition date: 202007, Second-Printing Driving AidsE156130 E255268
Page 291 of 577

TOWING A TRAILER
WARNING: Towing trailers
beyond the maximum
recommended gross trailer
weight exceeds the limit of your
vehicle and could result in engine
damage, transmission damage,
structural damage, loss of
vehicle control, vehicle rollover
and personal injury. WARNING:
Do not exceed
the GVWR or the GAWR
specified on the certification
label.
Note: See
Recommended
Towing Weights (page 289).
Your vehicle may have electrical
items, such as fuses or relays,
related to towing. See
Fuses
(page 312).
Your vehicle's load capacity
designation is by weight, not by
volume, so you cannot necessarily
use all available space when
loading a vehicle or trailer.
Towing a trailer places an extra
load on your vehicle's engine,
transmission, axle, brakes, tires
and suspension. Inspect these
components periodically during,
and after, any towing operation. Load Placement
To help minimize how trailer
movement affects your vehicle
when driving:
•
Load the heaviest items closest
to the trailer floor.
• Load the heaviest items
centered between the left and
right side trailer tires.
• Load the heaviest items above
the trailer axles or just slightly
forward toward the trailer
tongue. Do not allow the final
trailer tongue weight to go
above or below 10-15% of the
loaded trailer weight.
• Select a ball mount with the
correct rise or drop and load
capacity. When both the
loaded vehicle and trailer are
connected, the trailer frame
should be level, or slightly
angled down toward your
vehicle, when viewed from the
side.
When driving with a trailer or
payload, a slight takeoff vibration
or shudder may be present due to
the increased payload weight.
Additional information regarding
proper trailer loading and setting
your vehicle up for towing is
located in another chapter of this
manual. See
Load Limit (page
282).
You can also find information in
the
RV & Trailer Towing Guide
available at your authorized
dealer, or online.
288
Explorer (CTW), enUSA, Edition date: 202007, Second-Printing Towing