2021 FORD BRONCO SPORT heating
[x] Cancel search: heatingPage 244 of 471
OFF-ROAD DRIVING
What Is Off-Road Driving
Off-road driving is driving your vehicle on
unsurfaced roads or trails, made from dirt,
rocks, sand and mud.
Your vehicle has been designed and
equipped to explore those places where
the road cannot take you, whether you
choose a forest trail or the open desert.
Off-Road Driving Precautions
WARNING: If you continue to drive
your vehicle when the engine is
overheating, the engine could stop
without warning. Failure to follow this
instruction could result in the loss of
control of your vehicle.
Before going off-road, consult with your
local governmental agencies to determine
designated off-road trails and recreation
areas. Also, be sure to understand any
off-road vehicle registration requirements
for the area in which you plan on driving.
Tread Lightly is an educational program
designed to increase public awareness of
land-use regulations and responsibilities
in our nation ’s wilderness areas. The U.S.
Forest Service and Bureau of Land
Management is encouraging you to help
preserve our national forest and other
public and private lands by treading lightly.
Before taking your vehicle off-road, do a
basic vehicle inspection to make sure that
the vehicle is in top working condition. Before you venture off road, have a clear
mental picture of the underside of your
vehicle. Learn the location of any low
hanging items and any skid plates that may
be on the vehicle. You can avoid snagging
them on rocks and other obstacles if you
know where they are.
Memorizing some basic dimensions helps
you confidently deal with off-road
obstacles. Get to know your vehicle
’s
height and width, its lowest point, its
wading depth and angles. Familiarize
yourself with your vehicle ’s on-board
technology features.
We recommend driving at least two
vehicles when driving off-road. The buddy
system helps make sure that help is close
at hand should a vehicle become stuck or
damaged.
We recommend taking supplies such as a
first aid kit, supply of water, tow strap and
cell or satellite phone with you any time
you plan an off-road excursion.
Basic Off-Road Driving Techniques
Grip the steering wheel with your thumbs
on the outside of the rim. This reduces the
risk of injury due to abrupt steering wheel
motions that occur when negotiating rough
terrain.
Control your throttle, brake and steering
inputs in a smooth manner. Sudden inputs
to the controls can cause a loss of traction
for the vehicle, especially when on sloped
terrain or crossing obstacles such as rocks
or logs.
241
Bronco Sport (CHD) Canada/United States of America, enUSA, Edition date: 202007, Second-Printing Driving Hints
Page 280 of 471
ENGINE COOLANT CHECK
WARNING: Do not remove the
coolant reservoir cap when the engine is
on or the cooling system is hot. Wait 10
minutes for the cooling system to cool
down. Cover the coolant reservoir cap
with a thick cloth to prevent the
possibility of scalding and slowly remove
the cap. Failure to follow this instruction
could result in personal injury. WARNING:
To reduce the risk of
personal injury, make sure the engine is
cool before unscrewing the coolant
pressure relief cap. The cooling system
is under pressure. Steam and hot liquid
can come out forcefully when you loosen
the cap slightly. WARNING:
Do not add coolant
further than the MAX mark.
When the engine is cold, check the
concentration and level of the coolant at
the intervals listed in the scheduled
maintenance information. See Scheduled
Maintenance
(page 396).
Note: Make sure that the coolant level is
between the
MIN and the MAX marks on
the coolant reservoir.
Note: Coolant expands when it is hot. The
level may extend beyond the
MAX mark.
Maintain coolant concentration within
48% to 50%, which equates to a freeze
point between
-29°F (-34°C) and -35°F
(-37°C). Coolant concentration should be
checked using a refractometer. We do not
recommend the use of hydrometers or
coolant test strips for measuring coolant
concentration. Adding Coolant WARNING:
Do not remove the
coolant reservoir cap when the engine is
on or the cooling system is hot. Wait 10
minutes for the cooling system to cool
down. Cover the coolant reservoir cap
with a thick cloth to prevent the
possibility of scalding and slowly remove
the cap. Failure to follow this instruction
could result in personal injury. WARNING:
Do not add engine
coolant when the engine is on or the
cooling system is hot. Failure to follow
this instruction could result in personal
injury. WARNING:
Do not put coolant in
the windshield washer reservoir. If
sprayed on the windshield, coolant could
make it difficult to see through the
windshield.
Note: Automotive fluids are not
interchangeable. Take care not to put
engine coolant in the windshield washer
fluid reservoir or windshield washer fluid in
the engine coolant reservoir.
Note: Do not use stop leak pellets, cooling
system sealants, or non-specified additives
as they can cause damage to the engine
cooling or heating systems. Resulting
component damage may not be covered by
the vehicle Warranty.
It is very important to use prediluted
coolant approved to the correct
specification in order to avoid plugging the
small passageways in the engine cooling
system. See
Capacities and
Specifications (page 323). Do not mix
different colors or types of coolant in your
vehicle. Mixing of engine coolants or using
an incorrect coolant may harm the engine
or cooling system components and may
not be covered by the vehicle warranty.
277
Bronco Sport (CHD) Canada/United States of America, enUSA, Edition date: 202007, Second-Printing Maintenance
Page 281 of 471
Note:
If prediluted coolant is not available,
use the approved concentrated coolant
diluting it to 50/50 with distilled water. See
Capacities and Specifications (page 323).
Using water that has not been deionized
may contribute to deposit formation,
corrosion and plugging of the small cooling
system passageways.
Note: Coolants marketed for all makes and
models may not be approved to our
specifications and may cause damage to
the cooling system. Resulting component
damage may not be covered by the vehicle
Warranty.
If the coolant level is at or below the
minimum mark, add prediluted coolant
immediately.
To top up the coolant level do the
following:
1. Unscrew the cap slowly. Any pressure escapes as you unscrew the cap.
2. Add prediluted coolant approved to the correct specification. See
Capacities and Specifications (page
323).
3. Add enough prediluted coolant to reach the correct level.
4. Replace the coolant reservoir cap. Turn
the cap clockwise until it contacts the
hard stop.
5. Check the coolant level in the coolant reservoir the next few times you drive
your vehicle. If necessary, add enough
prediluted engine coolant to bring the
coolant level to the correct level.
If you have to add more than
1.1 qt (1 L) of
engine coolant per month, have your
vehicle checked as soon as possible.
Operating an engine with a low level of
coolant can result in engine overheating
and possible engine damage. In case of emergency, you can add a large
amount of water without engine coolant
in order to reach a vehicle service location.
In this instance, qualified personnel:
1. Must drain the cooling system.
2. Chemically clean the coolant system.
3. Refill with engine coolant as soon as
possible.
Water alone, without engine coolant, can
cause engine damage from corrosion,
overheating or freezing.
Do not use the following as a coolant
substitute:
• Alcohol.
• Methanol.
• Brine.
• Any coolant mixed with alcohol or
methanol antifreeze.
Alcohol and other liquids can cause engine
damage from overheating or freezing.
Do not add extra inhibitors or additives to
the coolant. These can be harmful and
compromise the corrosion protection of
the coolant.
Recycled Coolant
We do not recommend the use of recycled
coolant as an approved recycling process
is not yet available.
Dispose of used engine coolant in an
appropriate manner. Follow your
community's regulations and standards
for recycling and disposing of automotive
fluids.
278
Bronco Sport (CHD) Canada/United States of America, enUSA, Edition date: 202007, Second-Printing Maintenance
Page 283 of 471
WARNING: Do not remove the
coolant reservoir cap when the engine is
on or the cooling system is hot. Wait 10
minutes for the cooling system to cool
down. Cover the coolant reservoir cap
with a thick cloth to prevent the
possibility of scalding and slowly remove
the cap. Failure to follow this instruction
could result in personal injury.
Your vehicle has limited engine power
when in the fail-safe mode, drive your
vehicle with caution. Your vehicle does not
maintain high-speed operation and the
engine may operate poorly.
Remember that the engine is capable of
automatically shutting down to prevent
engine damage. In this situation:
1. Pull off the road as soon as safely possible and switch the engine off.
2. If you are a member of a roadside assistance program, we recommend
that you contact your roadside
assistance service provider.
3. If this is not possible, wait a short period for the engine to cool.
4. Check the coolant level. If the coolant level is at or below the minimum mark,
add prediluted coolant immediately.
5. When the engine temperature cools, you can re-start the engine. Have your
vehicle checked as soon as possible to
minimize engine damage.
Note: Driving your vehicle without repair
increases the chance of engine damage. Engine Coolant Temperature
Management (If Equipped) WARNING:
To reduce the risk of
crash and injury, be prepared that the
vehicle speed may reduce and the
vehicle may not be able to accelerate
with full power until the coolant
temperature reduces.
If you tow a trailer with your vehicle, the
engine may temporarily reach a higher
temperature during severe operating
conditions, for example ascending a long
or steep slope in high ambient
temperatures.
At this time, you may notice the coolant
temperature gauge moves toward the red
zone and a message may appear in the
information display.
You could notice a reduction in vehicle
speed caused by reduced engine power in
order to manage the engine coolant
temperature. Your vehicle could enter this
mode if certain high-temperature and
high-load conditions take place. The
amount of speed reduction depends on
vehicle loading, slope and ambient
temperature. If this occurs, there is no
need to stop your vehicle. You can
continue to drive.
The air conditioning may turn on and off
during severe operating conditions to
protect the engine from overheating. When
the coolant temperature decreases to the
normal operating temperature, the air
conditioning turns on.
If the coolant temperature gauge moves
fully into the red zone, or if the coolant
temperature warning or service engine
soon messages appear in your information
display, do the following:
280
Bronco Sport (CHD) Canada/United States of America, enUSA, Edition date: 202007, Second-Printing Maintenance
Page 400 of 471
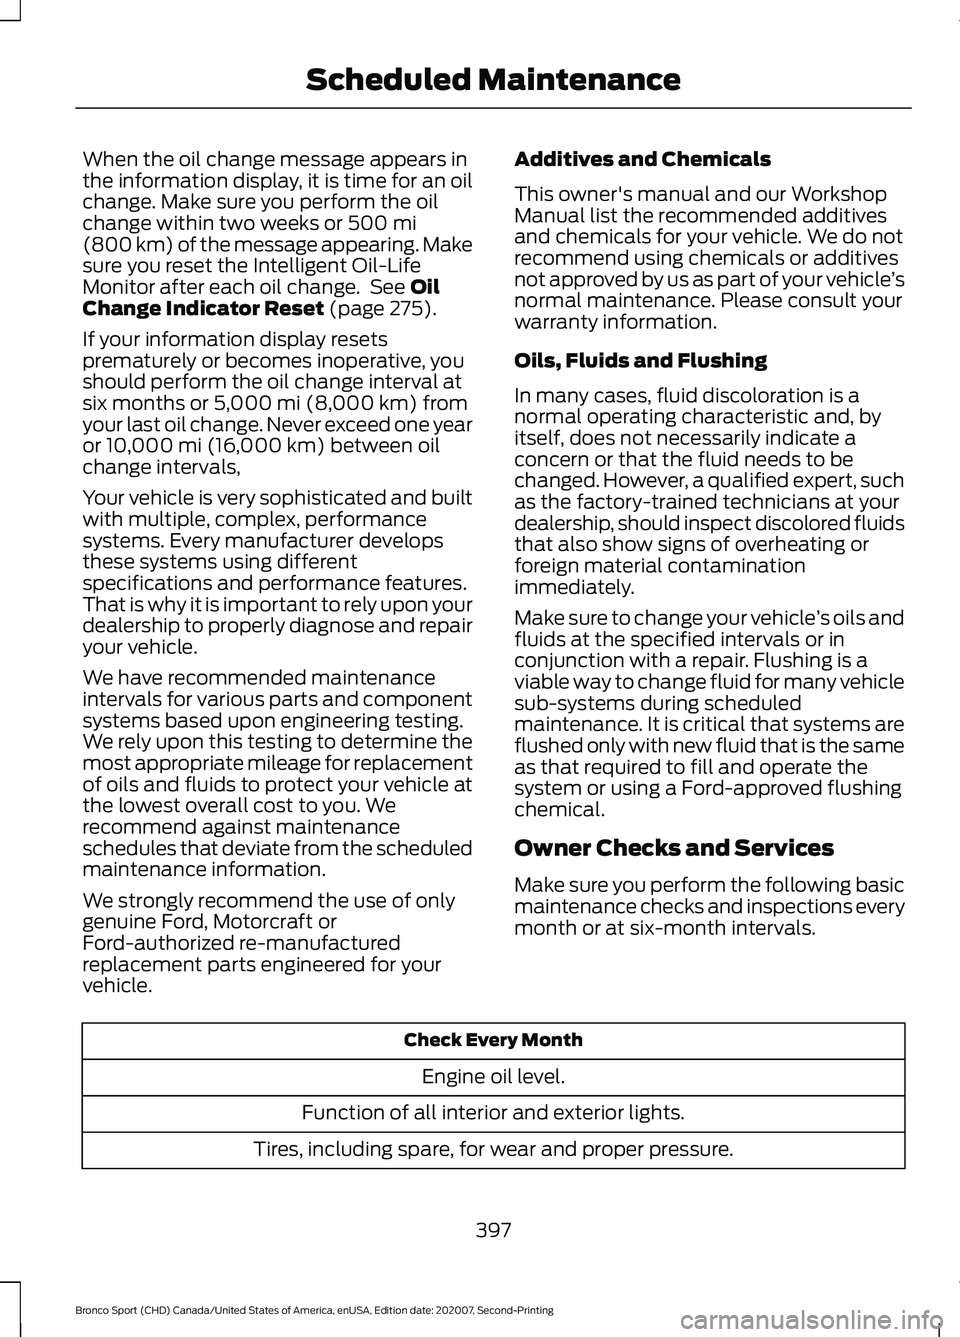
When the oil change message appears in
the information display, it is time for an oil
change. Make sure you perform the oil
change within two weeks or 500 mi
(800 km) of the message appearing. Make
sure you reset the Intelligent Oil-Life
Monitor after each oil change. See
Oil
Change Indicator Reset (page 275).
If your information display resets
prematurely or becomes inoperative, you
should perform the oil change interval at
six months or
5,000 mi (8,000 km) from
your last oil change. Never exceed one year
or
10,000 mi (16,000 km) between oil
change intervals,
Your vehicle is very sophisticated and built
with multiple, complex, performance
systems. Every manufacturer develops
these systems using different
specifications and performance features.
That is why it is important to rely upon your
dealership to properly diagnose and repair
your vehicle.
We have recommended maintenance
intervals for various parts and component
systems based upon engineering testing.
We rely upon this testing to determine the
most appropriate mileage for replacement
of oils and fluids to protect your vehicle at
the lowest overall cost to you. We
recommend against maintenance
schedules that deviate from the scheduled
maintenance information.
We strongly recommend the use of only
genuine Ford, Motorcraft or
Ford-authorized re-manufactured
replacement parts engineered for your
vehicle. Additives and Chemicals
This owner's manual and our Workshop
Manual list the recommended additives
and chemicals for your vehicle. We do not
recommend using chemicals or additives
not approved by us as part of your vehicle
’s
normal maintenance. Please consult your
warranty information.
Oils, Fluids and Flushing
In many cases, fluid discoloration is a
normal operating characteristic and, by
itself, does not necessarily indicate a
concern or that the fluid needs to be
changed. However, a qualified expert, such
as the factory-trained technicians at your
dealership, should inspect discolored fluids
that also show signs of overheating or
foreign material contamination
immediately.
Make sure to change your vehicle ’s oils and
fluids at the specified intervals or in
conjunction with a repair. Flushing is a
viable way to change fluid for many vehicle
sub-systems during scheduled
maintenance. It is critical that systems are
flushed only with new fluid that is the same
as that required to fill and operate the
system or using a Ford-approved flushing
chemical.
Owner Checks and Services
Make sure you perform the following basic
maintenance checks and inspections every
month or at six-month intervals. Check Every Month
Engine oil level.
Function of all interior and exterior lights.
Tires, including spare, for wear and proper pressure.
397
Bronco Sport (CHD) Canada/United States of America, enUSA, Edition date: 202007, Second-Printing Scheduled Maintenance
Page 462 of 471
Head Restraints.............................................133
Folding the Head Restraint............................. 135
Front Seat Head Restraints............................ 134
Installing the Head Restraint.......................... 135
Lowering the Head Restraint.......................... 134
Raising the Head Restraint............................. 134
Removing the Head Restraint........................ 135
Removing the Head Restraints..................... 134
Tilting the Front Seat Head Restraint.........135
Heated Seats
.................................................139
Heating See: Climate Control - Vehicles With: Dual
Automatic Temperature Control
(DATC)................................................................ 121
See: Climate Control - Vehicles With: Electronic Automatic Temperature Control
(EATC)................................................................ 125
See: Climate Control - Vehicles With: Manual Temperature Control.................................... 129
Hill Start Assist
..............................................178
Switching the System On and Off................179
Using Hill Start Assist........................................ 179
Hints on Driving With Anti-Lock Brakes.............................................................176
Hood Lock See: Opening and Closing the Hood............271
Horn.....................................................................75
How Does Adaptive Cruise Control With Stop and Go Work
.....................................195
How Does the Rear Occupant Alert System Work
...............................................140
I
Identifying the Climate Control Unit.......121
Ignition Switch...............................................148
In California (U.S. Only)............................256
Information Display Control
.......................75
Information Displays....................................99 General Information........................................... 99
Information Messages
...............................104
Adaptive Cruise Control................................... 104
AdvanceTrac ™ and Traction Control.........105
Alarm...................................................................... 105
Auto-Start-Stop................................................. 105
Battery and Charging System....................... 106
Blind Spot Information and Cross Traffic Alert System.................................................... 107Doors and Locks..................................................
107
Driver Alert............................................................ 108
Four-Wheel Drive............................................... 108
Fuel........................................................................\
.. 109
Hill Start Assist................................................... 109
Keys and Intelligent Access............................ 109
Lane Keeping System........................................ 110
Maintenance........................................................... 111
MyKey....................................................................... 112
Park Aid.................................................................... 113
Park Brake............................................................... 113
Power Steering..................................................... 114
Pre-Collision Assist............................................. 114
Remote Start......................................................... 114
Seats........................................................................\
. 115
Starting System ................................................... 115
Tire Pressure Monitoring System................... 115
Trailer........................................................................\
116
Transmission......................................................... 116
Installing Child Restraints...........................23 Child Restraints..................................................... 23
Using Lap and Shoulder Belts......................... 23
Using Lower Anchors and Tethers for CHildren (LATCH)............................................ 25
Using Tether Straps............................................. 27
Instrument Cluster
.........................................92
Instrument Lighting Dimmer......................81
Instrument Panel
...........................................20
Interior Air Quality.........................................132
Interior Lamps
.................................................84
Interior Lamp Function...................................... 84
Switching All of the Interior Lamps Off........................................................................\
. 84
Switching All of the Interior Lamps On........................................................................\
. 84
Switching the Front Interior Lamps On and Off........................................................................\
. 84
Switching the Rear Interior Lamps On and Off........................................................................\
. 85
Interior Mirror...................................................90 Automatic Dimming Mirror.............................. 90
Manual Dimming Mirror.................................... 90
Introduction........................................................9
J
Jump Starting the Vehicle........................252 To Connect the Booster Cables.................... 252
459
Bronco Sport (CHD) Canada/United States of America, enUSA, Edition date: 202007, Second-Printing Index