Page 220 of 268
218 SERVICING AND MAINTENANCE
Cavity Cartridge Fuse Mini-Fuse Description
* If Equipped
F02 60 Amp Yellow –Front PDC Feed #1
F03 ––Spare
F04 60 Amp Yellow –Front PDC Feed #2
F05 30 Amp Pink
20 Amp Blue – Police –
Sunroof/Dome Lamp – Police
F06 40 Amp Green –Exterior Lighting #1
F07 40 Amp Green –Exterior Lighting #2
F08 30 Amp Pink –Interior Lighting
F09 40 Amp Green –Power Locks
F10 30 Amp Pink –Driver Door Control Module
F11 30 Amp Pink –Passenger Door Control Module
F12 –20 Amp YellowCigar Lighter/IP APO/RR USB (Selectable Fuse) *
F15 40 Amp Green –HVAC Blower
F16 20 Amp Blue –Left Spot Lamp – Police
F17 20 Amp Blue –Right Spot Lamp – Police
F18 30 Amp Pink –VISM Mod (Police)
F19 ––Spare
F20 ––Spare
F21 30 Amp Pink –Fuel Pump (Non 6.2L SRT)
F22 –5 Amp TanCyber Gateway Module
Page 221 of 268
SERVICING AND MAINTENANCE 219
F23 –10 Amp RedFuel Door * / Diagnostic Port
F24 –10 Amp RedIntegrated Center Stack
F25 –10 Amp RedTire Pressure Monitor System
F26 –15 Amp BlueTrans Mod (Charger Non- Police/300)
F27 –25 Amp ClearAmplifier *
F31 –25 Amp BreakerPower Seats *
F32 –15 Amp BlueHVAC Module/Cluster
F33 –15 Amp BlueIGN SW/Wireless Mod/Steer Clmn Lock Mod/Remote
S
t
art *
F34 –10 Amp RedSteering Column Module/Clock (300)
F35 –5 Amp TanBattery Sensor
F36 –15 Amp BlueActive Exhaust Valve *
F37 –20 Amp YellowRadio
F38 –20 Amp YellowMedia Hub / Console APO
F42 30 Amp Pink –Rear Defrost
F43 –20 Amp YellowRear Heated Seats * / Heated Steering Wheel *
F44 –10 Amp RedPark Assist / Blind Spot / Rear View Camera
F45 –15 Amp BlueCluster / Rearview Mirror / Lane Departure
F46 ––Spare
F47 –10 Amp RedAdaptive Front Lighting / Day Time Running Lamps *
Cavity Cartridge Fuse Mini-Fuse Description
* If Equipped
8
Page 224 of 268

222 SERVICING AND MAINTENANCE
Replacing Exterior Bulbs
HIGH INTENSITY DISCHARGE (HID) HEAD -
LAMPS — IF EQUIPPED
The headlamps are a type of high voltage
discharge tube. High voltage can remain in the
circuit even with the headlamp switch off and the
ignition turned to the OFF position. Because of this,
you should not attempt to service a headlamp bulb yourself. If a headlamp bulb fails, take your vehicle
to an authorized dealer for service.
NOTE:
On vehicles equipped with HID headlamps, when
t h
e headlamps are turned on, there is a blue hue
to the lights. This diminishes and becomes more
white after approximately 10 seconds, as the
system charges.
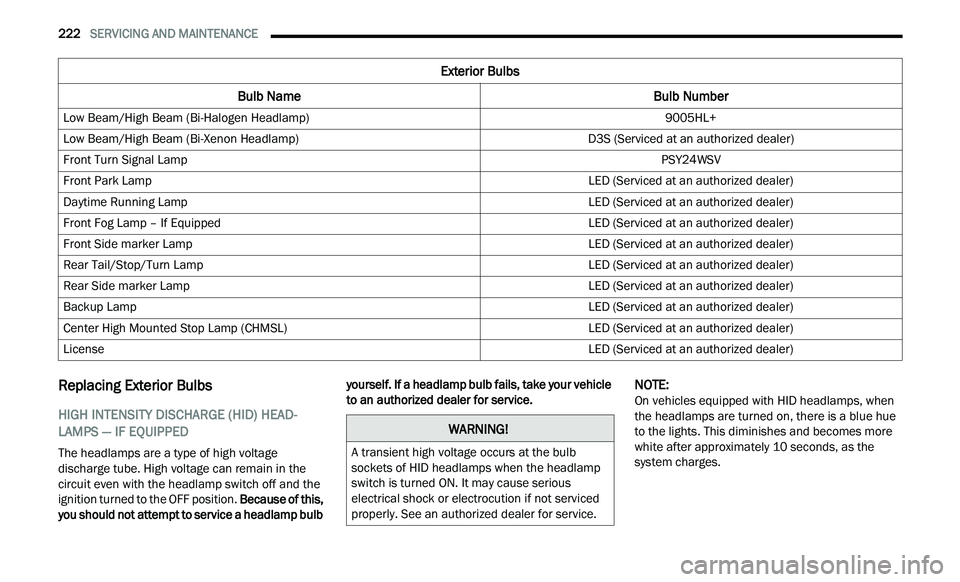
Exterior Bulbs
Bulb Name Bulb Number
Low Beam/High Beam (Bi-Halogen Headlamp) 9005HL+
Low Beam/High Beam (Bi-Xenon Headlamp) D3S (Serviced at an authorized dealer)
Front Turn Signal Lamp PSY24WSV
Front Park Lamp LED (Serviced at an authorized dealer)
Daytime Running Lamp LED (Serviced at an authorized dealer)
Front Fog Lamp – If Equipped LED (Serviced at an authorized dealer)
Front Side marker Lamp LED (Serviced at an authorized dealer)
Rear Tail/Stop/Turn Lamp LED (Serviced at an authorized dealer)
Rear Side marker Lamp LED (Serviced at an authorized dealer)
Backup Lamp LED (Serviced at an authorized dealer)
Center High Mounted Stop Lamp (CHMSL) LED (Serviced at an authorized dealer)
License LED (Serviced at an authorized dealer)
WARNING!
A transient high voltage occurs at the bulb
sockets of HID headlamps when the headlamp
switch is turned ON. It may cause serious
electrical shock or electrocution if not serviced
properly. See an authorized dealer for service.
Page 225 of 268

SERVICING AND MAINTENANCE 223
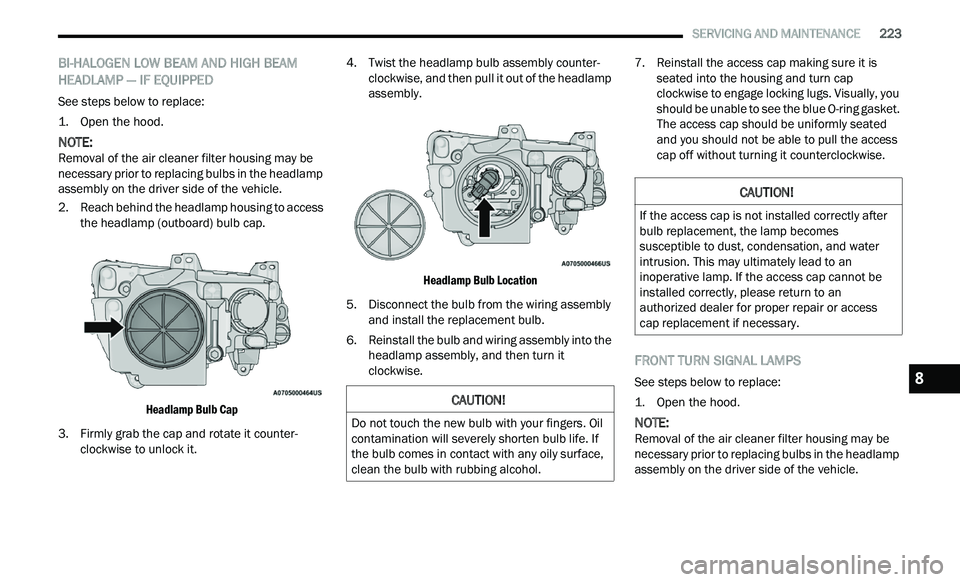
BI-HALOGEN LOW BEAM AND HIGH BEAM
HEADLAMP — IF EQUIPPED
See steps below to replace:
1. O pen the hood.
NOTE:
Removal of the air cleaner filter housing may be
n e
cessary prior to replacing bulbs in the headlamp
assembly on the driver side of the vehicle.
2. R each behind the headlamp housing to access
t
he headlamp (outboard) bulb cap.
Headlamp Bulb Cap
3. F irmly grab the cap and rotate it counter -
c
lockwise to unlock it. 4. Twist the headlamp bulb assembly counter
-
c
lockwise, and then pull it out of the headlamp
a s
sembly.
Headlamp Bulb Location
5. D isconnect the bulb from the wiring assembly
a
nd install the replacement bulb.
6. Reinstall the bulb and wiring assembly into the h
eadlamp assembly, and then turn it
clockwise. 7. Reinstall the access cap making sure it is
s
eated into the housing and turn cap
clockwise to engage locking lugs. Visually, you
should be unable to see the blue O-ring gasket.
The access cap should be uniformly seated
and you should not be able to pull the access
cap off without turning it counterclockwise.
FRONT TURN SIGNAL LAMPS
See steps below to replace:
1. O pen the hood.
NOTE:
Removal of the air cleaner filter housing may be
n e
cessary prior to replacing bulbs in the headlamp
assembly on the driver side of the vehicle.
CAUTION!
Do not touch the new bulb with your fingers. Oil
contamination will severely shorten bulb life. If
the bulb comes in contact with any oily surface,
clean the bulb with rubbing alcohol.
CAUTION!
If the access cap is not installed correctly after
bulb replacement, the lamp becomes
susceptible to dust, condensation, and water
intrusion. This may ultimately lead to an
inoperative lamp. If the access cap cannot be
installed correctly, please return to an
authorized dealer for proper repair or access
cap replacement if necessary.
8