2021 CHEVROLET SILVERADO 2500HD change time
[x] Cancel search: change timePage 203 of 433

Chevrolet Silverado 2500 HD/3500 HD Owner Manual (GMNA-Localizing-U.
S./Canada/Mexico-14632154) - 2021 - CRC - 11/20/20
202 Climate Controls
The fan, air delivery mode, air conditioning,
driver and passenger temperatures, and Sync
settings can be controlled by touching
CLIMATE on the infotainment Home Page or
the climate button in the climate control
display application tray. A selection can then
be made on the front climate control page
displayed.
Climate Control Status Display
The climate control status display appears
briefly when the center stack climate
controls are adjusted.Automatic Operation
The system automatically controls the fan
speed, air delivery, air conditioning, and
recirculation in order to heat or cool the
vehicle to the desired temperature.
When AUTO is lit, all four functions operate
automatically. Each function can also be
manually set and the selected setting is
displayed. Functions not manually set will
continue to be automatically controlled,
even if the AUTO indicator is not lit.
For automatic operation:
1. Press AUTO.
2. Set the temperature. Allow the system time to stabilize. Adjust the temperature
as needed for best comfort.
To improve fuel efficiency and to cool the
vehicle faster, recirculation may be
automatically selected in warm weather.
The recirculation light will not come on
when automatically controlled. See@
under “Manual Operation” for more details.
Manual Operation
9:Turn clockwise or counterclockwise to
increase or decrease the fan speed. Press the
knob to turn the fan off. When off is selected, a small amount of air may still
come out of the outlets depending on
vehicle speed. If any buttons are pressed or
knobs are turned, the climate control system
will turn on and operate at the current
setting.
Press AUTO to return to automatic
operation.
Driver and Passenger Temperature Control :
The temperature can be adjusted separately
for the driver and passenger.
Turn the knob clockwise or counterclockwise
to increase or decrease the driver or
passenger temperature setting. The driver
side or passenger side temperature display
shows the temperature setting increasing or
decreasing.
SYNC :
Press to link the passenger
temperature setting to the driver setting.
The SYNC indicator light will turn on. When
the passenger setting is adjusted, the SYNC
indicator light will turn off.
Air Delivery Mode Control : Press
z,Y,
or
[to change the direction of the
airflow. Any combination of the three
controls can be selected. An indicator light
comes on in the selected mode button.
Page 204 of 433

Chevrolet Silverado 2500 HD/3500 HD Owner Manual (GMNA-Localizing-U.
S./Canada/Mexico-14632154) - 2021 - CRC - 11/20/20
Climate Controls 203
Changing the mode cancels the automatic
operation and the system goes into manual
mode. Press AUTO to return to automatic
operation.
To change the current mode, select one or
more of the following:
z:Air is directed to the windshield,
outboard a/c outlets, and side window
outlets.
Y: Air is directed to the a/c outlets.
[:Air is directed to the floor outlets,
with some air directed to the windshield,
outboard a/c outlets, and side window
outlets.
0MAX : Air is directed to the windshield
and the fan runs at a higher speed if not
already above a medium fan speed. This
mode overrides the previous mode selected
and clears fog or frost from the windshield
more quickly. When the control is pressed
again, the system returns to the previous
mode setting and fan speed.
For best results, clear all snow and ice from
the windshield before defrosting.
@: Press to turn on recirculation. An
indicator light comes on. Air is recirculated
to quickly cool the inside of the vehicle.
It can also be used to help reduce outside
air and odors that enter the vehicle.
Avoid using recirculation for long periods of
time in cold or damp conditions. Using
recirculation in cold or damp conditions can
result in window fogging.
A/C : Press to turn the air conditioning on
or off. An indicator light comes on to show
that the air conditioning is enabled. If the
fan is turned off, the air conditioner will not
run. The A/C light will stay on even if the
outside temperatures are below freezing.
Rear Window Defogger
1REAR : If equipped, press to turn the
rear window defogger on or off. An indicator
light on the button comes on to show that
the rear window defogger is on.
The rear window defogger only works when
the engine is running. The defogger turns
off if the ignition is turned off or to ACC/
ACCESSORY.
If equipped with heated outside mirrors,
press
fto turn them on or off. See Heated
Mirrors 033.
Caution
Using a razor blade or sharp object to
clear the inside rear window can damage
the rear window defogger. Repairs would
not be covered by the vehicle warranty.
Do not clear the inside rear window with
sharp objects.
Remote Start Climate Control Operation :
If equipped with remote start, the climate
control system may run when the vehicle is
started remotely. If equipped with heated or
ventilated seats or a heated steering wheel,
these features may come on during a
remote start. See Remote Vehicle Start 020,
Heated and Ventilated Front Seats 049, and
Heated Steering Wheel 096.
Sensors
Page 228 of 433

Chevrolet Silverado 2500 HD/3500 HD Owner Manual (GMNA-Localizing-U.
S./Canada/Mexico-14632154) - 2021 - CRC - 11/20/20
Driving and Operating 227
2. Brake using a firm and steady pressure.Do not pump the brakes repeatedly. This
may deplete power assist, requiring
increased brake pedal force.
3. Shift the vehicle to N (Neutral). This can be done while the vehicle is moving.
After shifting to N (Neutral), firmly apply
the brakes and steer the vehicle to a
safe location.
4. Come to a complete stop, shift to P (Park), and make sure engine is off.
The shift lever must be in P (Park) to
turn the ignition off.
5. Set the parking brake. See Electric
Parking Brake 0240.
{Warning
Turning off the vehicle while moving may
cause loss of power assist in the brake
and steering systems and disable the
airbags. While driving, only shut the
vehicle off in an emergency.
ACC/ACCESSORY (Amber Indicator Light) :
This mode allows some electrical accessories
to be used when the engine is off. With the ignition off, pressing the ENGINE
START/STOP button one time without the
brake pedal applied will place the ignition
system in ACC/ACCESSORY.
The ignition will switch from ACC/
ACCESSORY to off after five minutes to
prevent battery rundown.
ON/RUN/START (Green Indicator Light) :
This
mode is for driving and starting. With the
ignition off, and the brake pedal applied,
pressing ENGINE START/STOP button once
will turn the ignition on. Once engine
cranking begins, release the button. Engine
cranking will continue until the engine
starts. See Starting the Engine 0227.
Service Mode
This power mode is available for service and
diagnostics, and to verify the proper
operation of the malfunction indicator lamp
as may be required for emission inspection
purposes. With the vehicle off, and the
brake pedal not applied, pressing and
holding the ENGINE START/STOP button for
more than five seconds will place the vehicle
in Service Mode. The instruments and audio
systems will operate as they do when the
ignition is on, but the vehicle will not be able to be driven. The engine will not start
in Service Mode. Press the ENGINE START/
STOP button again to turn the ignition off.
Starting the Engine
If the vehicle has a diesel engine, see the
Duramax diesel supplement.
Caution
If you add electrical parts or accessories,
you could change the way the engine
operates. Any resulting damage would
not be covered by the vehicle warranty.
See
Add-On Electrical Equipment 0297.
Move the shift lever to P (Park) or
N (Neutral). To restart the engine when the
vehicle is already moving, use
N (Neutral) only.
Caution
Do not try to shift to P (Park) if the
vehicle is moving. If you do, you could
damage the transmission. Shift to P (Park)
only when the vehicle is stopped.
Page 241 of 433

Chevrolet Silverado 2500 HD/3500 HD Owner Manual (GMNA-Localizing-U.
S./Canada/Mexico-14632154) - 2021 - CRC - 11/20/20
240 Driving and Operating
The actual 4x4 shift request is only made
after the button is released. The 4x4 graphic
will remain flashing until the shift request
has completed.
A DIC message displays. Once the 4x4 shift
has completed, the DIC message disappears,
the 4x4 graphic stops flashing, and the
current setting is indicated.
Brakes
Antilock Brake System (ABS)
The Antilock Brake System (ABS) helps
prevent a braking skid and maintain steering
while braking hard.
ABS performs a system check when the
vehicle is first driven. A momentary motor
or clicking noise may be heard while this
test is going on, and the brake pedal may
move slightly. This is normal.
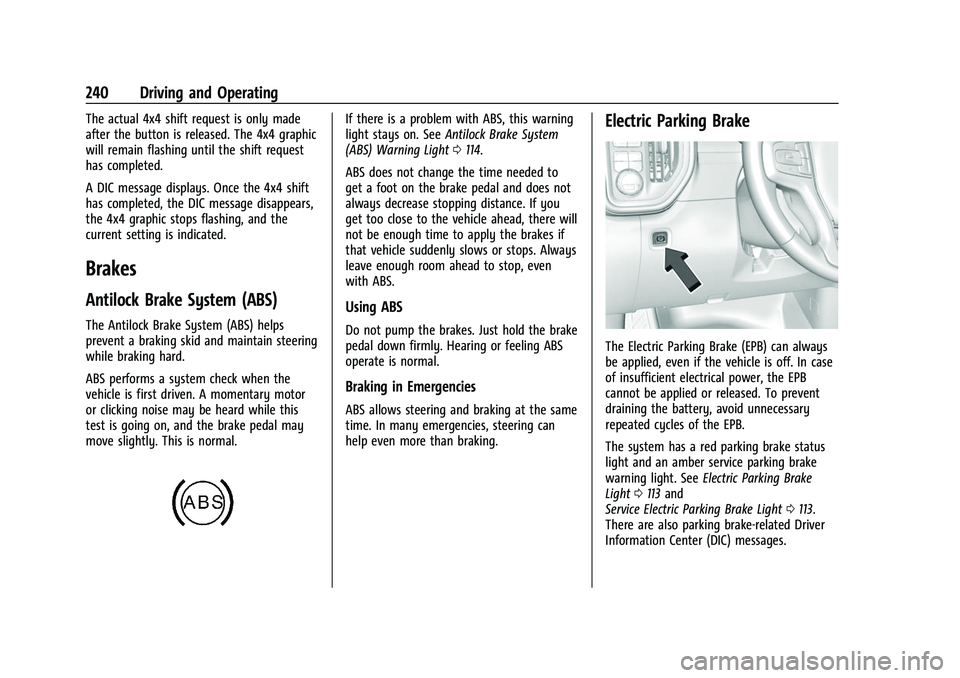
If there is a problem with ABS, this warning
light stays on. SeeAntilock Brake System
(ABS) Warning Light 0114.
ABS does not change the time needed to
get a foot on the brake pedal and does not
always decrease stopping distance. If you
get too close to the vehicle ahead, there will
not be enough time to apply the brakes if
that vehicle suddenly slows or stops. Always
leave enough room ahead to stop, even
with ABS.
Using ABS
Do not pump the brakes. Just hold the brake
pedal down firmly. Hearing or feeling ABS
operate is normal.
Braking in Emergencies
ABS allows steering and braking at the same
time. In many emergencies, steering can
help even more than braking.
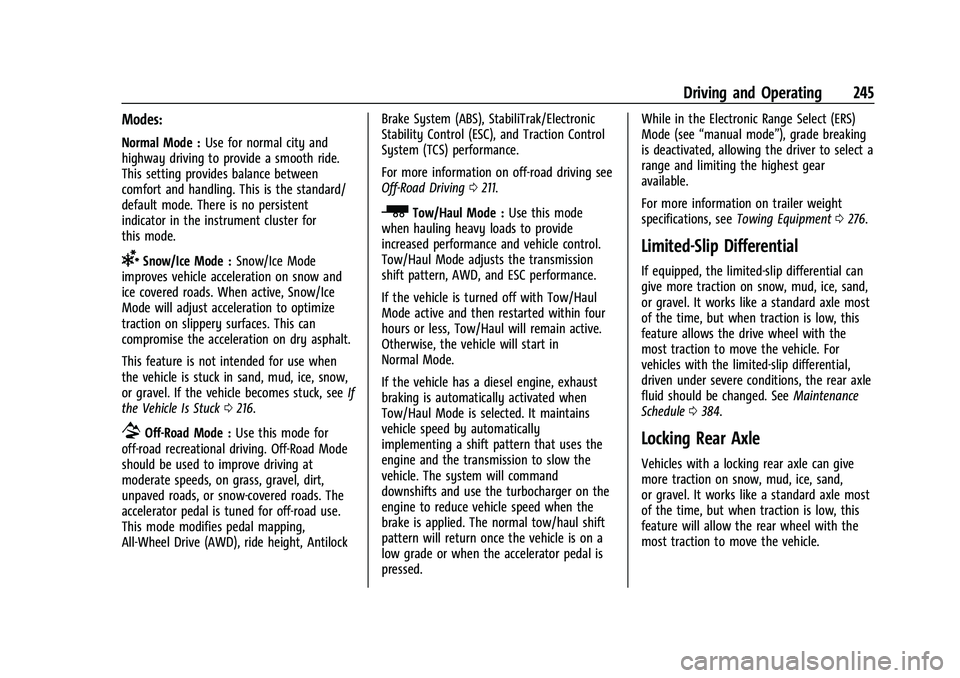
Electric Parking Brake
The Electric Parking Brake (EPB) can always
be applied, even if the vehicle is off. In case
of insufficient electrical power, the EPB
cannot be applied or released. To prevent
draining the battery, avoid unnecessary
repeated cycles of the EPB.
The system has a red parking brake status
light and an amber service parking brake
warning light. See Electric Parking Brake
Light 0113 and
Service Electric Parking Brake Light 0113.
There are also parking brake-related Driver
Information Center (DIC) messages.
Page 246 of 433

Chevrolet Silverado 2500 HD/3500 HD Owner Manual (GMNA-Localizing-U.
S./Canada/Mexico-14632154) - 2021 - CRC - 11/20/20
Driving and Operating 245
Modes:
Normal Mode :Use for normal city and
highway driving to provide a smooth ride.
This setting provides balance between
comfort and handling. This is the standard/
default mode. There is no persistent
indicator in the instrument cluster for
this mode.
6Snow/Ice Mode : Snow/Ice Mode
improves vehicle acceleration on snow and
ice covered roads. When active, Snow/Ice
Mode will adjust acceleration to optimize
traction on slippery surfaces. This can
compromise the acceleration on dry asphalt.
This feature is not intended for use when
the vehicle is stuck in sand, mud, ice, snow,
or gravel. If the vehicle becomes stuck, see If
the Vehicle Is Stuck 0216.
7Off-Road Mode : Use this mode for
off-road recreational driving. Off-Road Mode
should be used to improve driving at
moderate speeds, on grass, gravel, dirt,
unpaved roads, or snow-covered roads. The
accelerator pedal is tuned for off-road use.
This mode modifies pedal mapping,
All-Wheel Drive (AWD), ride height, Antilock Brake System (ABS), StabiliTrak/Electronic
Stability Control (ESC), and Traction Control
System (TCS) performance.
For more information on off-road driving see
Off-Road Driving
0211.
_Tow/Haul Mode : Use this mode
when hauling heavy loads to provide
increased performance and vehicle control.
Tow/Haul Mode adjusts the transmission
shift pattern, AWD, and ESC performance.
If the vehicle is turned off with Tow/Haul
Mode active and then restarted within four
hours or less, Tow/Haul will remain active.
Otherwise, the vehicle will start in
Normal Mode.
If the vehicle has a diesel engine, exhaust
braking is automatically activated when
Tow/Haul Mode is selected. It maintains
vehicle speed by automatically
implementing a shift pattern that uses the
engine and the transmission to slow the
vehicle. The system will command
downshifts and use the turbocharger on the
engine to reduce vehicle speed when the
brake is applied. The normal tow/haul shift
pattern will return once the vehicle is on a
low grade or when the accelerator pedal is
pressed. While in the Electronic Range Select (ERS)
Mode (see
“manual mode”), grade breaking
is deactivated, allowing the driver to select a
range and limiting the highest gear
available.
For more information on trailer weight
specifications, see Towing Equipment 0276.
Limited-Slip Differential
If equipped, the limited-slip differential can
give more traction on snow, mud, ice, sand,
or gravel. It works like a standard axle most
of the time, but when traction is low, this
feature allows the drive wheel with the
most traction to move the vehicle. For
vehicles with the limited-slip differential,
driven under severe conditions, the rear axle
fluid should be changed. See Maintenance
Schedule 0384.
Locking Rear Axle
Vehicles with a locking rear axle can give
more traction on snow, mud, ice, sand,
or gravel. It works like a standard axle most
of the time, but when traction is low, this
feature will allow the rear wheel with the
most traction to move the vehicle.
Page 249 of 433

Chevrolet Silverado 2500 HD/3500 HD Owner Manual (GMNA-Localizing-U.
S./Canada/Mexico-14632154) - 2021 - CRC - 11/20/20
248 Driving and Operating
{Warning
Do not rely on the Driver Assistance
Systems. These systems do not replace
the need for paying attention and driving
safely. You may not hear or feel alerts or
warnings provided by these systems.
Failure to use proper care when driving
may result in injury, death, or vehicle
damage. SeeDefensive Driving 0208.
Under many conditions, these systems
will not:
.Detect children, pedestrians, bicyclists,
or animals.
.Detect vehicles or objects outside the
area monitored by the system.
.Work at all driving speeds.
.Warn you or provide you with enough
time to avoid a crash.
.Work under poor visibility or bad
weather conditions.
.Work if the detection sensor is not
cleaned or is covered by ice, snow,
mud, or dirt. (Continued)
Warning (Continued)
.Work if the detection sensor is
covered up, such as with a sticker,
magnet, or metal plate.
.Work if the area surrounding the
detection sensor is damaged or not
properly repaired.
Complete attention is always required
while driving, and you should be ready to
take action and apply the brakes and/or
steer the vehicle to avoid crashes.
Audible or Safety Alert Seat
Some driver assistance features alert the
driver of obstacles by beeping. To change
the volume of the warning chime, see
“Comfort and Convenience” underVehicle
Personalization 0126.
If equipped with the Safety Alert Seat, the
driver seat cushion may provide a vibrating
pulse alert instead of beeping. To change
this, see “Collision/Detection Systems” under
Vehicle Personalization 0126.
Cleaning
Depending on vehicle options, keep these
areas of the vehicle clean to ensure the best
driver assistance feature performance. Driver Information Center (DIC) messages may
display when the systems are unavailable or
blocked.
Page 252 of 433

Chevrolet Silverado 2500 HD/3500 HD Owner Manual (GMNA-Localizing-U.
S./Canada/Mexico-14632154) - 2021 - CRC - 11/20/20
Driving and Operating 251
Touch the camera view buttons along the
bottom of the infotainment display to
access each view (if equipped):
1. Front/Rear Standard View
Displays an image of the area in front
or behind the vehicle. To select, touch
Front/Rear Standard View on the
infotainment display when a camera
view is active. Touch the button to
toggle between front and rear camera
views.
When the hitch guidance is selected,
Rear Standard View will remain visible
across gear changes, otherwise the
view will toggle between Front and
Rear Standard View based on gear
position.
If equipped, the front view camera
also displays when the Park Assist
system detects an object within
30 cm (12 in).
2. Front/Rear Overhead View
Displays a front or rear overhead view
of the vehicle. To select, touch Front/
Rear Top-Down View on the
infotainment display when a cameraview is active. Touch the button to
toggle between front and rear camera
views.
3. Rear Bowl View
Displays a perspective view of the
vehicle from the front looking
rearward. To select, touch Rear Bowl
View on the infotainment display
when a camera view is active. Park
Assist and Rear Cross Traffic Alert
(RCTA) overlays are not available when
bowl view is active.
4. Front/Rear side View
Displays a view that shows objects
next to the front or rear sides of the
vehicle. To select, touch Front/Rear
Side View on the infotainment display
when a camera view is active. Touch
the button to toggle between front
and rear camera views. Park Assist and
RCTA overlays are not available when
Front/Rear Side View is active.
The Turn Signal Activated View works
with Rear Side View to provide a
rearward view of the left or right side
of the vehicle and trailer. Views are
provided based on turn signal
activation with the right-side view
being shown when the right turnsignal is active and the left side view
being shown when the left turn signal
is active. The feature is available when
a trailer is connected. The feature can
be enabled or disabled. See
Vehicle
Personalization 0126. Touch X to exit.
5. Surround View
Displays an image of the area
surrounding the vehicle. Surround
View is available as part of the Front/
Rear Standard Views, the Front/Rear
Top-Down Views and the Front/Rear
Side Views. In these views Surround
View can be enabled by touching
Surround View on the infotainment
display when the camera view is
active.
6. Guidance Lines/Hitch Guidance
Guidance Lines displays available
guidelines, including Standard and
Hitch Guidance. A grayed-out icon
indicates that guidelines are not
available. To enable, touch Guidance
Lines on the infotainment display
when a camera view is active.
Touching the button multiple times
will toggle through Standard
Guidelines, Hitch Guidance and no
guidelines. Standard guidelines are
Page 257 of 433

Chevrolet Silverado 2500 HD/3500 HD Owner Manual (GMNA-Localizing-U.
S./Canada/Mexico-14632154) - 2021 - CRC - 11/20/20
256 Driving and Operating
.A compatible trailer profile is not
configured or a non-compatible trailer
profile is selected.
.The vehicle is in R (Reverse).
.The trailer is not connected.
.The accessory rear trailer camera is not
connected or connected to the incorrect
input.
The preview may not be provided or the
wrong preview may be provided if:
.The accessory cameras are not recognized.
Ensure that the accessory camera(s) are
connected and power cycle the vehicle.
.The accessory trailer cameras are
swapped at the hitch connector. Ensure
that the accessory camera(s) are
connected to the correct input.
.The accessory trailer camera(s) are
connected to the correct camera input.
.The accessory trailer camera(s) are not
installed according to the installation
instructions.
A feature may be unavailable or not
activating as expected if:
.The customization is disabled. Check the
customization settings where applicable.
.The accessory trailer cameras are
swapped at the hitch connector. Ensure
that the accessory camera(s) are
connected to the correct camera input.
A view may switch automatically if:
.The vehicle is shifted to another gear.
Park Assist
With Front and Rear Park Assist, as the
vehicle moves at speeds of less than 8 km/h
(5 mph) the sensors on the bumpers may
detect objects up to 1.2 m (4 ft) in front and
2.5 m (8 ft) behind the vehicle within a zone
25 cm (10 in) high off the ground and below
bumper level. These detection distances may
be shorter during warmer or humid weather.
Blocked sensors will not detect objects and
can also cause false detections. Keep the
sensors clean of mud, dirt, snow, ice, and
slush; and clean sensors after a car wash in
freezing temperatures.
{Warning
The Park Assist system does not detect
children, pedestrians, bicyclists, animals,
or objects located below the bumper or
that are too close or too far from the
vehicle. It is not available at speeds (Continued)
Warning (Continued)
greater than 8 km/h (5 mph). To prevent
injury, death, or vehicle damage, even
with Park Assist, always check the area
around the vehicle and check all mirrors
before moving forward or backing.
The instrument cluster may have a Park
Assist display with bars that show “distance
to object” and object location information
for the Front and Rear Park Assist system.
As the object gets closer, more bars light up
and the bars change color from yellow to
amber to red.
When an object is first detected in the rear,
one beep will be heard from the rear,
or both sides of the Safety Alert Seat will
pulse two times. When an object is very
close —<0.4 m (1.5 ft) in the vehicle rear or