2021 AUDI E-TRON MMI reset
[x] Cancel search: MMI resetPage 47 of 308

4KE012721BF
Opening and closing
> Push the 2S switch back briefly to the second
level 2) twice in a row.
Roof emergency closing
If an object is detected when closing, the roof
will open again automatically. In this case, you
can then close it with the power emergency clos-
ing function.
> Within five seconds after the sunroof opens au-
tomatically, pull the applicable button until the
roof is closed.
Z\ WARNING
To reduce the risk of injury, always pay atten-
tion when closing the roof. Always switch the
ignition off and take the key with you when
leaving the vehicle.
@) Note
Always close the roof when you leave the vehi-
cle and when there is precipitation to reduce
the risk of damage to the interior equipment,
particularly the electronic equipment.
G) Tips
— After switching off the ignition, the roof and
sunshades can still be operated for several
minutes as long as neither of the front
doors have been opened.
— It is not possible to open the roof when
temperatures are too low.
Garage door opener
Applies to: vehicles with garage door opener
With the garage door opener, you can activate
systems such as the garage doors, security sys-
tems or house lights from inside your vehicle.
These functions are operated in the MMI. Multi-
ple receivers can be programmed, which can con-
trol the functions of up to eight!) hand-held
transmitters.
)) The possible number of hand-held transmitters depends
on the equipment.
ZA\ WARNING
— When operating or programming the garage
door opener, make sure that no people or
objects are in the area immediately sur-
rounding the equipment. People can be in-
jured or property can be damaged if struck
when closing.
— Do not allow yourself to be distracted from
traffic by the viewing and operating the dis-
plays.
Gi) Tips
— If you sell your vehicle, reset all settings to
the factory default settings > page 229.
— The system complies with United States FCC
regulations and ISED regulations
=> page 288.
G) Tips
Before you program your system to the ga-
rage door opener, first check the compatibili-
ty:
— Ask an authorized Audi dealer or authorized
Audi Service Facility or check at www.
homelink.com. You can also find more infor-
mation about HomeLink there.
— You can display information about Home-
Link (compatibility level/status/country
code/HomeLink generation) in the MMI:
— Select on the home screen: VEHICLE > Set-
tings & Service > Garage door opener > @.
Applies to: vehicles with garage door opener
Requirements: the remote control transmitter
must be programmed > page 46, Program-
ming, the vehicle must be within range of the
system, and the ignition must be switched on.
There are multiple options to open or close the
system (such as the garage door).
45
Page 49 of 308

4KE012721BF
Opening and closing
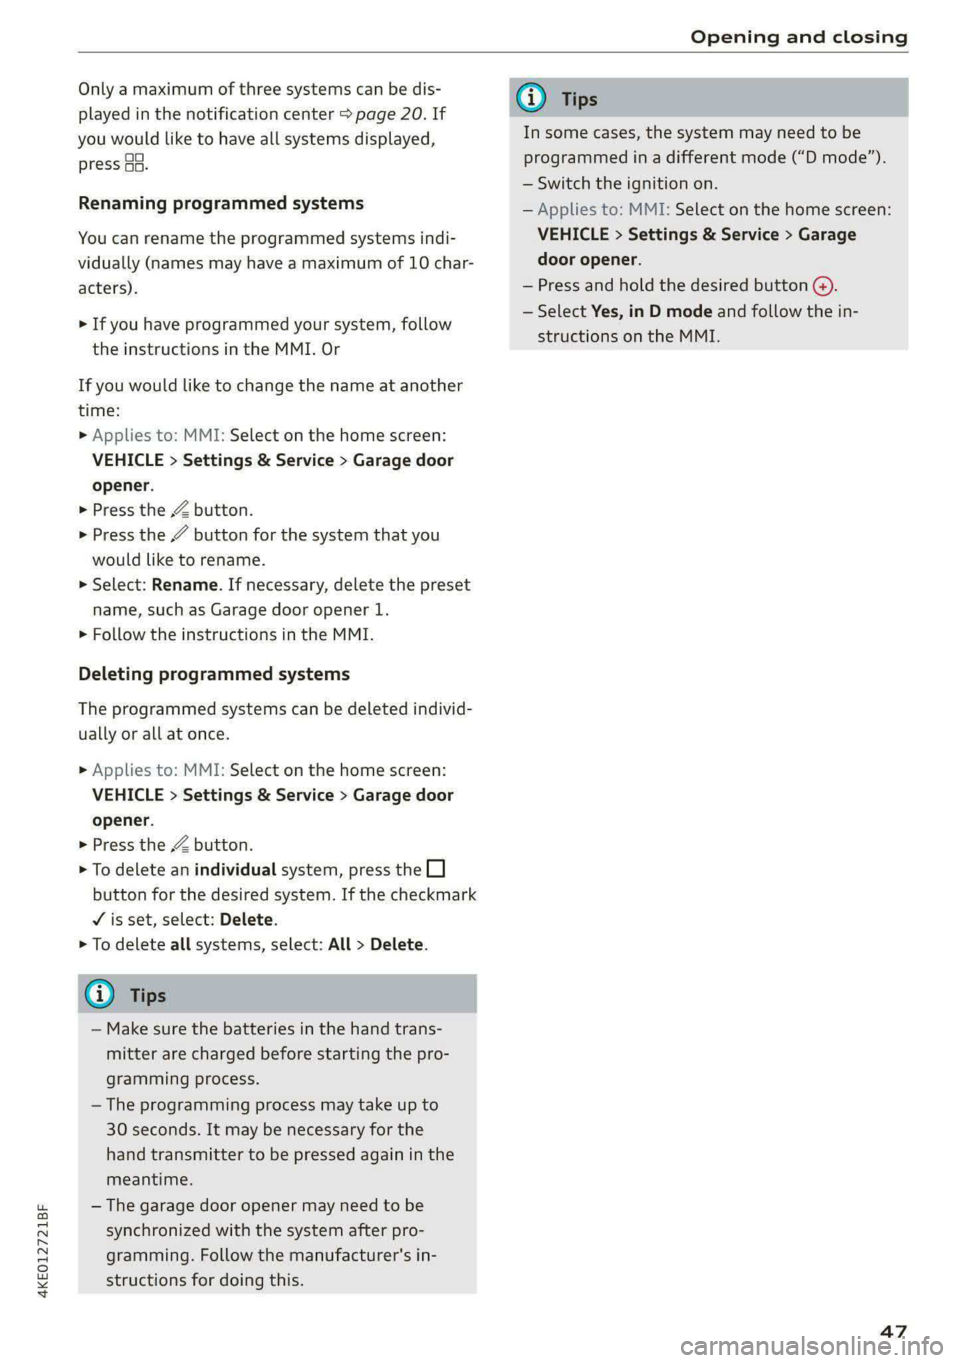
Only a maximum of three systems can be dis-
played in the notification center > page 20. If
you would like to have all systems displayed,
press Au.
Renaming programmed systems
You can rename the programmed systems indi-
vidually (names may have a maximum of 10 char-
acters).
> If you have programmed your system, follow
the instructions in the MMI. Or
If you would like to change the name at another
time:
» Applies to: MMI: Select on the home screen:
VEHICLE > Settings & Service > Garage door
opener.
> Press the Z button.
> Press the 7 button for the system that you
would like to rename.
> Select: Rename. If necessary, delete the preset
name, such as Garage door opener 1.
> Follow the instructions in the MMI.
Deleting programmed systems
The programmed systems can be deleted individ-
ually or all at once.
> Applies to: MMI: Select on the home screen:
VEHICLE > Settings & Service > Garage door
opener.
> Press the Z button.
> To delete an individual system, press the L]
button for the desired system. If the checkmark
JV is set, select: Delete.
> To delete all systems, select: All > Delete.
@ Tips
— Make sure the batteries in the hand trans-
mitter are charged before starting the pro-
gramming process.
— The programming process may take up to
30 seconds. It may be necessary for the
hand transmitter to be pressed again in the
meantime.
— The garage door opener may need to be
synchronized with the system after pro-
gramming. Follow the manufacturer's in-
structions for doing this.
@) Tips
In some cases, the system may need to be
programmed in a different mode (“D mode”).
— Switch the ignition on.
— Applies to: MMI: Select on the home screen:
VEHICLE > Settings & Service > Garage
door opener.
— Press and hold the desired button @).
— Select Yes, in D mode and follow the in-
structions on the MMI.
47
Page 64 of 308

Sitting correctly and safely
Reset seat position
You can adjust the position of the front passeng-
er’s seat to match the driver's seat.
Driver seat entry assistance/Front passenger
seat entry assistance
Entry assistance makes it easier to enter or exit
the vehicle.
Adjusting the front passenger's seat from
A tnMe laa
Applies to: vehicles with front passenger seat adjustment
You can adjust the front passenger's side with the
driver's seat buttons.
Applies to: MMI:
> Select on the home screen: VEHICLE > Seats.
> To display the various seats, press ) or ¢.
> To switch on the function, press the 2/ button.
The lower edge of the button will turn red.
After you have switched on the function, you can
adjust the front passenger's seat using the driv-
er's seat buttons > page 60, fig. 48.
@ Tips
The function switches off automatically when
you exit the menu.
anime Cerne
Applies to: vehicles with a front center armrest
The front center armrest is located between the
front
seats.
Adjusting the center armrest
> To adjust the armrest forward or backward,
move the armrest in the desired direction.
> To adjust the angle, raise the armrest from the
starting position in stages.
> To bring the armrest back into the starting po-
sition, raise
it out of the top level and fold it
back down.
Z\ WARNING
In certain positions, the front center armrest
can interfere with the driver’s arm movement,
which increases the risk of injury.
62
Steering wheel
General information
Make sure that:
— The distance between your upper body and the
steering wheel is at least 10 inches (25 cm)
— Your arms are bent slightly at the elbows
— You have a sufficient view of the area around
the vehicle and you have a clear view of the in-
strument cluster and head-up display”.
— You are always holding the steering wheel with
both hands on the outer edge at the sides (9:00
and
3:00 position) when driving
Z\ WARNING
—To reduce the risk of an accident, make sure
the steering wheel is adjusted correctly and
cannot be moved out of position before you
start to drive.
— If you are too close to the steering wheel,
the driver's airbag cannot provide optimal
protection, which increases the risk of injury
or fatality.
— Never hold the steering wheel in the 12:00
position or in any other way, such as holding
the center of the steering wheel. Otherwise,
your arms, hands, and head could be injured
in the event that the driver's airbag deploys.
Power steering wheel position adjustment
BFY-0110
Fig. 50 Steering column: switch for adjusting the steering
wheel position
The steering wheel position can be adjusted elec-
trically up/down and forward/back.
> To move the steering wheel upward or down-
ward, press the switch upward or downward. >
Page 104 of 308

Driving dynamic
Driving dynamic
Audi drive select
Introduction
Applies to: vehicles with Audi drive select
Drive select makes it possible to experience dif-
ferent types of vehicle characteristics in one vehi-
cle. With different driving modes, the driver can
switch the setting, for example from sporty to
comfortable. This allows you to adjust the set-
tings to your personal preferences. This makes it
possible to combine settings such as a sporty
drivetrain setting with comfortable steering.
Selecting an Audi drive select mode
Applies to: vehicles with Audi drive select
The sie button is located above the selector lever
in the center console.
> Press the left or right arrow key until the de-
sired mode appears in the MMI. Or:
» Applies to MMI: Select on the home screen: VE-
HICLE > Audi drive select.
You can change the driving mode when the vehi-
cle is stationary or while driving. If traffic per-
mits, briefly remove your foot from the accelera-
tor pedal after changing modes so that the mode
you have selected will be activated for the drive
system.
The following modes may be available depending
on the equipment:
offroad - Provides assistance when driving off-
road. The vehicle will be raised to the second-
highest level using the air suspension®. The ESC
will be restricted and the hill descent assist* will
be activated. The vehicle will exit this mode after
the ignition is switched off.
allroad - Provides balanced vehicle handling. The
vehicle will be raised to the second-highest level
using the air suspension*.
efficiency - The vehicle switches to a fuel-effi-
cient vehicle setup and supports the driver with
fuel economy messages. The “E” driving program
is selected.
102
comfort - Provides a comfort-oriented vehicle
setup and is suited for long drives on highways.
auto - Provides an overall comfortable yet dy-
namic driving feel and is suited for everyday use.
dynamic - Gives the driver a sporty driving feel
and is suited to a sporty driving style. The “S”
driving program is selected.
Individual - Provides the option for personalized
vehicle settings. Press [7 to configure the mode
= page 102, Individual settings.
(i) Tips
When the ignition is being switched on, indi-
vidual systems, such as the drive system, will
be reset to a balanced setting. Select the cur-
rent mode again to attain its full configura-
tion.
Individual settings
Applies to: vehicles with Audi drive select
The equipment in your vehicle will determine
which settings you can adjust.
Drive
The drive system will react to accelerator pedal
moves more quickly or in a more balanced man-
ner.
Steering
The power steering will adapt. Light steering is
suitable for long trips on highways or smooth
driving around curves, for example.
Suspension
The suspension adjusts to be tighter or more
comfort-oriented when it comes to compensat-
ing for uneven spots on the road.
The vehicle ground clearance is adjusted by the
air suspension* based on the setting.
Page 150 of 308

Driver assistance
Ina traffic jam, lane guidance also helps with
leaving a space for emergency vehicles )) by
steering your vehicle as close to the edge of your
lane as possible.
Switching lane guidance on and off
Requirement: lane guidance must be preselected
in the MMI > page 152.
> To activate or deactivate the availability of the
lane guidance, press the button on the turn sig-
nal lever > fig. 104.
The system will assist the driver by providing cor-
rective steering only when adaptive cruise assist
is actively regulating and availability is switched
on.
Overview of displays and lane guidance
limitations
The availability of lane guidance is shown with in-
dicator lights and with arrows @i) > page 145,
fig. 101 in the Driver assistance display.
> 4 - Lane guidance is active.
> 4 - This indicator light turns on if the limits of
the system have been reached (for example, the
system’s steering force is not sufficient to handle
tight curves). Take over steering.
ri turns white, lane guidance is switched on
but is not active. This may occur due to the fol-
lowing system limits or situations:
— The necessary lane marker lines have not been
detected (for example, in a construction zone
or because the lines are obstructed by snow,
dirt, water, or lighting)
— The lane is too narrow or too wide
— The curve is too narrow
— Visibility is obstructed by a rise or dip.
— The driver's hands are not on the steering
wheel
— The turn signal was activated.
Steering intervention request
If no steering activity is detected or the limits of
the system are reached, the driver steering inter-
vention request will alert the driver using audio
D_ In certain countries.
148
and visual signals, such as & or fy. Take over
the steering and keep your hands on the steering
wheel so that you will be ready to steer at any
time. The system will become inactive after a
short time and will only be active again later.
If the driver does not take over steering, adaptive
cruise assist will be canceled. If the vehicle is
equipped with emergency assist and it is ready to
function, it will be activated if possible
=> page 164.
ZA WARNING
Observe the safety precautions and note the
limits of the assist systems, sensors, and
cameras > page 129.
@ Tips
— Always keep your hands on the steering
wheel so you can be ready to steer at any
time. The driver is always responsible for
adhering to the regulations applicable in
the country where the vehicle is being oper-
ated.
— Audi recommends only switching on lane
guidance on well-constructed roads.
—The > fig. 104 button switches lane guid-
ance availability and the lane departure
warning on or off simultaneously, if lane
guidance is preset in the adaptive cruise as-
sist settings.
Predictive control
Applies to: vehicles with adaptive cruise assist and efficiency
assist
53] | Se | x ac
Fig. 105 Instrument cluster: speedometer: predictive con-
trol display
Page 211 of 308

4KE012721BF
Radio
Symbol/Description |Description
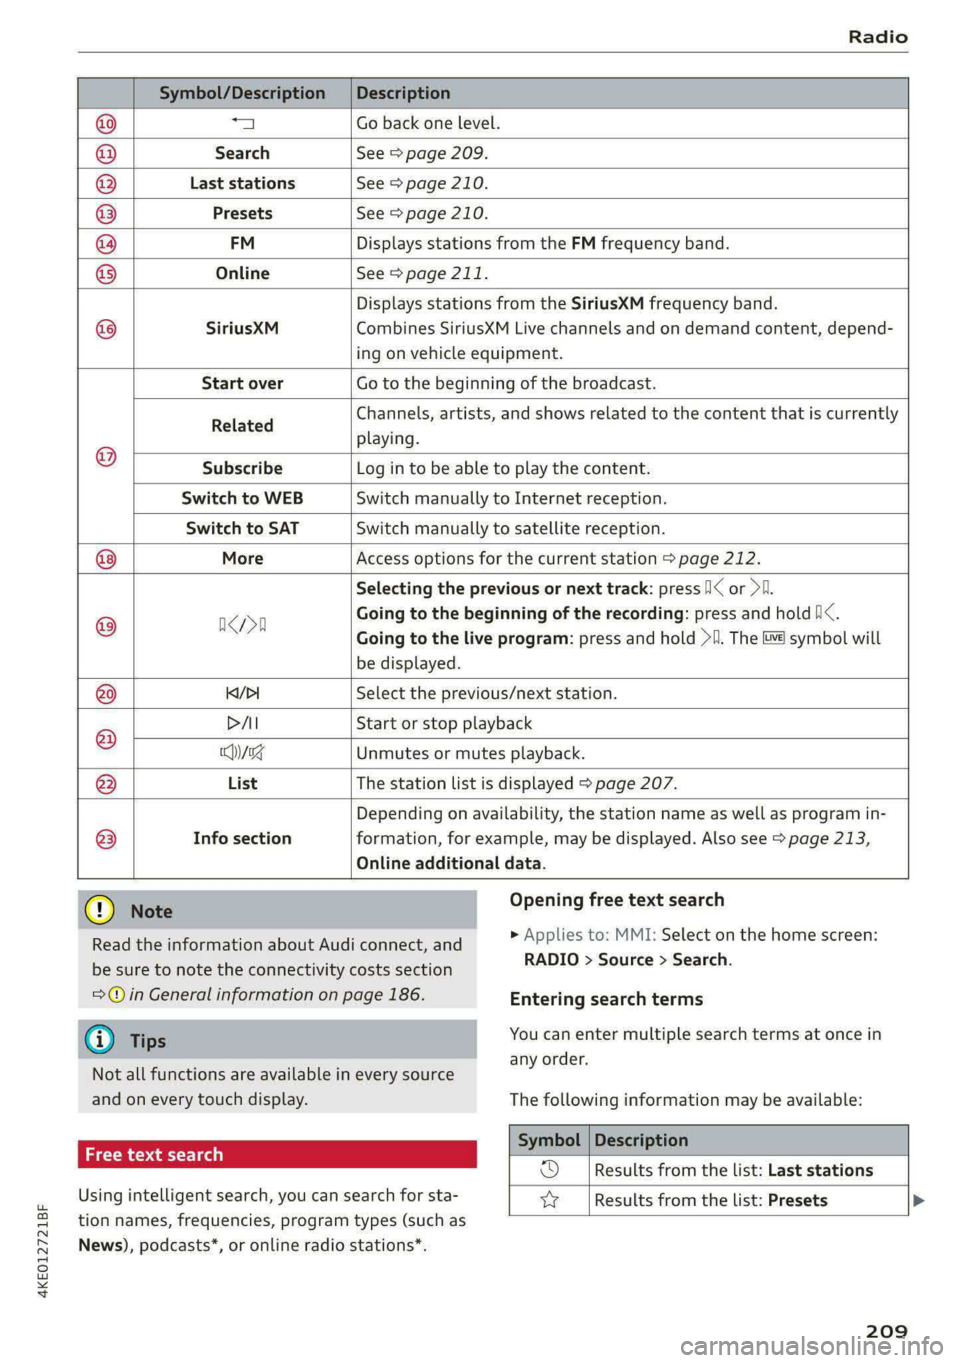
@ a Go back one level.
@ Search See > page 209.
® Last stations See > page 210.
® Presets See > page 210.
@ FM Displays stations from the FM frequency band.
® Online See > page 211.
Displays stations from the SiriusXM frequency band.
@ SiriusXM Combines SiriusXM Live channels and on demand content, depend-
ing on vehicle equipment.
Start over Go to the beginning of the broadcast.
Related Channels, artists, and shows related to the content that is currently
playing.
® Subscribe Log in to be able to play the content.
Switch to WEB Switch manually to Internet reception.
Switch to SAT Switch manually to satellite reception.
More Access options for the current station > page 212.
Selecting the previous or next track: press !I< or >i.
® ncn Going to the beginning of the recording: press and hold Nix.
Going to the live program: press and hold >I. The &) symbol will
be displayed.
@ K/>I Select the previous/next station.
DAI Start or stop playback
8 yg Unmutes or mutes playback.
@ List The station list is displayed > page 207.
Depending on availability, the station name as well as program in-
@ Info section formation, for example, may be displayed. Also see > page 213,
Online additional data.
Read the information about Audi connect, and
be sure to note the connectivity costs section
=>@© in General information on page 186.
G) Tips
Not all functions are available in every source
and on every touch display.
ai \-x-y aay laa)
Using intelligent search, you can search for sta-
tion names, frequencies, program types (such as
News), podcasts*, or online radio stations*.
Opening free text search
> Applies to: MMI: Select on the home screen:
RADIO > Source > Search.
Entering search terms
You can enter multiple search terms at once in
any order.
The following information may be available:
Symbol | Description
OD Results from the list: Last stations
yy [Results from the list: Presets >
209
Page 212 of 308

Radio
Symbol | Description
(| Results from a Station list
For ex-
ample,
TS ae La (ela)
You can listen to the last stations that were
played in all frequency bands.
Station frequency band
Accessing last stations
> Applies to: MMI: Select on the home screen:
RADIO > Source > Last stations.
Listening to last stations
> Press on a station.
Deleting last stations
> Select: Z > select one or more stations or Se-
lect all > Delete > (Done).
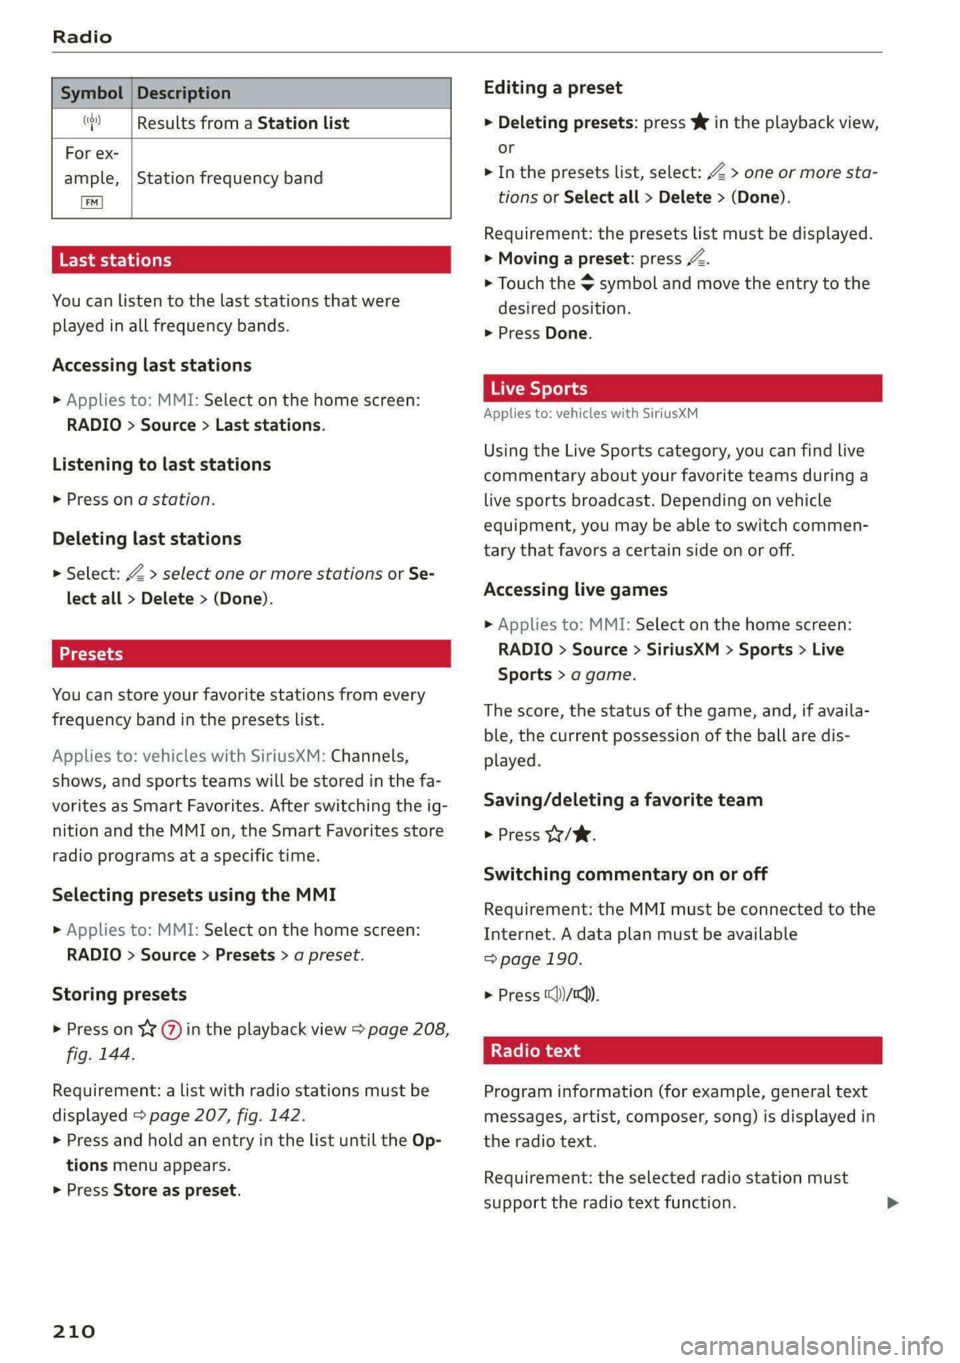
You can store your favorite stations from every
frequency band in the presets list.
Applies to: vehicles with SiriusXM: Channels,
shows, and sports teams will be stored in the fa-
vorites as Smart Favorites. After switching the ig-
nition and the MMI on, the Smart Favorites store
radio programs at a specific time.
Selecting presets using the MMI
» Applies to: MMI: Select on the home screen:
RADIO > Source > Presets > a preset.
Storing presets
> Press on ¥ (@) in the playback view > page 208,
fig. 144.
Requirement: a list with radio stations must be
displayed > page 207, fig. 142.
> Press and hold an entry in the list until the Op-
tions menu appears.
> Press Store as preset.
210
Editing a preset
> Deleting presets: press Ww in the playback view,
or
> In the presets list, select: Z > one or more sta-
tions or Select all > Delete > (Done).
Requirement: the presets list must be displayed.
> Moving a preset: press a.
> Touch the $ symbol and move the entry to the
desired position.
> Press Done.
Live Sports
Applies to: vehicles with SiriusXM
Using the Live Sports category, you can find live
commentary about your favorite teams during a
live sports broadcast. Depending on vehicle
equipment, you may be able to switch commen-
tary that favors a certain side on or off.
Accessing live games
> Applies to: MMI: Select on the home screen:
RADIO > Source > SiriusXM > Sports > Live
Sports > a game.
The score, the status of the game, and, if availa-
ble, the current possession of the ball are dis-
played.
Saving/deleting a favorite team
> Press W/W.
Switching commentary on or off
Requirement: the MMI must be connected to the
Internet. A data plan must be available
=> page 190.
> Press ())/tQ).
Radio text
Program information (for example, general text
messages, artist, composer, song) is displayed in
the radio text.
Requirement: the selected radio station must
support the radio text function.
Page 217 of 308

4KE012721BF
Media
Media
General information
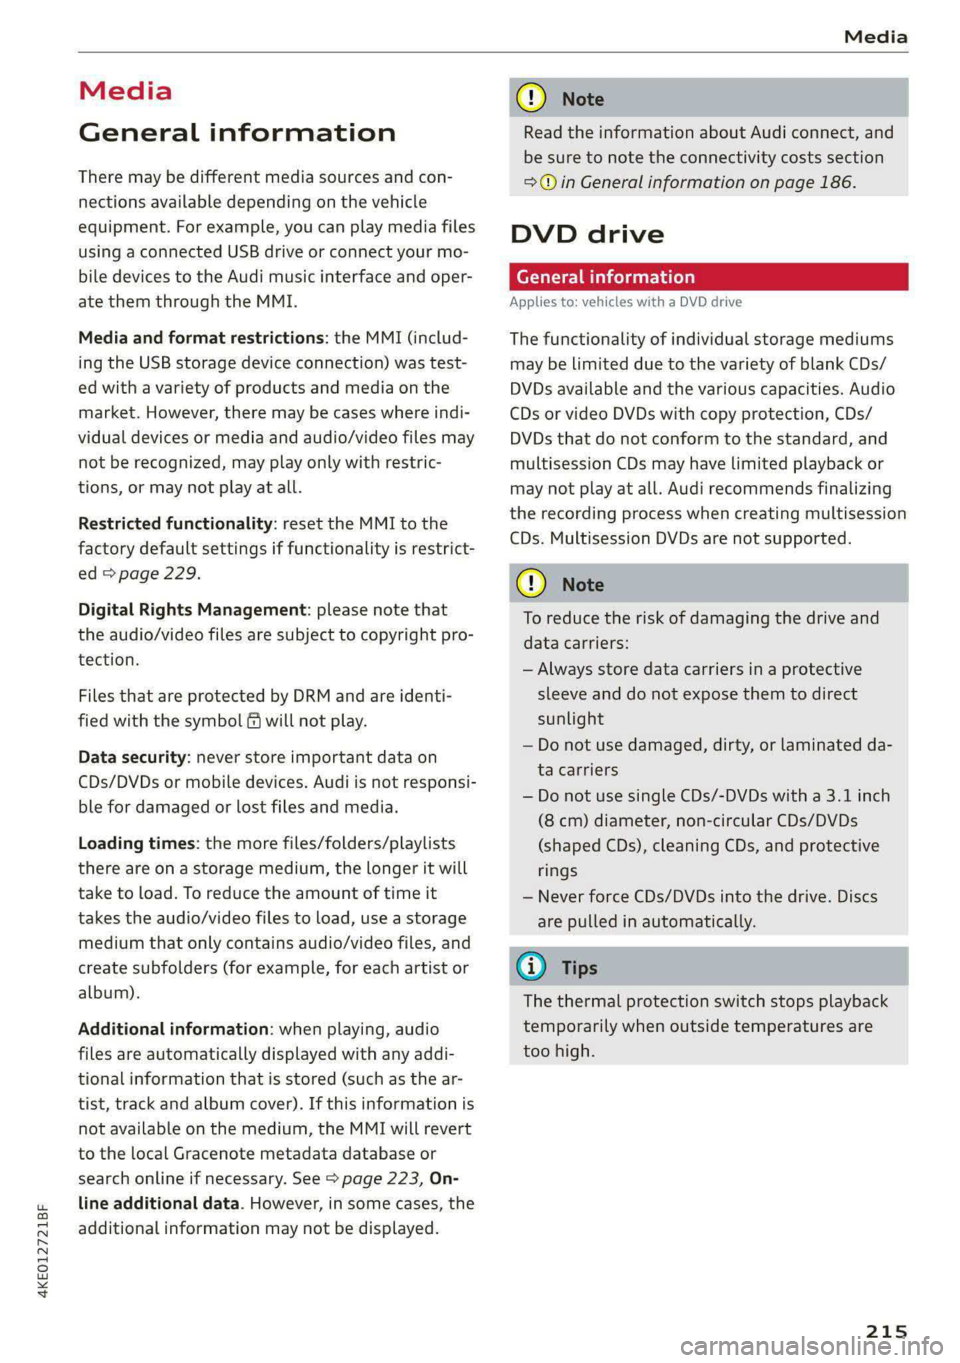
There may be different media sources and con-
nections available depending on the vehicle
equipment. For example, you can play media files
using a connected USB drive or connect your mo-
bile devices to the Audi music interface and oper-
ate them through the MMI.
Media and format restrictions: the MMI (includ-
ing the USB storage device connection) was test-
ed with a variety of products and media on the
market. However, there may be cases where indi-
vidual devices or media and audio/video files may
not be recognized, may play only with restric-
tions, or may not play at all.
Restricted functionality: reset the MMI to the
factory default settings if functionality is restrict-
ed > page 229.
Digital Rights Management: please note that
the
audio/video files are subject to copyright pro-
tection.
Files that are protected by DRM and are identi-
fied with the symbol f@ will not play.
Data security: never store important data on
CDs/DVDs or mobile devices. Audi is not responsi-
ble for damaged or lost files and media.
Loading times: the more files/folders/playlists
there are on a storage medium, the longer it will
take to load. To reduce the amount of time it
takes the audio/video files to load, use a storage
medium that only contains audio/video files, and
create subfolders (for example, for each artist or
album).
Additional information: when playing, audio
files are automatically displayed with any addi-
tional information that is stored (such as the ar-
tist, track and album cover). If this information is
not available on the medium, the MMI will revert
to the local Gracenote metadata database or
search online if necessary. See > page 223, On-
line additional data. However, in some cases, the
additional information may not be displayed.
CG) Note
Read the information about Audi connect, and
be sure to note the connectivity costs section
=@ in General information on page 186.
DVD drive
General information
Applies to: vehicles with a DVD drive
The functionality of individual storage mediums
may be limited due to the variety of blank CDs/
DVDs available and the various capacities. Audio
CDs or video DVDs with copy protection, CDs/
DVDs that do not conform to the standard, and
multisession CDs may have limited playback or
may not play at all. Audi recommends finalizing
the recording process when creating multisession
CDs. Multisession DVDs are not supported.
() Note
To reduce the risk of damaging the drive and
data carriers:
— Always store data carriers in a protective
sleeve and do not expose them to direct
sunlight
— Do not use damaged, dirty, or laminated da-
ta carriers
— Do not use single CDs/-DVDs with a 3.1 inch
(8 cm) diameter, non-circular CDs/DVDs
(shaped CDs), cleaning CDs, and protective
rings
— Never force CDs/DVDs into the drive. Discs
are pulled in automatically.
@® Tips
The thermal protection switch stops playback
temporarily when outside temperatures are
too high.
215