2020 YAMAHA TRICITY 300 reset
[x] Cancel search: resetPage 36 of 114

Instrument and control functions
5-5
5
EAU89130
Multi-function display
The multi-function display is equipped
with the following: an odometer (ODO)
two tripmeters (TRIP 1 and TRIP 2)
a fuel reserve tripmeter (TRIP F)
an oil change tripmeter (OIL TRIP)
an oil change indicator
a V-belt replacement tripmeter
(BELT TRIP)
a V-belt replacement indicator
an instantaneous fuel consump-
tion display (km/L, L/100 km, or
MPG)
an average fuel consumption dis-
play (AVE_ _._ km/L, AVE_ _._
L/100 km, or AVE_ _ _._ MPG)
a traction control system display
(TCS)
an air temperature display (AIR)
a battery voltage display (VOLT)
Push the “RES” switch to change the
display in the following order:
ODO → TRIP 1 → TRIP 2 → TRIP F →
km/L, L/100 km or MPG → AVE_ _._
km/L, AVE_ _._ L/100 km or AVE_ _ _._
MPG → AIR → VOLT → TCS → OIL
TRIP → BELT TRIP → ODO
TIP The fuel reserve tripmeter appears
only when you are low on fuel.
Push the “SEL” switch to change
the display in the reverse order.
EAU86890
Odometer
The odometer shows the total distance
traveled by the vehicle.TIPThe odometer will lock at 999999 and
cannot be reset.
EAU89140
Tripmeters
The tripmeters show the distance trav-
eled since they were last reset.
To reset a tripmeter, change the dis-
play to the tripmeter you want to reset,
and then push the “RES” switch until it
is reset.TIPThe tripmeters will reset and continue
counting after 9999.9 is reached.
EAU89150
Fuel reserve tripmeter
If the last segment of the fuel meter
starts flashing, the display automati-
cally changes to the fuel reserve trip-
meter “TRIP F” and starts counting the
distance traveled from that point.
To reset the fuel reserve tripmeter,
push the “RES” switch until it is reset.TIPIf you do not reset the fuel reserve trip-
meter manually, it will reset automati-
cally and disappear from the display
after refueling and traveling 5 km (3 mi).
1. Multi-function display
1
UBX9E0E0.book Page 5 Monday, January 20, 2020 10:54 AM
Page 37 of 114

Instrument and control functions
5-6
5
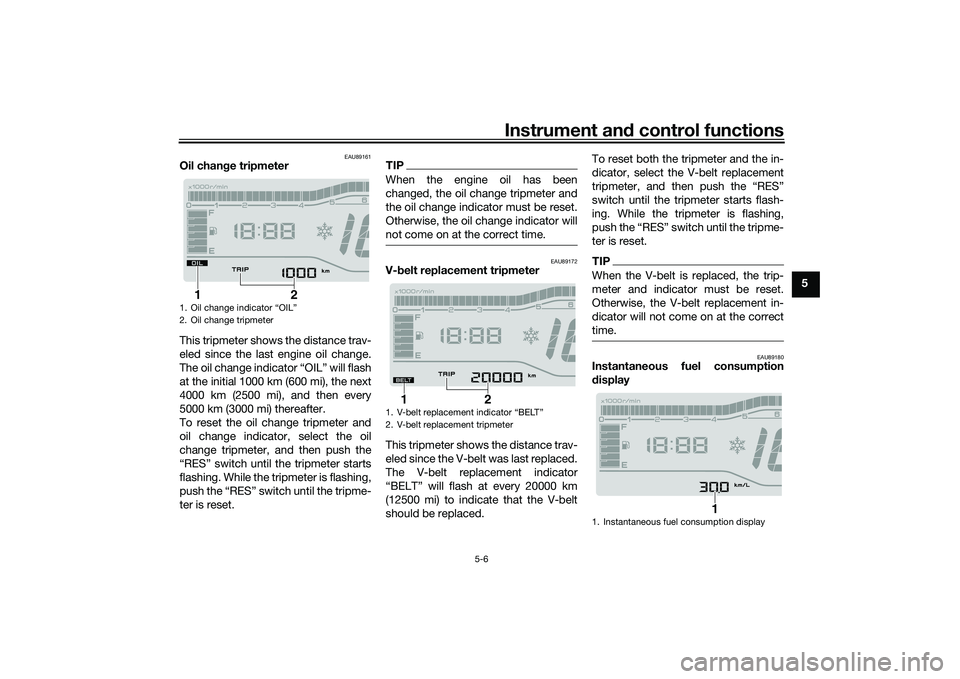
EAU89161
Oil chan ge tripmeter
This tripmeter shows the distance trav-
eled since the last engine oil change.
The oil change indicator “OIL” will flash
at the initial 1000 km (600 mi), the next
4000 km (2500 mi), and then every
5000 km (3000 mi) thereafter.
To reset the oil change tripmeter and
oil change indicator, select the oil
change tripmeter, and then push the
“RES” switch until the tripmeter starts
flashing. While the tripmeter is flashing,
push the “RES” switch until the tripme-
ter is reset.
TIPWhen the engine oil has been
changed, the oil change tripmeter and
the oil change indicator must be reset.
Otherwise, the oil change indicator will
not come on at the correct time.
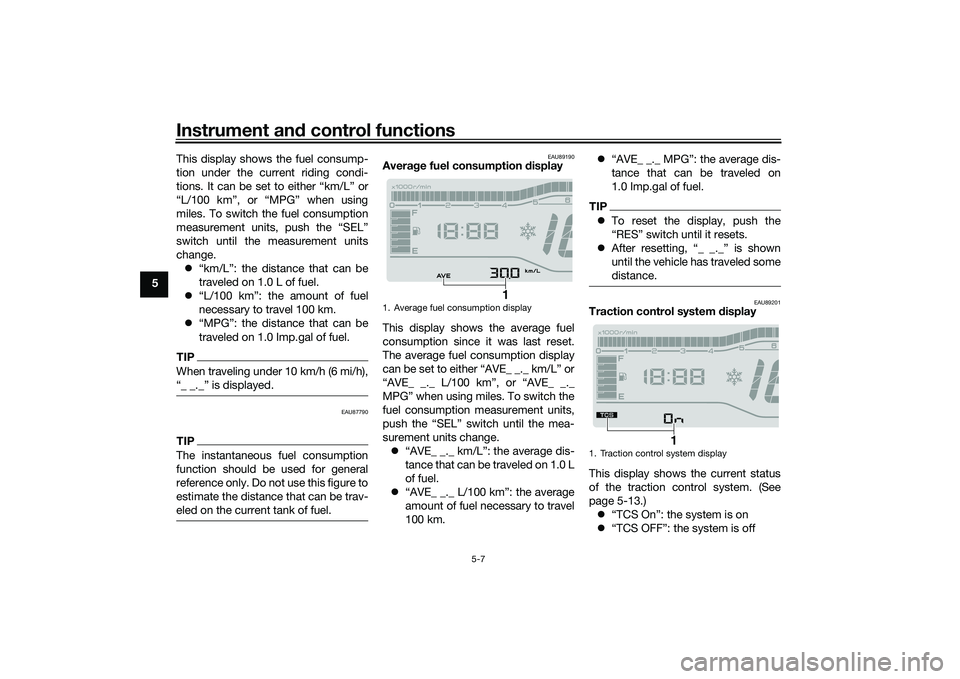
EAU89172
V- belt replacement tripmeter
This tripmeter shows the distance trav-
eled since the V-belt was last replaced.
The V-belt replacement indicator
“BELT” will flash at every 20000 km
(12500 mi) to indicate that the V-belt
should be replaced. To reset both the tripmeter and the in-
dicator, select the V-belt replacement
tripmeter, and then push the “RES”
switch until the tripmeter starts flash-
ing. While the tripmeter is flashing,
push the “RES” switch until the tripme-
ter is reset.
TIPWhen the V-belt is replaced, the trip-
meter and indicator must be reset.
Otherwise, the V-belt replacement in-
dicator will not come on at the correct
time.
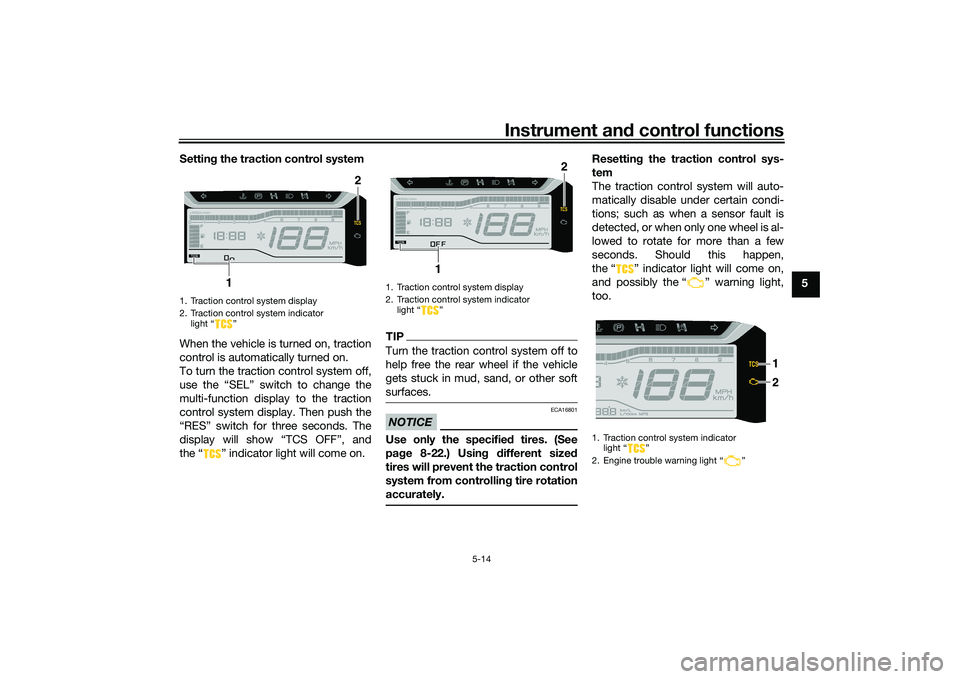
EAU89180
Instantaneous fuel consumption
d
isplay
1. Oil change indicator “OIL”
2. Oil change tripmeter
2
1
1. V-belt replacement indicator “BELT”
2. V-belt replacement tripmeter
2
1
1. Instantaneous fuel consumption display
1
UBX9E0E0.book Page 6 Monday, January 20, 2020 10:54 AM
Page 38 of 114

Instrument and control functions
5-7
5 This display shows the fuel consump-
tion under the current riding condi-
tions. It can be set to either “km/L” or
“L/100 km”, or “MPG” when using
miles. To switch the fuel consumption
measurement units, push the “SEL”
switch until the measurement units
change.
“km/L”: the distance that can be
traveled on 1.0 L of fuel.
“L/100 km”: the amount of fuel
necessary to travel 100 km.
“MPG”: the distance that can be
traveled on 1.0 Imp.gal of fuel.
TIPWhen traveling under 10 km/h (6 mi/h),
“_ _._” is displayed.
EAU87790
TIPThe instantaneous fuel consumption
function should be used for general
reference only. Do not use this figure to
estimate the distance that can be trav-
eled on the current tank of fuel.
EAU89190
Averag e fuel consumption display
This display shows the average fuel
consumption since it was last reset.
The average fuel consumption display
can be set to either “AVE_ _._ km/L” or
“AVE_ _._ L/100 km”, or “AVE_ _._
MPG” when using miles. To switch the
fuel consumption measurement units,
push the “SEL” switch until the mea-
surement units change. “AVE_ _._ km/L”: the average dis-
tance that can be traveled on 1.0 L
of fuel.
“AVE_ _._ L/100 km”: the average
amount of fuel necessary to travel
100 km.
“AVE_ _._ MPG”: the average dis-
tance that can be traveled on
1.0 Imp.gal of fuel.
TIPTo reset the display, push the
“RES” switch until it resets.
After resetting, “_ _._” is shown
until the vehicle has traveled some
distance.
EAU89201
Traction control system display
This display shows the current status
of the traction control system. (See
page 5-13.) “TCS On”: the system is on
“TCS OFF”: the system is off
1. Average fuel consumption display
1
1. Traction control system display
1
UBX9E0E0.book Page 7 Monday, January 20, 2020 10:54 AM
Page 45 of 114

Instrument and control functions
5-14
5
Settin
g the traction control system
When the vehicle is turned on, traction
control is automatically turned on.
To turn the traction control system off,
use the “SEL” switch to change the
multi-function display to the traction
control system display. Then push the
“RES” switch for three seconds. The
display will show “TCS OFF”, and
the “ ” indicator light will come on.
TIPTurn the traction control system off to
help free the rear wheel if the vehicle
gets stuck in mud, sand, or other soft
surfaces.NOTICE
ECA16801
Use only the specifie d tires. (See
pa ge 8-22.) Usin g different sized
tires will prevent the traction control
system from controllin g tire rotation
accurately.
Resettin g the traction control sys-
tem
The traction control system will auto-
matically disable under certain condi-
tions; such as when a sensor fault is
detected, or when only one wheel is al-
lowed to rotate for more than a few
seconds. Should this happen,
the “ ” indicator light will come on,
and possibly the “ ” warning light,
too.
1. Traction control system display
2. Traction control system indicator light “ ”
2
1
1. Traction control system display
2. Traction control system indicator light “ ”
2
1
1. Traction control system indicator light “ ”
2. Engine trouble warning light “ ”
2 1
UBX9E0E0.book Page 14 Monday, January 20, 2020 10:54 AM
Page 46 of 114

Instrument and control functions
5-15
5
TIPWhen the vehicle is on the centerstand,
do not rev the engine for an extended
period of time. Otherwise, the traction
control system will automatically dis-
able and need to be reset.If the traction control system automat-
ically disables, try resetting it as fol-
lows.
1. Stop the vehicle and turn it off completely.
2. Wait a few seconds and then turn the vehicle power on.
3. The “ ” indicator light should turn off and the system be en-
abled.TIPIf the “ ” indicator light remains on
after resetting, the vehicle may still be
ridden; however, have a Yamaha deal-
er check the vehicle as soon as possi-
ble.4. Have a Yamaha dealer check thevehicle and turn off the “ ”
warning light.
EAU89040
Fuel tank capTo access the fuel tank, open the fuel
tank cap lid. (See page 3-9.)
To remove the fuel tank cap, turn the
fuel tank cap counterclockwise until
the release mark “ ” aligns with “ ”,
and then pull the cap off. To install the fuel tank cap, insert the
fuel tank cap onto the tank opening
and turn it clockwise until the install
mark“” aligns with“”.1. Fuel tank cap lid
1
1. Fuel tank cap
2. Release mark “ ”
1. Install mark “ ”
1
2
1
UBX9E0E0.book Page 15 Monday, January 20, 2020 10:54 AM
Page 58 of 114

Operation and important rid ing points
7-2
7
EAU86720
Startin g the eng ineThe ignition circuit cut-off system will
enable starting when the sidestand is
be up.
To start the engine1. Turn the main switch on and set
the engine stop switch to the run
position.
2. Confirm the indicator and warning light(s) come on for a few sec-
onds, and the go off. (See page
5-1.)TIPDo not start the engine if the en-
gine trouble warning light remains
on.
The ABS warning light should
come on and stay on until the ve-
hicle reaches a speed of 10 km/h
(6 mi/h).NOTICE
ECA24110
If a warnin g or in dicator li ght does
not work as d escribed a bove, have a
Yamaha dealer check the vehicle.3. Close the throttle completely. 4. While applying the front or rear
brake, push the start switch.
5. Release the start switch when the engine starts, or after 5 seconds.
Wait 10 seconds before pressing
the switch again to allow battery
voltage to restore.
NOTICE
ECA11043
For maximum en gine life, never ac-
celerate har d when the en gine is
col d!
EAU78221
TIPThis model is equipped with a lean an-
gle sensor to stop the engine in case of
a turnover. In this case, the engine
trouble warning light will come on but
this is not a malfunction. Before re-
starting the engine, turn the main
switch off and then back on to reset the
engine trouble warning light. Failing to
do so will prevent the engine from
starting even though the engine will
crank when pushing the start switch.
UBX9E0E0.book Page 2 Monday, January 20, 2020 10:54 AM