2020 VOLKSWAGEN T-ROC lock
[x] Cancel search: lockPage 140 of 502

If you have to drive a right-hand drive vehicle in a left-hand drive country, or vice versa, the
asymmetric dipped beam headlights may dazzle oncoming traffic. The headlights must therefore be
switched over when you travel to these countries.
With some equipment levels, the headlight alignment can be adjusted in the Infotainment system in
the Vehicle settings menu Infotainment system controls and displays
In vehicles in which the headlights cannot be switched over in the menu, masking stickers should be
applied to certain parts of the headlight lenses, or the headlights should be adjusted by a qualified
workshop. A qualified workshop can provide you with further information. Volkswagen recommends
using a Volkswagen dealership for this purpose.
Travel mode may be used only for a short period. Please contact a qualified workshop for a
permanent conversion. Volkswagen recommends using a Volkswagen dealership for this purpose.
Interior lighting
Instrument and switch lighting
The brightness of the instrument and switch lighting can be adjusted in the Infotainment system in
the Vehicle settings menu Infotainment system controls and displays
The brightness setting is automatically adjusted to the changing light conditions in the vehicle.
When the light switch is in position , a sensor will switch the dipped beam and the lighting in
the instruments and switches on and off automatically depending on the ambient brightness level.
When the light is switched off and the ignition switched on, the instrument and switch lighting
(needles and scales) is switched on. As the ambient light becomes lower, the illumination of the
scales is automatically reduced and may be switched off entirely. This function is intended to remind
the driver to switch on the dipped beam in good time, i.e. when driving through tunnels.
Interior and reading lights
Press the appropriate button or move the switch to the appropriate position:
Switch off the interior light.Switch on the interior lights.The interior lights are switched on
automatically when the vehicle is unlocked, a door is opened or the vehicle key is removed from the
ignition.Switch the reading light on or off.
Stowage compartment and luggage compartment lights
A light will be switched on and off when the stowage compartment on the front passenger side or
the boot lid is opened or closed.
Background lighting
Page 141 of 502

pending on the equipment level, the background lighting provides indirect light in various areas of
the vehicle interior.
The front footwell may also be illuminated.
The brightness of the background lighting can be adjusted in the Infotainment system in the Vehicle
settings menu Infotainment system controls and displays
The lights go out when the vehicle is locked or after a delay of a few minutes when the vehicle key is
removed from the ignition lock. This prevents the 12-volt vehicle battery from discharging.
Some settings can be stored in the user accounts of the personalisation function and therefore
change automatically when the user account changes Personalisation
Visibility
Wipers
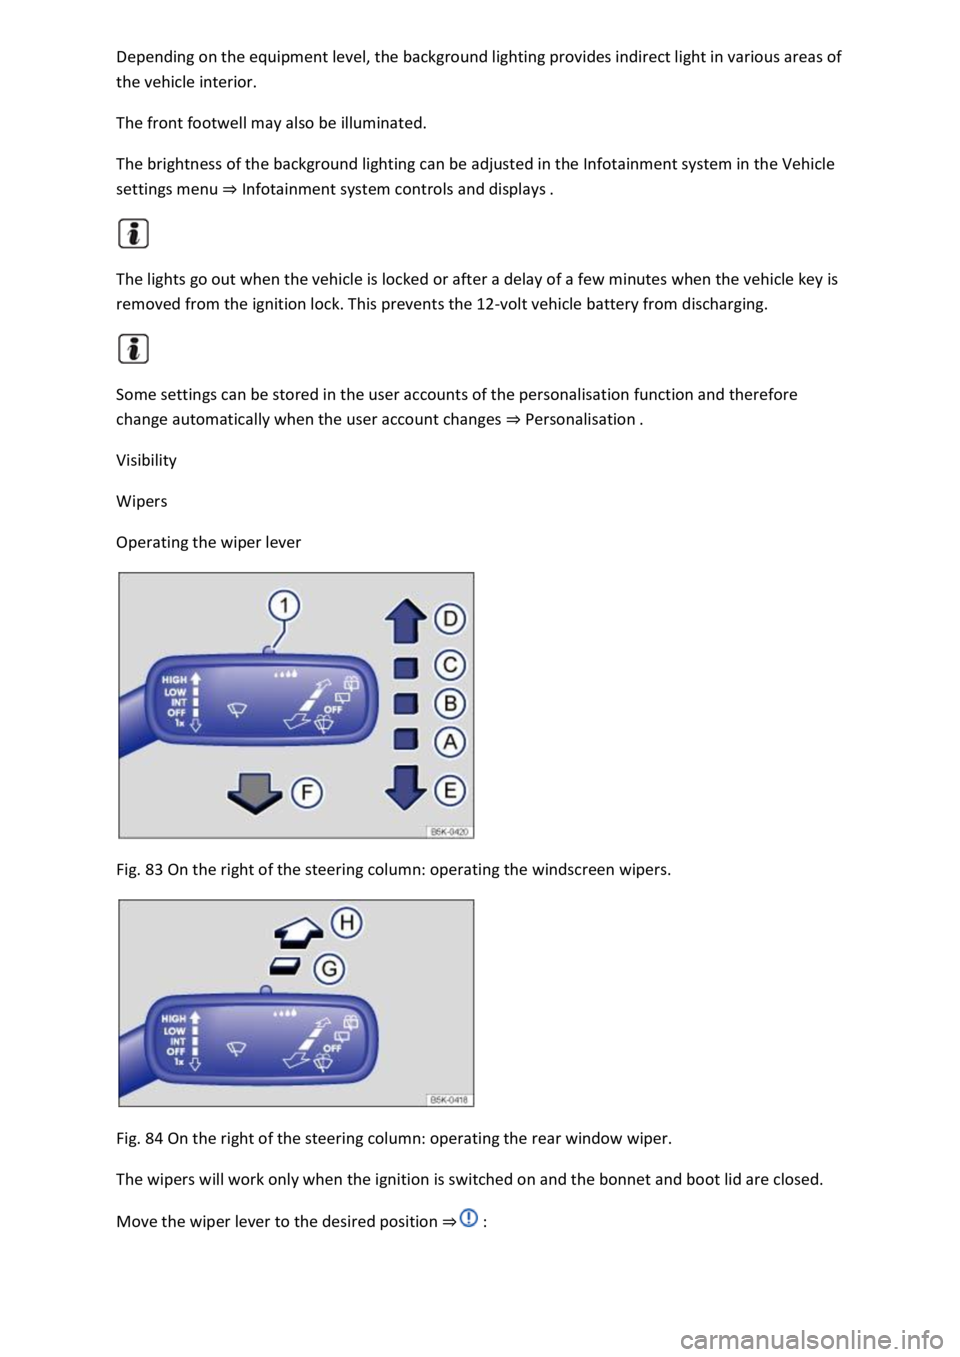
Operating the wiper lever
Fig. 83 On the right of the steering column: operating the windscreen wipers.
Fig. 84 On the right of the steering column: operating the rear window wiper.
The wipers will work only when the ignition is switched on and the bonnet and boot lid are closed.
Move the wiper lever to the desired position
Page 145 of 502

The wipers do not wipe.
The indicator lamp lights up yellow.
Switch the ignition off and on.
If the problem persists, go to a qualified workshop.
Changes in the activation behaviour of the rain/light sensor
Possible causes for faults and misinterpretations relating to the sensitive surface of the rain/light
sensor
Damaged wiper blades: a film of water or smears caused by damaged wiper blades can increase the
time the wipers are switched on, can shorten the length of the intervals between wipes or cause the
wipers to run quickly and continuously.
Insects: insects hitting the windscreen can cause the wipers to be activated.
Salt deposits: in winter, salt deposits can cause the wipers to continue to wipe the windscreen when
it is almost dry.
Dirt: dry dust, wax, windscreen coatings (lotus effect), or detergent deposits (from an automatic car
wash) can cause the rain/light sensor to become less sensitive and react too slowly, or prevent it
from reacting at all. Clean the sensitive surface of the rain/light sensor Caring for and cleaning the
vehicle exteriorat regular intervals and inspect the wiper blades for damage.
Crack in the windscreen: a wipe cycle will be triggered if the rain/light sensor is on when the
windscreen is impacted by a stone. The rain/light sensor will then register the impairment of the
sensitive surfaces and adjust accordingly. Depending on the size of the stone impact, the activation
behaviour of the rain/light sensor may be changed.
We recommend that you use an alcohol-based glass cleaner to remove wax and polish.
The wipers will try to wipe away any obstacles that are on the window. The wiper will stop moving if
the obstacle continues to block its path. Remove the obstacle and switch the wiper back on again.
Mirrors
Introduction
This chapter contains information on the followingsubjects:
Interior mirror
Exterior mirrors
You can use the exterior mirrors and the interior mirror to observe traffic behind you and adjust
your driving style accordingly.
Page 154 of 502

WARNING
Stale air can quickly make the driver tired and affect their concentration, which in turn can cause
collisions, accidents and serious injuries.
Never switch off the blower or switch on the air recirculation mode for an extended period as this
prevents fresh air from entering the vehicle interior.
NOTICE
Food, medicine and other items that are sensitive to heat or cold could be either damaged or
rendered useless by the air flowing out of the vents.
Never leave food, medicines or other temperature-sensitive objects in front of the vents.
NOTICE
If the air conditioning system is not working, switch the air conditioning system off immediately and
have it checked by a qualified workshop. This can help to prevent secondary damage.
Some settings can be stored in the user accounts of the personalisation function and therefore
change automatically when the user account changes Personalisation
Front controls
Fig. 91 In the upper part of the centre console: air conditioning block for the manual air conditioning
system and heating and fresh air system.
Page 155 of 502

Fig. 92 In the upper part of the centre console: Climatronic air conditioning block.
First read and observe the introductoryinformation and safety warnings
Some functions and buttons may vary according to the vehicle equipment and the type of system
installed.
Air conditioning settings in the Infotainment system
Press the button in the air conditioning block to open the Climatronic air conditioning settings
in the Infotainment system.
The upper part of the screen shows the current air conditioning settings.
Blue: cooling.
Red: heating.
Touch the function button to set the automatic control of air recirculation mode, the
supplementary heater and the windscreen heating.
Touch the function button to switch cooling mode, air distribution and the blower on and off via
the Infotainment system.
Touch the Presettings function button to set the automatic mode, the maximum cooling output, the
defrost function and the manual mode of the cooling system via the Infotainment system.
Touch the function button to set the blower speed in mode.
Switching off
Press the button in the air conditioning block (vehicles without auxiliary heater).
OR: touch the function button on the Infotainment system.
Manual air conditioning system: turn the centre rotary control to position Fig. 91
Climatronic: turn the centre rotary control anti-clockwise as far as it will go Fig. 92
Climatronic with allergen filter
The allergen filter of the Air Care Climatronic can reduce the amount of pollutants and also allergens
that enter the vehicle interior.
Page 156 of 502

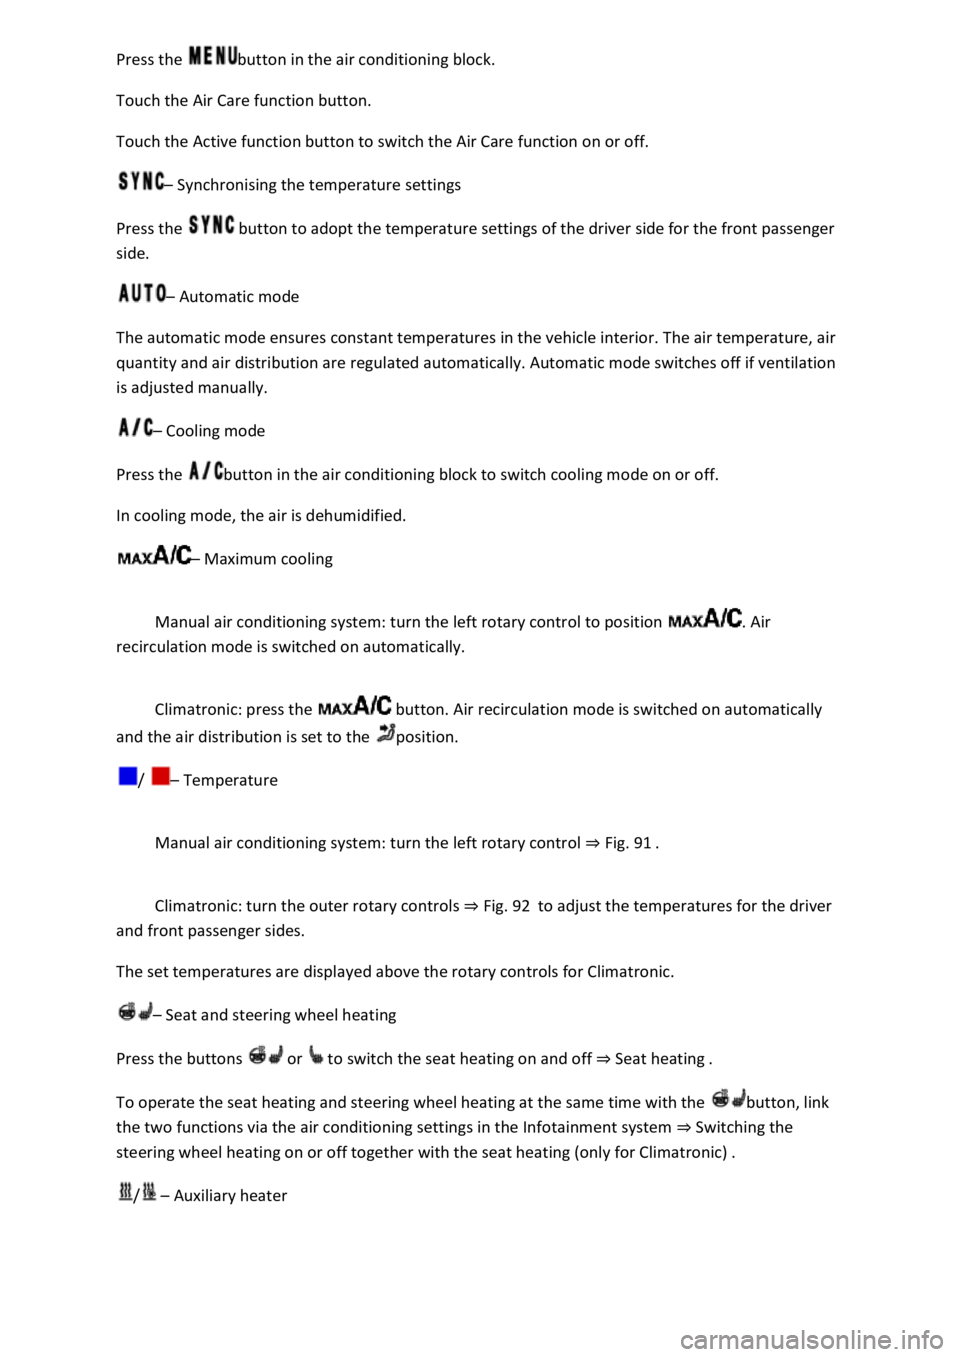
button in the air conditioning block.
Touch the Air Care function button.
Touch the Active function button to switch the Air Care function on or off.
Synchronising the temperature settings
Press the button to adopt the temperature settings of the driver side for the front passenger
side.
Automatic mode
The automatic mode ensures constant temperatures in the vehicle interior. The air temperature, air
quantity and air distribution are regulated automatically. Automatic mode switches off if ventilation
is adjusted manually.
Cooling mode
Press the button in the air conditioning block to switch cooling mode on or off.
In cooling mode, the air is dehumidified.
Maximum cooling
Manual air conditioning system: turn the left rotary control to position . Air
recirculation mode is switched on automatically.
Climatronic: press the button. Air recirculation mode is switched on automatically
and the air distribution is set to the position.
/ Temperature
Manual air conditioning system: turn the left rotary control Fig. 91
Climatronic: turn the outer rotary controls Fig. 92to adjust the temperatures for the driver
and front passenger sides.
The set temperatures are displayed above the rotary controls for Climatronic.
Seat and steering wheel heating
Press the buttons or to switch the seat heating on and off Seat heating
To operate the seat heating and steering wheel heating at the same time with the button, link
the two functions via the air conditioning settings in the Infotainment system Switching the
steering wheel heating on or off together with the seat heating (only for Climatronic)
/ Auxiliary heater
Page 157 of 502

button in the air conditioning block to switch the auxiliary heater on and off when the
ignition is switched off
Touch the function button in the Infotainment system air conditioning settings to access the
Auxiliary heater menu Auxiliary heater and ventilation
The auxiliary heater provides additional heating when the ignition is switched on.
Blower
Turn the middle rotary control.
When Climatronic is in automatic mode, no blower speed is displayed in the rotary control.
Air recirculation mode
Press the button.
Air distribution
air distribution to the upper body via the vents in the dash panel.
air distribution to footwell.
air distribution to the upper body and the footwell.
air distribution to the windscreen and the footwell.
air distribution to the windscreen.
| Defrost function
Manual air conditioning system: turn the right rotary knob to position Fig. 91
Climatronic: press the button Fig. 92
Manual air conditioning system: in the defrost function, the air recirculation mode switches off
and the air conditioning compressor for the cooling system switches on in order to dehumidify the
air. When the defrost function is switched on, it is not possible to switch the air recirculation mode
on or the air conditioning compressor off1).
Rear window heating
Press to switch the rear window heating on or off while the engine is running.
The rear window heating will switch off after 10 minutes at the latest.
Recommended settings for manual air conditioning system
Switch off air recirculation mode.
Set blower to setting or .
Page 158 of 502

Open and position all vents on the dash panel.
Turn the air distribution regulator to the desired position.
Press the button in the air conditioning block to switch the cooling system on.
Recommended settings for Climatronic
Press the button.
Set the temperature to +22