2020 TOYOTA PROACE CITY park assist
[x] Cancel search: park assistPage 165 of 272
165
In the event of a breakdown
8
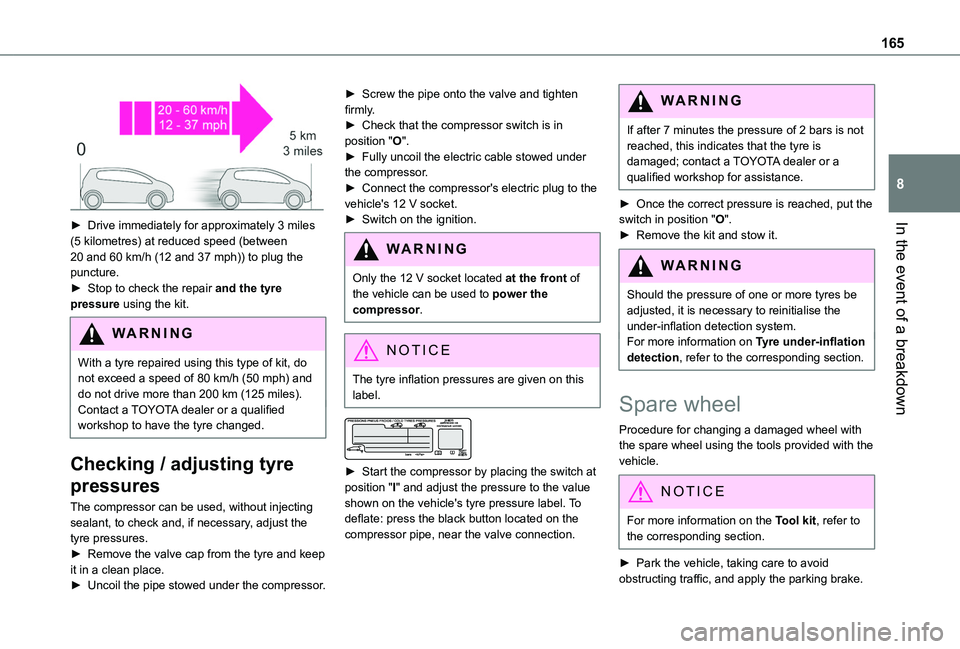
► Drive immediately for approximately 3 miles (5 kilometres) at reduced speed (between 20 and 60 km/h (12 and 37 mph)) to plug the puncture.► Stop to check the repair and the tyre pressure using the kit.
WARNI NG
With a tyre repaired using this type of kit, do not exceed a speed of 80 km/h (50 mph) and do not drive more than 200 km (125 miles).Contact a TOYOTA dealer or a qualified workshop to have the tyre changed.
Checking / adjusting tyre
pressures
The compressor can be used, without injecting sealant, to check and, if necessary, adjust the tyre pressures.► Remove the valve cap from the tyre and keep it in a clean place.► Uncoil the pipe stowed under the compressor.
► Screw the pipe onto the valve and tighten firmly.► Check that the compressor switch is in position "O".► Fully uncoil the electric cable stowed under the compressor.► Connect the compressor's electric plug to the vehicle's 12 V socket.► Switch on the ignition.
WARNI NG
Only the 12 V socket located at the front of the vehicle can be used to power the compressor.
NOTIC E
The tyre inflation pressures are given on this label.
► Start the compressor by placing the switch at position "I" and adjust the pressure to the value shown on the vehicle's tyre pressure label. To deflate: press the black button located on the compressor pipe, near the valve connection.
WARNI NG
If after 7 minutes the pressure of 2 bars is not reached, this indicates that the tyre is damaged; contact a TOYOTA dealer or a qualified workshop for assistance.
► Once the correct pressure is reached, put the switch in position "O".► Remove the kit and stow it.
WARNI NG
Should the pressure of one or more tyres be adjusted, it is necessary to reinitialise the under-inflation detection system.For more information on Tyre under-inflation detection, refer to the corresponding section.
Spare wheel
Procedure for changing a damaged wheel with
the spare wheel using the tools provided with the vehicle.
NOTIC E
For more information on the Tool kit, refer to the corresponding section.
► Park the vehicle, taking care to avoid obstructing traffic, and apply the parking brake.
Page 178 of 272
178
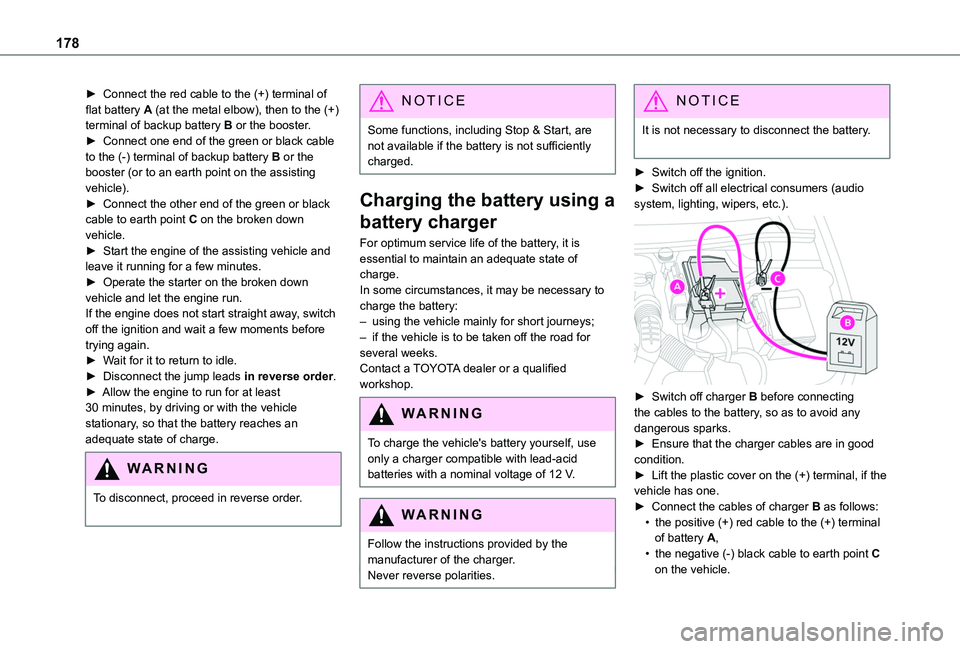
► Connect the red cable to the (+) terminal of flat battery A (at the metal elbow), then to the (+) terminal of backup battery B or the booster.► Connect one end of the green or black cable to the (-) terminal of backup battery B or the booster (or to an earth point on the assisting vehicle).► Connect the other end of the green or black cable to earth point C on the broken down vehicle.► Start the engine of the assisting vehicle and leave it running for a few minutes.► Operate the starter on the broken down vehicle and let the engine run.If the engine does not start straight away, switch off the ignition and wait a few moments before trying again.► Wait for it to return to idle.► Disconnect the jump leads in reverse order.► Allow the engine to run for at least 30 minutes, by driving or with the vehicle stationary, so that the battery reaches an adequate state of charge.
WARNI NG
To disconnect, proceed in reverse order.
NOTIC E
Some functions, including Stop & Start, are not available if the battery is not sufficiently charged.
Charging the battery using a
battery charger
For optimum service life of the battery, it is essential to maintain an adequate state of charge.In some circumstances, it may be necessary to charge the battery:– using the vehicle mainly for short journeys;– if the vehicle is to be taken off the road for several weeks.Contact a TOYOTA dealer or a qualified workshop.
WARNI NG
To charge the vehicle's battery yourself, use only a charger compatible with lead-acid batteries with a nominal voltage of 12 V.
WARNI NG
Follow the instructions provided by the
manufacturer of the charger.Never reverse polarities.
NOTIC E
It is not necessary to disconnect the battery.
► Switch off the ignition.► Switch off all electrical consumers (audio system, lighting, wipers, etc.).
► Switch off charger B before connecting the cables to the battery, so as to avoid any dangerous sparks.► Ensure that the charger cables are in good
condition.► Lift the plastic cover on the (+) terminal, if the vehicle has one.► Connect the cables of charger B as follows:• the positive (+) red cable to the (+) terminal of battery A,• the negative (-) black cable to earth point C on the vehicle.
Page 180 of 272
180
– the remote control key or the electronic key (depending on version),– the electric windows,– the electric doors,– the date and time,– the radio preset stations.
NOTIC E
The Stop & Start system may not be operational during the trip following the first engine start.In this case, the system will only be available again after a continuous period of immobilisation of the vehicle, a period which depends on the exterior temperature and the state of charge of the battery (up to about 8 hours).
Towing
Procedure for having your vehicle towed or for towing another vehicle using the towing eye.
NOTIC E
General recommendationsObserve the legislation in force in the country where you are driving.Ensure that the weight of the towing vehicle is higher than that of the towed vehicle.The driver must remain at the wheel of the towed vehicle and must have a valid driving licence.When towing a vehicle with all four wheels on the ground, always use an approved towbar; ropes and straps are prohibited.
The towing vehicle must move off gently.When the vehicle is towed with its engine off, there is no longer braking and steering assistance.
WARNI NG
A professional recovery service must be called if:– broken down on a motorway or main road;
– not possible to put the gearbox into neutral, unlock the steering, or release the parking brake;– not possible to tow a vehicle with an automatic gearbox, with the engine running;– towing with only two wheels on the ground;– four-wheel drive vehicle;– no approved towbar available.
Towing constraints
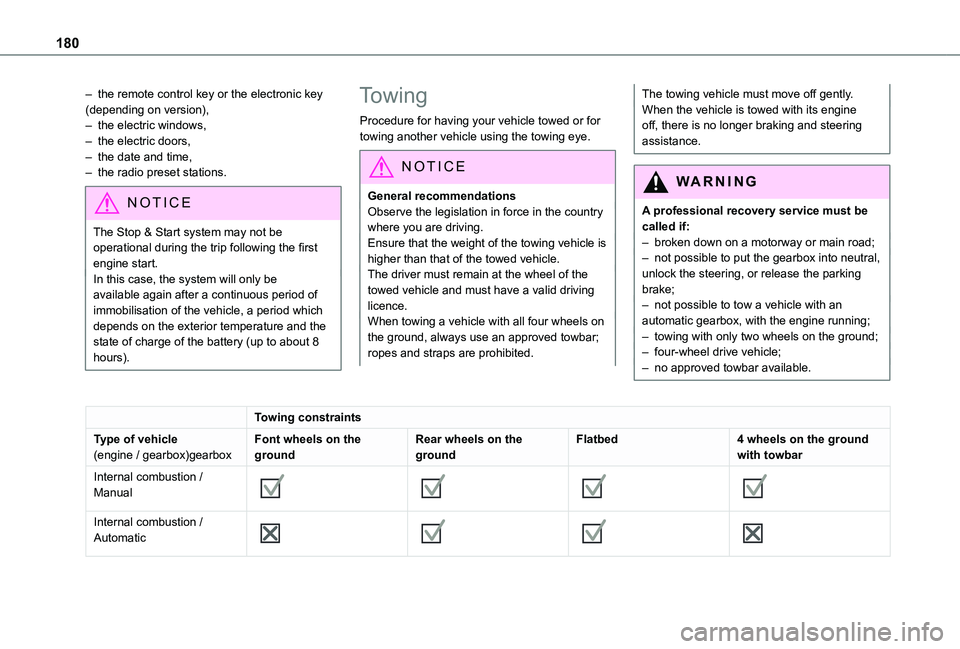
Type of vehicle(engine / gearbox)gearboxFont wheels on the groundRear wheels on the groundFlatbed4 wheels on the ground with towbar
Internal combustion / Manual
Internal combustion / Automatic
Page 181 of 272
181
In the event of a breakdown
8
NOTIC E
In case of battery or electric parking brake failure, it is essential to call a professional using flatbed recovery vehicles (excluding manual gearbox).
Access to the eye
NOTIC E
For more information on the Tool kit, refer to the corresponding section.
WARNI NG
With a manual gearbox, move the gear lever into neutral.With an automatic gearbox, place the gear selector into position N.Failure to adhere to this instruction may lead to damage to braking system components and the lack of braking assistance on restarting the engine.
Towing your vehicle
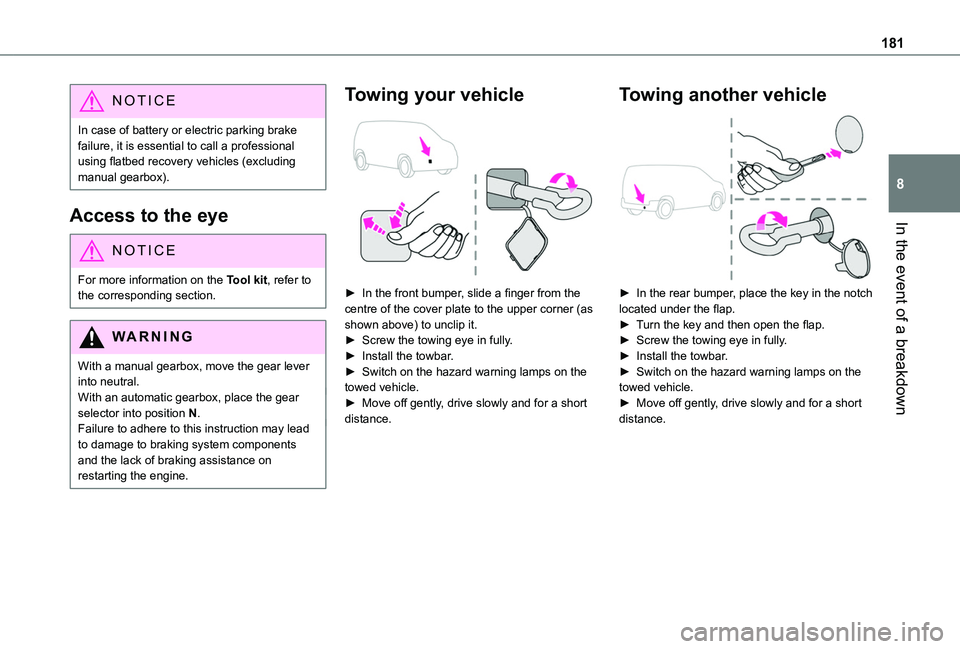
► In the front bumper, slide a finger from the centre of the cover plate to the upper corner (as shown above) to unclip it.► Screw the towing eye in fully.► Install the towbar.► Switch on the hazard warning lamps on the towed vehicle.► Move off gently, drive slowly and for a short distance.
Towing another vehicle
► In the rear bumper, place the key in the notch located under the flap.► Turn the key and then open the flap.► Screw the towing eye in fully.► Install the towbar.► Switch on the hazard warning lamps on the towed vehicle.► Move off gently, drive slowly and for a short distance.
Page 247 of 272
247
Alphabetical index
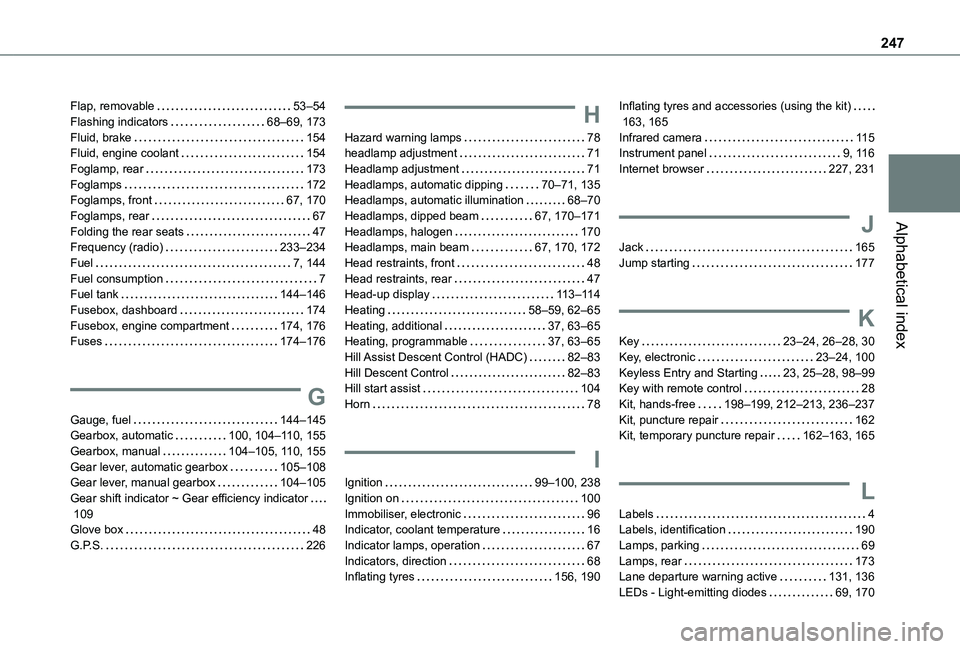
Flap, removable 53–54Flashing indicators 68–69, 173Fluid, brake 154Fluid, engine coolant 154Foglamp, rear 173Foglamps 172Foglamps, front 67, 170Foglamps, rear 67Folding the rear seats 47Frequency (radio) 233–234Fuel 7, 144Fuel consumption 7Fuel tank 144–146Fusebox, dashboard 174Fusebox, engine compartment 174, 176Fuses 174–176
G
Gauge, fuel 144–145Gearbox, automatic 100, 104–11 0, 155
Gearbox, manual 104–105, 11 0, 155Gear lever, automatic gearbox 105–108Gear lever, manual gearbox 104–105Gear shift indicator ~ Gear efficiency indicator 109Glove box 48G.P.S. 226
H
Hazard warning lamps 78headlamp adjustment 71Headlamp adjustment 71Headlamps, automatic dipping 70–71, 135Headlamps, automatic illumination 68–70Headlamps, dipped beam 67, 170–171Headlamps, halogen 170Headlamps, main beam 67, 170, 172Head restraints, front 48Head restraints, rear 47Head-up display 11 3–11 4Heating 58–59, 62–65Heating, additional 37, 63–65Heating, programmable 37, 63–65Hill Assist Descent Control (HADC) 82–83Hill Descent Control 82–83Hill start assist 104Horn 78
I
Ignition 99–100, 238Ignition on 100Immobiliser, electronic 96Indicator, coolant temperature 16Indicator lamps, operation 67Indicators, direction 68Inflating tyres 156, 190
Inflating tyres and accessories (using the kit) 163, 165Infrared camera 11 5Instrument panel 9, 11 6Internet browser 227, 231
J
Jack 165Jump starting 177
K
Key 23–24, 26–28, 30Key, electronic 23–24, 100Keyless Entry and Starting 23, 25–28, 98–99Key with remote control 28Kit, hands-free 198–199, 212–213, 236–237Kit, puncture repair 162Kit, temporary puncture repair 162–163, 165
L
Labels 4Labels, identification 190Lamps, parking 69Lamps, rear 173Lane departure warning active 131, 136LEDs - Light-emitting diodes 69, 170