Page 199 of 792

PRIUS PRIME_OM_OM47C77U_(U)
1993. Instrument cluster
3
Instrument cluster
■The meters and display illuminate when
The power switch is in ON mode.
■ Adjusting the instrume nt cluster brightness (P. 194)
● The brightness levels that can be selected differ depending on whether the
tail lights are on and surrounding brightness levels, as shown in the table
below.
*: 22 levels of the brightness are displayed on the setting scree n. However,
the brightness setting will be the brightest when other than 1st level (the
darkest) is selected. If other than 1st or 22nd level is select ed, when the
tail lights are turned on in a dark place, the instrument clust er brightness
setting will be the selected level.
● If the taillights are illuminated in a dark environment, the in strument cluster
light dims. However, when the brightness of the instrument clus ter is set to
minimum or maximum (1st or 22nd level of the instrument cluster bright-
ness), even if the taillights are illuminated, the instrument c luster light will
not dim.
■ When disconnecting and reconnecting 12-volt battery terminals
The settings of the clock will be reset.
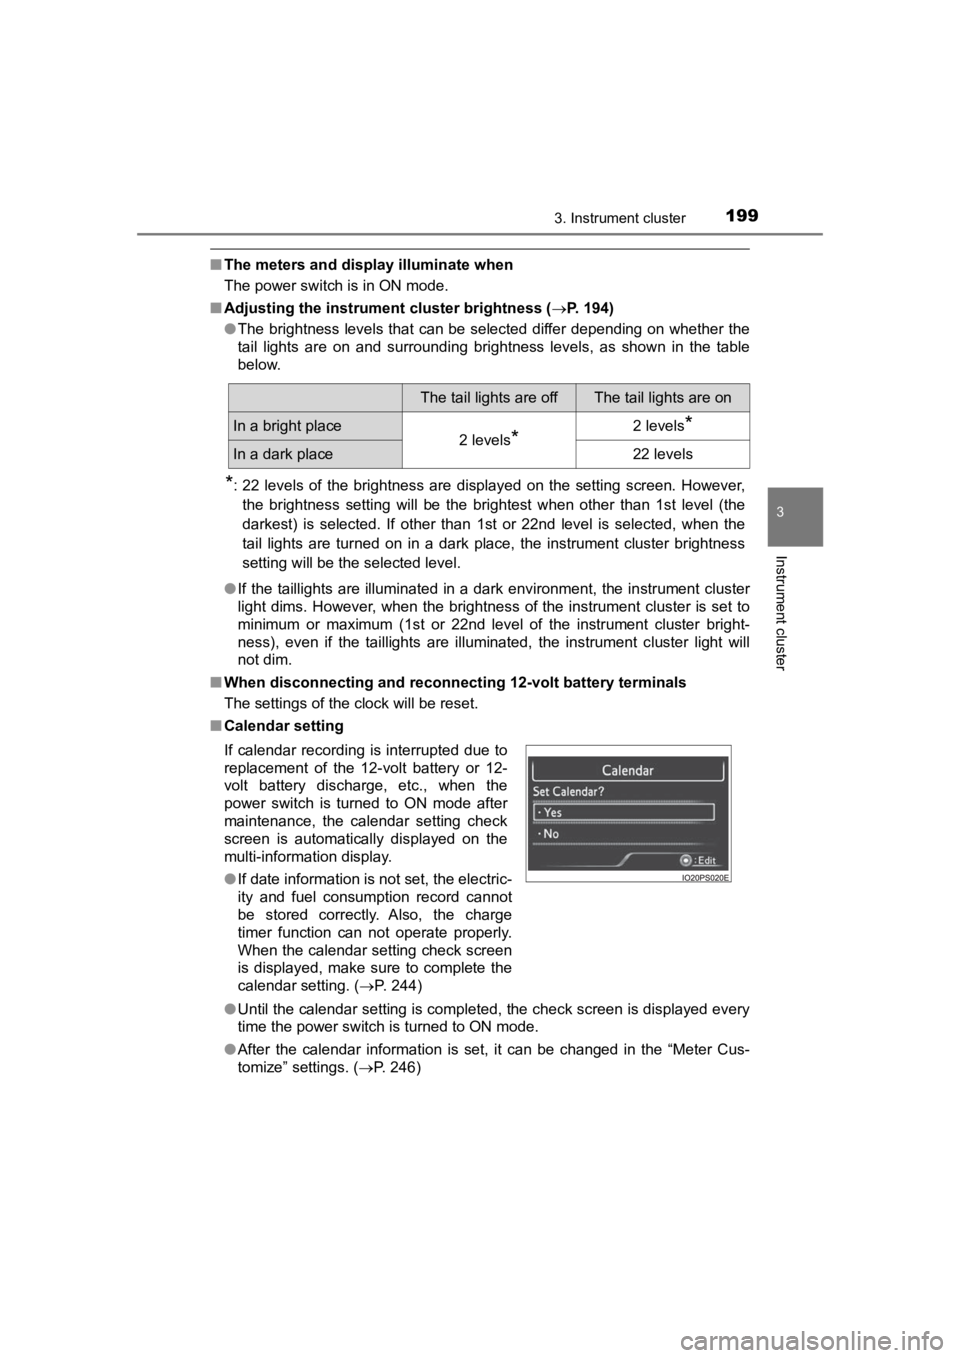
■ Calendar setting
●Until the calendar setting is completed, the check screen is di splayed every
time the power switch is turned to ON mode.
● After the calendar information is set, it can be changed in the “Meter Cus-
tomize” settings. ( P. 246)
The tail lights are offThe tail lights are on
In a bright place2 levels*2 levels*
In a dark place22 levels
If calendar recording is interrupted due to
replacement of the 12-volt battery or 12-
volt battery discharge, etc., when the
power switch is turned to ON mode after
maintenance, the calendar setting check
screen is automatically displayed on the
multi-information display.
● If date information is not set, the electric-
ity and fuel consumption record cannot
be stored correctly. Also, the charge
timer function can not operate properly.
When the calendar setting check screen
is displayed, make sure to complete the
calendar setting. ( P. 244)
Page 219 of 792

PRIUS PRIME_OM_OM47C77U_(U)
2193. Instrument cluster
3
Instrument cluster
*: When there is a warning message that can be displayed, the color of
changes to amber.
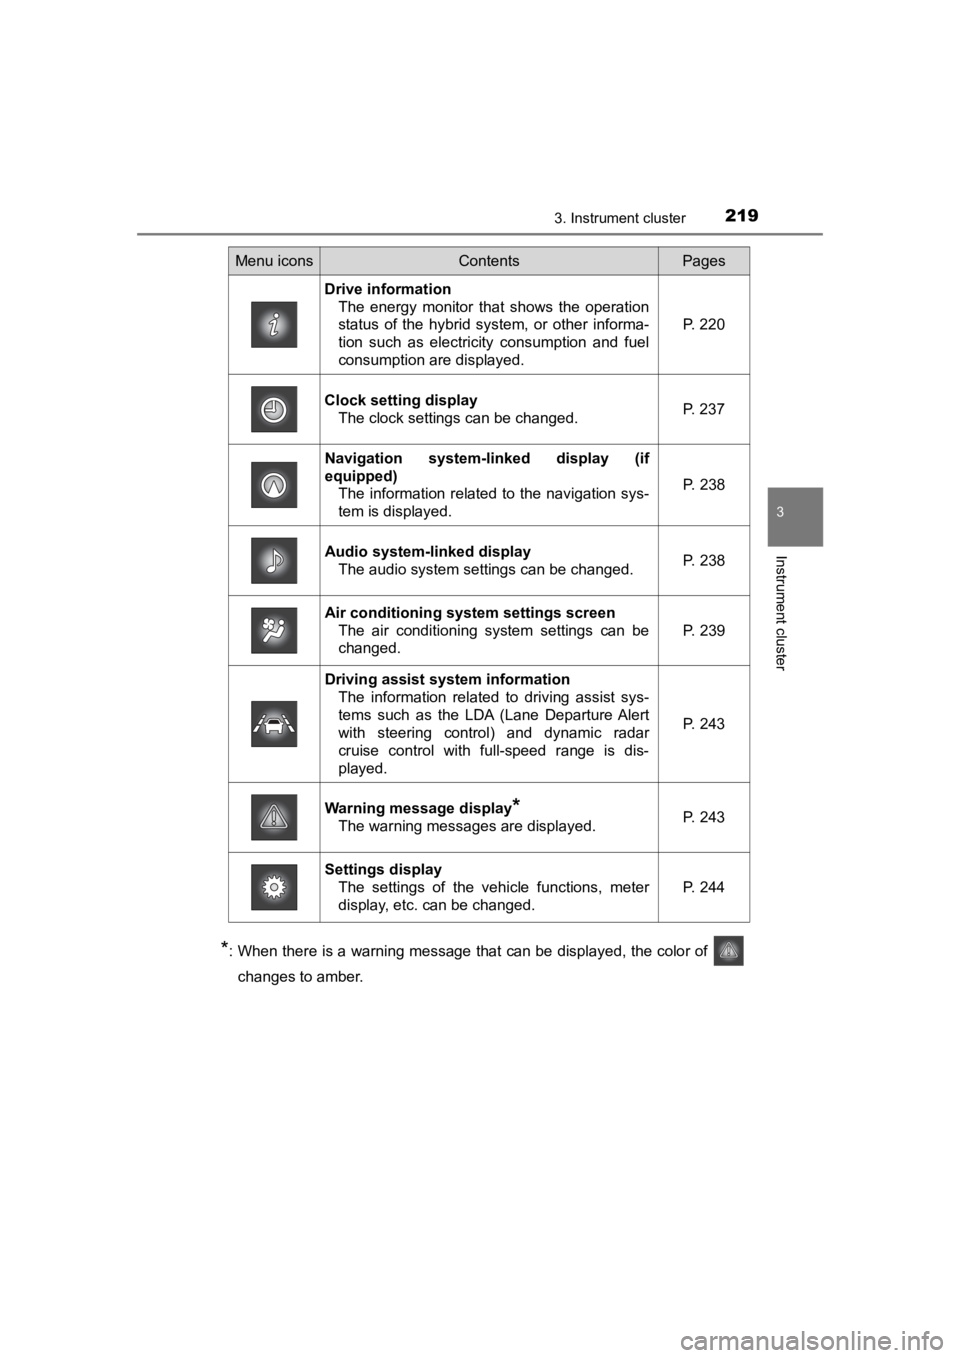
Menu iconsContentsPages
Drive information The energy monitor that shows the operation
status of the hybrid system, or other informa-
tion such as electricity consumption and fuel
consumption are displayed. P. 220
Clock setting display The clock settings can be changed. P. 237
Navigation system-linked display (if
equipped)
The information related to the navigation sys-
tem is displayed.
P. 238
Audio system-linked displayThe audio system settings can be changed.P. 238
Air conditioning system settings screen
The air conditioning system settings can be
changed.
P. 239
Driving assist system informationThe information related to driving assist sys-
tems such as the LDA (Lane Departure Alert
with steering control) and dynamic radar
cruise control with full-speed range is dis-
played.
P. 243
Warning message display*
The warning messages are displayed.P. 243
Settings displayThe settings of the vehicle functions, meter
display, etc. can be changed.
P. 244
Page 222 of 792
222
PRIUS PRIME_OM_OM47C77U_(U)
3. Instrument cluster
■While chargingHybrid battery (traction bat-
tery)
Charging connector
(Display example)
When the hybrid battery (tracti on battery) is being charged, a bright
point of light moves from to .
■ When the charging connector is locked (vehicles with smart lid & con-
nector locking system) ( P. 148)
1
2
is displayed in the charging connector
display portion on the energy monitor.
21
Page 237 of 792
PRIUS PRIME_OM_OM47C77U_(U)
2373. Instrument cluster
3
Instrument cluster
■Checking history
When each screen is selected, past records from the following
ranges can be displayed by pressing or of the meter con-
trol switches.
●If the above number of records is exceeded, the oldest informa-
tion is deleted.
● To reset the history, perform “Hi story Reset” in the “Meter Cus-
tomize” settings ( P. 246). (“Daily” and “Monthly” information
can be reset independently.)
■ Calendar setting
P. 249
The clock settings can be
changed.
Displayed screenDisplayed informationStored information
“Daily”
4 reports
Up to 32 reports
(8 screens)
“Monthly”Up to 24 reports (6 screens)
Clock setting display
ItemSetting result
Adjusts the clock.
( P. 197)
Sets the minutes to
“00”. ( P. 198)
Page 273 of 792
273
PRIUS PRIME_OM_OM47C77U_(U)
4
Operation of
each component
4-1. Key information
Keys .................................. 274
4-2. Opening, closing and locking the doors
Side doors ......................... 279
Back door .......................... 285
Smart key system ............. 290
4-3. Adjusting the seats Front seats ........................ 299
Rear seats......................... 301
Head restraints.................. 303
4-4. Adjusting the steering wheel and mirrors
Steering wheel .................. 306
Inside rear view mirror ...... 308
Outside rear view mirrors ............................. 310
4-5. Opening and closing the windows
Power windows ................. 312
Page 274 of 792
274
PRIUS PRIME_OM_OM47C77U_(U)
4-1. Key information
Keys
The following keys are provided with the vehicle.
Electronic keys
• Operating the smart key system (P. 290)
• Operating the wireless remote control function
• Operating the Remote Air Con- ditioning System ( P. 522)
Mechanical keys
Key number plate
Locks all the doors ( P. 2 8 0 )
Unlocks all the doors ( P. 2 8 0 )
Opens the side windows
*
( P. 280)
Operates Remote Air Condi-
tioning System ( P. 522)
Sounds the alarm ( P. 275)
*: This setting must be customized at your Toyota dealer.
The keys
1
2
3
Wireless remote control
1
2
3
4
5
Page 275 of 792

PRIUS PRIME_OM_OM47C77U_(U)
2754-1. Key information
4
Operation of each component
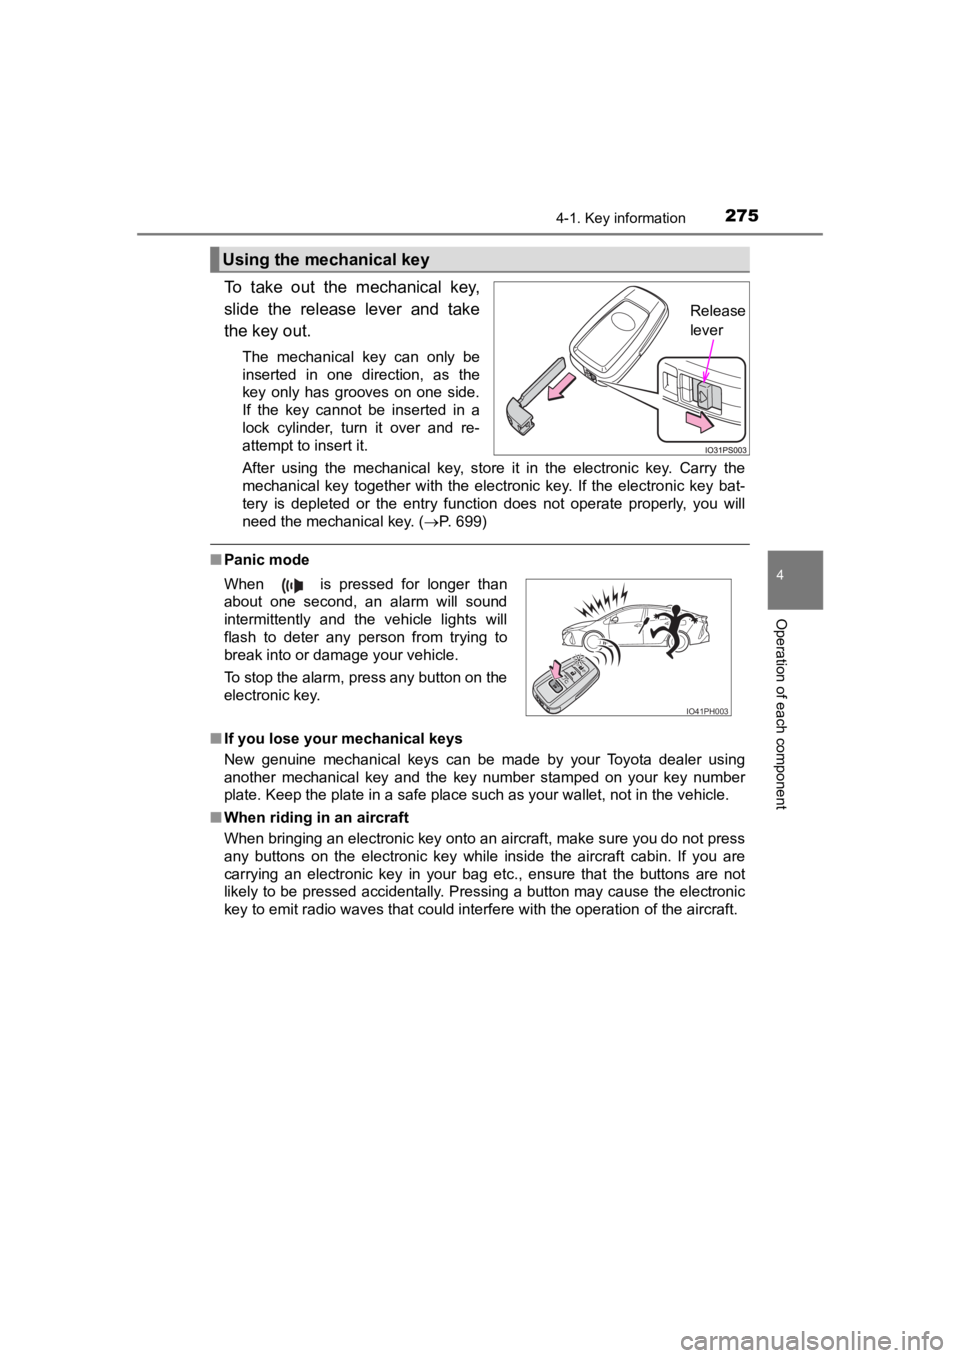
To take out the mechanical key,
slide the release lever and take
the key out.
The mechanical key can only be
inserted in one direction, as the
key only has grooves on one side.
If the key cannot be inserted in a
lock cylinder, turn it over and re-
attempt to insert it.
After using the mechanical key, store it in the electronic key. Carry the
mechanical key together with the electronic key. If the electronic key bat-
tery is depleted or the entry function does not operate properl y, you will
need the mechanical key. ( P. 699)
■Panic mode
■ If you lose your mechanical keys
New genuine mechanical keys can be made by your Toyota dealer using
another mechanical key and the key number stamped on your key n umber
plate. Keep the plate in a safe place such as your wallet, not in the vehicle.
■ When riding in an aircraft
When bringing an electronic key onto an aircraft, make sure you do not press
any buttons on the electronic key while inside the aircraft cabin. If you are
carrying an electronic key in your bag etc., ensure that the buttons are not
likely to be pressed accidentally. Pressing a button may cause the electronic
key to emit radio waves that could interfere with the operation of the aircraft.
Using the mechanical key
Release
lever
When is pressed for longer than
about one second, an alarm will sound
intermittently and the vehicle lights will
flash to deter any person from trying to
break into or damage your vehicle.
To stop the alarm, press any button on the
electronic key.
IO41PH003
Page 277 of 792

PRIUS PRIME_OM_OM47C77U_(U)
2774-1. Key information
4
Operation of each component
■If a message regarding the state of the electronic key or power switch
mode, etc. is shown
To prevent trapping the electronic key inside the vehicle, leav ing the vehicle
without turning off the power switch or other passengers from u nintentionally
taking the key out of the vehicle, etc., a message that prompts the user to
confirm the state of the electronic key or power switch mode ma y be shown
on the multi-information display. In those cases, follow the in structions on the
display immediately.
■ If “Key Battery Low Replace Key Battery” is displayed on the multi-infor-
mation display
The electronic key has a low battery. Replace the electronic ke y battery.
( P. 635)
■ Replacing the battery
P. 635
■ Confirmation of the registered key number
The number of keys already registered to the vehicle can be confirmed. Ask
your Toyota dealer.
■ If “A New Key has been Registered Contact Your Dealer for Detai ls” is
displayed on the multi-information display
This message will be displayed each time the driver’s door is opened when
the doors are unlocked from the outside for approximately 10 da ys after a
new electronic key has been registered.
If this message is displayed but you have not had a new electro nic key regis-
tered, ask your Toyota dealer to check if an unknown electronic key (other
than those in your possession) has been registered.
■ If a wrong key is used
The key cylinder rotates freely to isolate inside mechanism.