2020 Ram ProMaster Steering
[x] Cancel search: SteeringPage 182 of 264

180SERVICING AND MAINTENANCE
(Continued)
It is recommended to replace the two front tires
or two rear tires as a pair. Replacing just one tire
can seriously affect your vehicle’s handling. If
you ever replace a wheel, make sure that the
wheel’s specifications match those of the orig -
inal wheels.
It is recommended you contact an authorized
tire dealer or original equipment dealer with any
questions you may have on tire specifications or
capability. Failure to use equivalent replace -
ment tires may adversely affect the safety,
handling, and ride of your vehicle.
Tire Types
All Season Tires — If Equipped
All Season tires provide traction for all seasons
(Spring, Summer, Autumn, and Winter). Traction
levels may vary between different all season
tires. All season tires can be identified by the
M+S, M&S, M/S or MS designation on the tire sidewall. Use all season tires only in sets of four;
failure to do so may adversely affect the safety
and handling of your vehicle.
Summer Or Three Season Tires — If Equipped
Summer tires provide traction in both wet and
dry conditions, and are not intended to be
driven in snow or on ice. If your vehicle is
equipped with Summer tires, be aware these
tires are not designed for Winter or cold driving
conditions. Install Winter tires on your vehicle
when ambient temperatures are less than 40°F
(5°C) or if roads are covered with ice or snow.
For more information, contact an authorized
dealer.
Summer tires do not contain the all season
designation or mountain/snowflake symbol on
the tire sidewall. Use Summer tires only in sets
of four; failure to do so may adversely affect the
safety and handling of your vehicle.
WARNING!
Do not use a tire, wheel size, load rating, or
speed rating other than that specified for
your vehicle. Some combinations of unap
-
proved tires and wheels may change
suspension dimensions and performance
characteristics, resulting in changes to
steering, handling, and braking of your
vehicle. This can cause unpredictable
handling and stress to steering and
suspension components. You could lose
control and have a collision resulting in
serious injury or death. Use only the tire and
wheel sizes with load ratings approved for
your vehicle.
Never use a tire with a smaller load index or
capacity, other than what was originally
equipped on your vehicle. Using a tire with
a smaller load index could result in tire
overloading and failure. You could lose
control and have a collision.
Failure to equip your vehicle with tires
having adequate speed capability can
result in sudden tire failure and loss of
vehicle control.
CAUTION!
Replacing original tires with tires of a
different size may result in false speedometer
and odometer readings.
WARNING!
(Continued)
WARNING!
Do not use Summer tires in snow/ice
conditions. You could lose vehicle control,
resulting in severe injury or death. Driving too
fast for conditions also creates the possibility
of loss of vehicle control.
20_VF_OM_EN_US_t.book Page 180
Page 187 of 264

SERVICING AND MAINTENANCE185
Tire Rotation Recommendations
The tires on the front and rear of your vehicle
operate at different loads and perform different
steering, driving, and braking functions. For
these reasons, they wear at unequal rates.
These effects can be reduced by timely rotation
of tires. The benefits of rotation are especially
worthwhile with aggressive tread designs such
as those on all season type tires. Rotation will
increase tread life, help to maintain mud, snow
and wet traction levels, and contribute to a
smooth, quiet ride.
Refer to the “Maintenance Plan” for the proper
maintenance intervals. The reasons for any
rapid or unusual wear should be corrected prior
to rotation being performed.
The suggested rotation method is the “forward
cross” shown in the following diagram. This
rotation pattern does not apply to some direc -
tional tires that must not be reversed. Tire Rotation (Forward Cross)
DEPARTMENT OF TRANSPORTATION
UNIFORM TIRE QUALITY GRADES
The following tire grading categories were
established by the National Highway Traffic
Safety Administration. The specific grade rating
assigned by the tire's manufacturer in each
category is shown on the sidewall of the tires on
your vehicle.
All passenger vehicle tires must conform to
Federal safety requirements in addition to
these grades.
Install device as tightly as possible and
then retighten after driving about ½ mile
(0.8 km). Autosock traction devices do not
require retightening.
Do not exceed 30 mph (48 km/h).
Drive cautiously and avoid severe turns and
large bumps, especially with a loaded
vehicle.
Do not drive for a prolonged period on dry
pavement.
Observe the traction device manufacturer’s
instructions on the method of installation,
operating speed, and conditions for use.
Always use the suggested operating speed
of the device manufacturer’s if it is less
than 30 mph (48 km/h).
Do not use traction devices on a compact
spare tire.
CAUTION!
(Continued)
7
20_VF_OM_EN_US_t.book Page 185
Page 199 of 264

TECHNICAL SPECIFICATIONS197
Chassis
Component Fluid, Lubricant, Or Genuine Part
Automatic Transmission
Use Only ATF+4 Automatic Transmission Fluid. Failure to use ATF+4 fluid
may affect the function or performance of your transmission. We
recommend Mopar ATF+4 Fluid.
Brake Master Cylinder
We recommend you use Mopar DOT 4.
DOT 4 brake fluid must be changed every two years regardless of
mileage.
Power Steering Reservoir
Use Pentosin CHF 11S power steering fluid meeting FCA Material
Standard MS-11655.
8
20_VF_OM_EN_US_t.book Page 197
Page 210 of 264

208MULTIMEDIA
SAFETY AND GENERAL INFORMATION
Safety Guidelines
Ensure that all persons read this manual care -
fully before using the system. It contains
instructions on how to use the system in a safe
and effective manner.
Do NOT attach any object to the touchscreen.
Doing so can result in damage to the touch -
screen.
Please read and follow these safety precau -
tions. Failure to do so may result in injury or
property damage.
Glance at the screen only when safe to do so.
If prolonged viewing of the screen is required,
park in a safe location and set the parking
brake.
Stop use immediately if a problem occurs.
Failure to do so may cause injury or damage
to the product. Return it to an authorized
dealer for repair.
Ensure the volume level of the system is set
to a level that still allows you to hear outside
traffic and emergency vehicles.
Safe Usage Of The Uconnect System
Read all instructions in this manual carefully
before using your system to ensure proper
usage.
The Uconnect system is a sophisticated elec -
tronic device. Do not let young children use
the system.
Permanent hearing loss may occur if you play
your music or the system at loud volumes.
Exercise caution when setting the volume on
the system.
Keep drinks, rain and other sources of mois -
ture away from the system. Besides damage
to the system, moisture can cause electric
shocks as with any electronic device. NOTE:
Many features of this system are speed depen
-
dent. For your own safety, it is not possible to
use some of the touchscreen features while the
vehicle is in motion.
Exposure To Radio Frequency Radiation
The internal wireless radio operates within
guidelines found in radio frequency safety stan -
dards and recommendations, which reflect the
consensus of the scientific community. The
radio manufacturer believes the internal wire -
less radio is safe for use by consumers. The
level of energy emitted is far less than the elec -
tromagnetic energy emitted by wireless devices
such as mobile phones. However, the use of
wireless radios may be restricted in some situa-
tions or environments, such as aboard
airplanes. If you are unsure of restrictions, you
are encouraged to ask for authorization before
turning on the wireless radio.
WARNING!
ALWAYS drive safely with your hands on the
steering wheel. You have full responsibility
and assume all risks related to the use of the
Uconnect features and applications in this
vehicle. Only use Uconnect when it is safe to
do so. Failure to do so may result in an
accident involving serious injury or death.
20_VF_OM_EN_US_t.book Page 208
Page 221 of 264

MULTIMEDIA219
NOTE:
If supported, the download and update begin
as soon as the Bluetooth® wireless phone
connection is made to the Uconnect Phone,
for example, after you start the vehicle.
You may be asked for permission to initiate
the phonebook download.
A maximum of 2,000 contact names with six
numbers per contact will be downloaded and
updated every time a phone is connected to
the Uconnect Phone.
Depending on the maximum number of
entries downloaded, there may be a short
delay before the latest downloaded names
can be used. Until then, if available, the previ -
ously downloaded phonebook is available for
use.
Only the phonebook of the currently
connected mobile phone is accessible.
Only the mobile phone’s phonebook is down -
loaded. SIM card phonebook is not part of
the mobile phonebook.
This downloaded phonebook cannot be
edited or deleted on the Uconnect Phone.
These can only be edited on the mobile
phone. The changes are transferred and
updated to Uconnect Phone on the next
phone connection.
Making A Phone Call
Dialing The Phone Number Using The Keyboard
Icon On The Display
Enter the phone number using the graphic
keypad displayed.
Proceed as follows:
1. Press the Keyboard icon on the display and
use the number buttons to enter the
number.
2. Press the Call button to make a call.
Call By Saying A Phonebook Name Or Phone
Number
1. Push the VR button or Phone button (if enabled) on the steering wheel.
2. After the BEEP, say “dial” (or “call” a full name or phone number). Recent Calls
The list of the last calls made for each of the
following call types can be displayed:
Calls received
Calls made
Calls without a reply
All calls
To access these types of calls, press the Recent
Calls button on the Phone menu main screen.
Making A Second Call While Current Call Is In
Progress
When a phone conversation is active, a second
phone call can be made as follows:
Select the number/contact from the list of
recent calls.
Select the contact from the phonebook.
Press the Hold button and dial the number
using the graphic keyboard of the display.
Redial
To call the number/contact of last call made,
press the Redial button.9
20_VF_OM_EN_US_t.book Page 219
Page 222 of 264

220MULTIMEDIA
Answering An Incoming Call
Call Controls
The buttons on the display allow the following
phone call functions to be managed:
Answer
End
Ignore
Put on hold/resume
Deactivate/activate the microphone
Transfer the call
Switch from one call to the other
Conference/merge two active calls
Answering Or Ignoring A Call With No Call
Currently In Progress
When an incoming call rings or is announced on
Uconnect, push the Answer button on the touch -
screen or push the PHONE button on the
steering wheel. Answering Or Ignoring An Incoming Call With A
Call Currently In Progress
When an incoming call rings or is announced on
Uconnect, push the Answer button on the touch
-
screen or push the PHONE button on the
steering wheel to answer the call and put the
ongoing call on hold.
NOTE:
Not all mobile phones may support the manage -
ment of an incoming call when another phone
conversation is active.
Ending A Call
Press the End button on the touchscreen or the
PHONE button on the steering wheel controls to
end a call in progress.
Only the ongoing call is ended and any call on
hold becomes the new active call.
Depending on the type of mobile phone, if the
ongoing call is ended by the caller, the call on
hold may not be activated automatically.
Uconnect Phone Features
Mute/Unmute
1. During a call, push the Voice Recognition (VR) button on the steering wheel.
2. After the BEEP, say “mute” (or “mute off”).
Reading Messages
The system can read the messages received by
the mobile phone.
To use this function the mobile phone must
support the SMS exchange function via Blue -
tooth®.
If this function is not supported by the phone,
the corresponding message button is deacti -
vated (grayed out) or may only accept incoming
messages.
When a text message is received, the display
will show a screen where the options "Listen",
"Call" or "Ignore" can be selected.
Press the message button to access the list of
SMS messages received by the mobile phone
(the list displays a maximum of 60 messages
received).
20_VF_OM_EN_US_t.book Page 220
Page 230 of 264

228MULTIMEDIA
The following example shows how to use voice
control to plan a journey to your Home address:
1. Push the Voice Recognition button on the
steering wheel to turn on the microphone.
A screen will pop up with examples of
commands.
NOTE:
Press the Help button in the Main menu then
press “What can I say?” to see a full list of
commands.
2. When you hear a beep, say a command of your choice. For example, you can say “Navi -
gate home”.
NOTE:
For accurate results, speak normally without
trying to articulate words in an unnatural way. If
there is excessive road noise, for example, you
may need to speak directly into the microphone.
3. If the command is correct, say “Yes”. NOTE:
If the command is incorrect, say “No” and
repeat the command after you hear the prompt
and tone again. Your navigation system plans a
route from your current location to your destina-
tion. To stop your navigation system from
listening out for further commands, say
“Cancel”.
Guidance View
About Guidance View
The guidance view is used to guide you along
the route to your destination. As soon as you
start driving, your navigation system will imme
-
diately start guiding you to your destination with
spoken instructions and visual instructions on
the touchscreen. You can also see your current
location and details along your route, including
3D buildings in some cities. The guidance view
is normally in 3D. To show a 2D map with the
map moving in your direction of travel, change
the 2D and 3D default settings. Refer to
“Settings” within this section for more informa -
tion. NOTE:
When you have planned a route and the 3D
guidance view is shown, select the switch view
button to change to the map view and use the
interactive features.
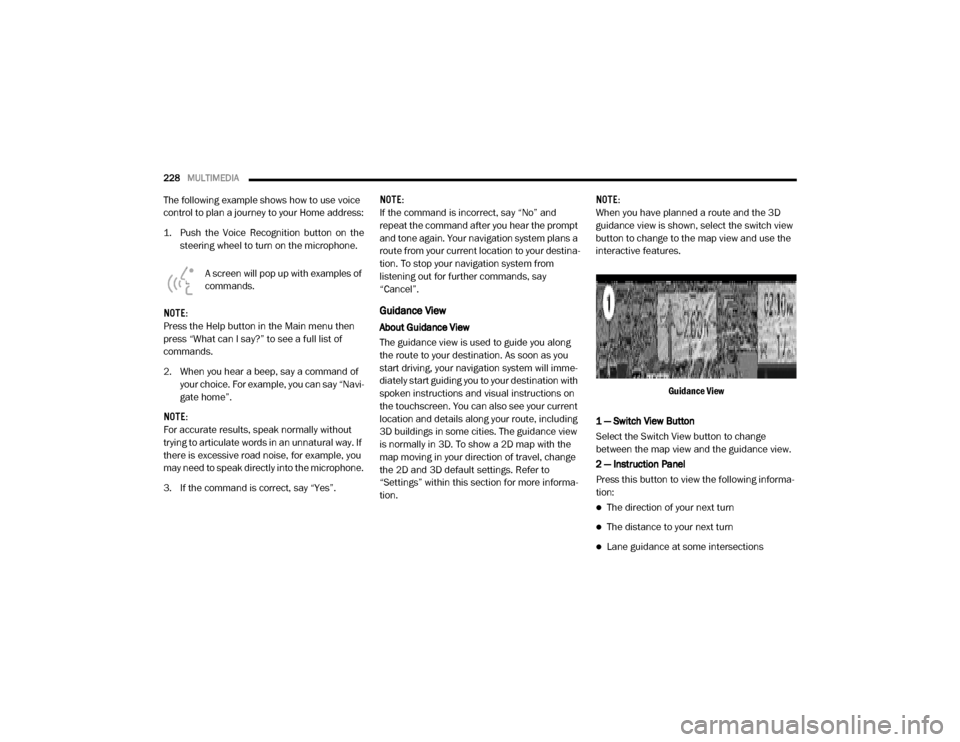
Guidance View
1 — Switch View Button
Select the Switch View button to change
between the map view and the guidance view.
2 — Instruction Panel
Press this button to view the following informa -
tion:
The direction of your next turn
The distance to your next turn
Lane guidance at some intersections
20_VF_OM_EN_US_t.book Page 228
Page 240 of 264

238MULTIMEDIA
STEERING WHEEL AUDIO CONTROLS
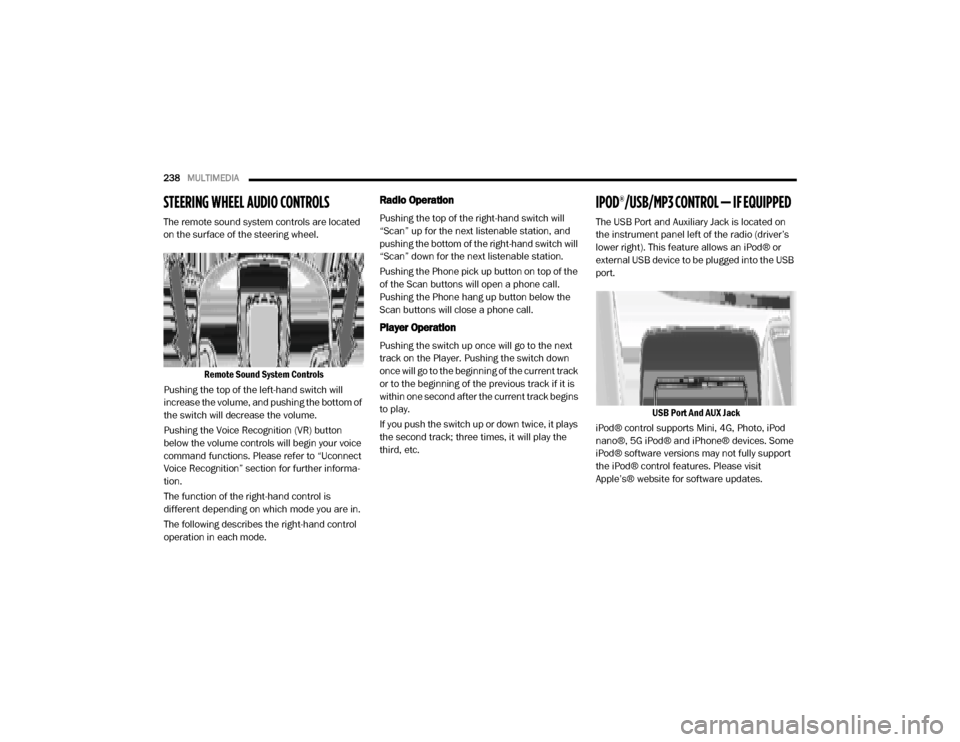
The remote sound system controls are located
on the surface of the steering wheel.
Remote Sound System Controls
Pushing the top of the left-hand switch will
increase the volume, and pushing the bottom of
the switch will decrease the volume.
Pushing the Voice Recognition (VR) button
below the volume controls will begin your voice
command functions. Please refer to “Uconnect
Voice Recognition” section for further informa -
tion.
The function of the right-hand control is
different depending on which mode you are in.
The following describes the right-hand control
operation in each mode.
Radio Operation
Pushing the top of the right-hand switch will
“Scan” up for the next listenable station, and
pushing the bottom of the right-hand switch will
“Scan” down for the next listenable station.
Pushing the Phone pick up button on top of the
of the Scan buttons will open a phone call.
Pushing the Phone hang up button below the
Scan buttons will close a phone call.
Player Operation
Pushing the switch up once will go to the next
track on the Player. Pushing the switch down
once will go to the beginning of the current track
or to the beginning of the previous track if it is
within one second after the current track begins
to play.
If you push the switch up or down twice, it plays
the second track; three times, it will play the
third, etc.
IPOD®/USB/MP3 CONTROL — IF EQUIPPED
The USB Port and Auxiliary Jack is located on
the instrument panel left of the radio (driver’s
lower right). This feature allows an iPod® or
external USB device to be plugged into the USB
port.
USB Port And AUX Jack
iPod® control supports Mini, 4G, Photo, iPod
nano®, 5G iPod® and iPhone® devices. Some
iPod® software versions may not fully support
the iPod® control features. Please visit
Apple’s® website for software updates.
20_VF_OM_EN_US_t.book Page 238