2020 Ram ProMaster Page 53
[x] Cancel search: Page 53Page 227 of 264
MULTIMEDIA225
Finding A Parking Lot
1. Press the Parking button from the Main
Menu.
NOTE:
If a route is planned, the map shows parking
lots near your destination. If a route isn’t
planned, the map shows parking lots near your
current location. You also have an option to
view the parking lots in a list by pressing the
Menu button to the left of the red highlighted
icon.
2. Select a parking lot from the map or the list.
Find A Parking Lot 3. To plan a route to your chosen parking lot,
select the drive button.
Finding A Gas Station
1. Select the Main Menu button to open the Main Menu.
2. Select Gas Station.
NOTE:
You also have an option to view the gas stations
in a list by pressing the Menu button to the left
of the red highlighted icon.
Finding A Gas Station 3. Select a gas station from the map or the list.
By opening the pop-up menu, you can add
the gas station as a stop on your route. You
can also plan a route to your chosen gas
station by pressing the drive button on the
touchscreen. Your system will plan a route,
and guidance to your destination will begin.
The guidance view will be shown automati-
cally once you start driving.
Changing Your Route
Making Changes To Your Route
After you plan a route, you may want to change
the route or even the destination. There are
various ways to change your route without the
need to completely re-plan the entire journey.
To change the current route, press the Current
Route button in the Main menu. The
following options are available:
9
20_VF_OM_EN_US_t.book Page 225
Page 228 of 264
226MULTIMEDIA
Current Route Menu
Clear Route
Press the button to clear the currently
planned route. The Current Route Menu will
close and the screen will return to the map view.
Find Alternative
Press the button while driving on a planned
route to show up to three alternative routes on
the map view. Each alternative route shows the
difference in travel time in a balloon.
Select your chosen route by tapping on the time
balloon.
Press “Let’s GO.” Guidance to your destination
will automatically begin, and the guidance view
appears automatically as you begin driving.
Avoid Blocked Road
Press the button to avoid an unexpected
obstacle that is blocking the road on your route.
A new route will be found that avoids blocked
roads.
You may be shown a maximum of two alterna -
tives depending on the road network between
you and your destination.
The new route is shown on the map view with
the difference in travel time in a balloon. Select the new route by pressing the time
balloon. Guidance to your destination will
resume avoiding blocked roads, and the guid
-
ance view will appear automatically as you
begin driving.
NOTE:
It may not be possible to find an alternative
route around the blocked road if none exists.
Avoid Part Of Route
Press the button to avoid part of the current
route.
You are shown a list of the sections that make
up your current route.
Select the section of the route you want to
avoid. A pop-up menu will appear on the map
showing the location of the instruction.
To avoid the chosen section of the route, select
“Avoid.” A new route is planned that will avoid
your chosen route sections, and the new route
will appear in map view.
NOTE:
To avoid more sections of the route, repeat the
steps above. It may not be possible to find an
alternative route around the section if none
exists. Avoid Toll Roads and More
Select the button to avoid some types of
route features that are on your currently
planned route. These include ferries, toll roads
and unpaved roads.
Show Instructions
Press the button to see a list of turn-by-turn
instructions for your planned route.
The instructions include the following informa
-
tion:
Current location
Street names
Up to two road numbers shown in road signs
(if available)
An instruction arrow
An instruction description
The distance between two consecutive
instructions
Exit number
The full addresses of stops on your route
20_VF_OM_EN_US_t.book Page 226
Page 229 of 264
MULTIMEDIA227
Add Stop To Route
Press the button to add a stop to your route.
You can add a stop by selecting a point on the
map. In map view, zoom in on the map and
press and hold to select a location. Then, select
the pop-up menu button, and press “Add to
Current Route.”
You route will be recalculated to include your
stop.
Change Route Type
Press the button to change the type of route
used to plan your route. Your route will be recal -
culated using the new route type selected.
You can select the following types of routes:
Fastest Route
Shortest Route
Most Eco-Friendly Route
Avoid Interstate Highways
You can set the default route type in the
settings menu.
Reorder Stops Press the button to see the lists of stops for
your current route. You can change the order of
the stops on your route by pressing “Edit Stops”.
Use the Up and Down arrows to change the
order of your stops. Your route will be recalcu
-
lated with the stops in that changed order.
NOTE:
You can also delete stops from your route by
pressing the Edit Stops button and then press
the Delete button. The stop will be removed
from your route and your route will be recalcu -
lated.
Play Route Or Track Preview
Press button to watch a preview of your
planned route or track.
NOTE:
This feature is not available while driving.
Stop Route Preview
Press button to stop the preview of your
planned route.
Voice Command — If Equipped
About Voice command
Instead of pressing the touchscreen to control
your navigation system, you can use your voice
to control navigation.
For example, to switch to 2D view, you can say
“2D view.”
To view a list of available commands, press the
“Help” button in the Main menu and then press
“What can I say?”
Using Voice Control
WARNING!
ALWAYS drive safely with your hands on the
wheel. You have full responsibility and
assume all risks related to the use of the
Uconnect features and applications in this
vehicle. Only use Uconnect when it is safe to
do so. Failure to do so may result in an
accident involving serious injury or death.
9
20_VF_OM_EN_US_t.book Page 227
Page 230 of 264
228MULTIMEDIA
The following example shows how to use voice
control to plan a journey to your Home address:
1. Push the Voice Recognition button on the
steering wheel to turn on the microphone.
A screen will pop up with examples of
commands.
NOTE:
Press the Help button in the Main menu then
press “What can I say?” to see a full list of
commands.
2. When you hear a beep, say a command of your choice. For example, you can say “Navi -
gate home”.
NOTE:
For accurate results, speak normally without
trying to articulate words in an unnatural way. If
there is excessive road noise, for example, you
may need to speak directly into the microphone.
3. If the command is correct, say “Yes”. NOTE:
If the command is incorrect, say “No” and
repeat the command after you hear the prompt
and tone again. Your navigation system plans a
route from your current location to your destina-
tion. To stop your navigation system from
listening out for further commands, say
“Cancel”.
Guidance View
About Guidance View
The guidance view is used to guide you along
the route to your destination. As soon as you
start driving, your navigation system will imme
-
diately start guiding you to your destination with
spoken instructions and visual instructions on
the touchscreen. You can also see your current
location and details along your route, including
3D buildings in some cities. The guidance view
is normally in 3D. To show a 2D map with the
map moving in your direction of travel, change
the 2D and 3D default settings. Refer to
“Settings” within this section for more informa -
tion. NOTE:
When you have planned a route and the 3D
guidance view is shown, select the switch view
button to change to the map view and use the
interactive features.
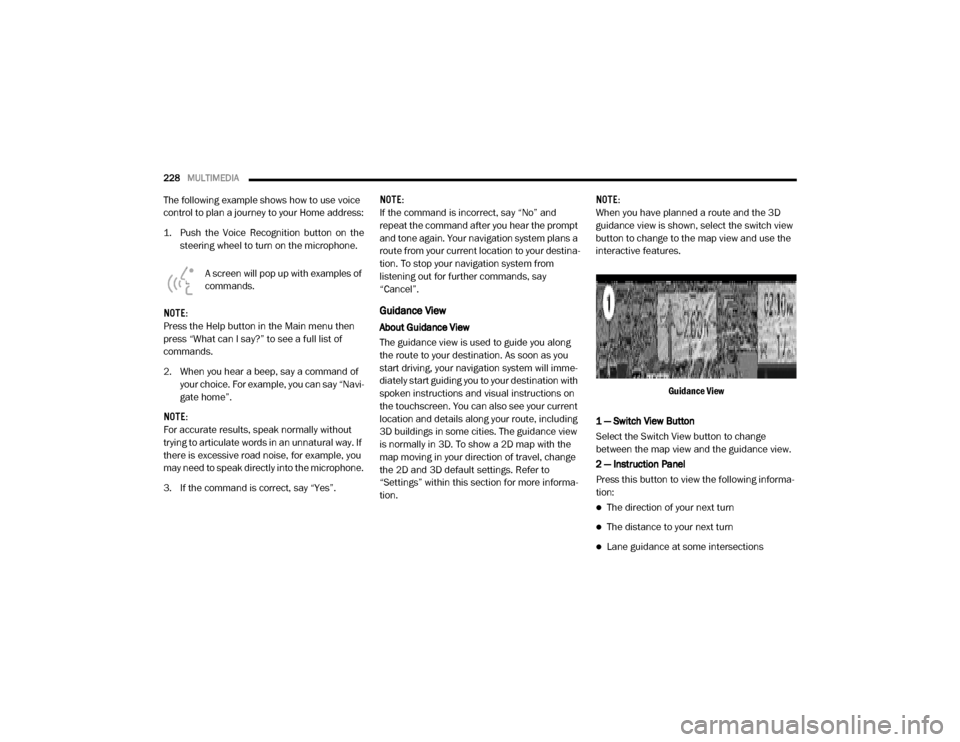
Guidance View
1 — Switch View Button
Select the Switch View button to change
between the map view and the guidance view.
2 — Instruction Panel
Press this button to view the following informa -
tion:
The direction of your next turn
The distance to your next turn
Lane guidance at some intersections
20_VF_OM_EN_US_t.book Page 228
Page 231 of 264
MULTIMEDIA229
3 — Route Bar
The Route Bar is shown when you have planned
a route. The Route Bar contains arrival informa-
tion, such as the estimated time of arrival, the
length of time to drive to the destination from
your current location, and information about the
next stop, if you have stops on your route. The
bottom of the Route Bar represents your current
location and shows the distance to the next
stop on your route.
4 — Current Location
This symbol shows your current location. Press
this symbol, or the speed panel, to mark your
current location.
5 — Speed Panel
Press this button to view the following informa -
tion (if available):
The speed limit at your location
The name of the street you are driving on NOTE:
If you drive more than 3 mph (5 km/h) over the
speed limit, the Speed Panel turns red. If you
drive less than 3 mph (5 km/h) over the speed
limit, the Speed Panel turns orange.
6 — Main Menu Button
Press the Main Menu Button to show the Main
Menu.
7 — Zoom Buttons
Press the zoom in + button to zoom in and the
zoom out – button to zoom out.
Advanced Lane Guidance
About Lane Guidance
NOTE:
Lane guidance is not available for all intersec
-
tions or in all countries.
Your navigation system helps you prepare for
highway exits and junctions by showing the
correct driving lane for your planned route. As you approach an exit or junction, the lane you
need is shown on the screen and in the instruc
-
tion panel.
Using Lane Guidance
There are two types of lane guidance:
Lane images
Instructions in the status bar
Lane Guidance
9
20_VF_OM_EN_US_t.book Page 229
Page 232 of 264
230MULTIMEDIA
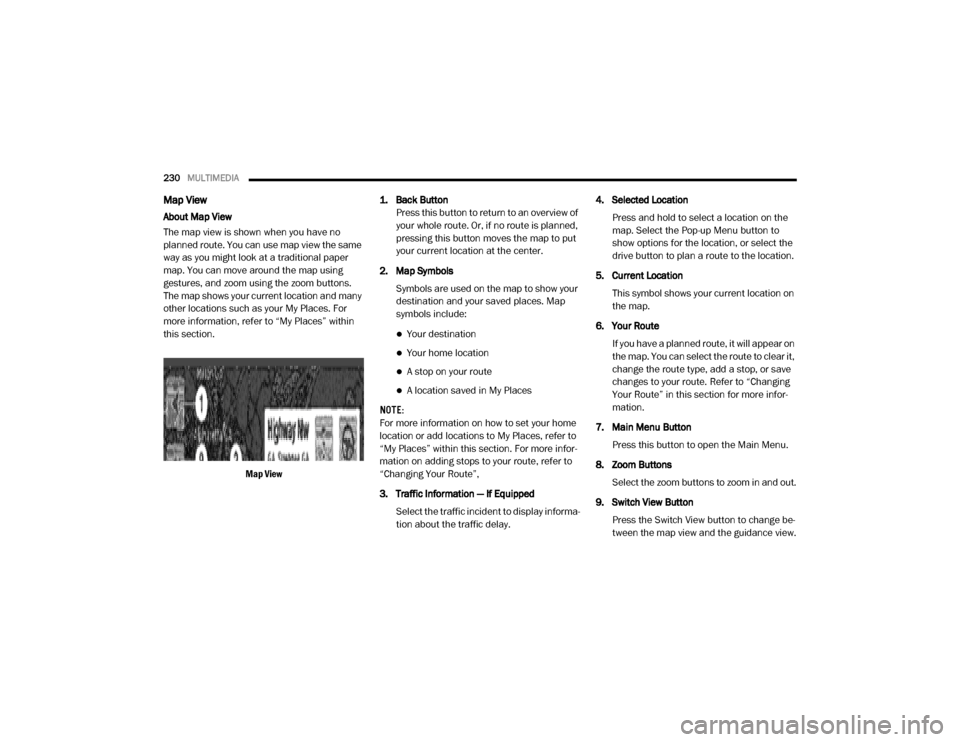
Map View
About Map View
The map view is shown when you have no
planned route. You can use map view the same
way as you might look at a traditional paper
map. You can move around the map using
gestures, and zoom using the zoom buttons.
The map shows your current location and many
other locations such as your My Places. For
more information, refer to “My Places” within
this section.
Map View 1. Back Button
Press this button to return to an overview of
your whole route. Or, if no route is planned,
pressing this button moves the map to put
your current location at the center.
2. Map Symbols Symbols are used on the map to show your
destination and your saved places. Map
symbols include:
Your destination
Your home location
A stop on your route
A location saved in My Places
NOTE:
For more information on how to set your home
location or add locations to My Places, refer to
“My Places” within this section. For more infor -
mation on adding stops to your route, refer to
“Changing Your Route”,
3. Traffic Information — If Equipped
Select the traffic incident to display informa -
tion about the traffic delay. 4. Selected Location
Press and hold to select a location on the
map. Select the Pop-up Menu button to
show options for the location, or select the
drive button to plan a route to the location.
5. Current Location This symbol shows your current location on
the map.
6. Your Route If you have a planned route, it will appear on
the map. You can select the route to clear it,
change the route type, add a stop, or save
changes to your route. Refer to “Changing
Your Route” in this section for more infor -
mation.
7. Main Menu Button Press this button to open the Main Menu.
8. Zoom Buttons Select the zoom buttons to zoom in and out.
9. Switch View Button Press the Switch View button to change be -
tween the map view and the guidance view.
20_VF_OM_EN_US_t.book Page 230
Page 233 of 264
MULTIMEDIA231
Voices
About Voices
Your navigation system uses sound for some or
all of the following:
Driving directions
Warnings that you set
By selecting “Settings” in the Main Menu, then
selecting “Voices,” you can change the settings
for how voice instructions are given. Instruction
settings include the following:
Read Early Instructions Out Loud : This setting
allows to you to hear early instructions. For
example, an early instruction could be, “After
two miles, take the exit right.”
Read Road Numbers Out Loud (if equipped):
Use this setting to control whether road
numbers are read out loud as part of naviga -
tion instructions.
Read Road Sign Information Out Loud (if
equipped): Use this setting to control whether
road sign information is read out loud as part
of navigation instructions.
Read Street Names Out Loud (if equipped):
Use this setting to control whether street
names are read out loud as part of navigation
instructions.
Read Foreign Street Names Out Loud (if
equipped): Use this setting to control wether
foreign street names are read out loud as
part of navigation instructions.
Changing The Volume Level
To change the volume of your navigation
system, use the volume button on the radio
when an instruction is being given.
Settings
About Settings
You can change the way your naviga -
tion system looks and behaves. Most
of the settings on your system can be accessed
by pressing the Settings button in the Main
Menu. Appearance
To change how your navigation screen looks,
select “Appearance” in the settings menu. From
here, you can change these features:
Switch To Night Colors When Dark
: Select
this setting to make your system automati -
cally switch to night colors when it gets dark.
Automatic Zoom : Select “Automatic Zoom” to
change how your system zooms in Guidance
view when you approach a turn or intersec -
tion. Zooming in can make the turn or inter -
section easier to drive. The following options
are available:
Zoom in to next turn
Based on road type
None
Arrival Information
In the settings menu, select “Arrival Informa -
tion” to change the following settings:
Show Remaining Distance : Select this setting
to show the remaining distance left to travel
in the arrival information panel during navi -
gation.
9
20_VF_OM_EN_US_t.book Page 231
Page 234 of 264
232MULTIMEDIA
Show Remaining Time : Select this setting to
show the remaining time left to travel in the
arrival information panel during navigation.
Switch Between Distance And Time Automat -
ically : Select this setting to control the auto -
matic switching between remaining distance
and remaining time in the arrival information
panel.
Show On Route
In the settings menu, select “Show On Route” to
see any of the following options in the route bar:
Parking : Select this setting to see parking lots
on your route.
Gas Stations: Select this setting to see gas
stations on your route.
Stops : Select this setting to see stops on your
route.
Show Previews Of Highway Exits
Select this setting to control the full screen
preview when you approach highway exits. Automatic Map View Switching
Automatic changing of views is on by default.
For example, when an alternative route is being
suggested, the map will automatically switch to
map view, and when you start driving your map
will automatically switch to guidance view. You
can turn this feature off by selecting “Automatic
Map View Switching” in the settings.
Automatic Zoom
Select this setting to control the full screen
preview when you approach highway exits.
Guidance View Style
Select this setting to choose between 3D and
2D versions of the guidance view. Both the 2D
and 3D guidance views move in your direction
of travel.
In 3D guidance view, you can choose to use the
3D car icon or an arrowhead as the current loca-
tion indicator. By default, the 3D guidance view
shows the 3D car icon.
Voices Setting
Select this setting to change how instructions
are read out loud. Refer to “Voices” in the
previous section for more information.Route Planning
Select this setting to control how your system
plans routes. The following options are avail
-
able:
Always Take the Fastest Route
You can choose whether you would like the
navigation system to always default to the
fastest route.
Ask Me So I Can Choose
You can choose whether you would like the
navigation system to allow you to pick the
route to the destination.
Don’t Ask me
You can choose whether you would like the
navigation system to select the route to the
destination.
Fastest Route
You can choose whether you would like the
navigation system to chose the fastest route
to the destination.
20_VF_OM_EN_US_t.book Page 232